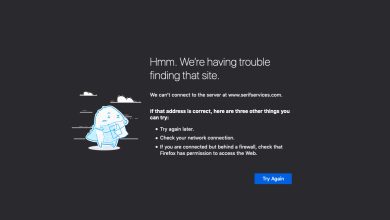
Server not found error on Firefox? Troubleshoot using these steps
The ‘Server not found‘ error is an intermittent issue that affects Firefox users. The majority of users report that they encounter the error with every page they attempt to load, but upon hitting Refresh, the page loads up just fine.
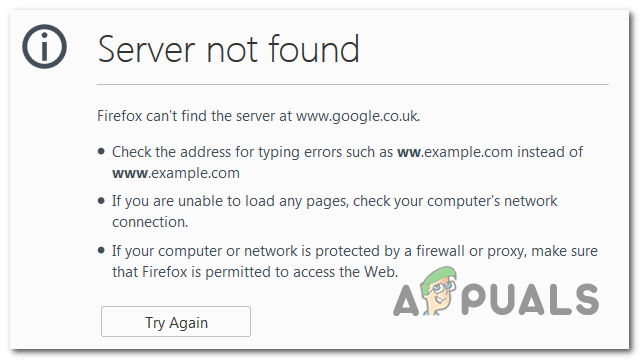
In most cases, this particular issue appears due to a Domain Name Server inconsistency and can be resolved by changing the default values with Google’s custom DNS. If that doesn’t work, you should start troubleshooting for a network inconsistency – either by power-cycling your router/modem or by doing a complete TCP / IP Reset.
However, it’s worth noticing that the issue can also be caused by a disabled instance of the DNS client service. Other potential causes include a VPN or Proxy interference or a connection interruption caused by an overprotective Firewall suite.
How to Fix the Server Not Found Error on Firefox?
Method 1: Changing DNS to Google’s Public DNS
As it turns out, the symptoms of this particular issue point towards an issue related to your default configured DNS (Domain Name System). ‘Server not found’ issues are most commonly caused by inconsistency with your DNS address.
Several affected users have confirmed that they were able to fix the issue after they opened the Network Connections window and change the Internet Protocol Version 4 to Google’s custom DNS server addresses.
Here’s a quick guide on changing the default Domain name System to Google’s custom address via the Network Connection window:
- Open up a Run dialog box by pressing Windows key + R. Inside the text box, type ‘ncpa.cpl’ and press Enter to open up the Network Connections menu.
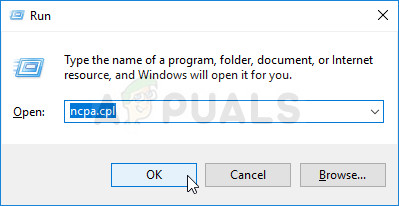
Opening Networking Settings in Control Panel - Once you’re inside the Network Connections menu, go ahead and select the connection that you want to configure using Google Public DNS. If you want to do it for your wireless network, right-click on Wi-Fi (Wireless Network Connection) and choose Properties from the context menu.
Note: In case you plan on modifying an Ethernet (cabled) connection, right-click on Ethernet (Local Area Connection) instead. - After you finally manage to land inside the Wi-Fi or Ethernet Properties screen, go to the Networking tab and go for the settings box under This connection uses the following items. Next, select Internet Protocol Version 4 (TCP / IPv4) and click the Properties button.
- Once you find yourself inside the Internet Protocol 4 (TCP / IPv4) Properties screen, then go to the General tab. Next, select the toggle associated with Use the following DNS server address and replace the Preferred DNS server and the Alternate DNS server with the following values:
8.8.8.8
8.8.4.4
- Save the changes that you just operated at step 4, then repeat step 3 and 4 again with Internet Protocol Version 6 (TCP / IPv6), but this time, use the values to change the Preferred DNS server and Alternate DNS server.
2001:4860:4860::8888
2001:4860:4860::8844
- As soon as you enforce this change, restart your network connection. After the connection is restarted, open your browser, load a page that was previously failing and see if the problem is fixed at the next system startup.

Setting Google’s DNS In case the same issue is still occurring, move down to the next potential fix below.
Method 2: Power Cycle or Reset your router / router
As it turns out, this issue can also be facilitated by an inconsistency with your modem or router. Several affected users that encountered the very same issue have confirmed that the Server not found‘ error was resolved after they forced their network to refresh.
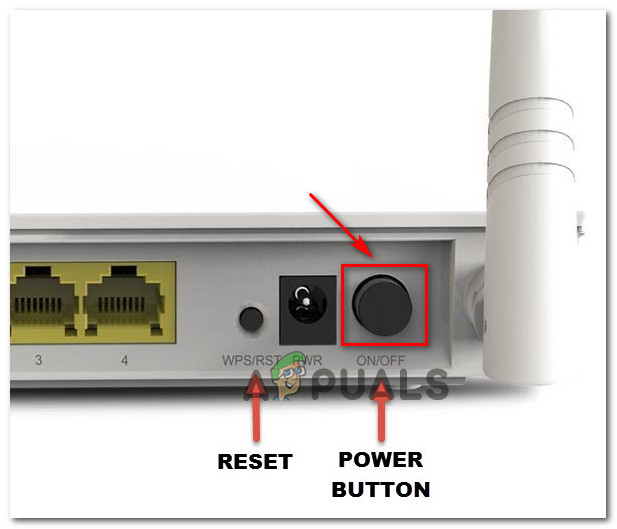
The ideal way to start is by performing a simple network restart – This procedure is a lot less intrusive and will not produce any other that will affect the current settings of your network configuration. In order to do a simple router or network reset, all you have to do is press the ON / OFF button once to turn the networking device off, then wait 20 seconds or more and press the button again to open it once again.
Note: To make sure the procedure completes successfully, you can also disconnect the power capable physically and wait for a minute or so in order to ensure that you completely drain the power capacitors.
If you already did this and it didn’t work, the next logical step would be to do a complete router/modem reset. But before you go through with this, keep in mind that this operation will also reset all custom credentials and custom network settings that you previously established. At the end of this operation, everything will be reset back to the default.
Note: With most router manufacturers, the login will be reverted back to admin for both the username and password.
If you are determined to perform a router or modem reset, simply press and hold on the back Reset button for about 10 seconds. Depending on your router/modem model, you will need a toothpick or a needle in order to access the Reset button on the back.
On bost most router modems, you’ll notice an LED intermittent flash, signalling that the operation is complete.
In case you already restarted your router or modem but there was no improvement, move down to the next potential fix below.
Method 3: Doing a complete TCP / IP Reset
If the first two methods didn’t allow you to resolve the issue, chances are the issue is related to a generic network inconsistency related to your TCP / IP configuration. We managed to identify several users’ reports that managed to get the ‘Server not found‘ Firefox error resolved after they recreated the internet connection from scratch via an elevated CMD prompt.
If you want to go this route, here’s a quick guide on doing a complete TCP / IP reset from an elevated Command Prompt Terminal:
- Open up a Run dialog box by pressing Windows key + R. Inside the text box, type ‘cmd’ inside the newly appeared text box and press Ctrl + Shift + Enter to open up an elevated CMD window. Once you see the UAC (User Account Control) prompt, click Yes to grant admin access.

Running the Command Prompt - Once you manage to get inside the elevated CMD prompt, type the following commands (in the same order that we listed them in) and press Enter after each command:
Type 'ipconfig /flushdns' and press Enter
Type 'netsh winsock reset' and press Enter.
Type 'netsh int ip reset' and press Enter.
Type 'ipconfig /release' and press Enter.
Type 'ipconfig /renew' and press Enter.
- After you manage to run every command above, you will have effectively done a complete TCP / IP reset. As soon as you do this, proceed by closing the elevated CMD prompt and check if the issue is resolved at the next system startup.
After your computer boots back up, repeat the action that was previously triggering the ‘Server not found‘ error and see if the problem is resolved. In case the same problem is still intermittent, move down to the next potential fix below.
Method 4: Starting the DNS Client Service
In case you did some manual adjustments to the DNS Client service or you run a network optimization tool, it’s also possible that you’re encountering the ‘Server not found’ error due to the fact that the service responsible for using the default Domain Name Systems is actually prevented from running.
If this scenario is applicable, you should be able to fix the issue by opening the services.msc utility, setting the status of DNS Client to Automatic and starting the service forcefully.
Here’s a quick guide on how to ensure that the DNS Client service is running and that its Startup Type is set to Automatic:
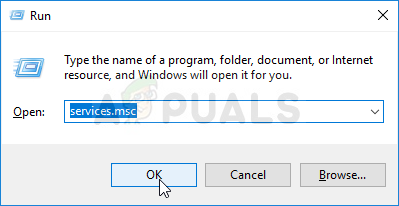
- Press Windows key + R to open up a Run dialog box. Next, type ‘service.msc’ and press Enter to open up the Services screen. When you’re prompted by the UAC (User Account Controler), click Yes to grant admin access.
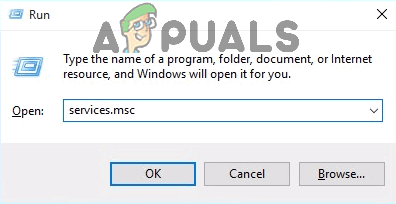
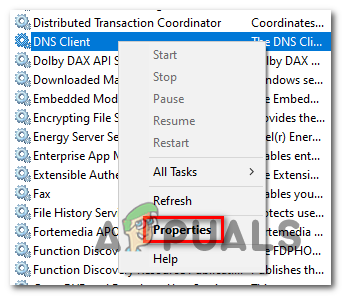
Type “services.msc” into the Run dialog and press Enter - Once you’re inside Services screen, move down to the right-hand section and scroll down through the list of local services until you locate the DNS Client. When you see it, right-click on it and choose Properties from the context menu.
Properties screen - When you manage to get inside the DNS Client Properties screen, select the General tab from the list of sub-menus. Once you get there, set the Startup Type to Automatic and ensure that the Status is set to Running.
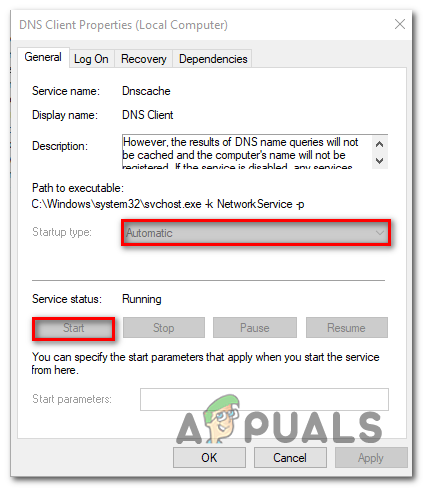
Setting the Startup type of DNS Client to Automatic Note: If the status isn’t set to Running, click on the Start button below.
- Once the DNS Client is started and properly running, repeat the action that was previously causing the ‘Server not found‘ error and see if the issue is now fixed.
In case you’re still encountering the same problem, move down to the next potential fix below.
Method 5: Disable VPN or Proxy server
As it turns out, this particular ‘Server not found‘ error can also be triggered as a result of a direct interference caused by a VPN connection or a Proxy server that ends up bocking communications between your browser and external servers.
Some users that also faced this issue have confirmed that they managed to fix the issue by either uninstalling the VPN client or disabling the Proxy server (depending on which scenario is applicable).
This method will most likely resolve the issue if you’re only encountering the issue when trying to access certain web addresses.
To accommodate both potential scenarios, we created two guides that will show you how to fix the ‘Server not found‘ error if it’s caused by either a VPN or a Proxy server.
Disabling VPN Collection
Here’s a quick guide on Disabling VPN or Proxy server in order to fix the ‘Server not found‘ error:
- Press Windows key + R to open up a Run dialog box. Next, type ‘appwiz.cpl’ and press Enter to open up the Programs and Features menu.
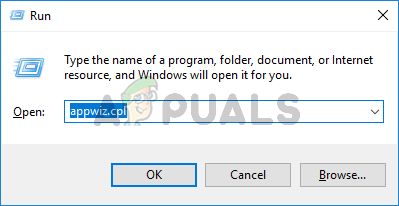
Type appwiz.cpl and Press Enter To Open Installed Programs List - After you manage to land inside the Programs and Features screen, scroll down through the list of installed applications and locate the VPN client that you’re actively using. When you manage to locate the application, right-click on it and choose Uninstall from the newly appeared context menu.

Uninstalling a VPN tool - Inside the uninstallation screen follow the on-screen prompts to complete the uninstallation, then restart your computer once the process is complete.
- Once the next computer startup is complete, attempt to install the failing update again and see if the issue is now resolved.
Disable Proxy Server
- Open up a Run dialog box by pressing Windows key + R. Once you’re inside the text box, type ”’ms-settings:network-proxy’ and press Enter to open up the Proxy tab of the Settings menu.
Running Services in the Run dialog box - Once you manage to get inside the Proxy tab, scroll down to the Manual proxy setup section. Once you get to the correct location, scroll down and disable the toggle associated with ‘Use a proxy server’.
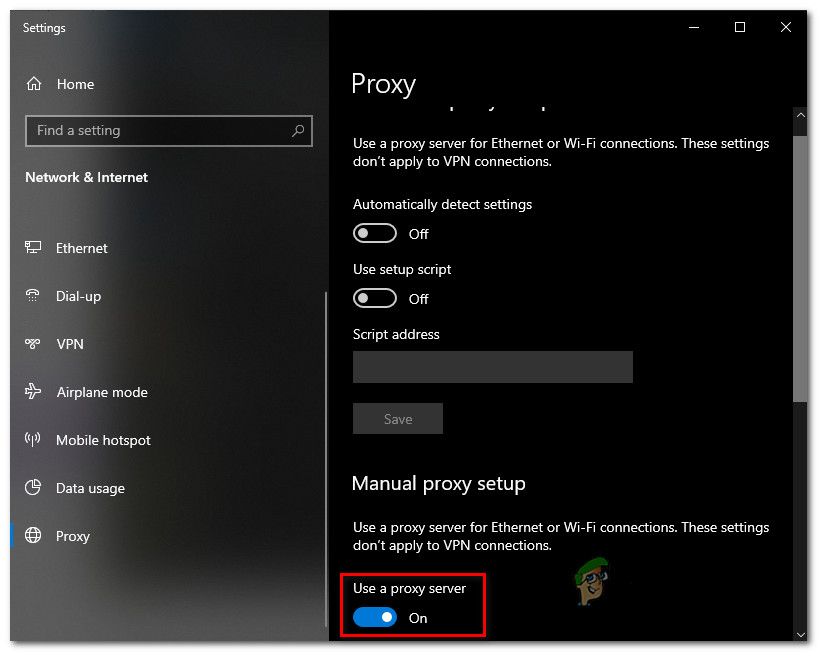
Disabling the use of a proxy server - After you manage to enforce this modification, restart your computer and see if the problem is fixed at the next system startup.
In case you’re still encountering the ‘Server not found’ error while trying to access certain websites via Firefox, move down to the final fix below.
Method 6: Disabling the overprotective firewall
If you’re only encountering the issue while trying to access a particular web address and you’re using a 3rd party security suite, it’s possible that a false positive is causing your AV or firewall to interrupt the connection.
According to some user reports, this issue is mostly reported to occur when the AV ends up acting as a MITM (man in the middle), which end up interrupting the connection. This is most likely due to the fact that the browser (Firefox in this case) is sending details about your (IIRC) connections.
In case this scenario is applicable, you should be able to fix the issue by disabling the firewall function on your AV. Of course, the steps of doing so will be different according to what 3rd-party AV you’re using.
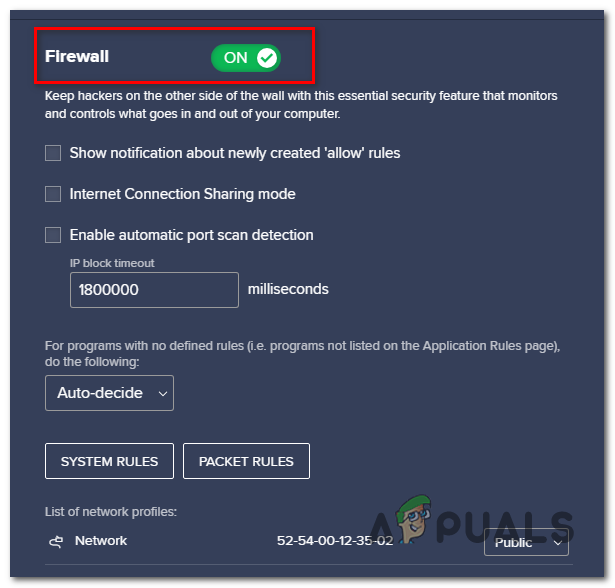
On Avast, you can do this by going to Settings > Firewall and disabling the toggle associated with the Firewall.
However, if this didn’t work or your AV suite doesn’t have the option to disable the firewall component, uninstalling the 3rd party suite from your computer should do the trick. Here’s a quick guide on how to do this:
- Open up a Run dialog box by pressing Windows key + R. Next, type ‘appwiz.cpl’ inside the text box, then type Enter to open up the Programs and Features menu.

Type appwiz.cpl and Press Enter to Open Installed Programs List - Once you’re inside the Programs and Features menu, scroll down through the list of applications and look for the entry associated with your AV. Once you identify the listing, right-click on it and choose Uninstall from the context menu to initiate the uninstallation procedure.
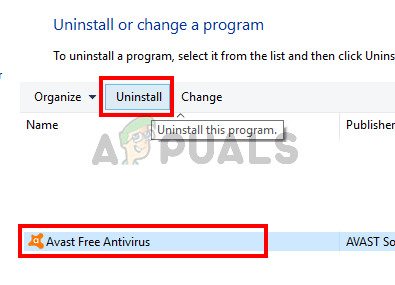
Select Avast and Click Uninstall - Inside the uninstallation prompt, follow the on-screen instructions to complete the uninstallation procedure.
Note: In case you want to ensure that you don’t leave behind any leftover files, eliminate remnant files belonging to your AV. - Restart your computer and see if the issue is resolved once the next startup is complete.