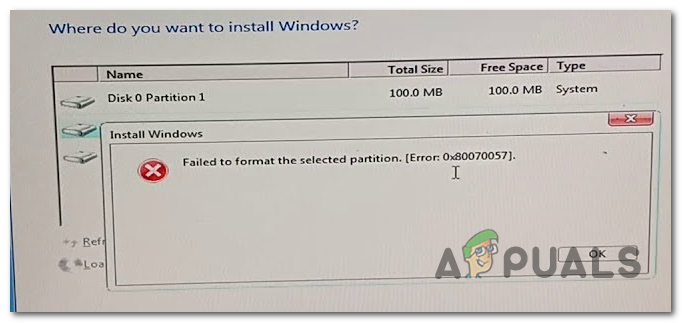
Failed to Format the Selected Partition (Error 0x8004242d)
The Failed to format the selected partition (Error 0x8004242d) is encountered when the user tries to format, merge or install the OS on a drive using the installation media for Windows 7, Windows 8.1 and Windows 10. Most affected users encountering this issue are trying to clean install their OS, but this error prevents them from doing so.
In most cases, you will see this issue occurring due to some kind of inconsistency with the Master Boot Record. It’s either a missing file or some type of file corruption. But regardless of the origin, you can most likely fix it by deleting all partitions instead of trying to reformat them.
If that doesn’t work, you should attempt the same operation with DiskPart. This utility will resolve any incompatibility or corruption caused by the mass controller storage or the mass storage driver.
There’s also a rare scenario in which this issue will occur due to a conflict between BIOS and UEFI settings. This last one can be resolved by disabling USB Boot support while the installation is taking place.
How to fix the ‘Failed to format the selected partition’ (Error 0x8004242d) issue?
Solution 1: Deleting all partitions
In most cases, this issue will occur due to some type of corruption inside the Master Boot Record. Either the extra partition that Windows needs is missing or it has become tainted by corruption.
Several affected users that we’re also encountering this issue have reported that they were finally able to fix the issue by booting from the installation media and deleting every partition instead of trying to format them first.
This will not cause any problems if you were planning on doing a completely clean install anyways, but it fill facilitate total data loss in situations where you were hoping to avoid deleting every partition.
Fortunately, you can use the Windows System Image backup before going through the instructions below if you want to backup your data safely.
Once your important data is backed up, follow the instructions below to delete every available partition in order to fix the Failed to format the selected partition (Error 0x8004242d) issue:
- Insert a compatible installation media and restart your computer. After the initial starting screen, your computer will ask you whether you want to boot from the installation media, to do this, press any key.
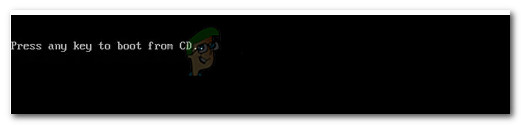
Press any key to boot from installation media Note: In case you don’t have a valid installation media for your Windows version, here’s how to create one. Keep in mind that if you want to install from a USB flash, you might need to modify the boot order to include booting from USB.
- After you manage to successfully boot from the installation media, click on Install now and move forward with the initial installation steps until you get to the partitioning stage.
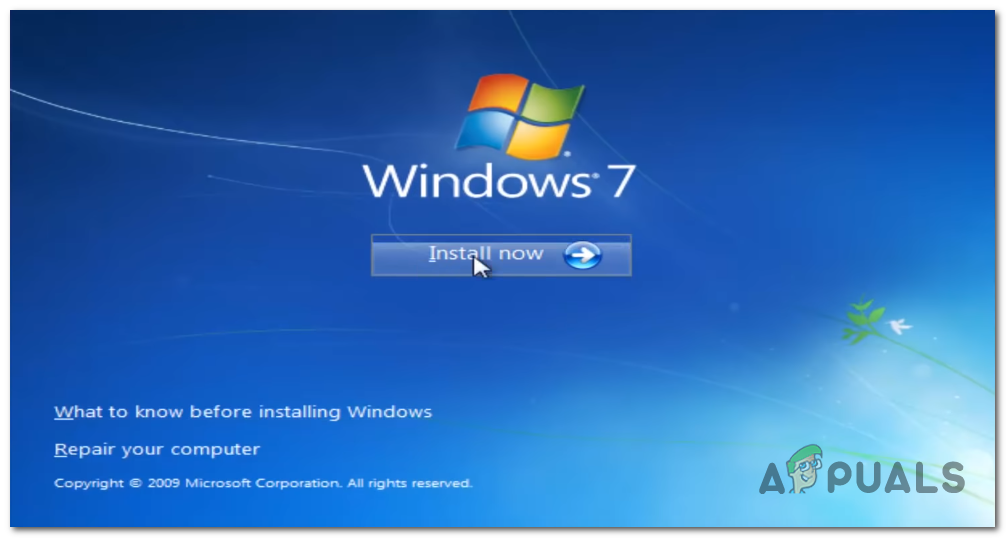
Clicking on Install Windows Note: You will need to input a valid key, then select the appropriate version that you are trying to install. And finally, you will need to accept the License Agreement.
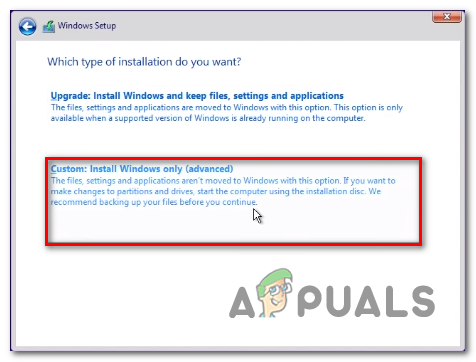
- When you get to the next prompt, click on Custom: Install Windows only (advanced).
Install Windows only - Now once you get to the partitioning part, start selecting each partition individually and then click on Delete. When asked to confirm the operation, click Yes. Do this systematically until you are left with a single Drive (0) of Unallocated Space.
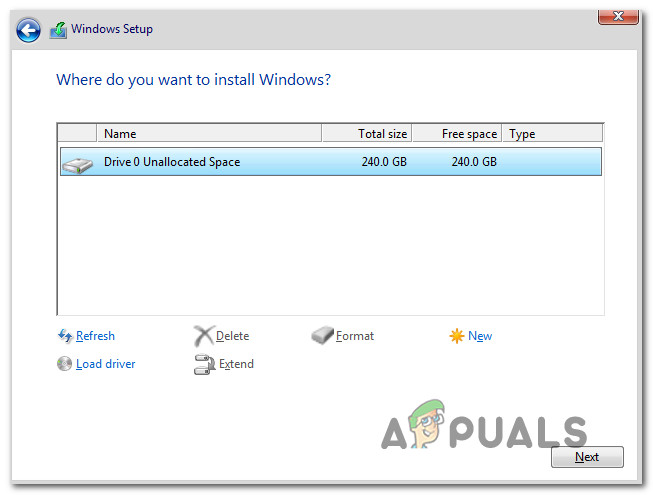
Deleting all partitions - Now you should be able to create new partitions however you want without encountering the same error. Do this and see if you can complete the installation.
In case you’re still encountering the same Failed to format the selected partition (Error 0x8004242d) issue, move down to the next potential fix below.
Solution 2: Cleaning the Hard Disk with Diskpart.exe
As it turns out, this issue can also occur due to an incompatible or corrupted mass storage controller or a mass storage driver. If this scenario is applicable, your best chance of fixing the issue is by Diskpart.exe to clean the disk first and then trying to run the Windows Setup installation again.
But keep in mind that you will need a compatible installation media in order to complete the steps below. Several affected users have confirmed that his operation finally allowed them to format partitions without encountering the Failed to format the selected partition (Error 0x8004242d).
Here’s a quick guide on how to do this:
- Insert an installation media that’s compatible with your Windows version and restart your computer.
- Right after the initial screen goes away, you should be asked if you want to boot from the installation media. Do so by pressing any key.
Press any key to boot from installation media - Once you arrive at the initial screen of the installation media, click on Repair my Computer from the bottom-left section of the screen.
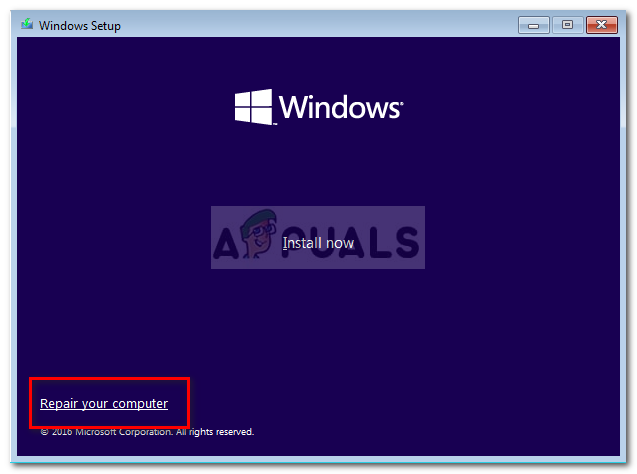
Select ‘Repair my computer’ Note: If you’re encountering the issue on Windows 10, you can also force your way into the Recovery menu by forcing 3 consecutive machine interruptions (powering off your computer during the booting sequence).
- After you manage to arrive at the next menu, start by clicking on Troubleshoot from the list of available options. Next, click on Command Prompt from the list of sub-options of Advanced options.
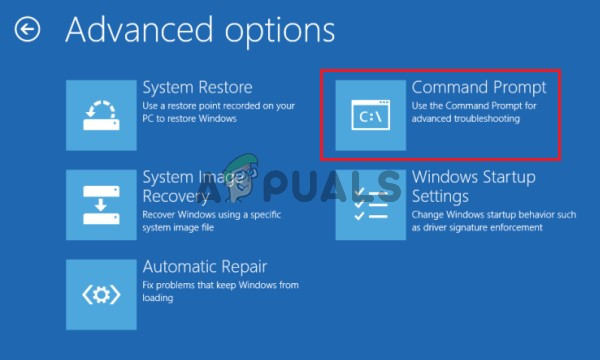
Click Command Prompt - Once you’re inside the elevated CMD prompt, start by typing “diskpart” and pressing Enter to call upon the Diskpart tool.
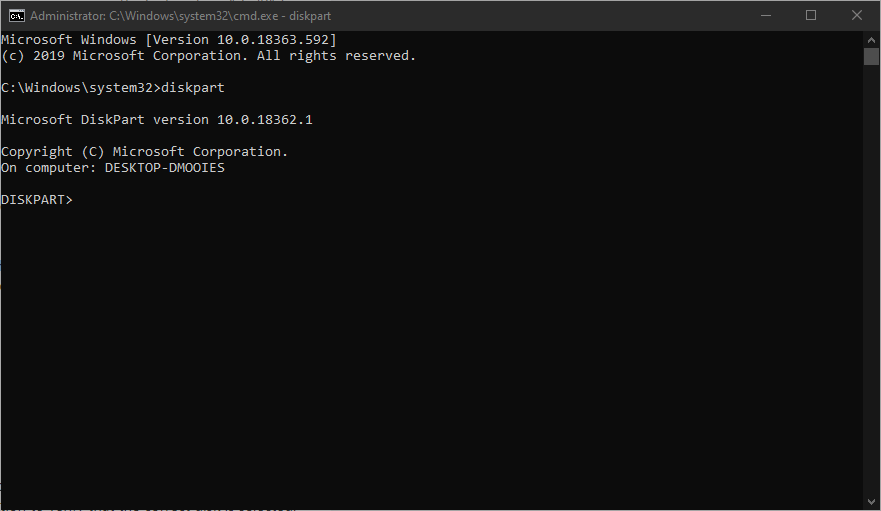
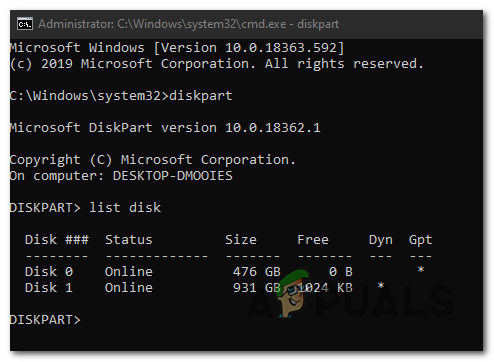
Opening the Diskpart tool - With the Diskpart utility opened, type the following command and press Enter to list all of the available hard disks.
list disk
- You should now see a disk of disks. If you have more than one, use their size to determine which one of them is causing the error you’re trying to fix.
Determining which disk is causing the problem - Once you’ve figured out which drive is causing the issue, type the following command and press Enter to select the appropriate HDD:
sel disk *number*
Note: Keep in mind that *number* is only a placeholder for the number assigned to the affected HDD. Replace it accordingly with a numerical value to select the correct HDD.
- Next, type the following command and press Enter to verify if the correct HDD is selected:
det disk
- If you’ve previously confirmed that the correct drive is selected, type the following command and press Enter to begin the cleaning of your disk using Diskpart:
clean all
Note: Keep in mind that once this procedure is completed, every partition and every bit of data on that HDD or SSD will be permanently removed.
- Once the procedure is complete, type the following command and press Enter to exit the tool conventionally:
exit
- Close the Command Prompt window, restart your computer and return to the Disk selection screen. This time you should no longer have any issues clean installing or merging partitions.
In case you’re still encountering the same Failed to format the selected partition (Error 0x8004242d) error even after following the guide above, move down to the next potential fix below.
Solution 3: Disabling USB Boot Support
Another potential culprit that might end up triggering this issue is some sort of conflict between the legacy setup (BIOS) and the new counterpart (UEFI). As it turns out, a newer machine that includes both might end up facilitating the apparition of the Failed to format the selected partition (Error 0x8004242d) error in case of UEFI Boot Support is enabled.
In this case, you will be able to fix the issue by restarting your computer and disabling the UEFI Boot Support by entering the BIOS Configuration Settings menu. A lot of affected users have confirmed that this operation was successful in their case.
Here’s what you need to do:
- Power on your computer and start pressing the Setup key as soon as the initial startup key comes up. Press the key repeatedly until you find yourself inside the BIOS menu.
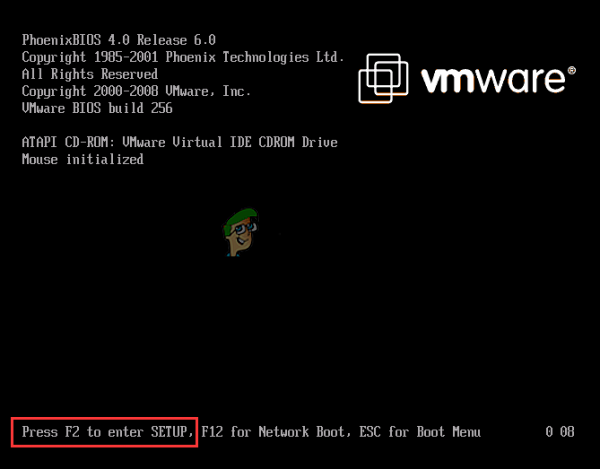
Pressing the setup key Note: On most configurations, the Setup key is one of the F keys (F2, F4, F6, F8, and F10) or the Del key. If it’s not displayed on the screen, search online for specific steps on accessing your BIOS settings.
- Once you’re inside your BIOS settings menu, access the BOOT tab and ensure that UEFI Boot Support is Disabled.
- After this modification is applied, save the modifications and see if the issue has been resolved by repeating the action that was previously causing the Failed to format the selected partition (Error 0x8004242d) issue.
- If you manage to complete the Windows installation, you can then reverse engineer the steps above and re-enable UEFI Boot support.


