How to Fix The Selected Disk is not a Fixed MBR Disk?
The error message “The Selected Disk is not a Fixed MBR Disk” indicates that the commands you’re trying to use are suitable only for MBR disks, and you’re dealing with a GPT disk. The “Active” command you are trying to use is not applicable to a GPT disk.
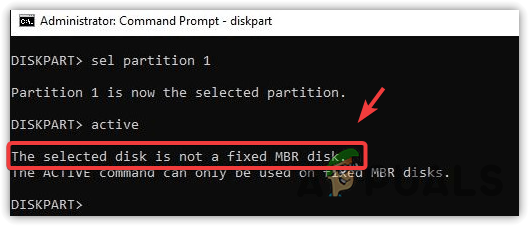
This error usually appears in several circumstances. It often shows up when trying to set a primary partition to active on a GPT disk—a concept not recognized by GPT (GUID Partition Table). Additionally, if the boot manager or BCD (Boot Configuration Data) store has problems, this error message is likely to appear.
With the causes explained, let’s explore solutions.
1. Fix the BCD store
The computer’s firmware uses the BCD store at startup to locate Windows for booting. If the BCD store is corrupted or missing, you might encounter related error messages.Using BCD commands can help repair a damaged BCD store by copying boot files from the Windows system drive and rebuilding the lost BCD store, which may resolve the issue.
- Insert a Windows bootable USB. Use this guide if needed.
- Go to boot options by pressing Delete and select the USB drive.
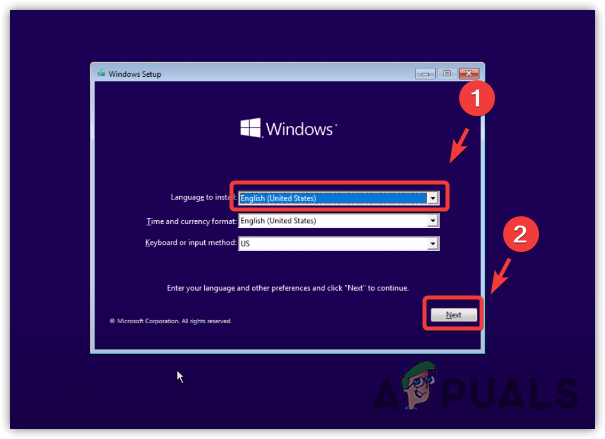
- Boot from USB, select your language, and click Next.
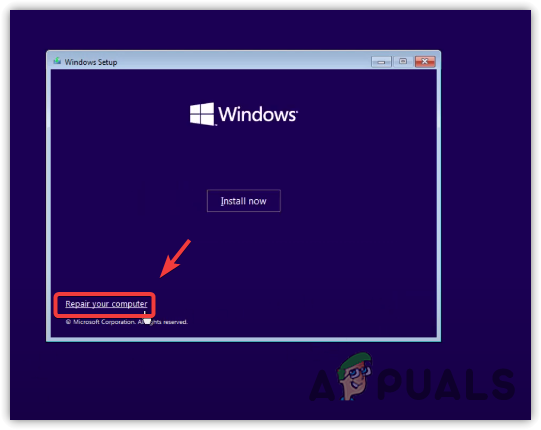
- Choose Repair your PC.
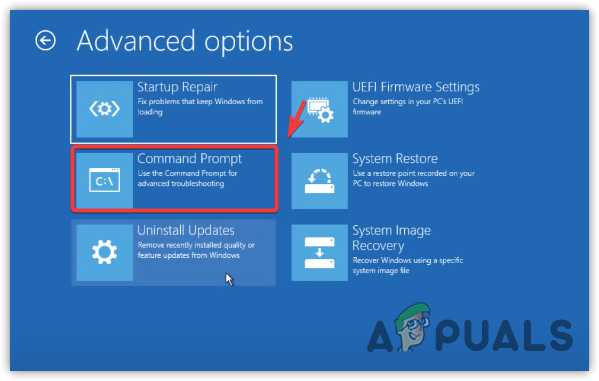
- Select Troubleshoot then Command Prompt.
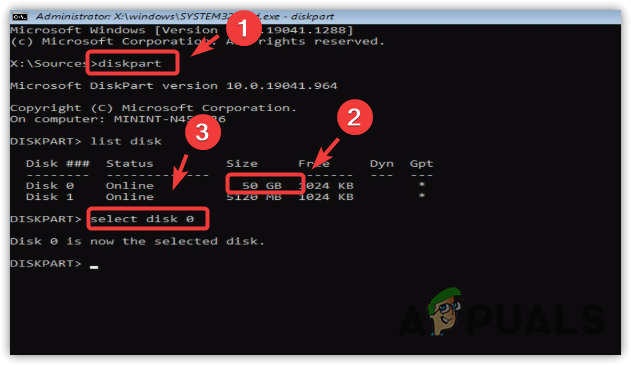
- Determine the system drive and partition using:
diskpart
list disk
select disk 0
list volume
Note: Replace “0” with your specific OS disk number.
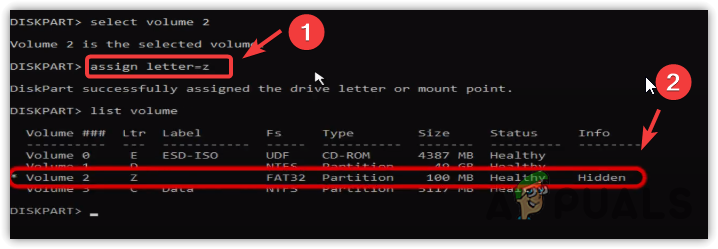
- Assign a letter to the FAT32 volume:
assign letter=z
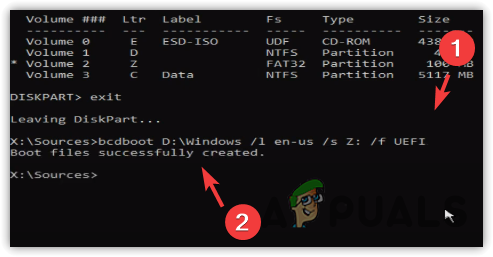
- Exit diskpart using exit.
- Run the BCD command replacing <source> and <volume-letter> with your OS drive and assigned letter:
bcdboot <source>/I <locale>/s <volume-letter>/f <firmware type>
For example: bcdboot D:/Windows/I en-us/s Z:/f All
- Check if the error is resolved.
2. Convert the GPT disk to MBR
Converting a GPT disk to MBR can fix the “selected disk is not a fixed MBR disk” error, but it will erase all data on the disk. Back up important files first. Non-OS drives are easy to convert using command prompt or disk management tools. If the GPT disk has your operating system, you’ll need to reinstall Windows and switch to BIOS legacy mode, as MBR supports BIOS booting, while GPT is for UEFI.
- Type these commands.
diskpart
list disk
select disk <disk number causing the error> (e.g., select disk 0)
convert MBR
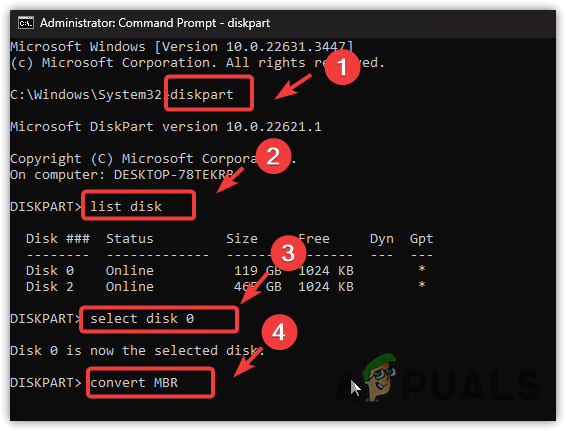
- Now, MBR commands will work without error messages.
3. Fix the Boot Manager
If the Boot Manager isn’t working, it can cause this error. The Boot Manager is important for starting your computer, as it controls the boot process and directs the system to the right partition. Running commands to rebuild the Boot Configuration Data (BCD), fix the Master Boot Record (MBR), and restore boot functions can make the boot process more reliable and fix potential boot errors.
- Open the command prompt as an administrator.
- Type cd /d C:\Windows\system32 and press Enter.
- Enter the following commands to repair the bootloader:
bootrec /RebuildBcd
bootrec /fixMbr
bootrec /fixboot

- Check if the problem is resolved.
If these methods haven’t worked, you can switch the bios mode from UEFI to legacy following this guide. You’ll need to convert your GPT OS disk to MBR first using the second method and then you can reinstall Windows on the MBR disk, resolving the error.


Hello
Isn’t MBR related to legacy boot and GPT to uefi secure boot ?
In secure boot it took long time to boot when MBR drive was corrupted but in legacy boot it never booted .
Disabling secure boot will actually make matter worse.