Fix: Secure Boot needs to be enabled to launch FACEIT AC
 Reviewed by Huzaifa Haroon
The FACEIT anti-cheat requires Secure Boot to be enabled in your BIOS settings for it to work properly. If you do not have secure boot enabled, the “Secure Boot needs to be enabled to launch FACEIT AC” error message will appear when trying to turn on the anti-cheat.

Enabling Secure Boot is quite easy, there are a few simple steps that you need to follow to do so. Secure Boot requires UEFI BIOS mode instead of Legacy. The exact steps for enabling Secure Boot on your motherboard can vary. However, we will provide a list of general instructions that you can follow on any motherboard to enable Secure Boot on your computer.
What is Secure Boot?
Secure Boot is essentially a feature that is designed and implemented to protect your computer from malicious software. This is done by using only the software that is trusted by the manufacturer to boot into the computer.
When you are starting a PC, software is run in the background that configures your processor and all the other components on the motherboard. During this process, Secure Boot looks for signatures embedded in the firmware code to verify the authenticity of the code before running it on the computer. This prevents malicious code from running on your computer which can be detrimental.
Enable Secure Boot
Enabling Secure Boot is a simple process. You will have to boot into your BIOS configuration in order to enable Secure Boot. This is because this is a feature that comes supported by your motherboard, and not something you can enable through Windows.
To enable Secure Boot, follow the instructions below:
- First, restart your computer.
- As your computer starts, boot into the BIOS configuration using the dedicated shortcut key. This is shown for a brief second as your PC starts up, so if you do not know, pay attention to the shortcut keys.
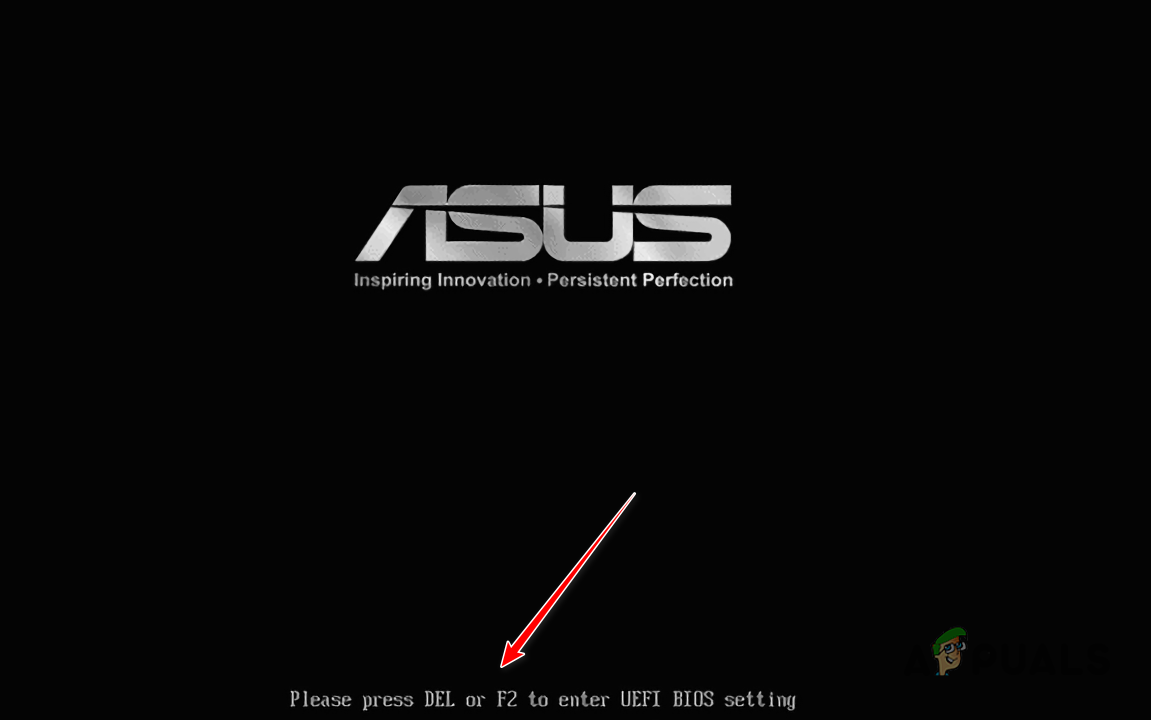
BIOS Shortcut Key for ASUS - Once you are in the BIOS configuration, you will have to either navigate to the Boot or Security tab depending on your motherboard manufacturer. On some motherboards, this can even be located under the Advanced tab.
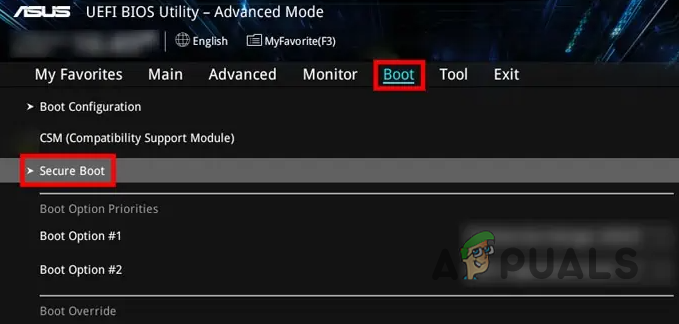
Access Secure Boot - There, look for the Secure Boot option and set it to Enabled. On some motherboards, you will have to set it to UEFI only or Windows UEFI mode.
- Once you do that, save your changes using the F10 shortcut key and exit the BIOS setup.
- After doing that, the error message should go away since Secure Boot is now enabled on your computer.
Reviewed by Huzaifa Haroon


