How to Fix Screen Saver Settings Grayed Out Windows 10 / 11
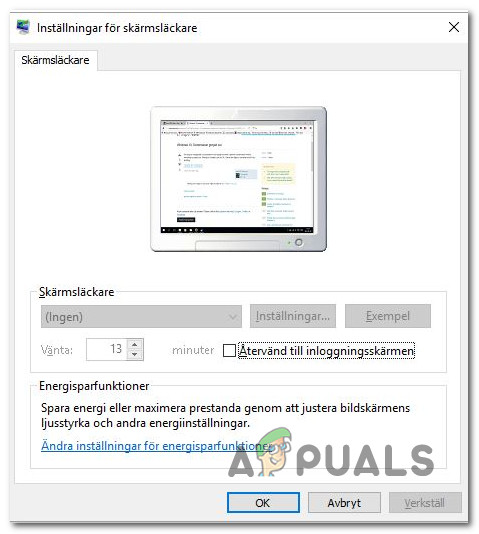
You might experience this weird issue where almost every setting is greyed out inside the Screen Saver Settings screen. This issue is confirmed to occur on both Windows 10 and Windows 11 and might occur from a handful of causes.
After investigating this issue thoroughly, it turns out that this problem only has two potential causes:
- The screen saver settings are disabled by a local group policy.
- The screen saver settings are hardcoded via Registry Editor.
Fortunately, both of these scenarios have an easy fix that will allow you to unblock all the screen-saver settings.
More details on the individual methods below.
1. Enable screen saver via Group Policy Editor
If you actively use the gpedit.msc (group policy editor) or your local (or network) administrator does, chances the screen saver settings are disabled by a specific policy.
There are two main policies that might cause this behavior on Windows 10 and Windows 11 computers:
- “Enable Screen Saver” policy – As long as this policy is enabled, you will not be allowed to enable any screen saver variation (via GUI or terminal commands). On top of this, every screen-saver-related setting will be greyed out inside the Screen Saver settings menu.
- “Force-specific screen saver” – This policy will force an administrator-selected screensaver on every system part of the network. This also means that every setting inside the Screen Saver Setting menu will be greyed out.
If your system is affected by one of the two policies mentioned above, the only way to fix it is to utilize the Group Policy Editor (gpedit.msc) to disable the policy causing this behavior.
Note: Certain Windows editions (Windows Home & Windows Education) will not have this utility installed by default on their systems. If this scenario is applicable, follow this article to install the gpedit.msc utility manually.
Follow the instructions below to check (using the Group Policy Editor) if any of the policies mentioned above are causing your screen saver settings to remain greyed out:
Important: If you are part of a network, you might be unable to carry this operation from your PC. In certain situations (such as if you’re part of a work or school network), you might need to ask your network administrator to perform the instructions below).
- Press Windows key + R to open up a Run dialog box.
- Next, type ‘gpedit.msc’ inside the text box, then press Ctrl + Shift + Enter to open up the Local Group Policy Editor utility.
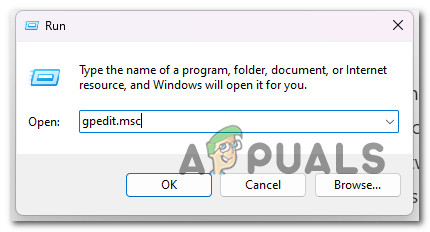
Open the Gpedit utility - Click Yes to grant admin access when prompted by the User Account Control (UAC).
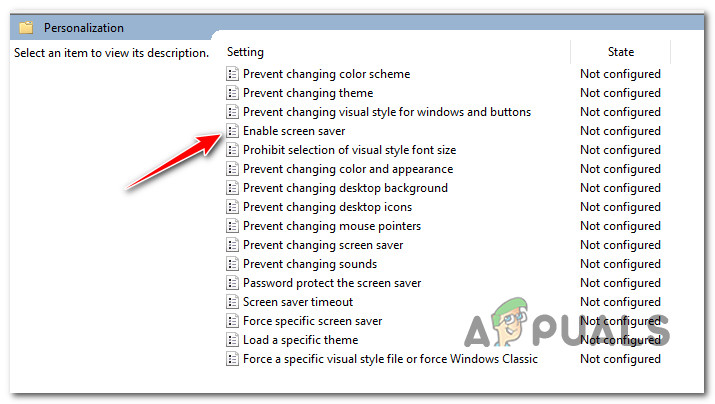
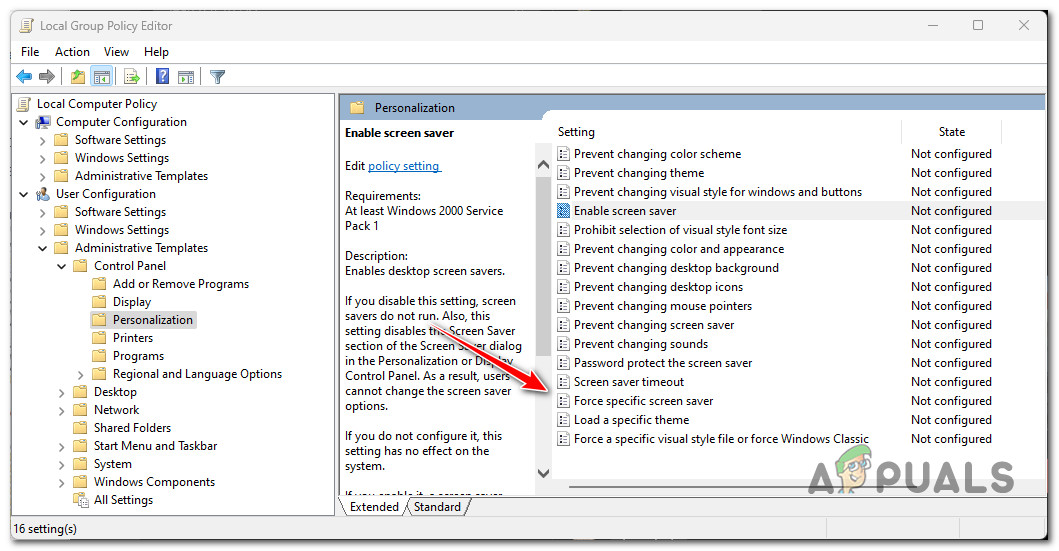
- Once you’re inside the Group Policy Editor utility, use the side menu on the left to navigate to the following location:
User Configuration > Administrative Templates > Control Panel > Personalization
- Once you arrive at the correct location, move to the right-hand side menu and double-click on Enable Screen Saver.
Double-click on “Enable Screen Saver” policy - Ensure the Enable screen saver policy is set to Enabled or Not Configured before clicking Apply to save the changes.
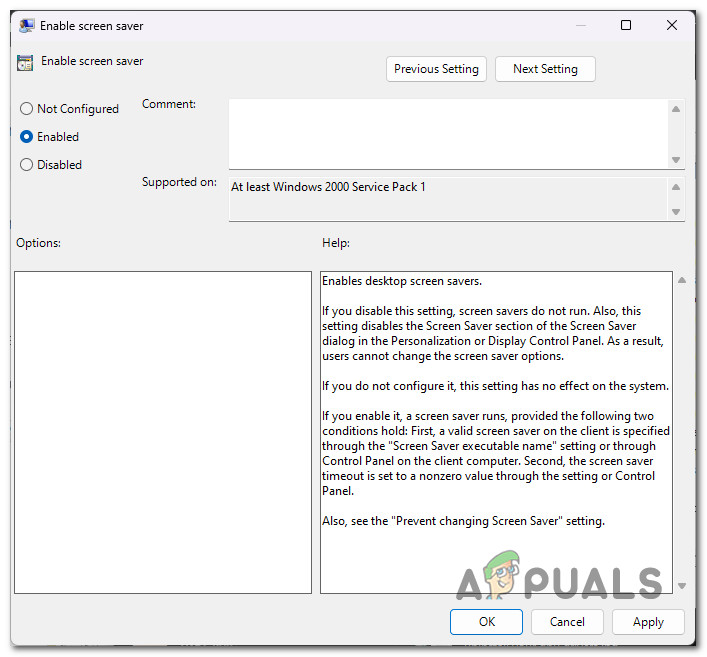
Enable screen savers Note: If this policy was already set to Enabled or Not Configured, don’t make any changes and move to the next step below.
- Next, revert to the Personalization folder and click on the Force a specific screen saver.
Forcing a specific screen saver - Next, set the status of the Force a specific screen saver policy to Disabled (or Not Configured) and click Apply to save the changes.
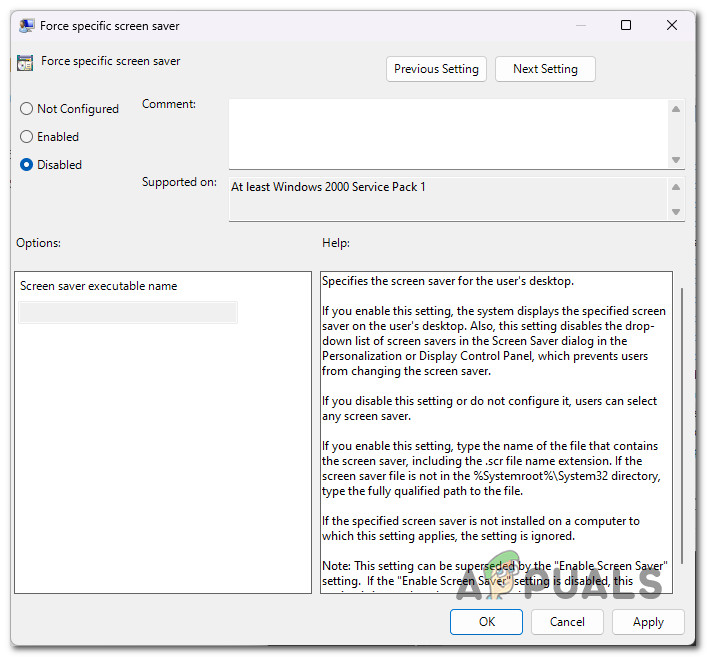
Configuring the ‘Force a specific screen saver’ policy - Close the Local Group Policy Editor and reboot your PC to see if the problem is now fixed.
If you’re still unable to change your screen saver settings since the options are still greyed out or the policies above we’re already correctly configured, move to the next fix below.
2. Enable screen saver via Registry Editor (Windows 10 Only)
If the method above didn’t work for you and your system is not connected to your domain, the next thing you should attempt to do is reconfigure the behavior of your screen saver settings via Registry Editor.
Important: This method will only work on Windows 10. You won’t be able to find the Control Panel key using Registry Editor if you’re using Windows 11.
In case the screen saver settings remain greyed out even though you already modified the group policies (by following the method above), there’s a big chance that this behavior is occurring due to one of the following registry values:
- SCRNSAVE.EXE
- ScreenSaverIsSecure
- ScreenSaveTimeout
If any of these registry values are hard-coded inside the location below, you won’t be able to adjust them via the GUI menu of Screen Saver settings:
HKEY_CURRENT_USER\Software\Policies\Microsoft\Windows\Control Panel\Desktop
To verify if this scenario is applicable, follow the instructions below:
- Before starting this operation, we recommend you back up your Registry data in advance.
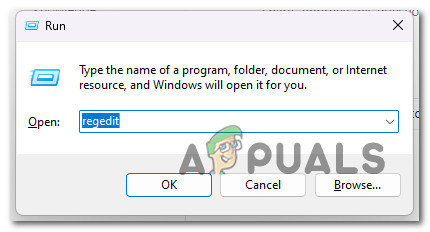
Note: This will give you an easy way to revert to a healthy behavior if you make a mistake when following the instructions below. - Press the Windows key + R to open up a Run dialog box.
- Next, type ‘regedit’ inside the text box, then press Ctrl + Shift + Enter to open up the Registry Editor with admin access.
Open the Registry Editor with admin access - At the User Account Control (UAC), click Yes to grant admin access.
- Once you’re inside the Registry Editor, navigate to the following location:
HKEY_CURRENT_USER\Software\Policies\Microsoft\Windows\Control Panel\Desktop
Note: You can either navigate to this location manually, paste it directly into the navigation bar of Registry Editor and press Enter to get there immediately.
- Once you arrive inside the correct location, move over to the right-hand side menu and check if any of the following keys are visible:
SCRNSAVE.EXE
ScreenSaverIsSecure
ScreenSaveTimeout
- If you see any above value keys, right-click them and choose Delete from the context menu until they’re all gone from the Desktop key.
- Reboot your PC and check if the issue is fixed once the next startup is complete.


