SCPtoolkit ‘Couldn’t Open Device’ Error (Fix for DS 3 and 4)
The error ‘Couldn’t Open Device’ appears when users attempt to use the SCPtoolkit to connect their DualShock 3 or DualShock 4 controllers on PC. Most affected users are reporting that the controller shows up as connected but it doesn’t get recognized in the game.
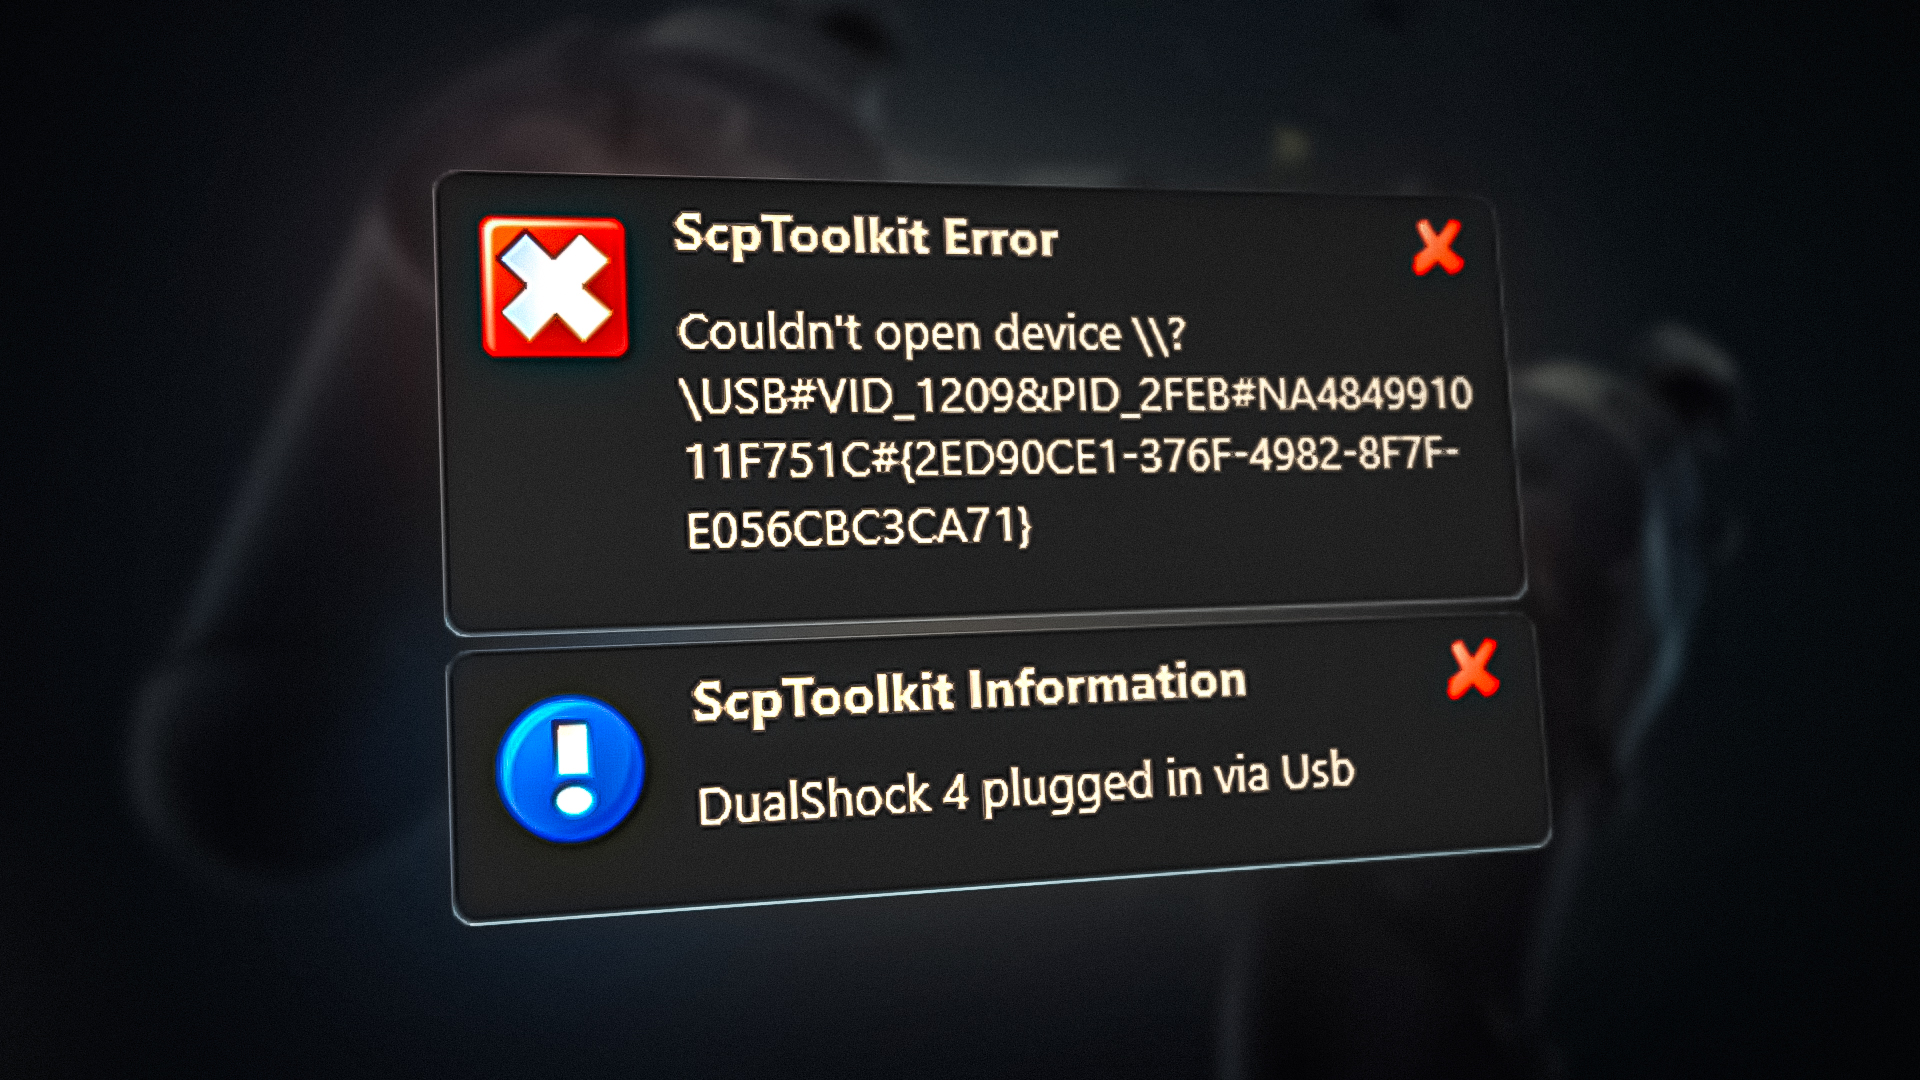
Update: SCPtoolkit is a continuation of the SCP server program since the original developer stopped supporting the software. Unfortunately, as of now, SCPToolkit is also abandoned and didn’t receive any new update since Windows 11 came out. Because of this, you might run into issues while using it with the latest Windows build.
The most common reason why you will see the ‘Couldn’t Open Device’ error is a scenario in which there’s an inconsistency affecting the DualShock 3 or DualShock 4 controller. Other potential causes included a misconfigured SCPP DSx Service or an incorrectly installed Bluetooth adapter.
In some cases, it’s also likely to see this error if the connected DS2 or DS3 controller shows up in the wrong tab under Device Manager and needs to be converted into an HID-compliant device.
1. Reset the DualShock 3 / DualShock 4 Controller
One of the most common reasons why you will see the ‘Couldn’t Open Device’ error when connecting both DualShock 3 and DualShock 4 controllers is a firmware inconsistency.
Note: This is to be respected if you are using your DualShock controller on both a Playstation console and on PC.
Fortunately, you can fix this issue easily by resetting your controller. This procedure will wipe out all temporary data from the controller and return the controller to the factory defaults. Resetting will also make the device ‘forget’ any saved connections, so you will need to redo the connection if you’re also using a console.
The reset button is located on the back of the controller (on both the DualShock 3 and DualShock 4), but you will need a sharp object to press it long enough to initiate the reset procedure.
Here’s a quick guide that will walk you through the process of resetting your DualShock controller:
Note: The instructions below will work on both DualShock 3 and DualShock 4.
- If you have a PlayStation console, start by ensuring that it’s turned off so it doesn’t interfere with the procedure.
Note: For the best results, unplug your console from the power outlet. - Pick up your DualShock controller, flip it over, and locate the reset button at the back near the L2 button.
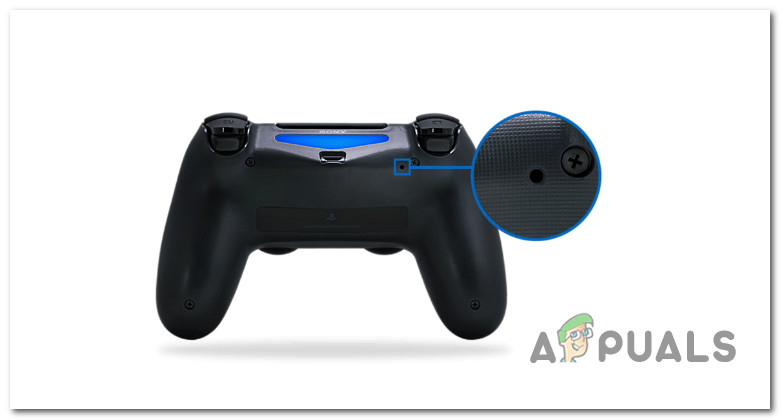
Locating the Reset button Note: With the DualShock 3 controller, the reset button is even closer to the L2 button.
- Use a small and pointy object to push the reset button and keep it pressed for 5 seconds or more.
Note: If you don’t have a screwdriver small enough to fit, you can use a toothpick or needle. - Connect your DualShock 3 or DualShock 4 controller to your PC and repeat the connection attempt using the ScpToolkit utility and see if the problem is now fixed.
2. Manually start the SCP DSx Service & Change the behavior type (if applicable)
Another scenario where you might expect to see the ‘Couldn’t Open Device’ error when attempting to use the SCPToolkit software is if the main service (SCP DSX Service) is incorrectly configured or it’s inhibited by a system optimization tool.
Note: Resource optimization tools like Razer Cortex, CleanMyPC or System Mechanic are typically too aggressive with 3rd party service and might end up stopping the main SCPToolkit service and cause this issue.
If you use a tool of this kind, the first thing you should do is access the Services screen and ensure that the SCP DSX Service is started and that its startup type is set to Automatic.
If you discover that this service is stopped and incorrectly configured, rectify the issue and ensure that the resource optimization program is not allowed to produce this behavior once again.
Here’s a quick guide that will guide you through this process:
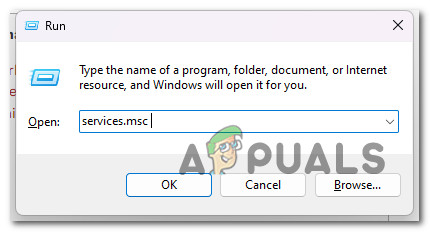
- Press Windows key + R to open up a Run dialog box.
- Next, type ‘services.msc’ and press Ctrl + Shift + Enter to open up the Services screen.
Open up the Services screen - At the User Account Control (UAC), click Yes to grant admin access.
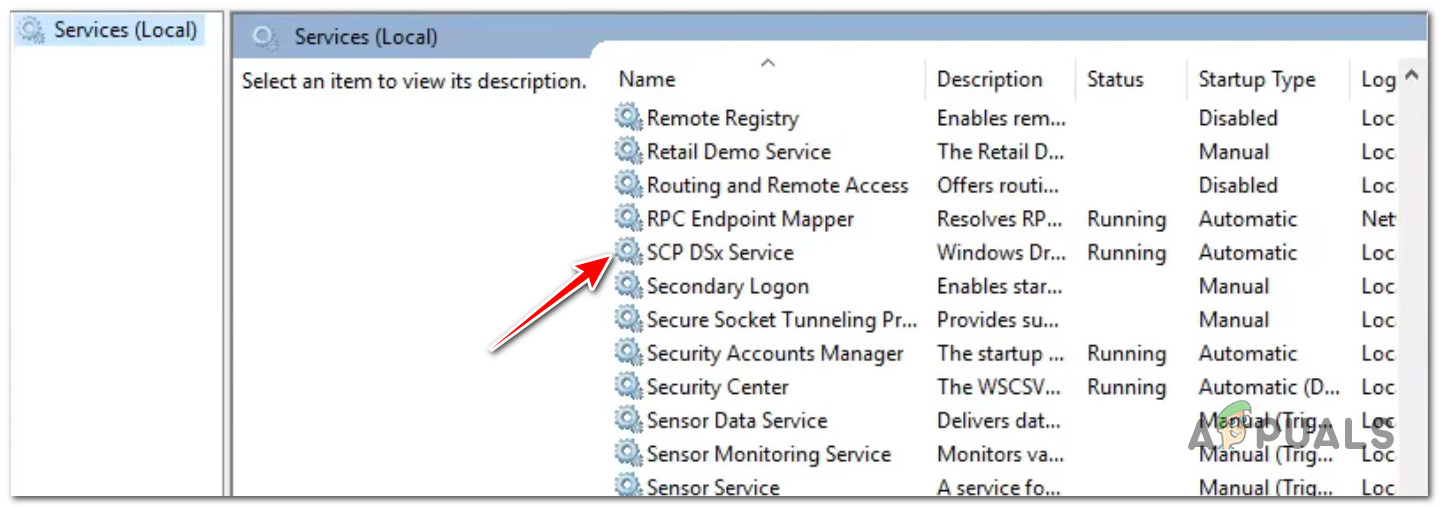
- Inside the Services screen, go over the Services (Local) tab and scroll down through the list of services until you locate the SCP DSx Service.

Locating the SCP DsX service - Next, right-click on SCP DSx Service, then click on Properties from the context menu that just appeared.
- From the dedicated menu of SCP DSx Service, access the General tab, then set the Startup type to Automatic.
- Move down below and click the Start button if the service is disabled before clicking on Apply to save the changes.
- Now that the SCP DSx Service is correctly configured, access the resource optimization program that caused the issue in the first place and whitelist the SCP DSx Service so that the issue doesn’t occur in the future.
Preventing the resource optimization program from interfering with SCP DSx Service Note: If you no longer use the program that is blocking the SCP DSx Service, there’s no reason to keep it. In this case, closer to the Services screen continue with the steps below to uninstall it.
- Press the Windows key + R to open up a Run dialog box. Inside the Run box, type ‘appwiz.cpl’, then press Ctrl + Shift + Enter to open up the Program and Features menu with admin access.
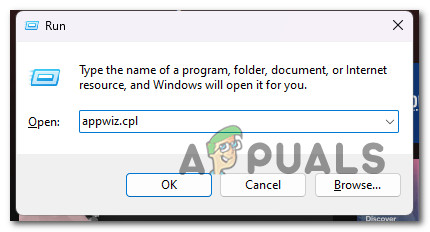
Open up the Programs and Features menu - At the User Account Control (UAC), click Yes to grant admin access.
- Inside the Programs and Features menu, scroll down through the list of installed programs and locate the resource optimization program that’s causing the issue.
- Right-click on it, then choose Uninstall from the context menu.
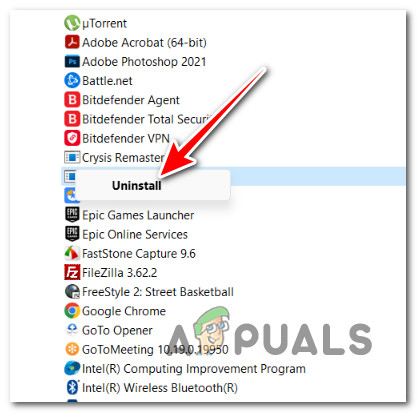
Uninstall the resource optimization program - Once the uninstallation is complete, reboot your PC, then attempt to connect your DualShock controller using the SCP toolkit program and see if the problem is fixed.
3. Revert the controller to a HID-compliant device
If you’re experiencing this issue on Windows 10 or Windows 11, the most common reason why the SCP toolkit program is not detecting your controller and triggering the ‘Couldn’t Open Device’ is that Device Manager didn’t label it as an HID-compliant device.
Most likely, the controller doesn’t show under Human Interface Devices as it should and is displayed under Sound or another sub-category. Fortunately, you can fix this issue by using Device Manager to update the current driver software with the local driver for USB Input Device.
Note: A lot of users have used this fix successfully on Windows 10 and Windows 11 and have confirmed that once the controller was reclassified as a HUD-compliant device, the ‘Couldn’t Open Device’ error went away completely.
Here’s a quick guide on how to do this:
- Press Windows key + R to open up a Run dialog box.
- Next, type ‘devmgmt.msc’ and press Ctrl + Shift + Enter to open up a Run dialog box.
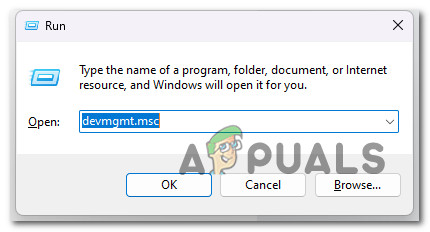
Open Device Manager - At the User Account Control, click Yes to grant admin access.
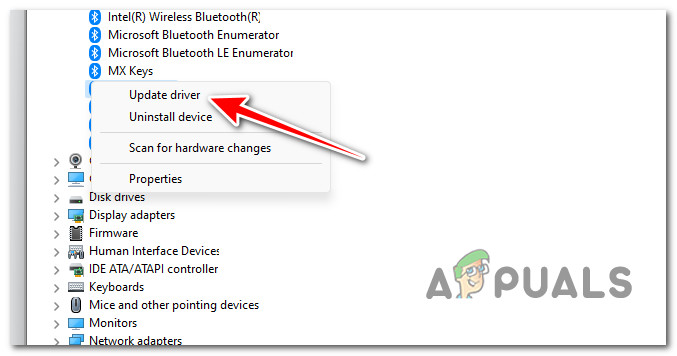
- Once you’re inside Device Manager, scroll down through the list of installed programs and locate the Playstation 3 or PlayStation 4 controller.
- Right-click on it and choose Update Driver from the list.
Updating the driver - Next, click on Browse my computer for drivers hyperlink from the next menu.
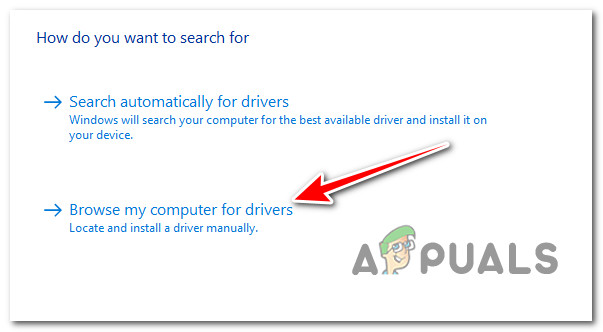
Searching for the driver manually - From the next screen, click on Let me pick from a list of available drivers on my computer.
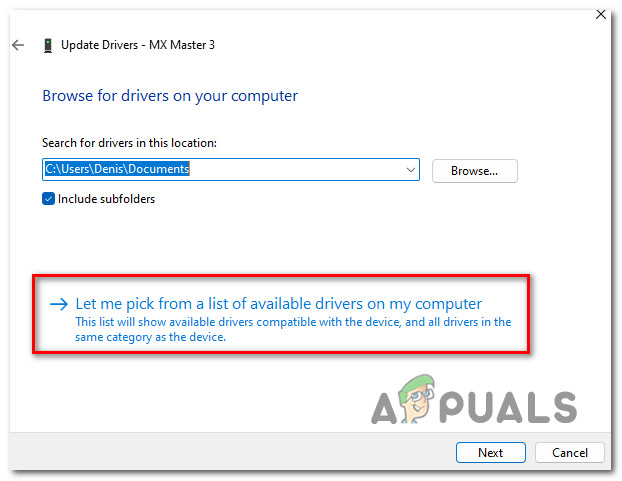
Choosing the drivers automatically - From the next screen, click on USB Input Device, then click on Ok to load the correct driver.
- Follow the remaining steps to install this driver instead and force Device Manager to reclassify the controller as a Human Interface device.
- Retry the connection and see if the ‘Couldn’t Open Device’ error is fixed.
4. Run the SCPCleanWipe Utility & Reinstall Bluetooth Adapter
If you get this issue on and off, but it’s mostly occurring when you try to use the controller in Bluetooth mode. You should retry the connection AFTER running the SCPCleanWipe utility and reinstalling the main SCP driver while checking only the compatible DualShock controller (either DualShock 3 or DualShock 4).
Note: If you care about playing on a Bluetooth connection, you will also need to ensure that you select the correct Bluetooth dongle after you run the SCPDriverInstall utility. If you don’t use the Bluetooth connection, uncheck the Bluetooth Driver option.
Here’s a quick guide on running the SCPCleanWipe utility before reinstalling the program:
- Press the Windows key + E to open up the FIle Explorer, then navigate to the installation directory of the SCP toolkit.
- First, ensure that the SCP Tookit is not actively running, then open any browser and download the latest build of ScpTookit from the official GitHub listing.
- From the dedicated listing, click on ScpTookit_Setup.exe to initiate the download of the latest version.
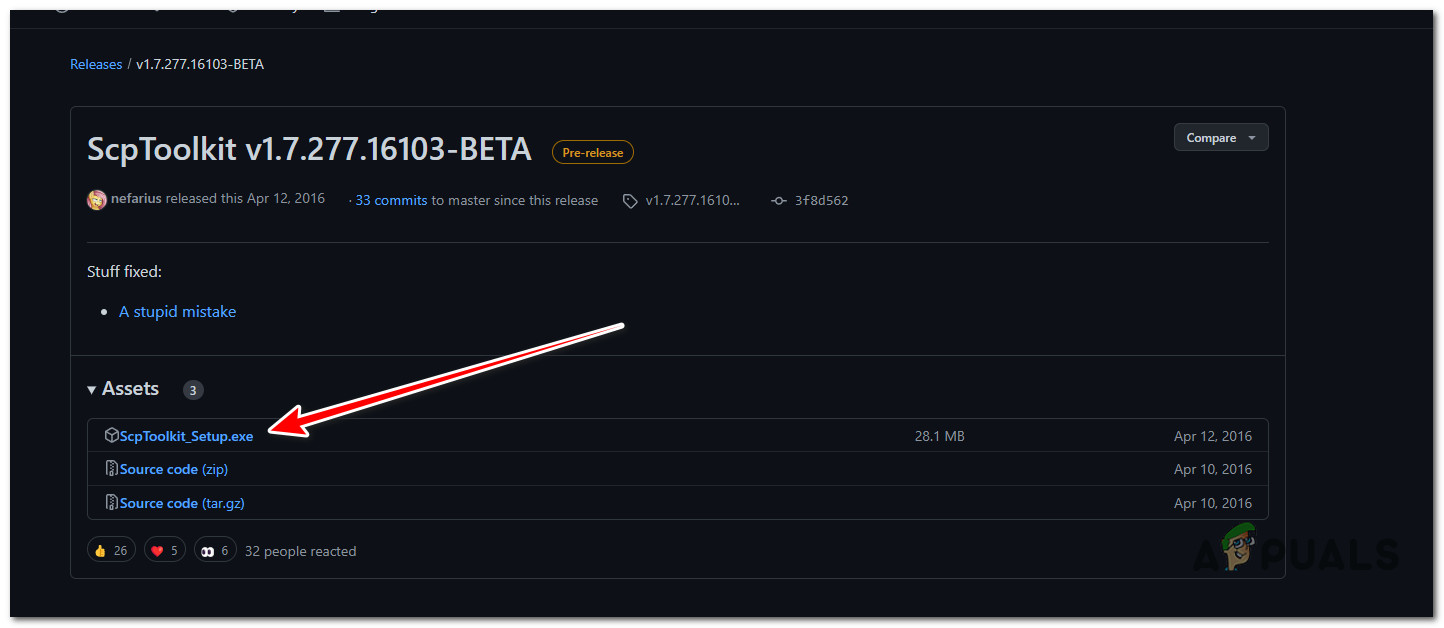
Download the latest version of the Scp Toolkit Note: This is required even if you already have this tool installed – it’s likely that you installed it without the CleanWipe tool.
- Once the download is complete, double-click on the executable and run it with admin access,
- At the first screen, choose the correct location and check the box associated with I agree to the licence terms and conditions before clicking Next.
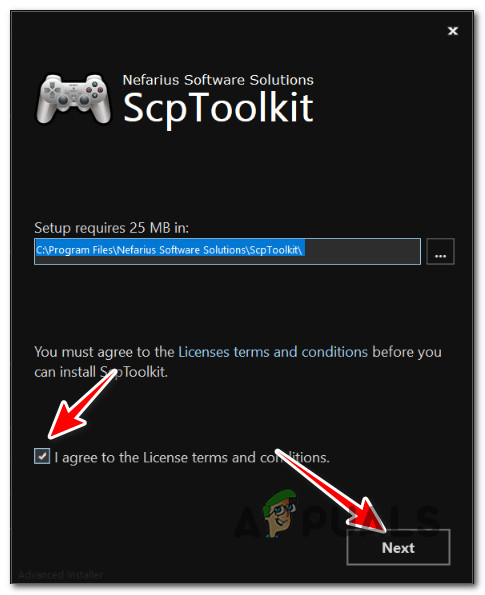
Getting past the initial setup screen Note: If you already have an existing installation, it’s perfectly fine to install this in the same location.
- At the next screen, ensure that every default feature is checked, especially the SCP Toolkit CLean Wipe utility.
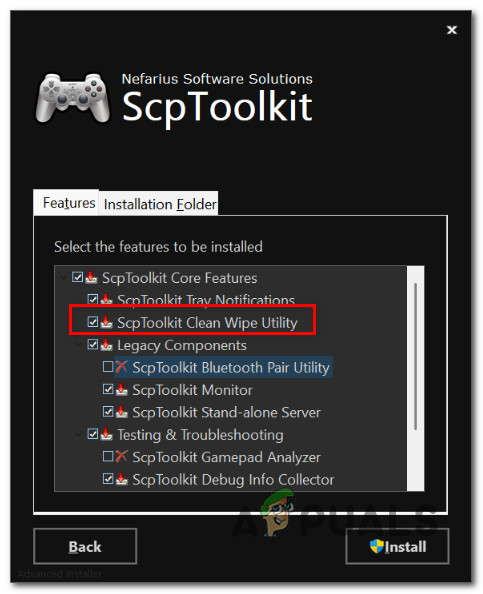
Configuring the SCP Tookit installation - Once the installer is correctly configured, click on Install.
- Click Yes at the UAC (User Account Control) once again to confirm the settings.
- After the installation is complete, press the Windows key + E to open up File Explorer.
- Next, use the navigation bar at the top to navigate to the following location:
C:\Program Files\Nefarius Software Solutions\ScpToolkit
- Once inside, right-click on ScpCleanWipe.exe, then click on Run as administrator from the context menu.
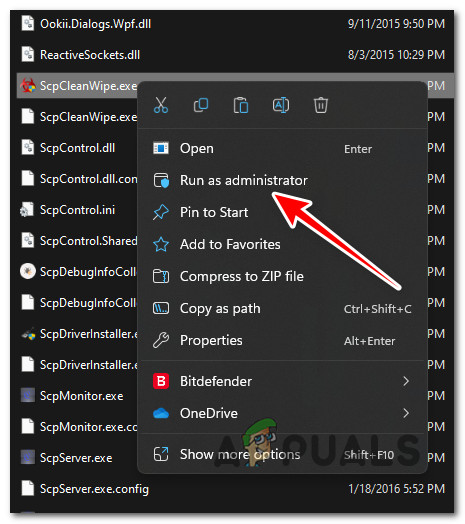
Running as administrator Note: Running this tool will make all messages stop popping up when you plug your controller.
- At the confirmation prompt, click on I know that I’m doing this at m own risk; try to clean my system.
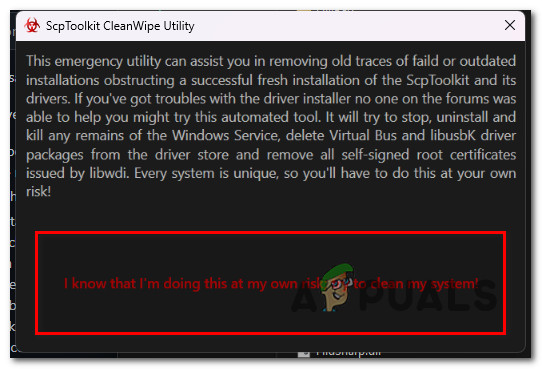
Confirm the cleanup process - Optional: If you use your DualShock controller on a BlueTooth connection, reinstall the Bluetooth adapter at this step. If you only play wired or you don’t have Bluetooth capabilities on this PC, move to the next step below.
- Next, return to the installation folder of ScpToolkit and double-click on the SCPDriverInstaller utility.
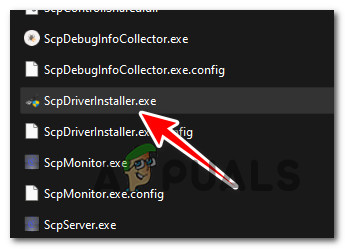
Running the SCP installer Note: At the User Account Control (UAC), click Yes to grant admin access.
- On the first screen, only check the Dualshock version that you will be using.
Note: e.g. if you are using DualShock 4, ensure that all DUalSHock entries are unchecked. - Optional: Choose the active Bluetooth dongle. It’s important to ONLY select the Bluetooth adapters that you are using (if you are using one). If not, uncheck the Bluetooth Driver Option.
- Click Install and wait until the operation is complete.
- Use your controller in the game and see if the problem is now fixed.


