How To Run Windows 10 On macOS
There are two sides to every coin: either heads or tails. Just like that, there are two types of major operating systems for computers, macOS or Windows (for the sake of this conversation let’s disregard Linux for now). Both operating systems have their pros and cons, and both have a separate userbase with different goals or methods in mind.
However, if you clicked on this article you have a very specific requirement in mind. You’re the type of person who needs to work on macOS and both Windows 10 simultaneously. Well, if you’re primary computer is a Windows 10 based one, you can technically install macOS on it depending on the hardware..
However, if your primary computer happens to be a Mac, the options are a bit limited. The traditional method to run Windows 10 is to use Apple’s own Bootcamp assistant. But if you want to run Windows 10 simultaneously with macOS, we have the solution for you.
Why Not Bootcamp?
Usually, when booting into your Mac system, the hard drive will try to access the data or the partition in which macOS is installed. This way it finds the OS and quickly boots into it. macOS is stored in a single partition, and it recognizes all your storage in that partition. If you want to run Windows 10 on there, you’ll have to make a separate partition for it.
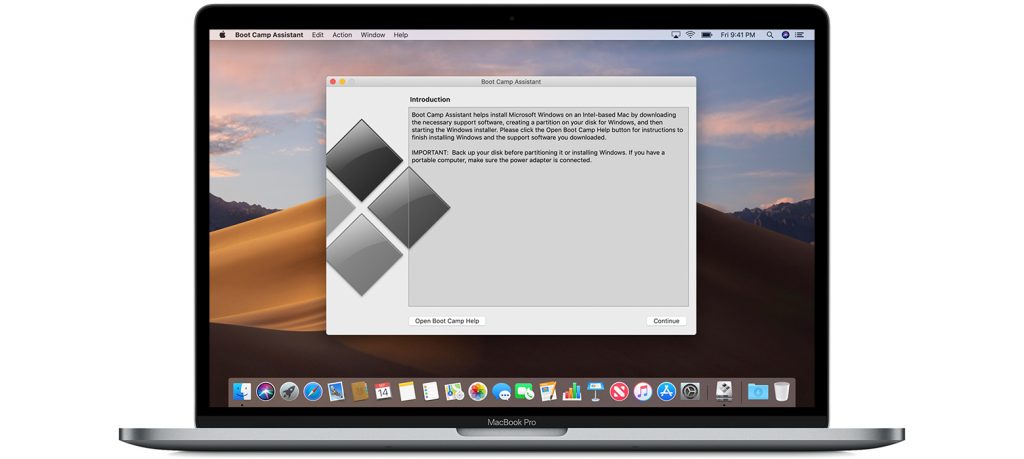
The Bootcamp assistant makes this a lot easier. It quickly resizes the macOS partition and creates a separate one for Windows. It’s easy to set up and quite intuitive to understand. This is one way of using both operating systems on your Mac.
However, note that Bootcamp only boots one OS at a time. This means that you can’t simultaneously move, drag, or copy/paste files between both operating systems. If you have separate workloads on both of them, then that’s not a problem. However, if you want to work on both operating systems at the same time, we have a better solution for you.
If you’ve decided that you want to work on both operating systems at the same time, and don’t want to deal with the hassle of partitions and dual-booting, this is the solution. Parallels is the fastest, most powerful, and easiest way to access Windows 10 on your Mac. Keep in mind that all of this is done without ever rebooting.
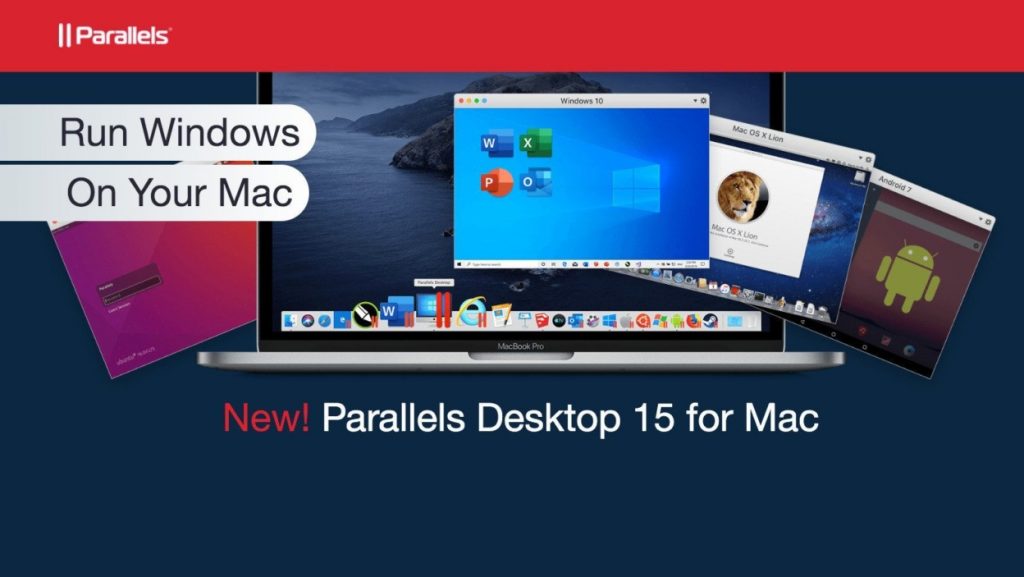
So far so good, right? But what exactly is this program and how does it work? First off, let us explain what it actually is before we get into how it works. Parallels is a virtualization software that are commonly called virtual machines by a lot of folks. Think of it as an emulator that runs Windows 10 on your macOS. However, it’s much more faster and accessible than any emulator out there.
The lastest version is called Parallels Desktop 15 for Mac, and it runs beautifully. It supports all the new features of the updated macOS Catalina (10.15) like SideCar, apple pencil support, and the new screen time features. However before we get more into features, let’s show you how easy it is to install.
Installing Windows 10 On macOS Using Parallels
First up, you’ll have to download and install parallels in macOS. If you want to do so, (click here). Once you’ve done that and set up the application, let’s get to installing Windows 10 on your macOS system
- Let’s begin by downloading Microsoft’s installation media tool for Windows 10. Assuming you’ve bought Windows 10 before, you might already have a license key. If not, you’ll have to buy Windows.
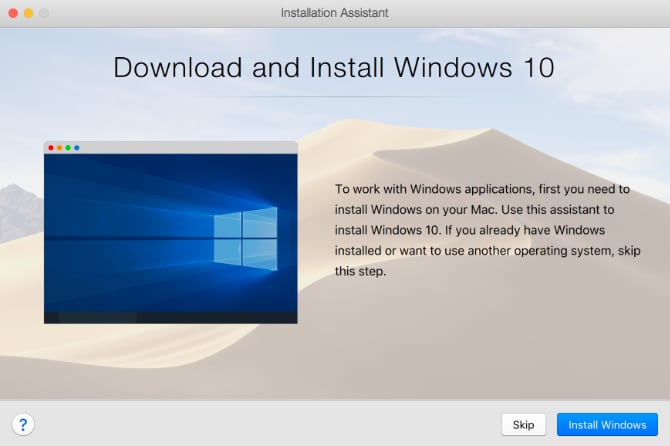
- With Windows 10 downloaded and stored on your macOS. We can open the file in Parallels. Select to option to Install Windows from an image file, and the Windows file should be located. Make sure you selected the right file, then click on continue.
- Enter your Windows 10 License Key to activate it, or you can do so later on and skip this step for now.
- Go through the setup process, and make sure you select what you’ll primarily be using Windows 10 i.e for gaming, design, software testing, etc. This doesn’t matter too much, but will make your life easier.
- Windows 10 will start installing inside Parallels. Once you’re done, go through the Windows setup process, and once finished, you’re good to go
And that’s all there is to it! In just a couple of quick steps, you can quickly install Windows 10 inside parallels to use it on your own Mac.
What Can I Do With Parallels?
The first thing you’ll notice with Parallels is just how smoothly it works. It works seamlessly and there are no major slowdowns that leave you frustrated. Parallels 15 has a lot of under the hood performance updates over the previous version, and it shows with just how smoothly it works.
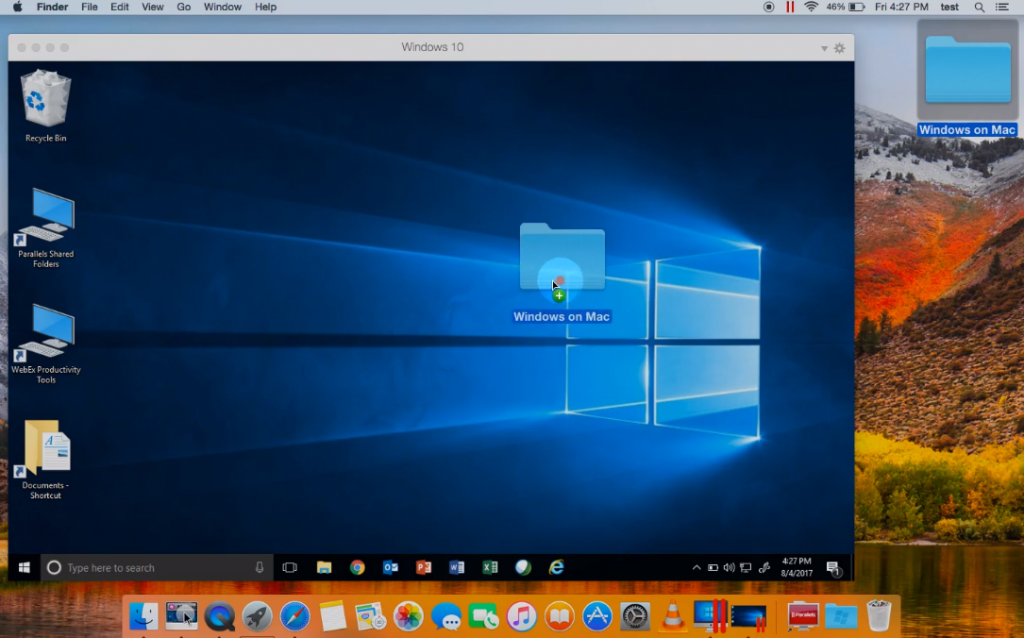
However, if for some reason Windows is a bit laggy for you, we change some settings around. Shut down Windows 10 as you normally would and go back into macOS. You should see a Windows 10 icon on your desktop with a parallels logo on it. This is where from where you launch Windows 10. Right-click on this, and go to the control center. Over here, you can tweak the graphics, the performance, and even the resources it uses. Change them as per your requirement for even better performance.
The possibilities are impressive with Parallels. You can copy files from Windows and paste them into macOS, or vice versa. You can even seamlessly drag and drop files between platforms. This includes images, text-based files, videos, music files, and pretty much anything you can think of.
You can even run demanding apps such as Adobe Photoshop, Visual Studio, Sketchup, etc. You can also change how the view appears to you. You can have it open either in a separate Window, or you can go fullscreen and hide macOS. It also supports the swipe gesture if you have a trackpad or are using a MacBook. You can also directly launch Windows apps from the OS dock.
Sidecar Support
Perhaps the most exciting feature supported by Parallels is Sidecar implementation. I mentioned this above before, so what does it do? Well, Sidecar allows using an iPad as a secondary screen for your Macbook. Now imagine if you could have Windows open one screen and macOS on the other, both running on the same machine.

You can do so with Parallels as it fully supports Sidecar. If you want to treat the iPad as a Windows tablet, go into tablet mode from Windows 10 and use the Apple Pencil to navigate the screen. The possibilities are endless. I could see someone writing code on one screen in Windows, and testing it out on the other screen on Mac. It is truly an exciting feature.
Final Thoughts
Let’s wrap this up, shall we? As you can see, it’s incredibly easy to run Windows 10 on macOS with the help of Parallels. The people behind this definitely deserve a lot of credit as they have worked hard to make it stable, efficient, and yet powerful all at the same time. Parallels 15 supports a lot of macOS versions, so you don’t have to worry about that too much. It also doesn’t require a tonne of RAM either. Although, if you want to get intensive tasks done, more than 8GB would be ideal.
You can buy Parallels once and use it for as long as you want. Updates come out regularly and if a major upgrade is available, you can go for that at a discounted price rather than a new license. Parallels does have a free trial, so don’t be afraid to give it a try!