Fix: Rockstar Games Launcher “Failed to Initialize” Error on Windows
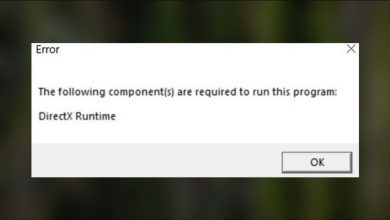
The error “Failed to initialize” indicates that the Rockstar Games Launcher cannot load its essential components, causing the application to crash on startup. This often occurs when the launcher fails to install, update, or access the Social Club SDK due to permission restrictions on its installation folders. The Social Club SDK contains vital configuration files and DLLs required for both the launcher and Rockstar game services to function correctly.
 Other contributing factors may include a disabled Program Compatibility Assistant, running the launcher in compatibility mode, or corrupted installation files.
1. Reinstall Launcher & Disable Compatibility Mode
Reinstalling the Rockstar Games Launcher replaces corrupted or missing Social Club SDK files and dependencies with fresh copies, often resolving crashes caused by broken components. Additionally, compatibility modes force the application to run in an older Windows environment, which may lead to incompatibility issues by using outdated APIs and runtime components. Disabling this mode allows the launcher to run using the latest Windows features.
- Press Windows + R to open the Run dialog. Type ‘appwiz.cpl’ and press Enter to open the Control Panel.

- Locate Rockstar Games Launcher in the list of programs, right-click it, and select Uninstall.

- Go to the Rockstar Games Launcher webpage and click ‘Download for Windows’.
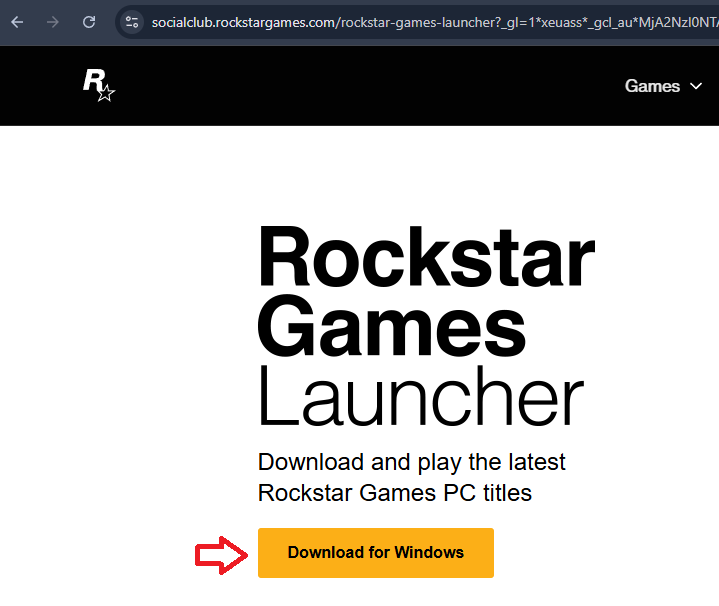
- Launch the downloaded file and follow the on-screen instructions to install the launcher.
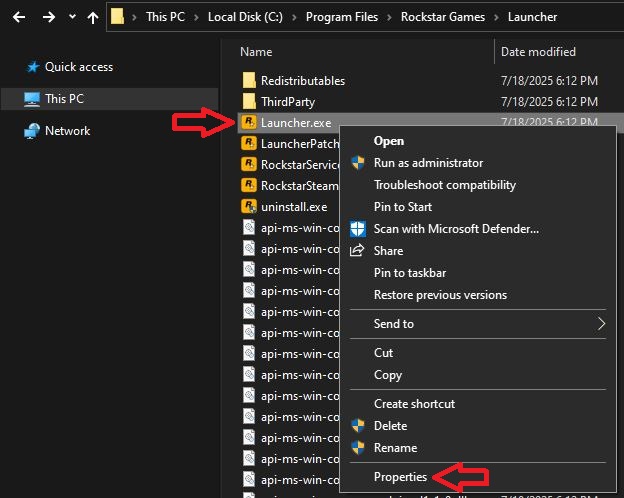
- Navigate to the launcher directory, typically in ‘C:\Program Files\Rockstar Games\Launcher’.
- Right-click the Launcher executable file and select Properties.
- Go to the Compatibility tab, uncheck ‘Run this program in compatibility mode’, and check ‘Run as Administrator’. Click Apply and OK.
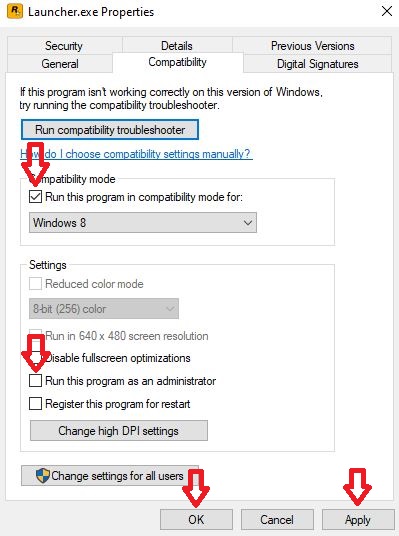
- Repeat these steps for the Launcher Patcher executable.
- Restart the launcher and check if it initializes properly.
2. Program Compatibility Assistant
The Program Compatibility Assistant is a Windows service that detects compatibility issues and applies fixes automatically. If disabled, Windows cannot adjust compatibility settings for the launcher, which may cause it to crash at startup.
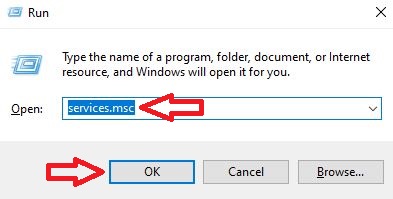
- Press Windows + R, type ‘services.msc’, and click OK.
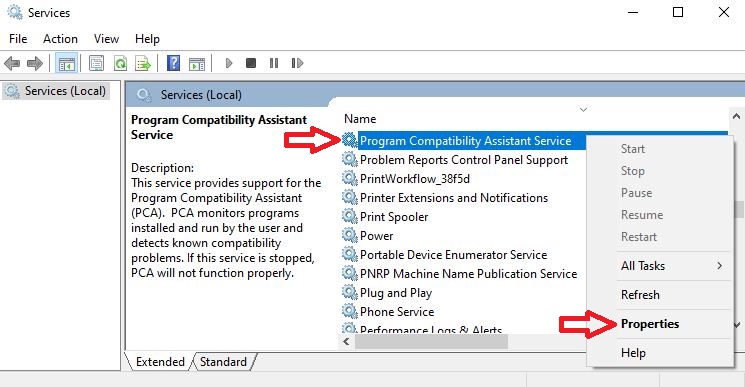
- Locate Program Compatibility Assistant in the list.
- Right-click it and select Properties.
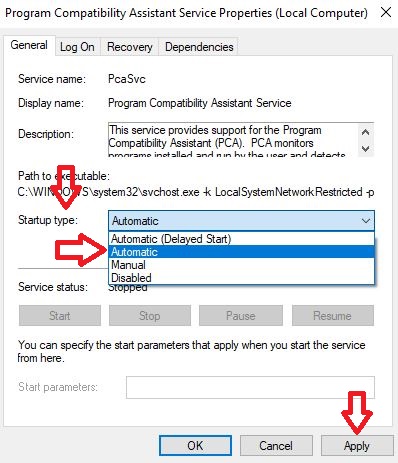
- Set Startup type to Automatic and click Apply.
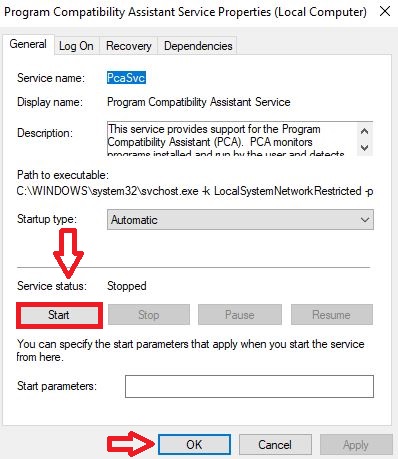
- Click Start under Service status, then OK.
3. Running Launcher from Steam
Launching the Rockstar Games Launcher through Steam makes it use Steam’s own Visual C++ redistributables and DirectX components, resolving potential dependency conflicts that prevent initialization.
- Open Steam and go to Library. Click ‘Add a game’.
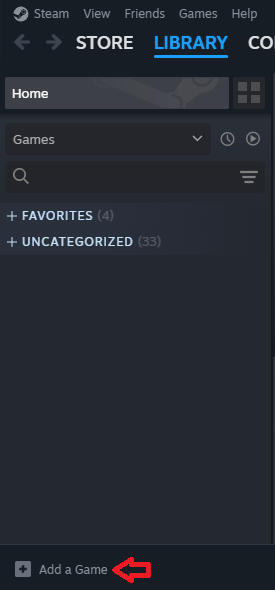
- Select ‘Add a Non-Steam game’.

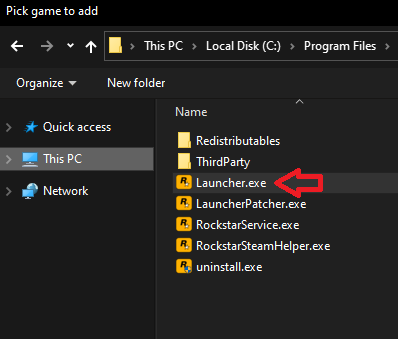
- Click Browse.

- Navigate to ‘C:\Program Files\Rockstar Games\Launcher’ and select the launcher.
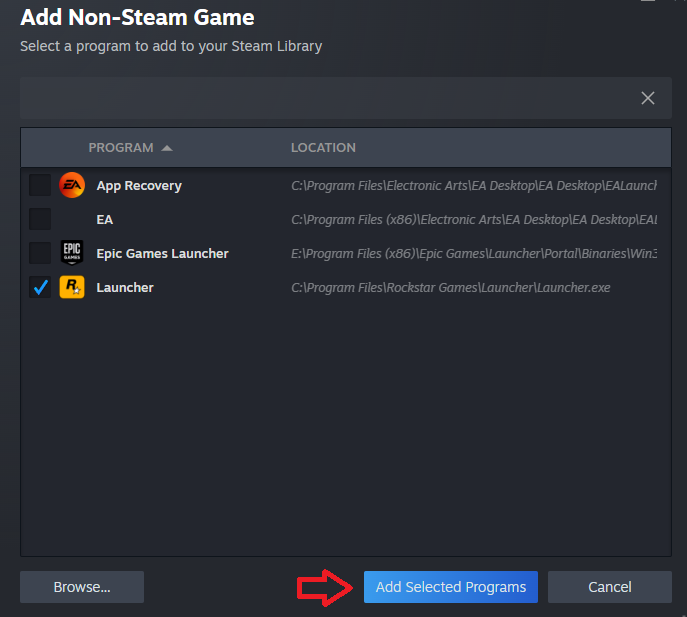
- Click ‘Add Selected Programs’.
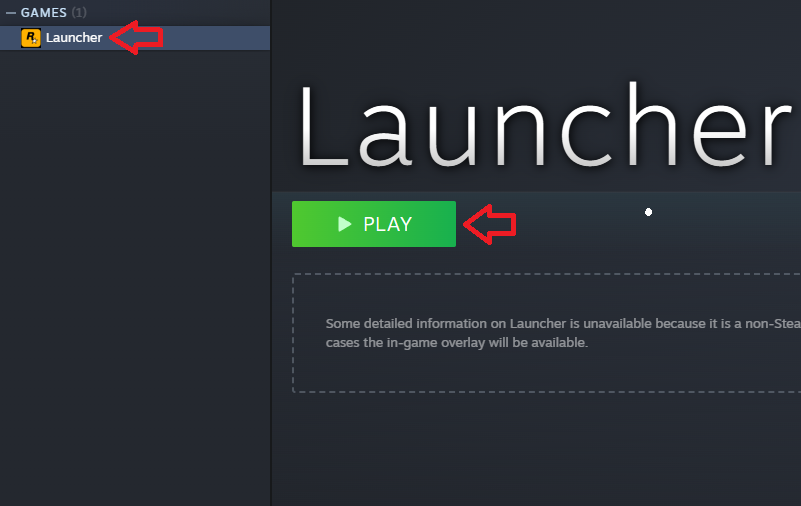
- Click Play to start the launcher from Steam.
4. Manually Install Social Club SDK
The launcher installs Social Club SDK automatically as a sub-process, which may fail if components are missing or corrupted. Installing it manually via the Windows Installer (MSI) ensures dependencies are validated and permissions are properly applied.
- Go to ‘C:\Program Files\Rockstar Games\Launcher\Redistributables\SocialClub’.
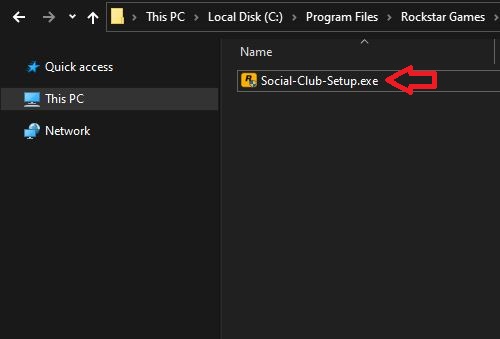
- Run the Social Club installer and follow the prompts.
- When the launcher asks for permission via UAC 3 times, select No to prevent the auto-update from overwriting the manual installation.

- Launch the Rockstar Games Launcher again.
5. Grant Rockstar Games AppData Permissions
The launcher relies on the AppData folder for storing configuration files, runtime data, and cached SDK files. Without proper permissions, it cannot modify or create these files, resulting in initialization errors. Taking ownership and granting full control ensures the launcher can perform necessary operations.
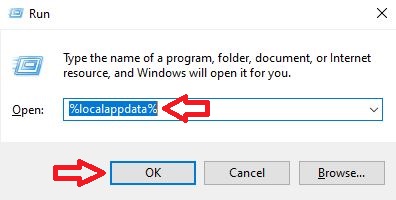
- Press Windows + R, type ‘%localappdata%’, and click OK.
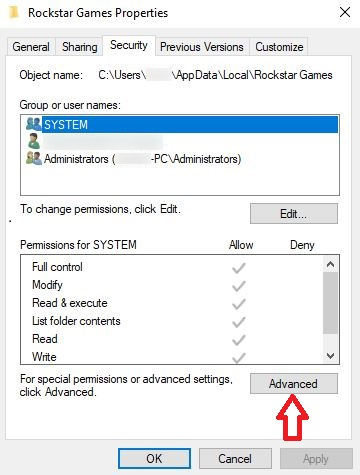
- Locate the Rockstar Games folder, right-click it, and select Properties.
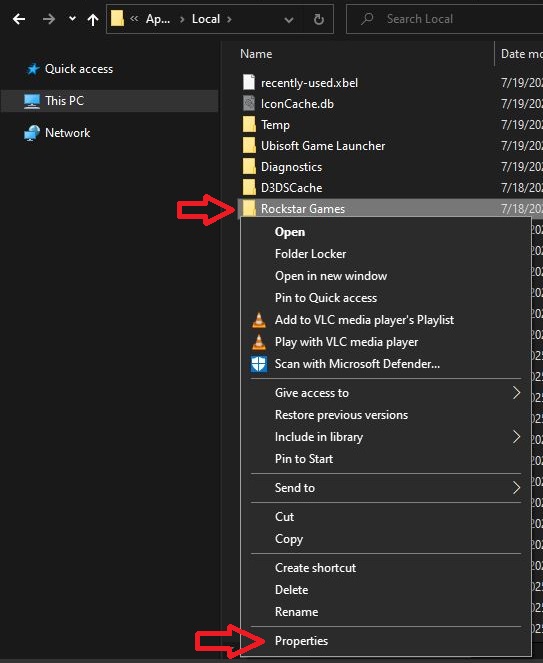
- Go to the Security tab and click Advanced.
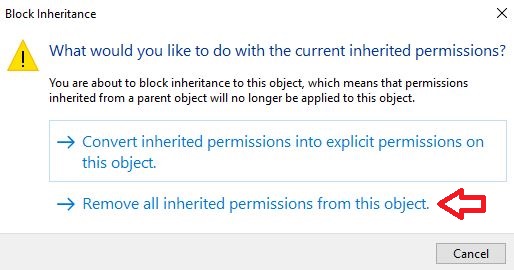
- Click Disable Inheritance.

- Select ‘Remove all inherited permissions from this object’.
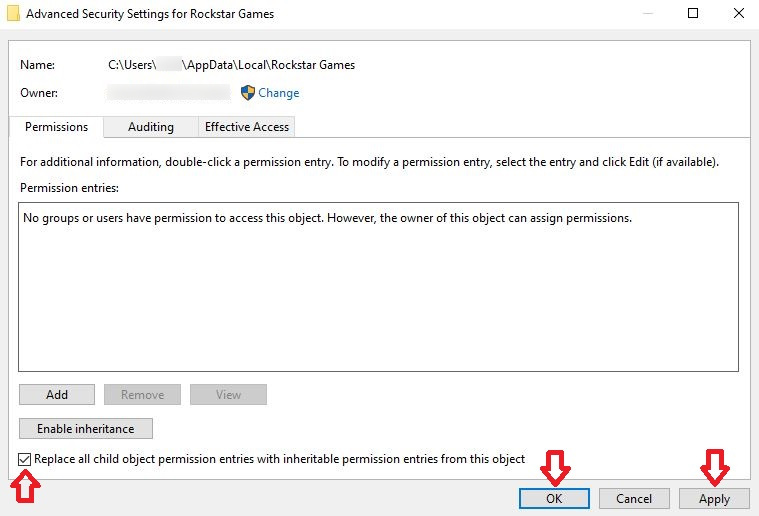
- Check ‘Replace all child object permission entries’ and click Apply.
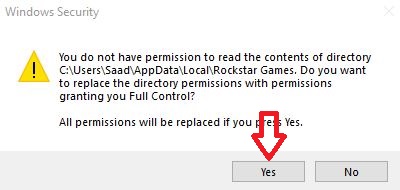
- Confirm the warning prompts.

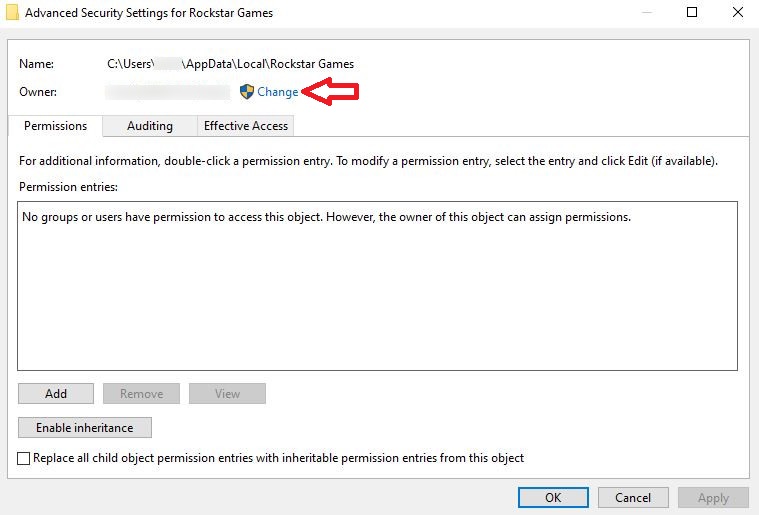
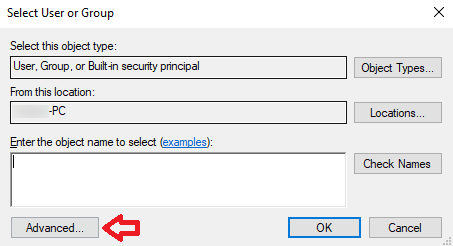
- Click Change next to the owner field.
- Click Advanced in the Object Picker.
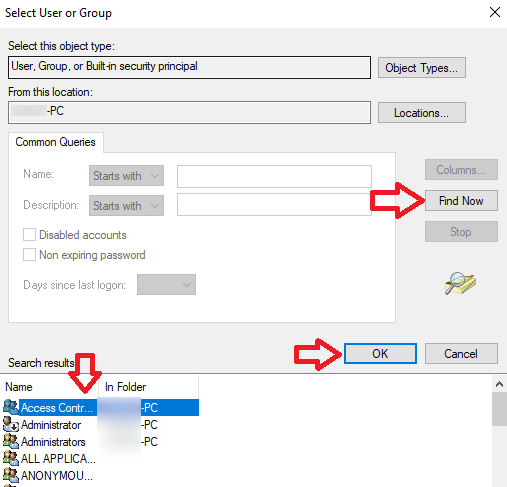
- Click Find Now, select your account, and click OK.
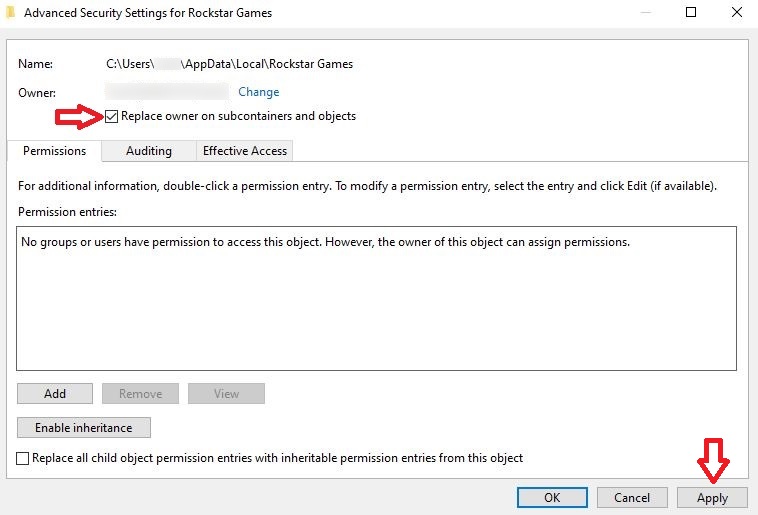
- Check ‘Replace owner on subcontainers and objects’, then click Apply.
- Confirm the prompts and close all windows.
- Restart the Rockstar Games Launcher.