How to Remove Smartbyte Drivers and Services from Windows?
 Reviewed by Muhammad Zubyan
Smartbyte drivers and services belong to the Smartbyte Dell application that allows users to prioritize the available internet for browsing and streaming. It comes preinstalled with the Dell systems. Thus, if the Smartbyte is causing issues such as consuming an excessive amount of system resources, then you need to consider disabling its services and drivers to prevent the issue from occurring.

In this guide, we will show you how to disable Smartbyte drivers and services to fix the problems. However, if you wish to keep the Smartbyte application, consider reinstalling it to resolve its issues.
1. Disable Smartbyte services
When you disable the services of any driver, it automatically becomes unusable, and there is no need to remove the driver and its application. If a service consumes a significant amount of resources or generates error messages, it may suggest that the executable file of that service is corrupted or affected by malware. In such instances, we recommend starting with the disabling of that service.
To disable the Smartbyte service, follow the steps:
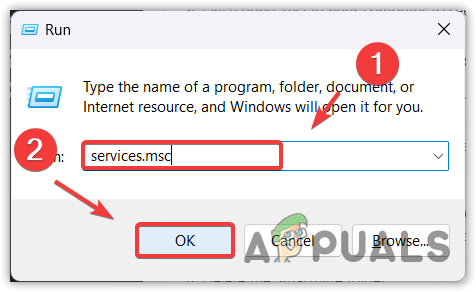
- Open the Run Program by pressing the Win + R keys on your keyboard.
- Here type services.msc and click OK to get into the services Window.
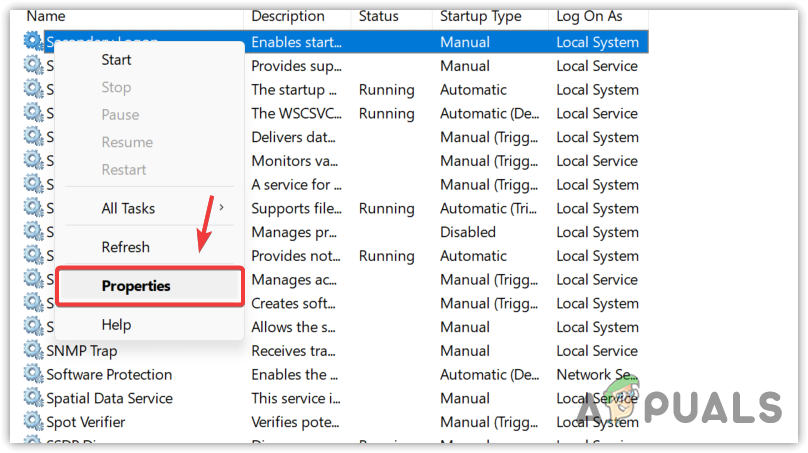
- Find the Smartbyte and right-click on it to open its Properties.
- Change the startup type to Disabled.
- Then, click Apply and click OK.
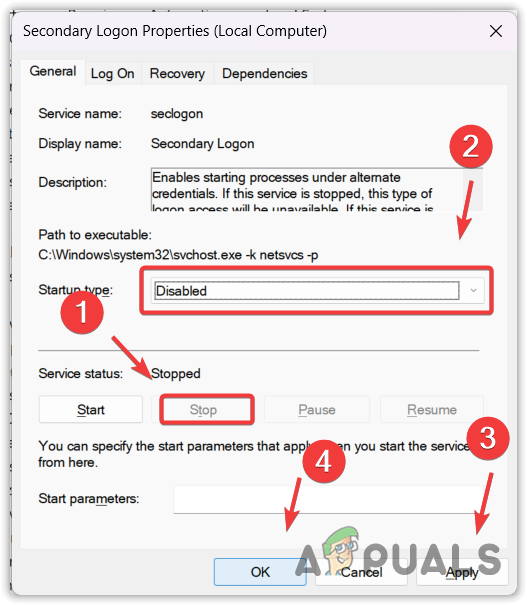
- Once done, restart your computer to see if the problem is resolved or not.
2. Remove the Smartbyte folder
If the Smartbyte service is still running in the background, you can try deleting the Smartbyte folder to remove the executables files. Every service that runs on Windows is an executable file that can be stopped or deleted anytime by the antivirus program or the user. So in this method, we will try to remove the Smartbyte folder. To do so, follow the steps:
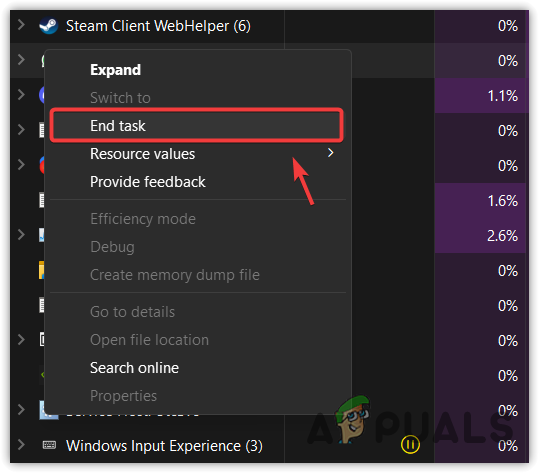
- Right-click the taskbar and select Task Manager from the list of options.

- Once the task manager is opened, find the Smartbyte service, right-click on it, and select End Task.
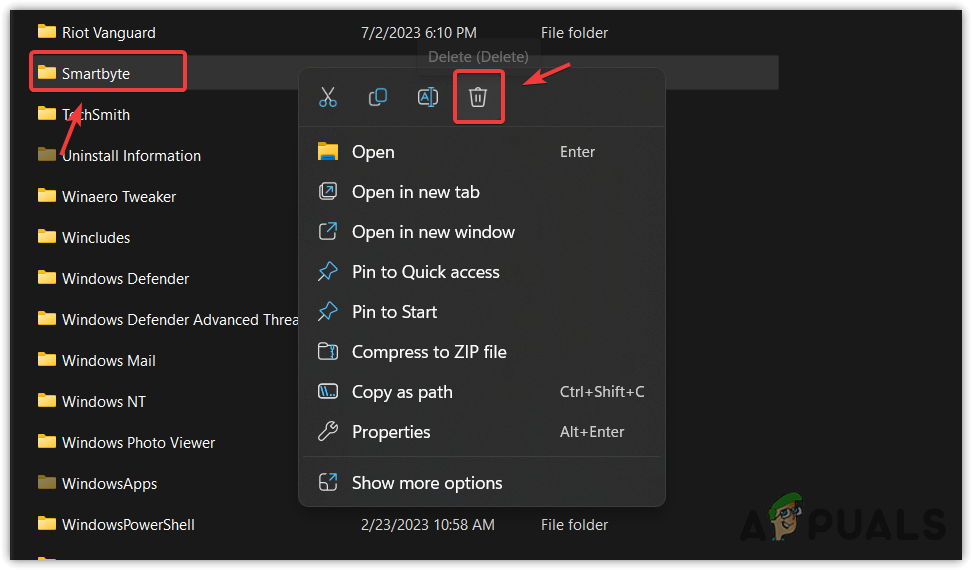
- Open the File Explorer and head to the disk where the Smartbyte is installed.
- Delete the Smartbyte folder.
- Once done, now the Smartbyte service should not be running in the background.
3. Disable the Smartbyte from the Startup
Disabling the Smartbyte application means it won’t load the next time you open Windows. This means the Smartbyte application and services should not be running once you disable it from startup. To do so, follow these steps:
- Navigate to the Task Manager by using the combination of Ctrl + Shift + Esc.
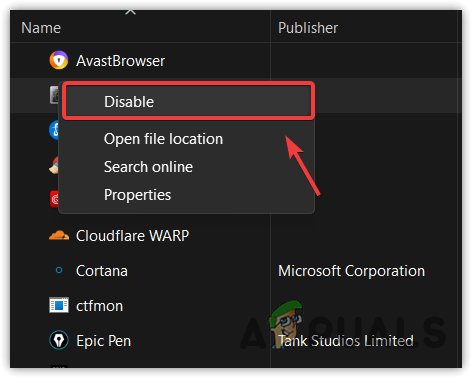
- Go to the Startup Apps from the app.
- Right-click the Smartbyte and select Disable.
- Once done, restart your computer, and the Smartbyte application should not be running in the background.
4. Uninstall the Smartbyte application
You can also try to uninstall the Smartbyte application if you see the Smartbyte service is still running in the background. This should remove the Smartbyte application along with its services. To do so, follow the steps:
- Open Settings by pressing the Win + I keys on the keyboard.
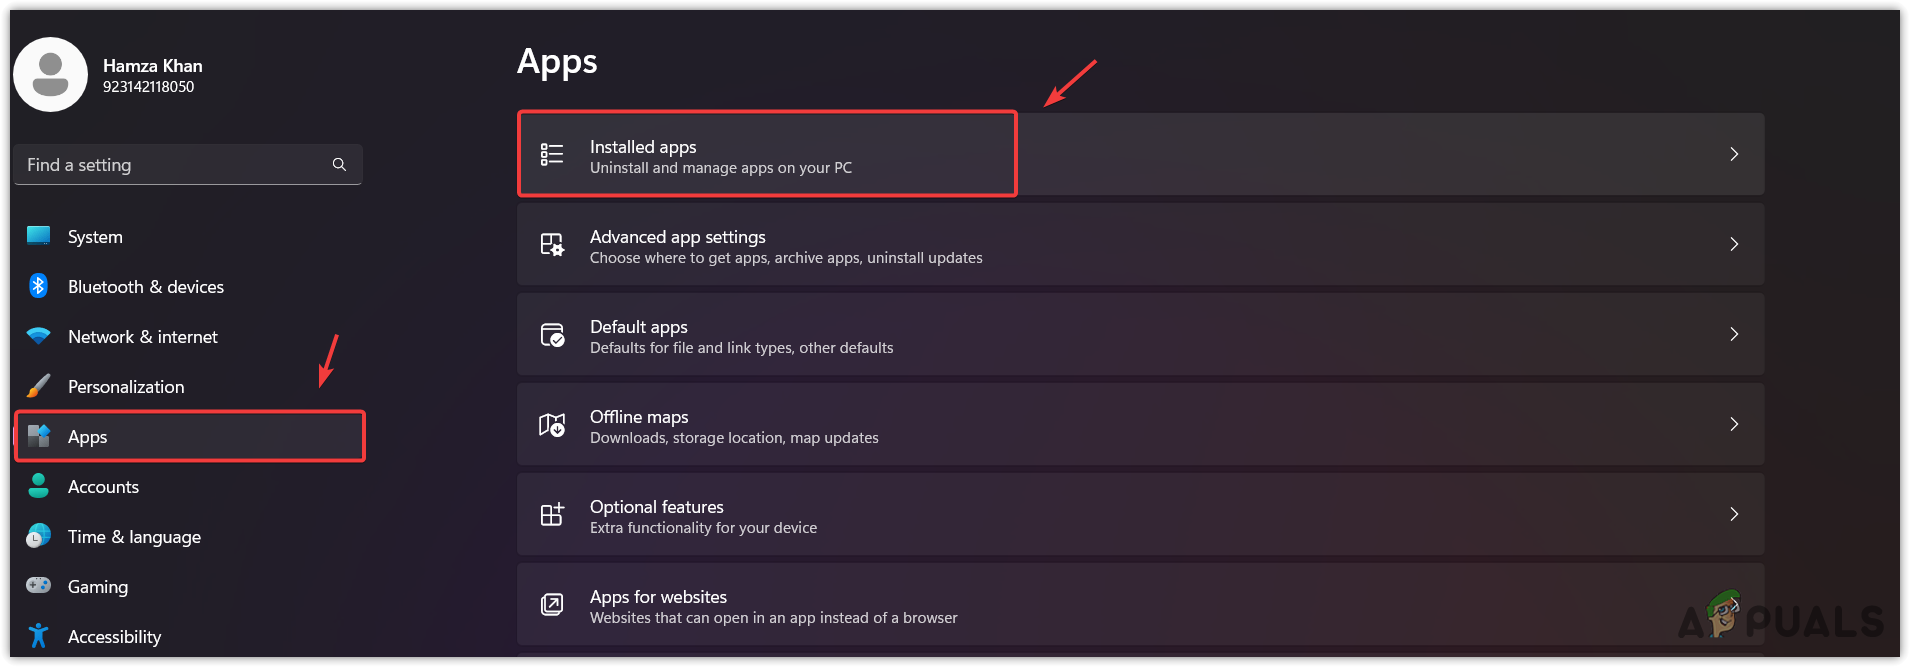
- Go to the Apps from the left.
- Navigate to Installed apps.
- Look for the Smartbyte application.
- Click on the ellipsis from the right and select Uninstall.
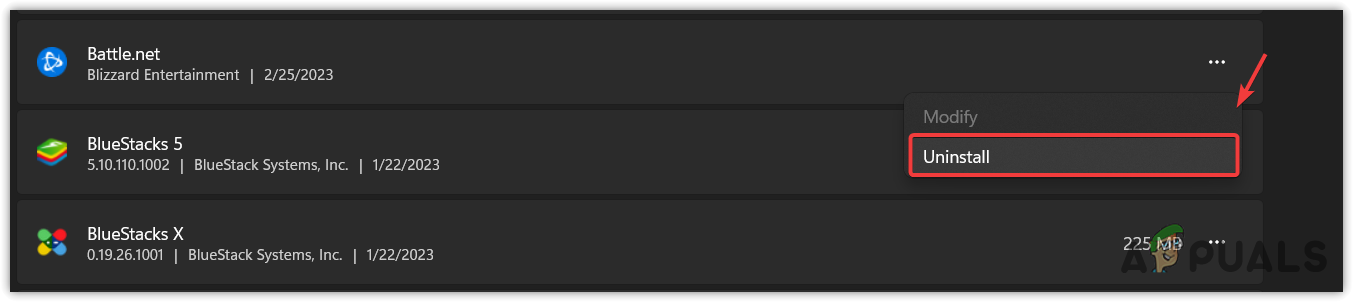
- Click Uninstall to confirm.
- Once done, the Smartbyte application should be uninstalled along with its services.
What
Smartbyte is an application that comes preinstalled in Dell systems. It is used to prioritize the internet for streaming and browsing.
If you are facing issues with the Smartbyte, you can try disabling its services. If the issue persists, then try uninstalling the Smartbyte application to fix this issue.
Reviewed by Muhammad Zubyan


