Ready or Not won’t launch? Try these fixes
Some players have been experiencing a problem where Ready or Not fails to launch upon trying to click the Play button. The reason that you are encountering the problem in question can vary as there are multiple factors that can usually prevent a game from launching. This includes insufficient permissions of the game process along with a third party app on your system interfering with the game and many more. In this article, we are going to take you through this process and show you how to resolve the problem mentioned in question so just follow through.
As it turns out, Ready or Not is a game that is currently going through its early access phase that allows developers to get user input and fix various bugs that might surface. Since the game is currently being developed, issues like Ready or Not crashing are common and bound to ruin the experience for some. Now, as we have mentioned, there are multiple reasons that the game might be failing to launch. Therefore, before we proceed with the different methods that can help you resolve the issue, let us first go through the potential causes of the issue in more detail. So, without further ado, let us get right into it.
Now that we have gone through the possible causes of the mentioned issue, let us get started with the different methods that can help you resolve it. With that said, let us jump right into it.
Run Steam as an Administrator
As it turns out, the first thing that you should do when you encounter the problem in question is to make sure that the problem is not being caused by insufficient permissions. In some cases, certain processes may fail to run during the initiation phase because it lacks the required permissions. Therefore, to resolve the issue, you will have to run the Steam client as an administrator which will provide all of the permissions it requires. To do this, follow the instructions given down below:
- First of all, open up the Start Menu and search for Steam.
- On the right hand side, click the Run as administrator option provided.
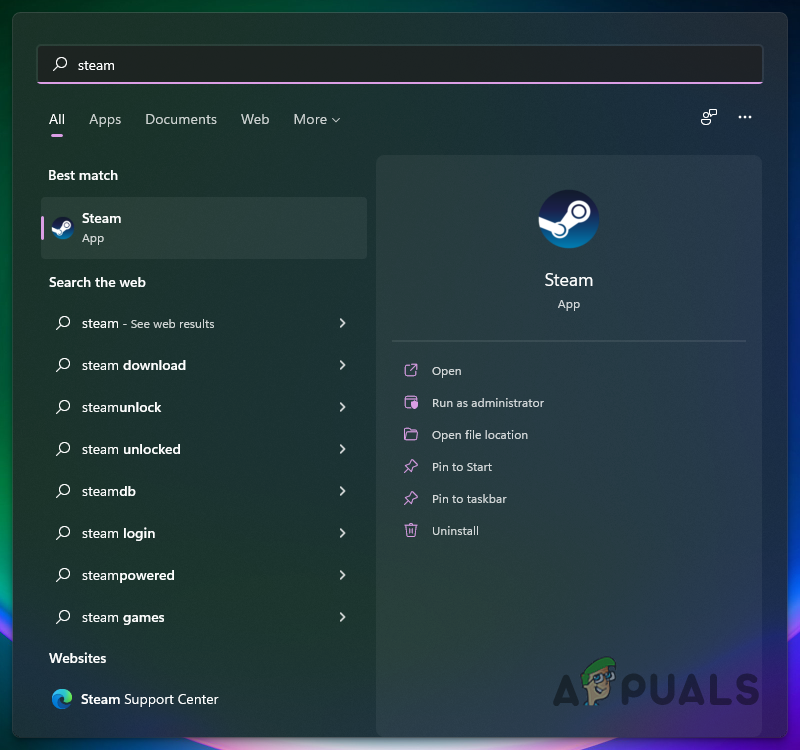
Opening up Steam as an Administrator - Then, on the follow up UAC dialog box, click the Yes button.
- Once Steam is running, try to launch the game to see if that resolves the issue.
Verify Integrity of Game Files
Like we have mentioned earlier as well, one of the reasons that the game may be failing to launch is when its game files are either corrupted or some of them are missing. In such a scenario, what you can do is verify the integrity of your game files which will scan the game installation on your system and download newer files in case of any anomalies. To do this, follow the provided instructions:
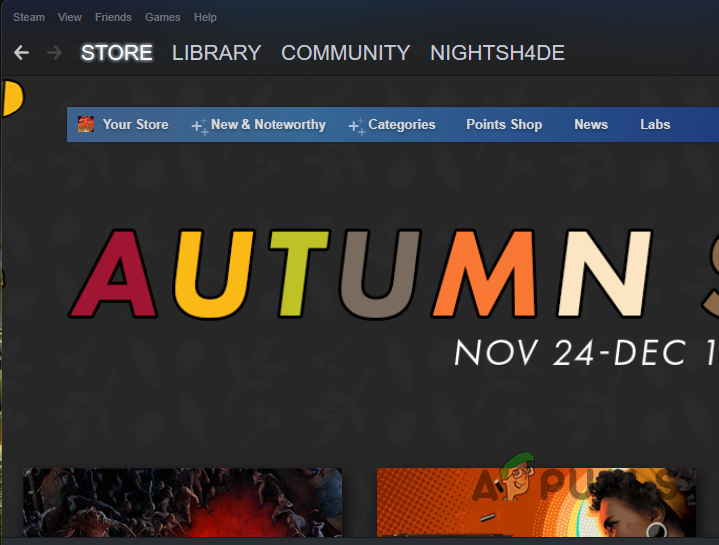
- To start off, open up the Steam client on your system and then navigate to the Steam Library.
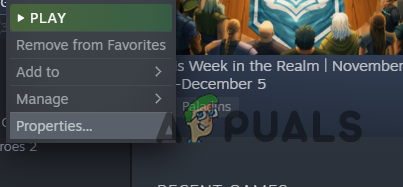
Navigating to Steam Library - On the left hand side, right click on Ready or Not and from the drop down menu, choose the Properties option.
Opening up Game Properties - Then, on the Properties window, switch to the Local Files tab provided on the left hand side.
- Finally, click the Verify integrity of game files button provided.
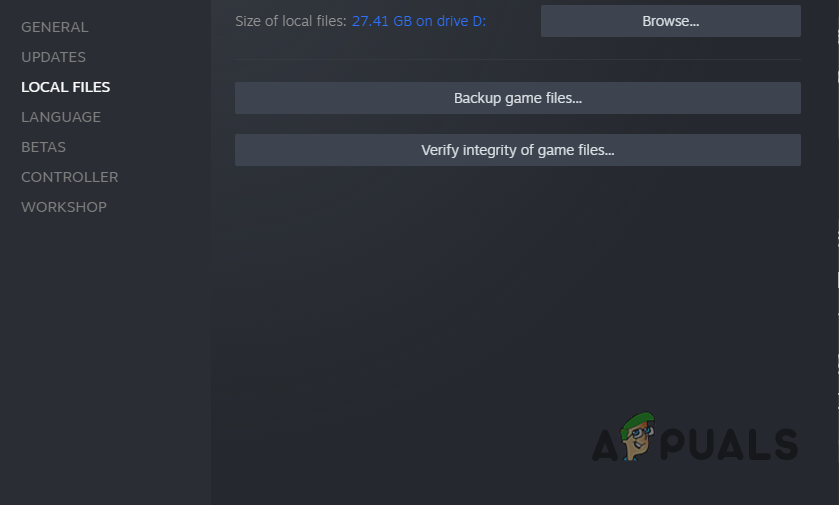
Verifying Integrity of Game Files - Wait for that to complete and then launch the game. See if the problem still persists.
Update Windows
If verifying the integrity of game files did not resolve your issue, then it is likely that the problem is being caused by your operating system. Windows updates are important for your system because of the fact that they usually include security patches along with different other features that might be required by the apps that you run on your system.
Therefore, in order to fix this, you will have to install any updates that are available for your system. To do this, follow the instructions that are provided down below:
- First of all, open up the Windows Settings app by pressing Windows key + I on your keyboard.
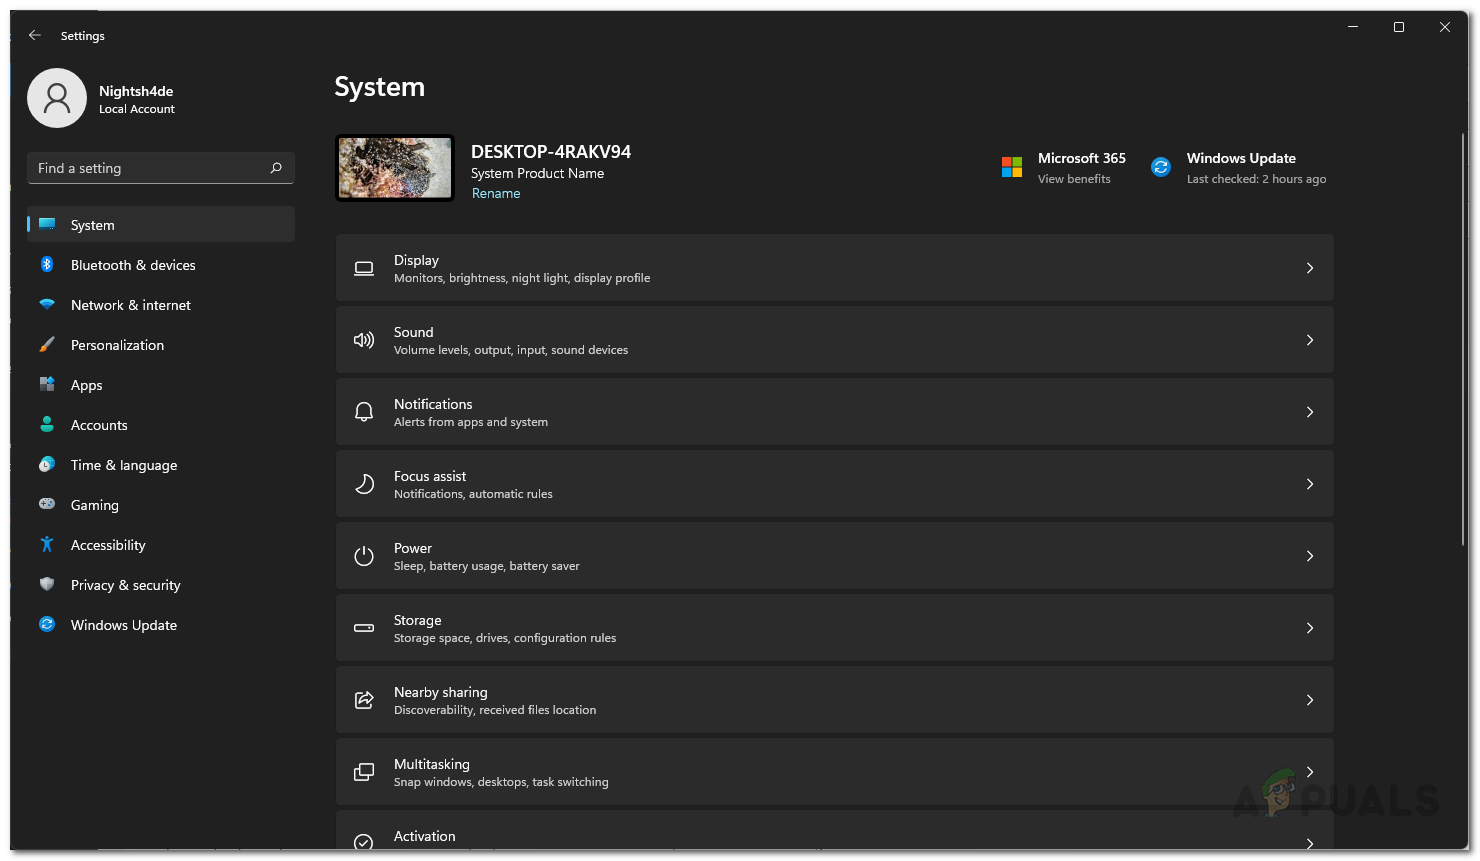
Windows Settings - On the Settings app, navigate to Update & Security. If you are using Windows 11, this is located on the left hand side at the bottom.
- Once you are there, click the Check for updates button provided to install any available updates.
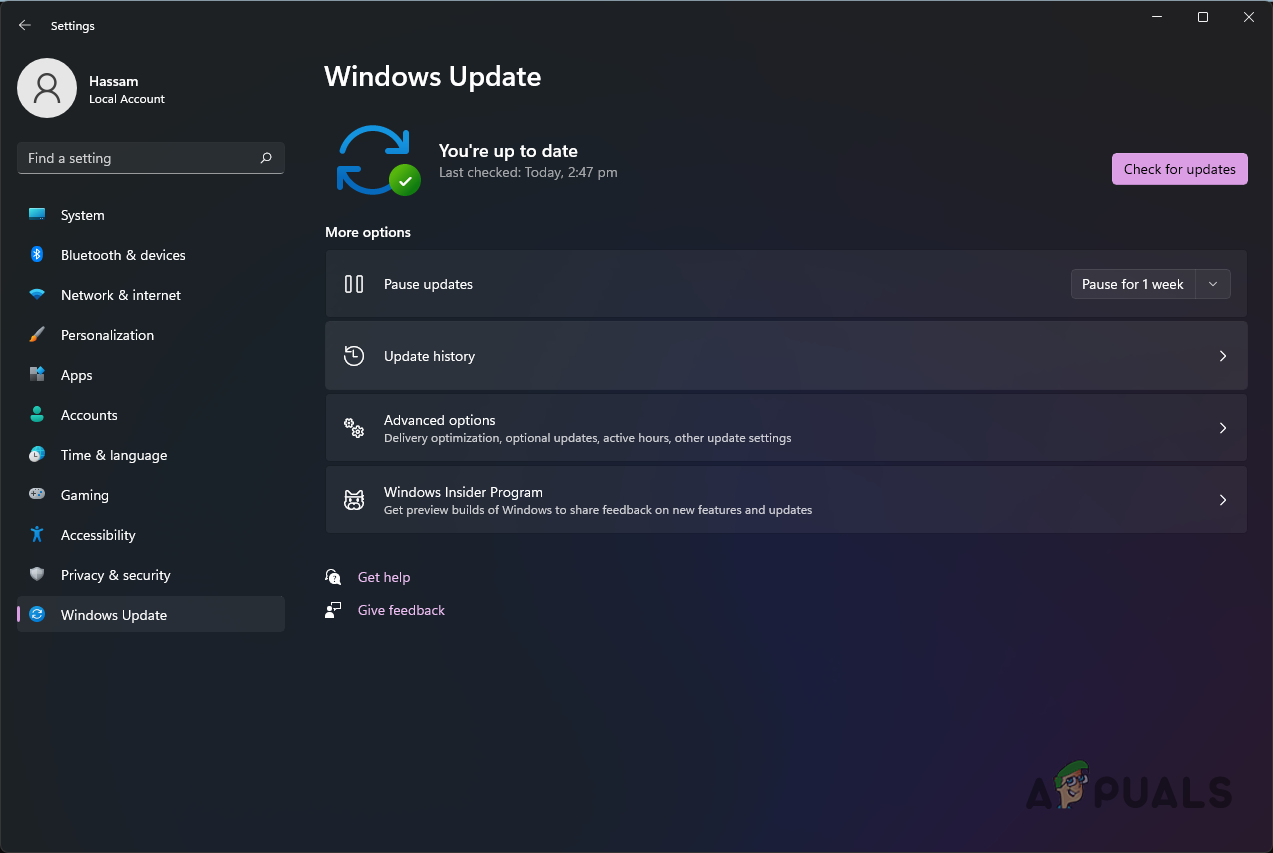
Checking for Windows Updates - After your system has been updated and you have performed a reboot, go ahead and launch the game to see if the problem still persists.
Update Graphics Drivers
As it turns out, the graphics drivers on your system play a vital role when it comes down to gaming. This is because the graphics drivers on your system are used to communicate with the graphics card that is installed. In many cases, some graphics drivers may not be compatible with certain games which can cause various issues like the game crashing and more.
If this case is applicable, you can try to fix the problem by installing the latest drivers that are available for your graphics card from the manufacturer’s website. To do this, follow the below instructions:
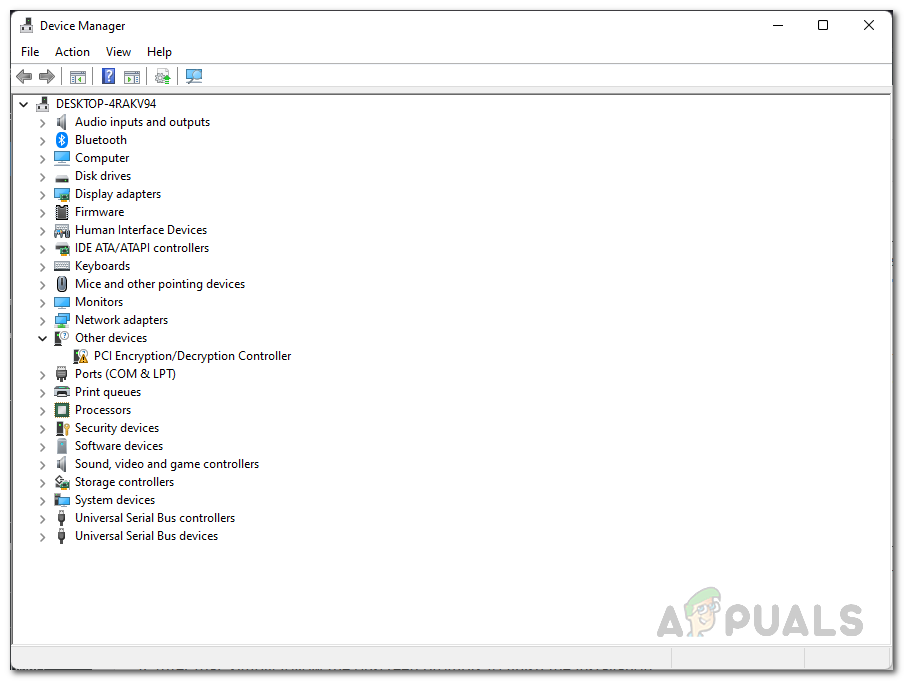
- To start off, go ahead and open up the Device Manager by searching for it in the Start Menu.
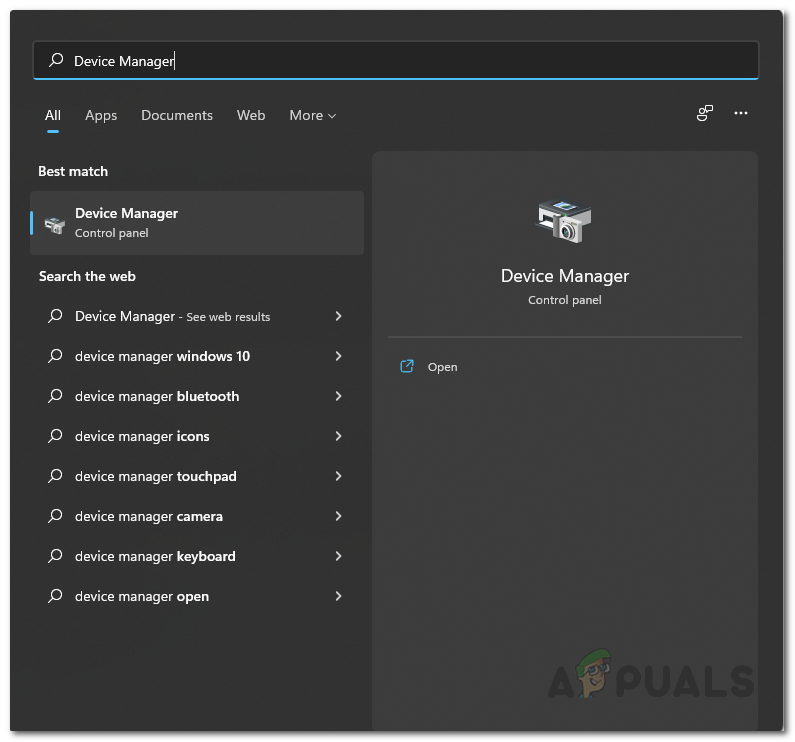
Opening Device Manager - On the Device Manager window, expand the Display adapters list.
Device Manager - Then, right click on the graphics drivers and from the drop down menu, choose the Uninstall device option.
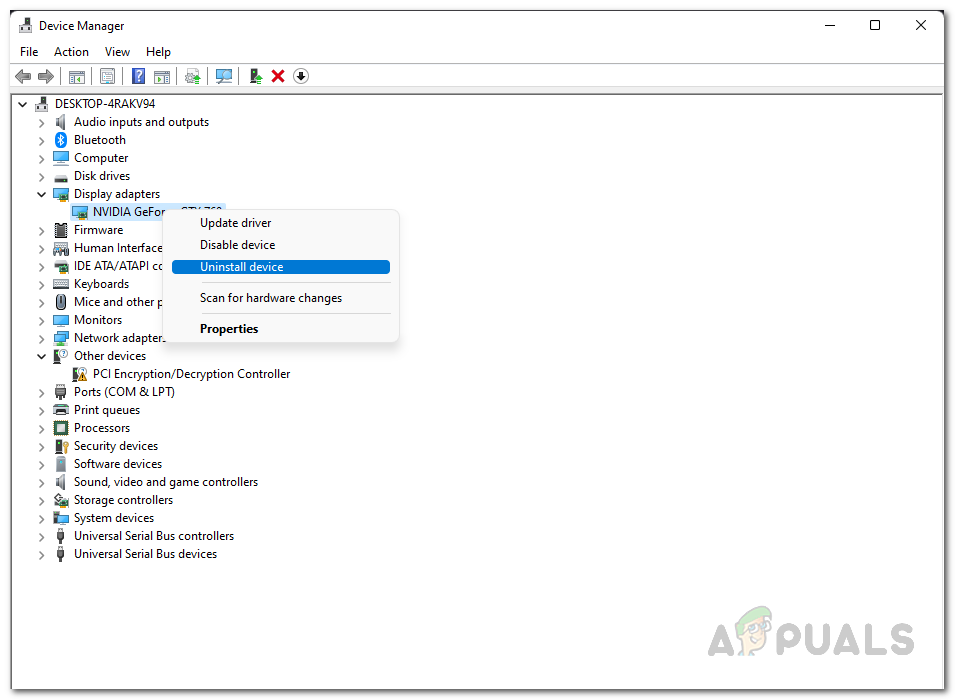
Uninstalling Graphics Drivers - After the drivers have been uninstalled, head to your manufacturer’s website and download the latest drivers available for your graphics card.
- Install the drivers and then see if the problem is still there.
Perform a Clean Boot
Finally, if none of the above methods have helped you fix the issue, then the chances of the issue being caused by a third party application on your system are pretty high. Now, in order to confirm this suspicion, you can perform a clean boot which starts your computer with only the required services running in the background.
This means that all of the third party apps will be blocked on startup. If the problem goes away in clean boot, it will be evident that the issue is indeed being caused by a third party app. In such a scenario, you can enable the services one by one to figure out the culprit. To perform a clean boot, follow the instructions given down below:
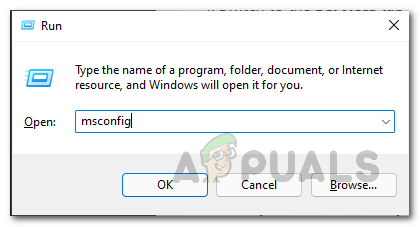
- First of all, open up the Run dialog box by pressing Windows key + R on your keyboard.
- In the Run dialog box, type in msconfig and then press Enter.
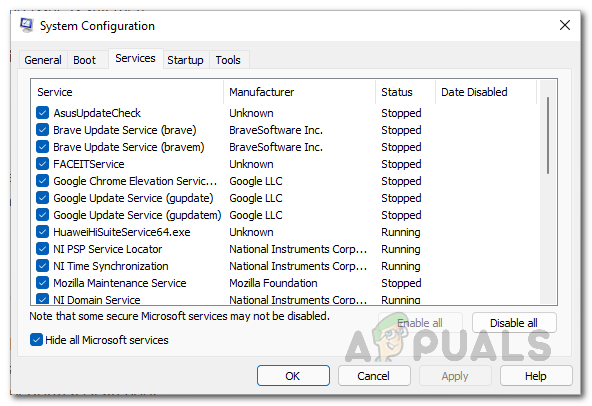
Opening up System Configuration - On the System Configuration window that comes up, switch to the Services tab.
- There, go ahead and tick the Hide all Microsoft services checkbox provided.
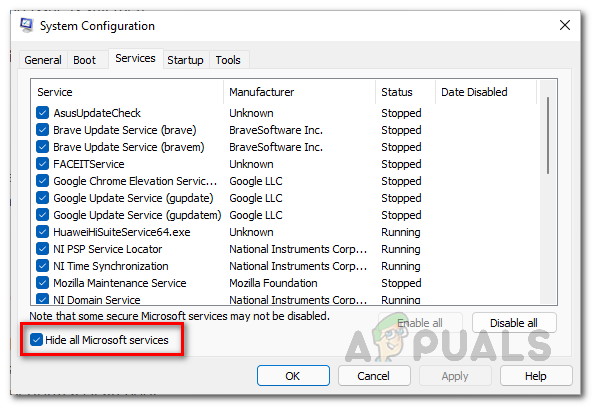
Hiding Microsoft Services - After that, click the Disable all button and follow it up by clicking Apply.
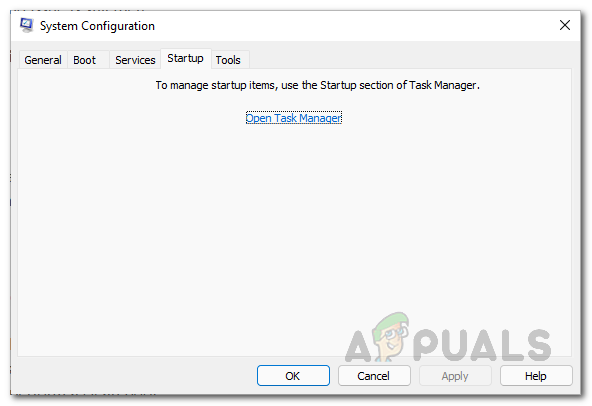
Disabling Third Party Services - Once you have done that, switch to the Startup tab and there click the Open Task Manager option.
System Configuration Startup Tab - On the Task Manager window, select the apps one by one and then click the Disable button.

Disabling Third Party Apps on Startup - After doing this, go ahead and perform a system restart.
- Once your PC boots up, try launching the game to see if the issue is still there.


