How to fix the Razer Synapse Stuck on Verifying Account?
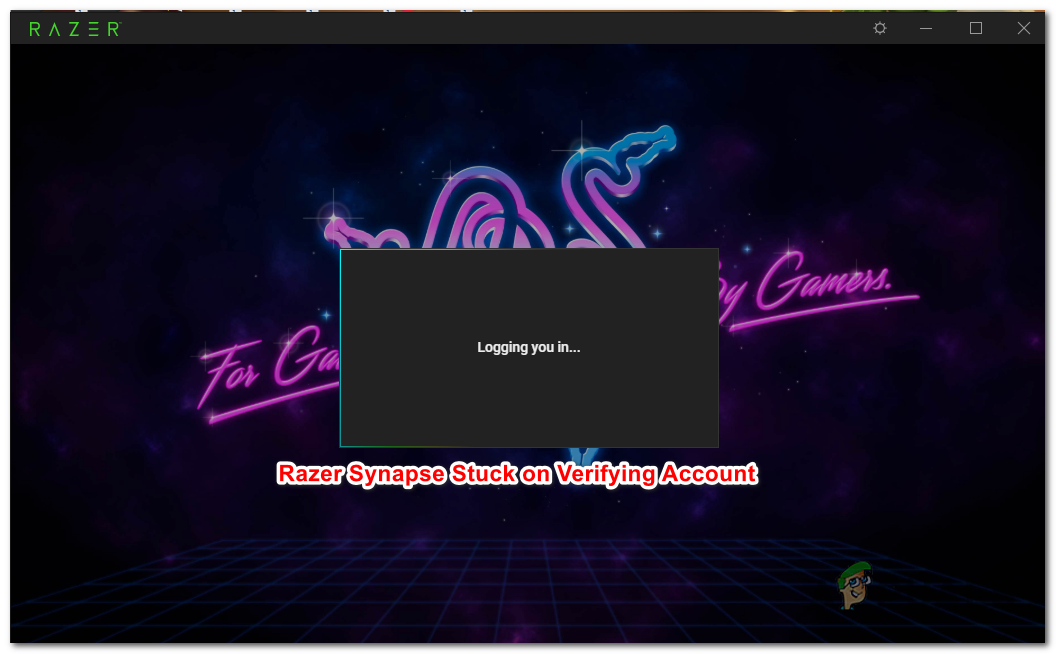
The Synapse Stuck on Verifying Account issue affects Razer users and prevents them from logging in with their Synapse accounts. This creates a lot of problems – Affected users are stuck with the default mouse DPI, they lose cross-device cross-synchronization and are prevented from customizing their macros or RGB behavior.
This issue is most likely caused by a server issue that is beyond your control. Razer users have been having this problem for months now, and the only viable fix so far is to force the application to run in Offline Mode. This way, you’ll bypass the online verification but you’ll lose access to the updating function.
But there are also a couple of local causes that might trigger this issue – most commonly a Proxy / VPN client or some kind of network inconsistency.
Note: Here’s what to do in case your Razer Synapse app doesn’t detect devices.
1. Verifying the status of Razer Servers
Before trying any other fix, you should start by ensuring that you’re indeed dealing with a server issue.
When running in Online mode, Razer Synapse will check your account credentials against their own database before the validation is complete. But if the servers aren’t working properly, you will likely become stuck with the ‘Logging you in…‘ message.
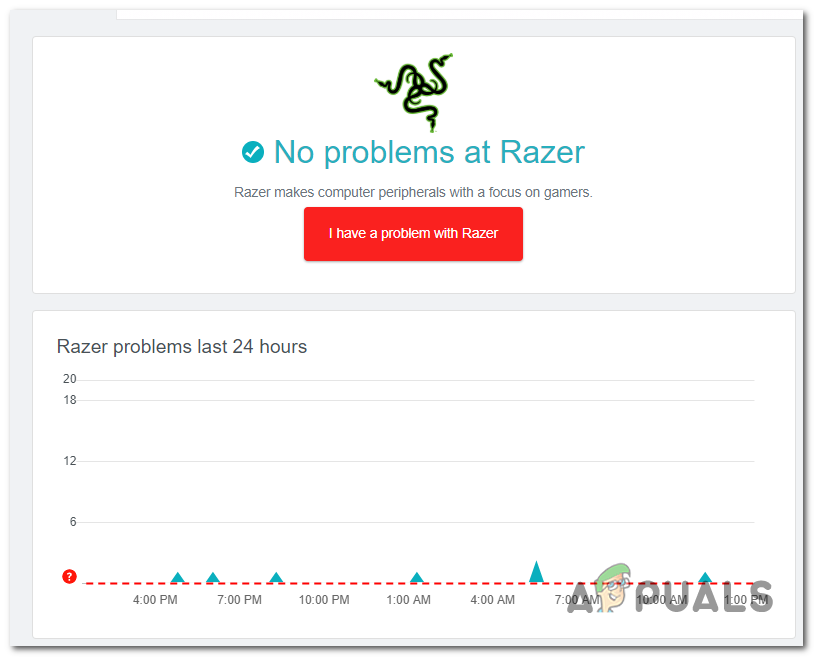
The quickest way to check for a server issue is to verify the status of the Razer servers. There are certain services that will allow you to do this. Here are a few options:
Note: In case this investigation reports issues with Razer Servers, skip directly to the last fix (Method 4) for instructions on switching Razer Synapse in offline mode.
If this investigation hasn’t revealed any underlying server problems with Razer Synapse, move down to the next potential fix below.
2. Power-cycling Router / Modem
As several affected users have reported, this issue can also be facilitated by a router or modem inconsistency. Some users that were previously stuck with the ‘Logging you in…‘ message have managed to fix the issue by forcing a network refresh.
This operation is different from a network reset. As opposed to it, this one will not produce any effects on your network credentials or any other previously established custom network settings.
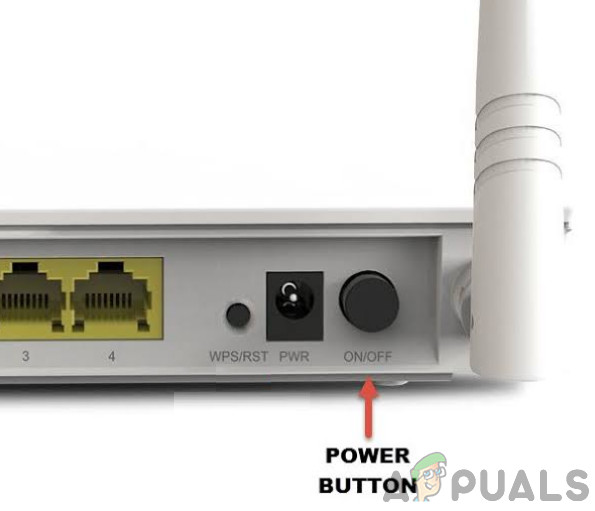
To perform a power-cycling procedure, all you have to do is press the On/Off button once and wait for 20 seconds or more until you start it once again.
Note: If you want to ensure that the procedure is successful, also disconnect the power cable and wait a couple of settings before plugging it back into a power outlet.
After you do this, restart your computer and wait for the network connection to be re-established. Once the connectivity is restored, open Razer Synapse and see if the problem is resolved.
In case you’re still encountering the Stuck on Verifying Account issue, move down to the next potential fix below.
3. Disabling VPN / Proxy network (if applicable)
As it turns out, this Razer Synapse problem can also occur due to a VPN or Proxy connection. There are a lot of reports of users that managed to resolve the issue after they uninstalled their VPN client (most commonly Hamachi VPN) or disabled their Proxy server.
Depending on if you’re using a VPN client or a proxy server, the process of disabling them will be different. To cover both scenarios, we created two separate guides to cover each possible scenario.
Disabling the Proxy server
- Press Windows key + R to open up a Run dialog box. Then, inside the text box, type ”ms-settings:network-proxy’ and hit Enter to open up the Proxy tab of the native Settings app.
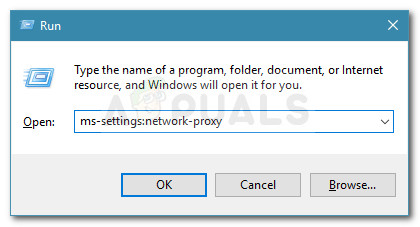
Run dialog: ms-settings:network-proxy - Once you’re inside the Proxy tab, scroll all the way down to the Manual proxy setup section, then proceed to disable the toggle associated with Use a proxy server.
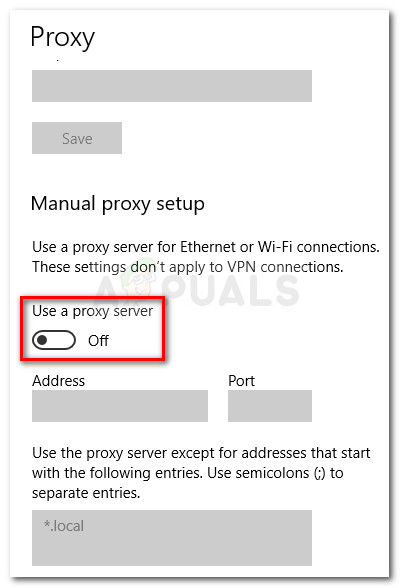
- After you do this, restart your computer and try to login with Razer Synapse after the next computer startup to see if the problem has been dealt with.
Uninstalling VPN client
- Open up a Run dialog box by pressing Windows key + R. Inside the Run box, type ‘appwiz.cpl’ and press Enter to open up the Programs and Features menu.

Type appwiz.cpl and Press Enter to Open Installed Programs List - In the Programs and Features screen, scroll down through the list of installed applications and locate the 3rd party VPN that you suspect is causing the problem. After you do this, simply right-click on it and choose Uninstall from the context menu.

Uninstalling a VPN tool - Once you’re inside the uninstallation wizard, follow the on-screen prompts to complete this process. After this procedure is complete, restart your computer and see if the problem is resolved at the next system startup.
In case you’re still stuck inside the Verifying Account message, move down to the final method below.
4. Forcing Razer Synapse into Offline Mode
If you confirmed that the issue is being caused by a Razer server issue, the only way you can bypass the Stuck on Verifying Account issue is by forcing the application to run into Offline Mode.
By forcing Offline Mode you will bypass the server validation sequence that’s causing the error, but you’ll also stop the auto-update feature and any other functions that require an internet connection.
IMPORTANT: Keep in mind that this is no longer possible with Synapse 3. The steps below will only work if you are using the classic Synapse application.
Here’s a quick guide on forcing Razer Synapse into Offline Mode:
- Open File Explorer and navigate to the following location:
C:\Users\*USERNAME*\AppData\Local\Razer\Synapse\Accounts\
Note: *USERNAME* is simply a placeholder. When navigating to the location, open the folder associated with the username that you’re actively using.
- Ensure that you have a competent text editor installed on your computer. If you don’t have one, consider Notepad++.
- Once you get to the correct location, right-click on RazerLoginData.xml and choose Edit with NotePad+ from the newly appeared context menu.
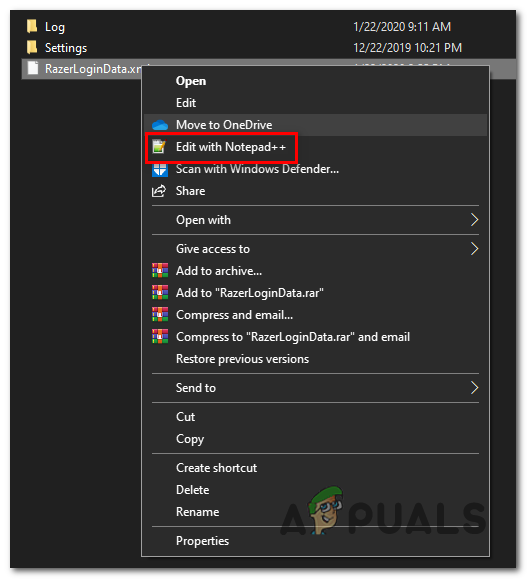
Editing the file with Notepad++ - Inside your text editor, search for the line that reads <Mode>Online</Mode> and change it to <Mode>Offline</Mode>. Once you do this, save the modifications and launch Synapse once again.
- If you’ve done the procedure correctly, the validation phase should be avoided.


