How to Check your Computer’s Mouse DPI
Mice often have the specification of DPI (Dots Per Inch) printed on their labels. This metric is used to measure the sensitivity of a mouse. For some consumers, the higher the DPI, the better the experience they will have when using it.
DPI primarily means how many dots (or virtual pixels) can be detected and read by the mouse when it is being used. It is one of the standards used to measure and market mice to the public. It can be compared to a car’s RPM. A car running at 4000 RPM means its engine will be faster compared to a car currently at 2000 RPM.
What is the Difference between DPI and CPI?
CPI refers to Counts Per Inch and it relates to how many virtual pixels the mouse sensor can pick up with the onboard sensor. Many people confuse both of the metrics but they essentially mean the same thing. It is just a matter of preference. Some manufacturers might choose to measure their mouse using DPI while others might use CPI.
How do I Check my Mouse DPI/CPI?
There is no specific application or setting in the Windows operating system which allows you to see the exact number for your mouse’s DPI or CPI. The metric is usually specified in the documentation or specifications of your mouse model. There are two ways you can essentially measure your mouse’s DPI/CPI.
Method 1: Check Specification
The most accurate method to check your mouse’s CPI/DPI is to look up its specifications and see the metric documented by the manufacturer itself. DPI/CPI needs accurate measurement which may be calculated by you (as in the second method) but it will not be in any way accurate.
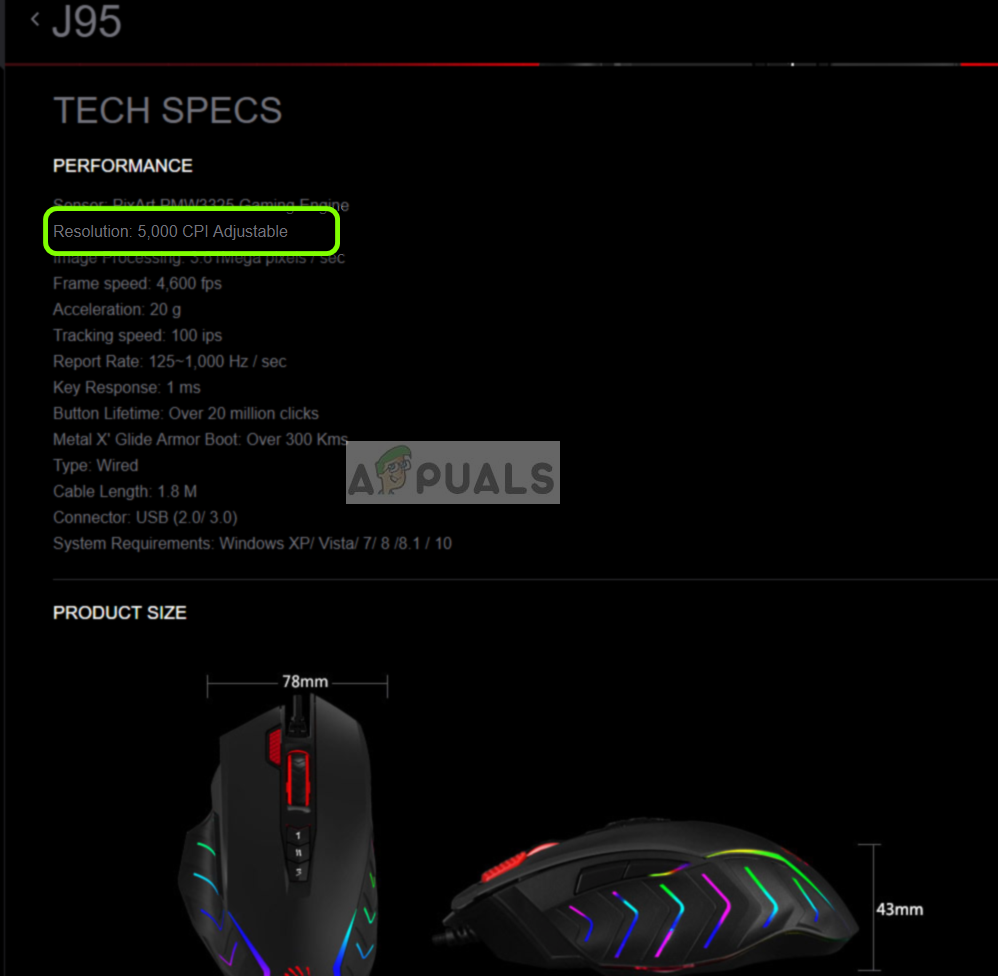
So navigate to your manufacturer’s website and look up your mouse’s model. Once the product page is opened, you need to locate the section where all the information is stored. As in the picture above, the CPI for Bloody J95 is 5000 (adjustable). It will probably be in front of the tag resolution.
Method 2: Measure DPI/CPI
If you cannot find the specification online for your mouse model, you can try measuring the DPI/CPI manually. This method will not be accurate so you will have to take averages. Furthermore, we will also disable a specific setting in Windows OS which manipulates the CPI/DPI of your mouse so we can get accurate readings. You will need a ruler, a piece of white paper, and a marker.
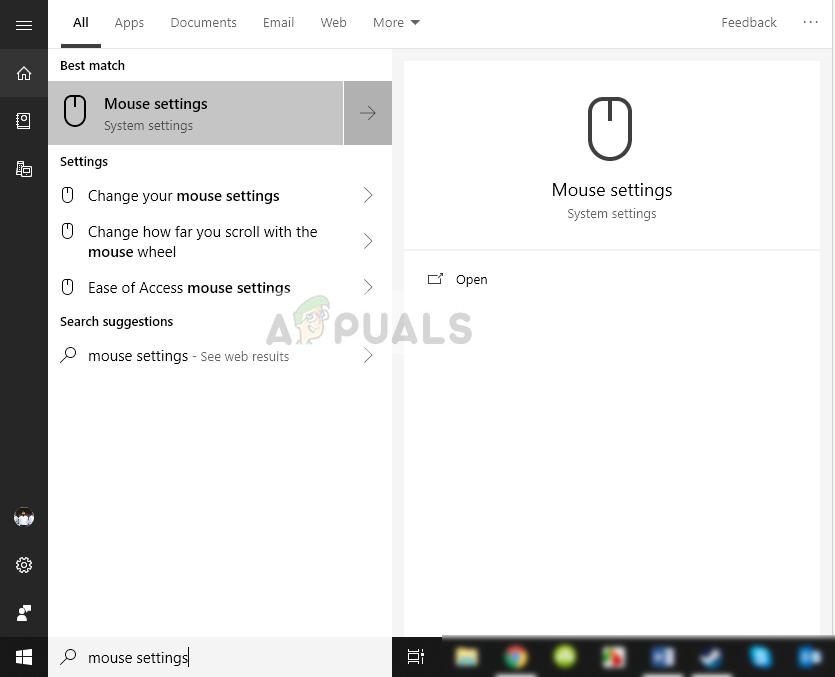
- Press Windows + S, type “mouse settings” in the dialogue box, and open the application.
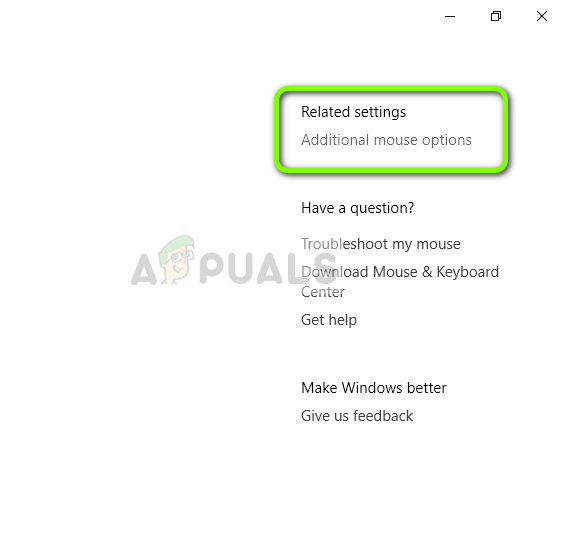
- Click Additional mouse settings located at the top-left side of the screen.
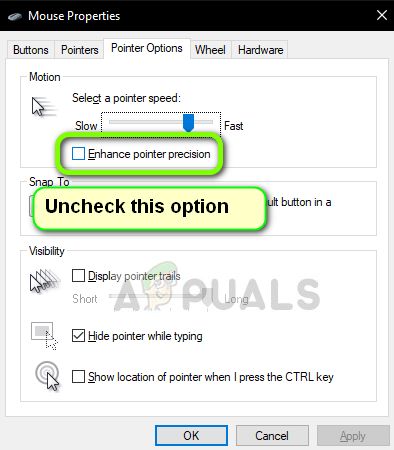
- Select Pointer options and Uncheck the option Enhance pointer precision.
- Take out a piece of paper and measure around 2-3 inches. Mark it correctly with a marker. Navigate to the DPI Analyzer website and hover to the.
- Place the mouse at the starting point and bring it to the starting point on the paper.

- In a straight line, bring the mouse from the starting point to the ending point. After you have finished, note the DPI as shown by the site.

- Repeat the process 5 or 6 times and record the readings. After you are done, take their average. For example, if you repeated the process 6 times, add all the values and divide them by 6. This will be the DPI of your mouse.
As mentioned earlier, this method may not give accurate readings so it is better if you look for the manufacturer specifications.
What is the Current DPI of an Adjustable DPI Mouse?
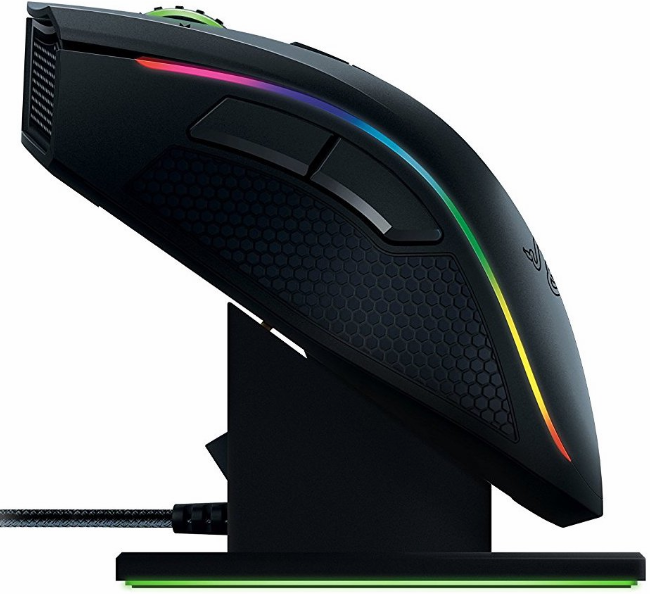
If you have a high-end mouse that allows you to change the DPI settings, you can find the current DPI via its software. Companies such as Bloody or Razer have dedicated software which allows users to control the DPI of their mouse and monitor it in real time.
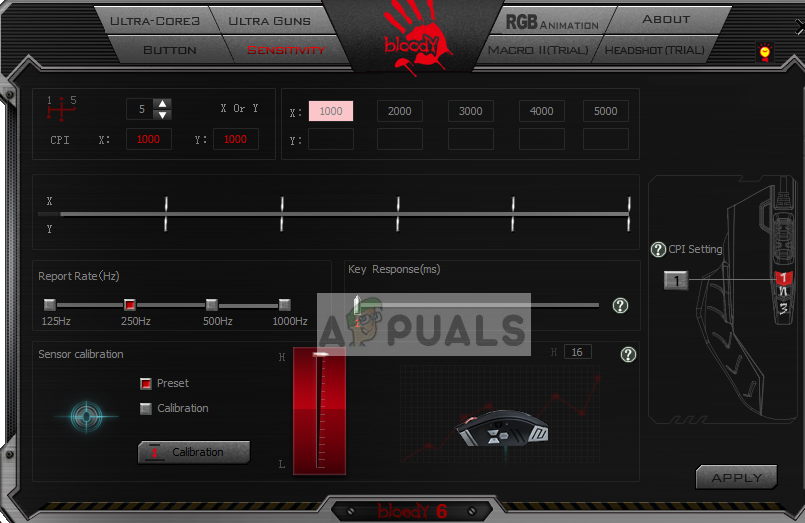
As you can see in the image above, the DPI is set to the maximum which you can change easily using the CPI options.


Now I have four DPI options: 800, 1600, 2000 & 3200. I can’t determine which I am using but it is fast and effective. I think we should use the one which make us feel the movement flowing, and my gaming mouse was only 10 bucks.