How to Fix “RADS Error” on League of Legends?
Fix: "Could not connect to the HTTP Server." League of Legends
A common error that you can come across while trying to play League of Legends is the RADs error. As it turns out, the error message reads “Could not connect to the HTTP server. Please check that your internet connection is enabled..” and so on. It is obvious from the error message that the issue is occurring because a connection to LoL’s servers cannot be established. This can usually occur when your game does not have the required permissions or due to your DNS settings. In this article, we are going to show you how to resolve the error message in question so just follow through.
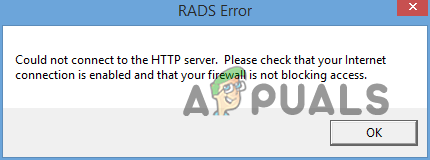
As it turns out, League of Legends is one of the most popular games that has been around for quite a while. Despite the popularity, there are a number of issues that you might stumble upon while playing the game such as League of Legends error code 900. The problem in question, as we have mentioned already as well, is usually related to the permissions of the game or your DNS settings. Before we get into the workarounds, let us go through the causes of the issue in more detail:
With that said, the issue is pretty easy to resolve, so let us get started with the various methods that you can implement to get rid of the RADs error in question without any further delay.
Run League of Legends as Admin
The first thing that you should do when you encounter the problem mentioned above is to try to run the game with administrator privileges. As it turns out, the issue can usually occur when a process in the background is interfering with the game and as a result, you are not able to establish a connection.
If this case is applicable, you can easily get around the issue by simply running the game as an admin. Doing so will give the process more than sufficient permissions and no background process should be able to interfere with it easily. To do this, follow the instructions given down below:
- First of all, open up the Start Menu and search for Riot Client.
- Right click on the result shown and from the drop down menu, choose the Run as administrator option.
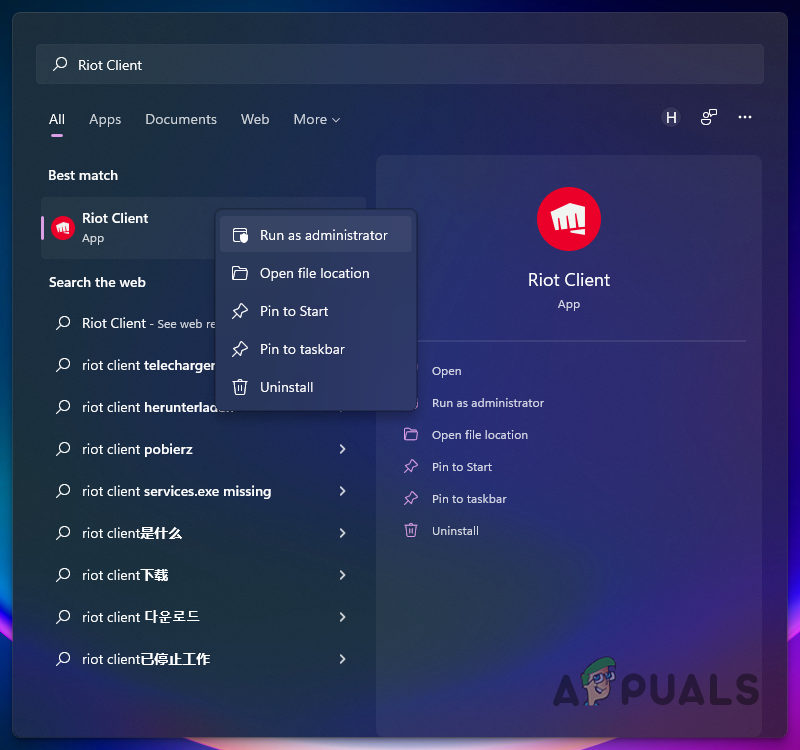
Running Riot Client as Admin - Alternatively, you can also choose to run the game directly as an administrator. To do that, simply head to the directory where League of Legends is installed. Right-click on the game executable file and choose Run as administrator from the menu.
Flush DNS
As it turns out, one of the reasons that you might be experiencing the RADs error in question can be your DNS settings. Domain Name System or DNS is an important part of your network settings as it is used to direct your requests to the servers on the internet. DNS is essentially an address book that converts domain names to IP addresses.
Flushing DNS on Windows is pretty easy and completely safe. Doing so will clear out any IP addresses or DNS records that have been stored in the cache. Once the cache has been cleared, a new cache will be built up automatically. To flush out DNS, follow the instructions given down below:
- To start off, open up the Start Menu and search for the command prompt. Click the Run as administrator option provided on the right to start an elevated command prompt window.
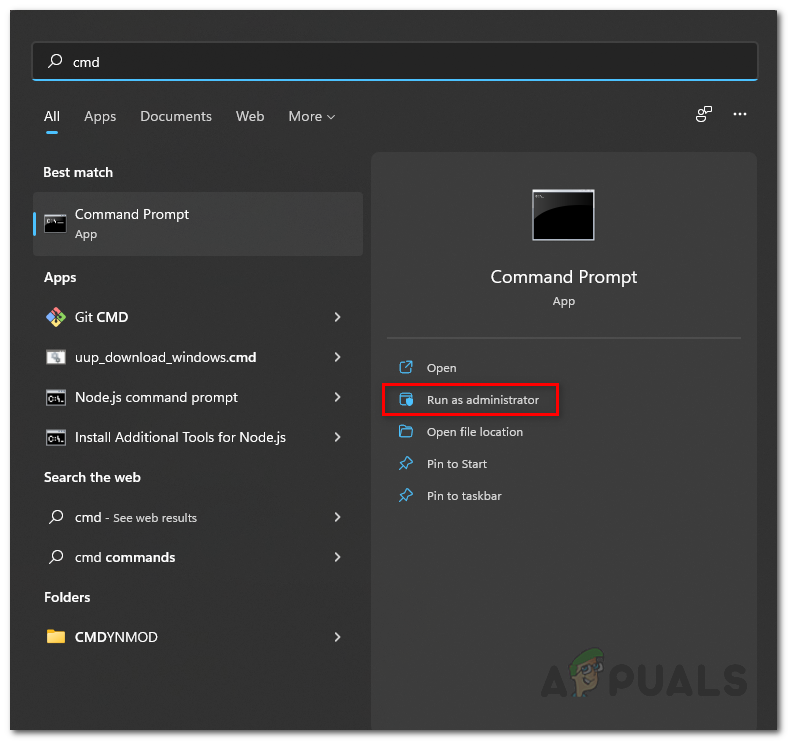
Running Command Prompt as Admin - Once the command prompt is open, type in “ipconfig /flushdns” without quotation marks and then hit Enter.
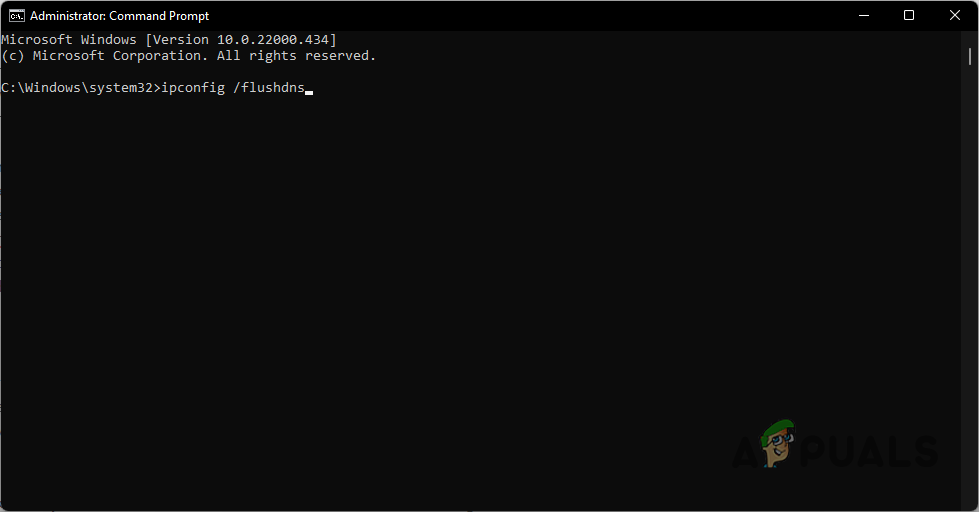
Flushing DNS - With that done, restart your system and then see if the issue has been resolved.
Change DNS Server
Finally, if the above methods have not fixed the problem for you, then it is likely that the problem resides in your DNS server. As it turns out, your Windows automatically detects and assigns your computer to use the DNS server that is provided by your internet service provider or ISP.
However, as it happens, the DNS server can sometimes run into issues or be slow overall which can affect the requests that are being forwarded to it for resolution. Fortunately, you can change the DNS server on your Windows machine pretty easily. To do this, follow the instructions down below:
- First of all, right-click on the network icon on your taskbar and choose Network and Internet settings from the menu that appears.
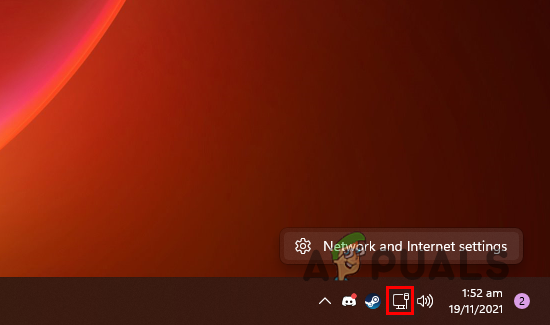
Opening Network and Internet Settings - On the Network and Internet settings window, choose the Advanced network settings option.
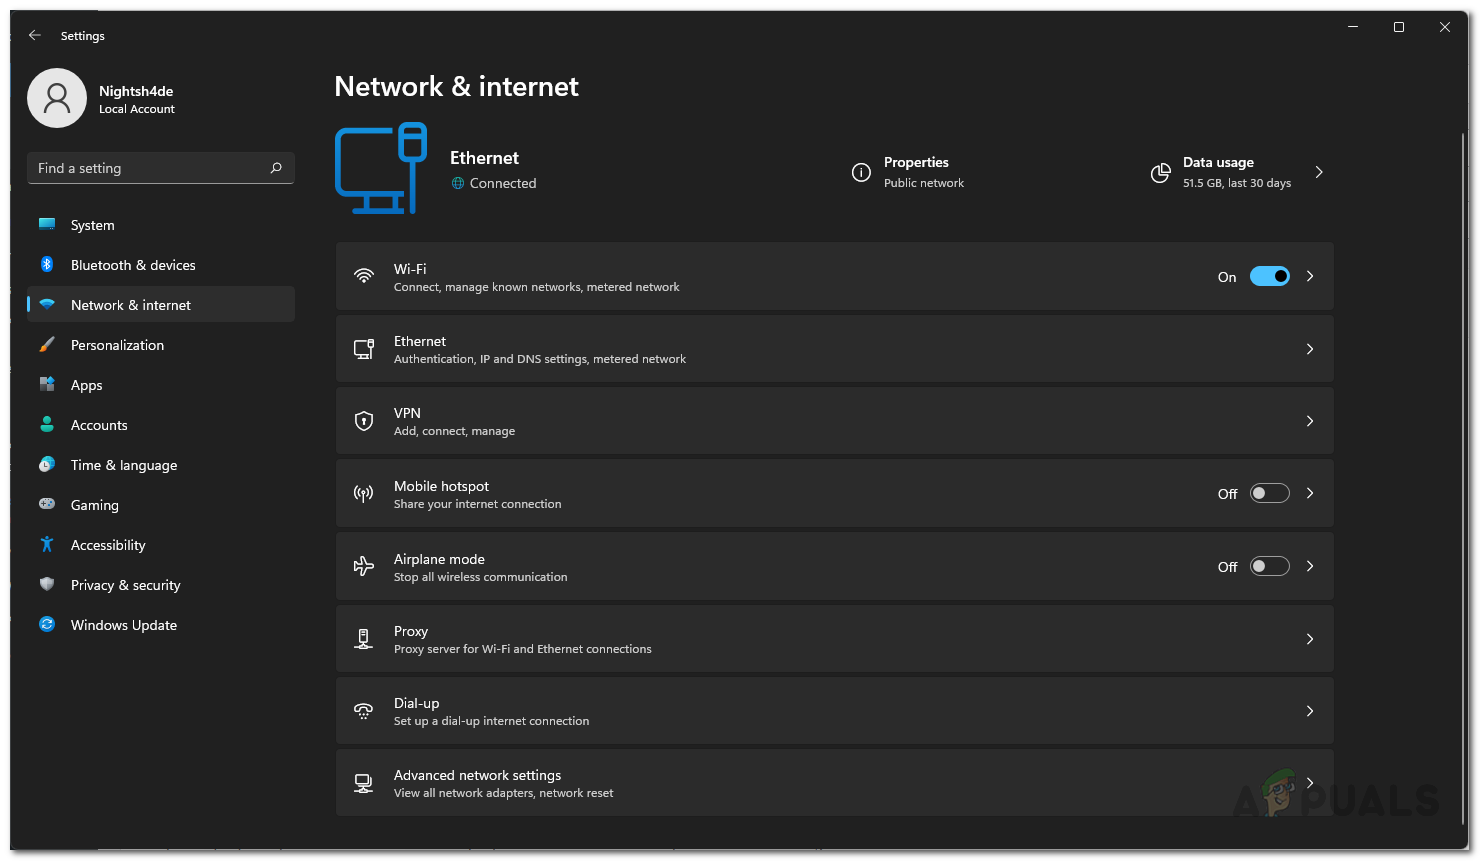
Network Settings - Once you are there, click the More network adapter options option.
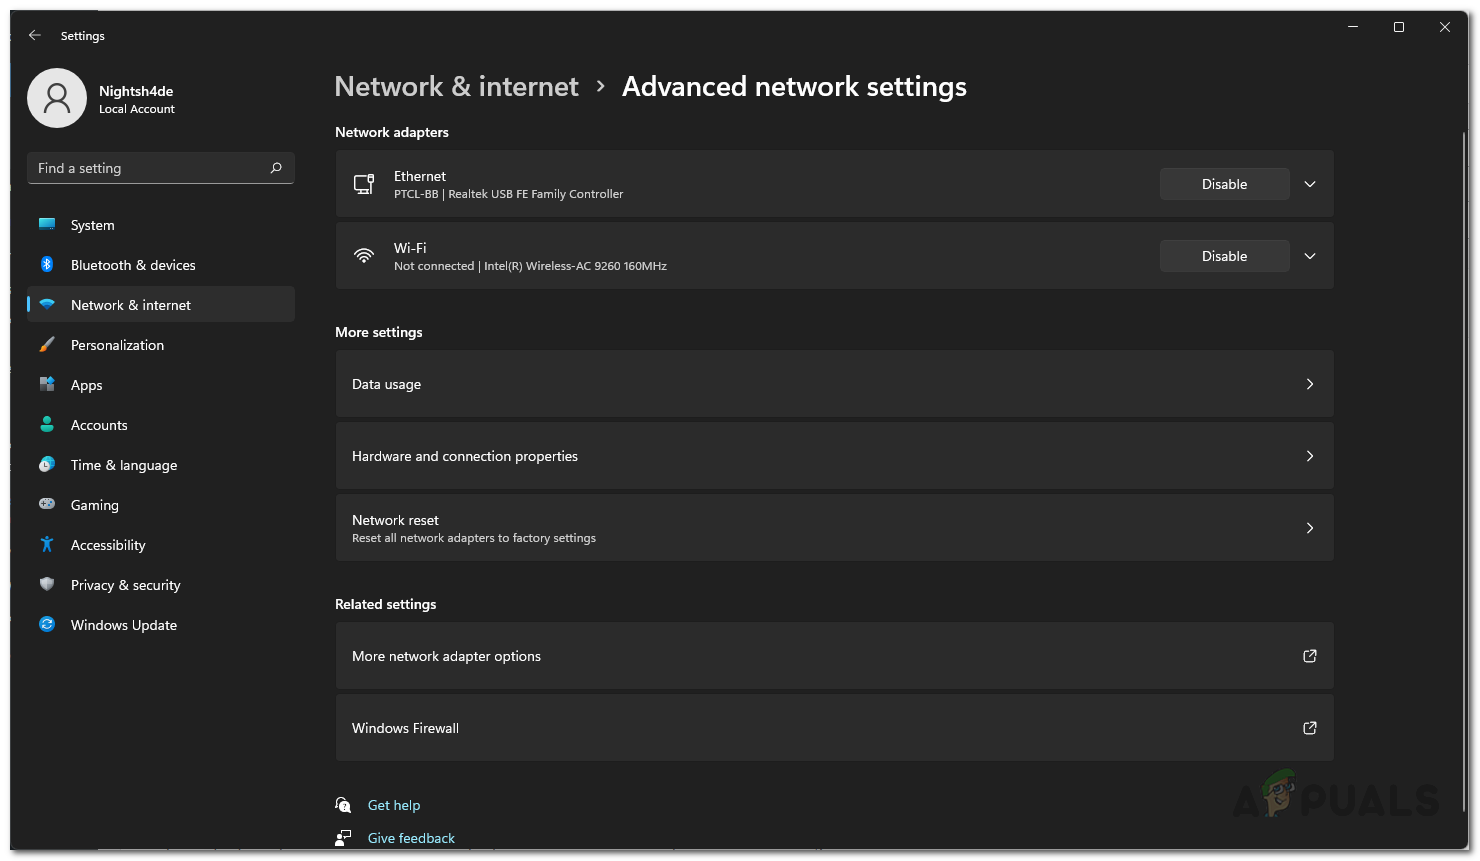
Advanced Network Settings - Then, on the window that appears, right click on your network adapter and from the drop down menu, choose the Properties option.
- On the Properties window, double click on the Internet Protocol Version 4 (TCP/IPv4) option.
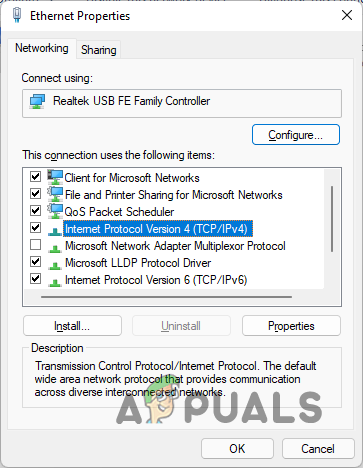
Opening up IPv4 Properties - Now, choose the Use the following DNS server addresses option and then provide either Google or Cloudflare’s public DNS server addresses from down below:
Google:
8.8.8.8
8.8.4.4

Cloudflare:
1.1.1.1
1.0.0.1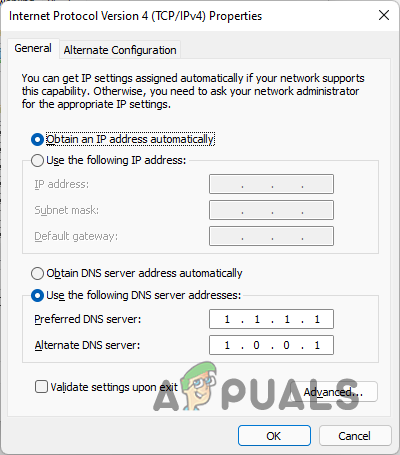
Changing DNS Server - With that done, click on the OK button.
- Then, go ahead and restart your computer.
- After your PC boots up, see if the problem still persists.


