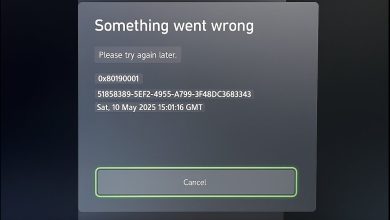
How to Fix PS4 Error CE-43461-8?
PS4 error CE-43461-8 usually occurs when a system firmware update fails, causing it to stop suddenly. This error indicates problems with the system software, often due to a damaged update file or database issues within the console. The main reason is generally an interrupted firmware update caused by unstable network connections or corrupted files.
Additionally, hardware issues like a faulty hard drive can also be the cause.
In this article, we will discuss different solutions to fix this problem.
1. Delete the Update Notification
When a system update fails, the update notification may retain corrupted or partially installed files, which can prevent future updates from progressing correctly. Deleting the update notification clears these remnants, enabling the system to restart the update process without any interference.
- On the PS4 main dashboard, navigate to the Notifications bar using the ribbon at the top.
- Press the triangle button to enter Delete mode. Select the update-related notification you want to remove and press X. You can use Select All to choose all notifications at once.
- After selecting the notifications, press the Delete button followed by the X button.
- Confirm the deletion at the prompt to ensure the Notification bar is clear of any pending firmware update alerts.
- Restart your console and check if the issue is resolved after the restart.
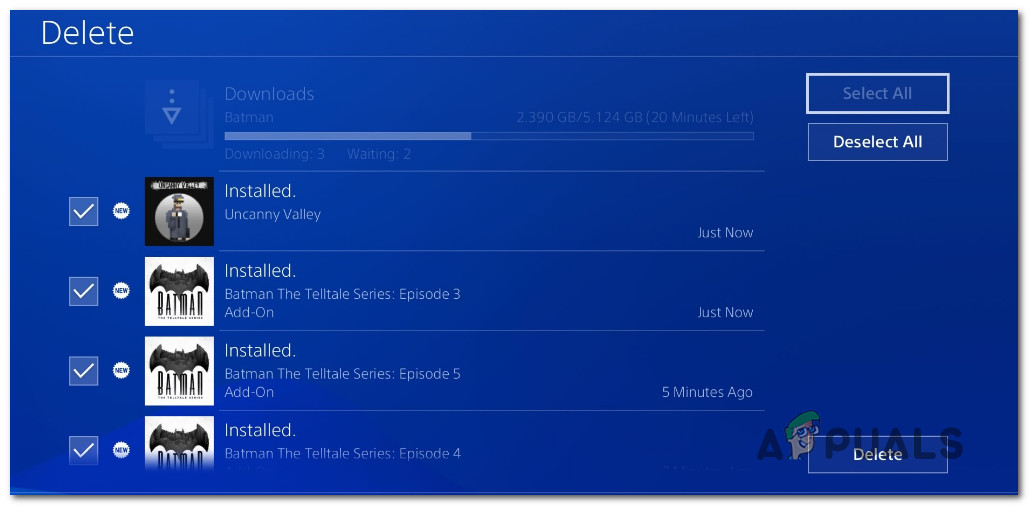
Deleting Notifications on PS4
2. Rebuild the Database
Rebuilding the PS4 database helps resolve error CE-43461-8 by reorganizing the system’s data structure and fixing corrupted files causing update issues. This process cleans up data storage without deleting your saved games, improving system performance and preventing future errors.
IMPORTANT: If the CE-43461-8 error is due to file corruption, rebuilding the database may affect your personal files. Ensure you back up your saved game data before starting.
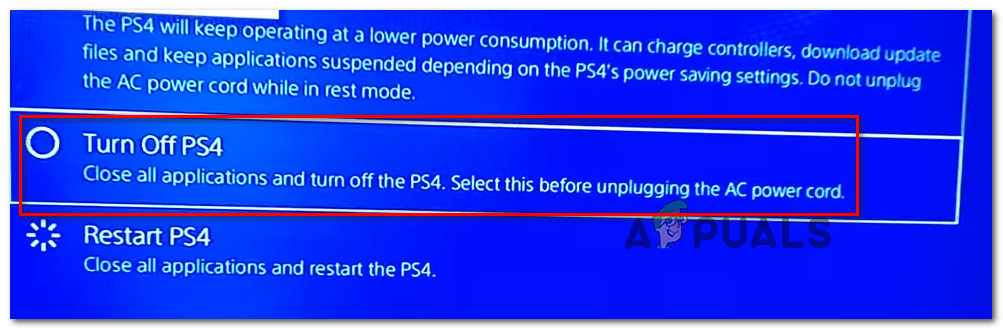
- Ensure your console is on, then power it off by holding the power button until the Power Options menu appears. Select Turn Off PS4.
Turning Off your PS4 console - Once off, wait a minute to ensure full power down.
- Press and hold the power button until you hear the second beep, then release it to enter Safe Mode.
- On the Safe Mode screen, connect your DualShock 4 controller with a USB cable.
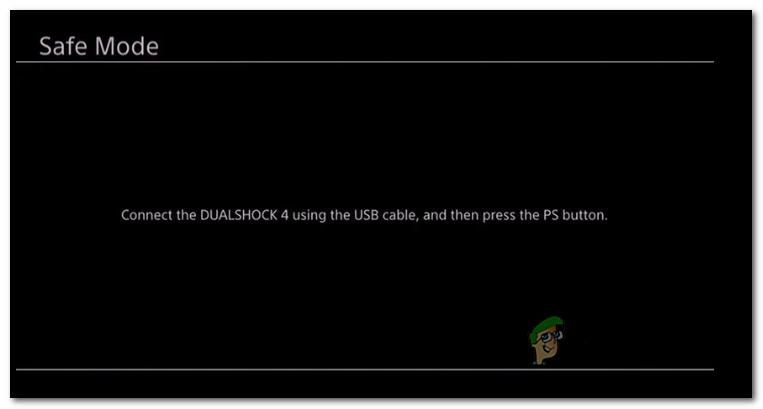
Accessing the Safe Mode screen - Navigate to Rebuild Database (Option 5) and press X to begin the process.
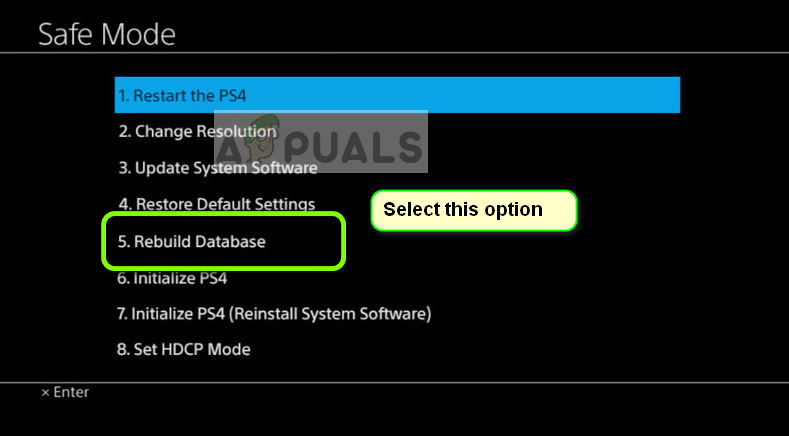
Rebuilding Database PS4 - Wait for the operation to complete. Avoid restarting the console during the process, as pauses are normal, especially with an HDD.
- After the rebuild, restart your console and check if the CE-43461-8 error is resolved when reinstalling the firmware update.
3. Reinstall the Internal Hard Drive
This issue can be caused by physical or logical corruption of the internal hard drive. Reinstalling the drive can resolve this error by addressing these problems. If the hard drive has bad sectors or is loose, securely reinstalling or replacing it can ensure the console processes updates correctly.
- Turn off your PS4 console completely, ensuring it is not in hibernation. Once the console is off and inactive, unplug the power cord from both the console and the outlet.
- Remove the hard drive cover to access the HDD. Note that instructions vary by PS4 version; refer to the specific guide for your model:
Standard PS4 Hard Drive Replacement
PS4 Slim Hard Drive Replacement
PS4 Pro Hard Drive Replacement - After reinstalling or replacing the hard drive, try installing the pending update again to see if the issue is resolved.
4. Install the Pending Firmware Update Manually
Manually installing the firmware update with a USB drive allows your PS4 to bypass problems that might occur with automatic updates, such as network instability or corrupted downloads. This method ensures that the console receives a complete and intact firmware file.
- On your Mac or PC, insert your flash drive and format it to FAT32 by right-clicking the drive in My Computer (This PC) and selecting Format.
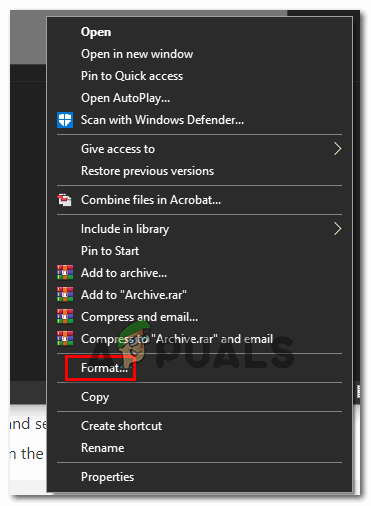
Formatting the flash disk - In the Format dialog, name it PS4, set File System to FAT32, leave Allocation unit size at Default, check Perform a quick format, and click OK.
- After formatting, access the drive and create a new folder named UPDATE (all caps).
- Visit the official PS4 firmware download page, scroll to the Download section, and click PS4 System update file.
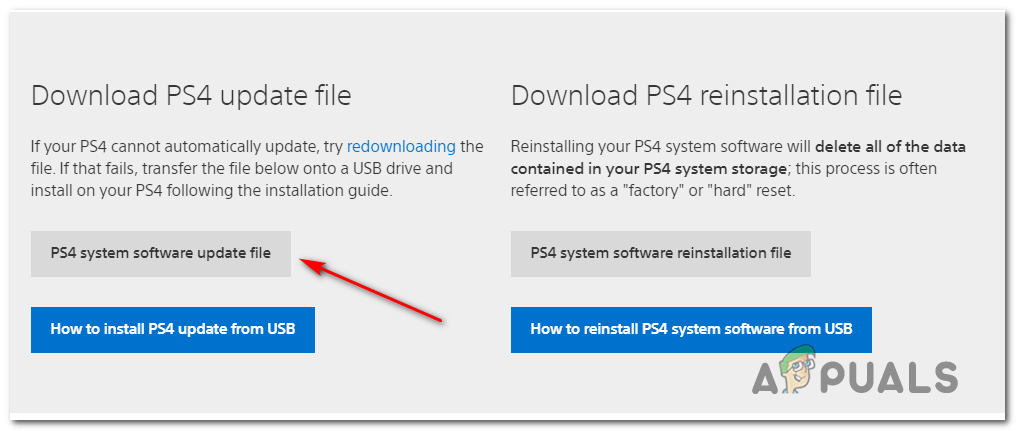
Downloading the latest system update for your PS4 - Once downloaded, move the file into the UPDATE folder on your flash drive.
- Safely eject the flash drive and plug it into your PS4.
- On your console, press and hold the power button until you hear two beeps.
- The console will enter Safe Mode.
- Connect your controller with the USB cable and press the PS button.
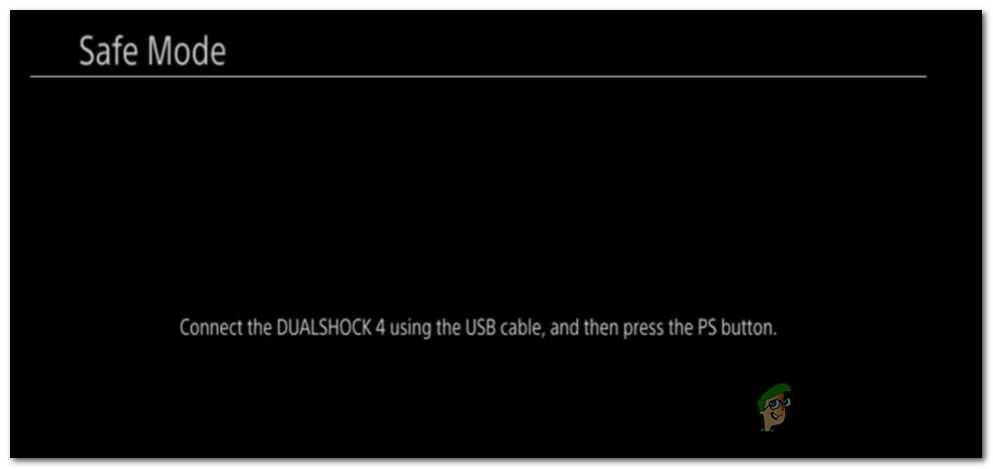
Connecting the PS4 controller - Select Option 3: Update System Software.
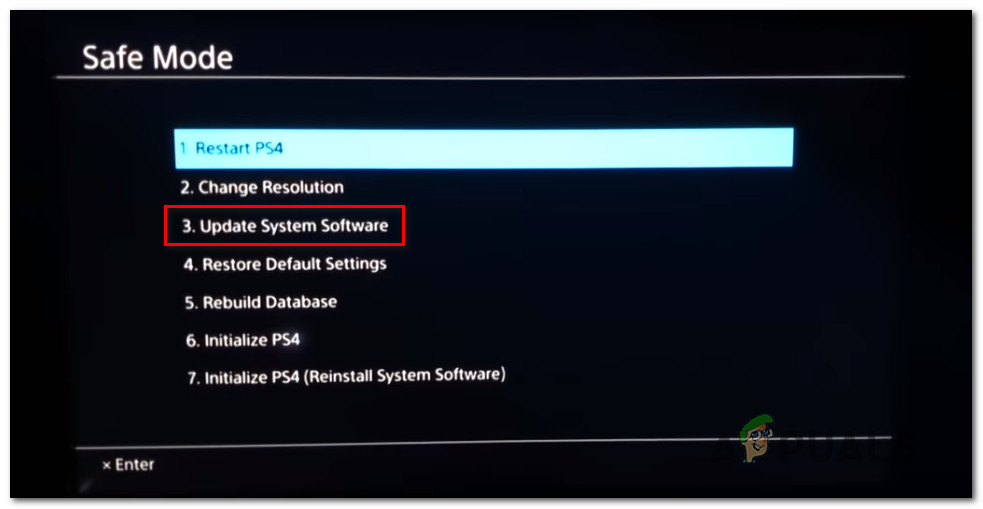
Update PS4 software via Safe Mode - Choose Update System Software (Option 3) from the submenu.
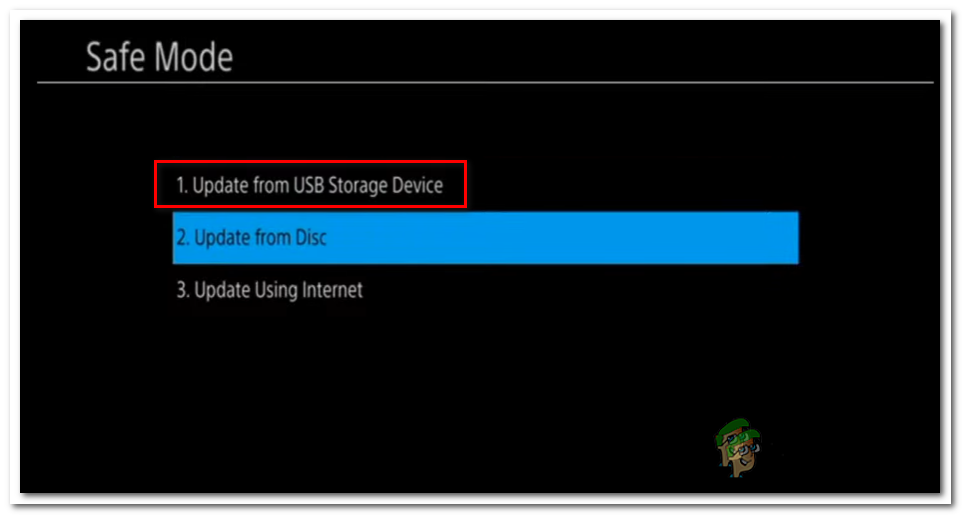
Updating to the latest firmware update via USB Storage Device - Allow the update to install, then restart your console normally.
5. Initialize Your PS4 Console
Performing a full PS4 initialization can effectively resolve this error by erasing all data, including corrupted files or broken updates. This restores the console to factory settings, allowing the system software to start fresh without any hidden issues.
Note: Be aware that this will delete all data (game data & save game data) on your PlayStation 4 HDD/SSD.
To ensure you don’t lose any important data, we’ve included steps to guide you through safely backing up save game data associated with your PSN account on the cloud.
Note: Cloud data backup only works with an active PS+ subscription. Alternatively, you can back up your save game data on a USB flash drive.
- Ensure you are signed into your PSN account to save all necessary data.
- Go to the Settings menu from the main dashboard.
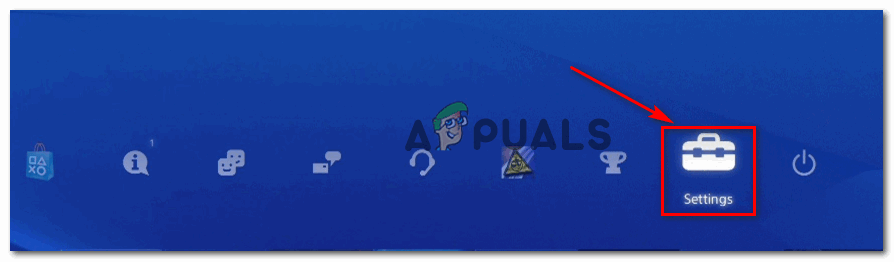
Access the Settings menu on PS4 - Select Application Saved Data Management, then Saved Data in System Storage.
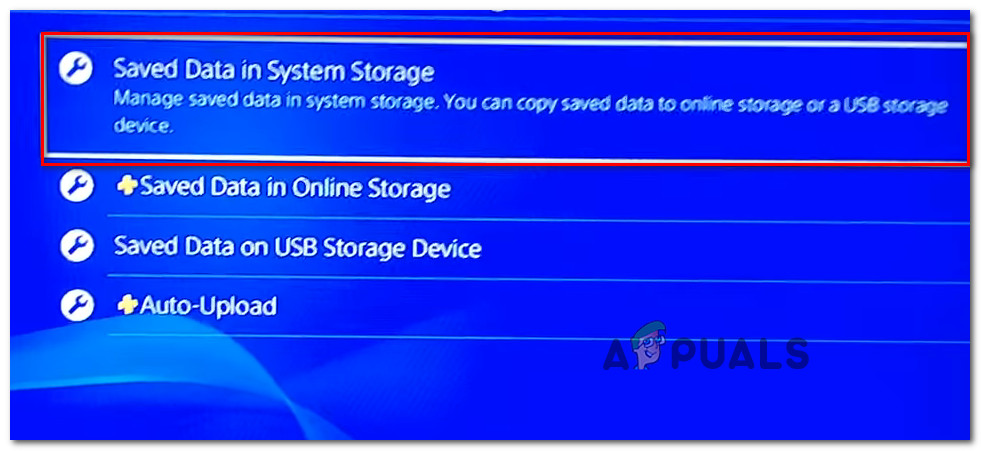
Access Saved Data on PS4 - Choose Upload to Online Storage and press X.
Note: If not subscribed to PS Plus, use Copy to USB Storage Device.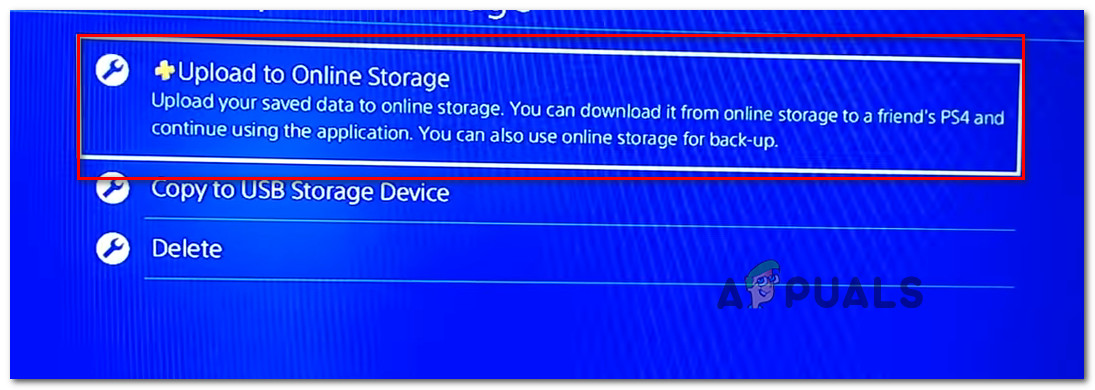
Select the backing option - Press Options on your controller, select Choose Multiple Applications, then select all save games to keep. Click Upload/Copy to cloud or flash drive.
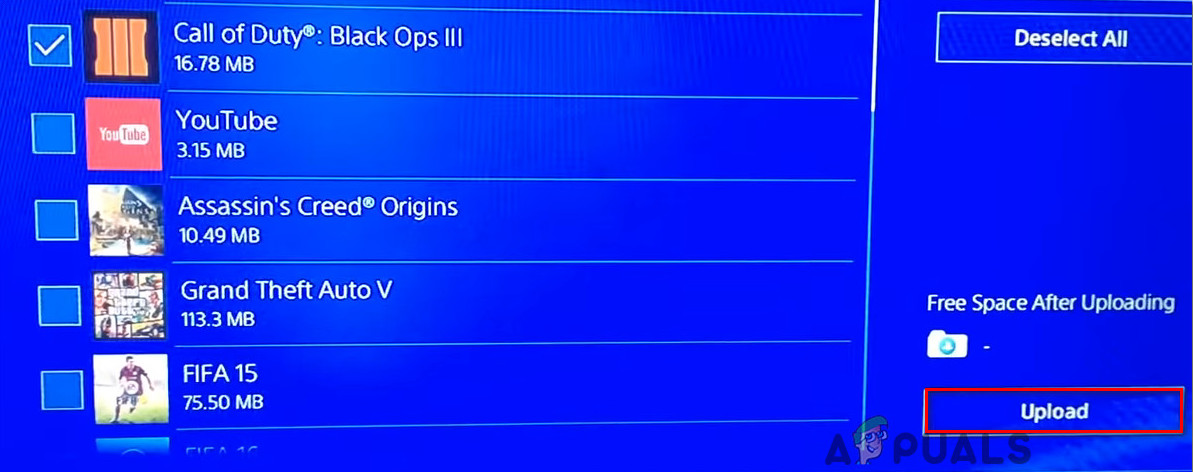
Uploading save games Note: Confirm the override if the version is stored on the cloud. Use Apply to all to simplify conflicts.
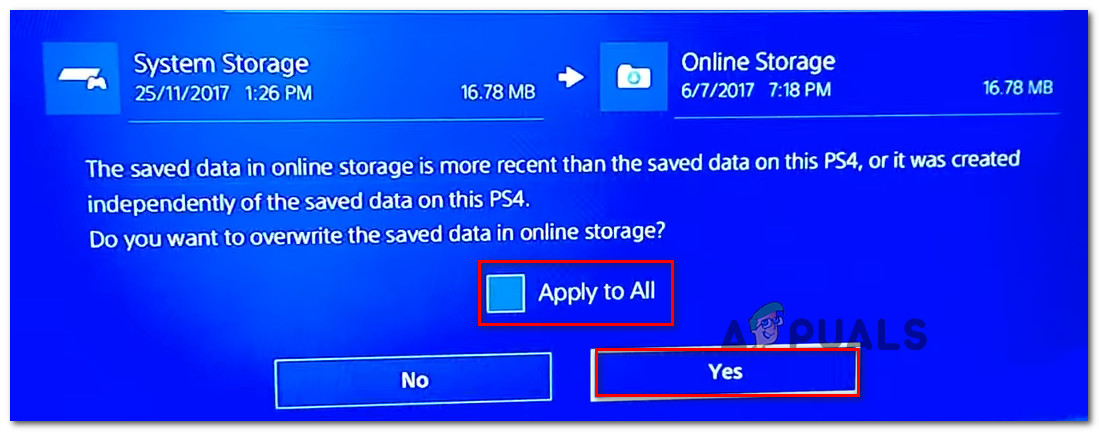
Confirm the upload process - Press the PS button, navigate to the Power Menu, and select Turn Off PS4.
Click ‘Turn Off PS4’ - Wait 30 seconds, then press and hold the power button until 2 beeps sound, entering Recovery Menu.
- In Recovery, connect your controller via USB, select Option 6 (Initialize PS4), and press X.
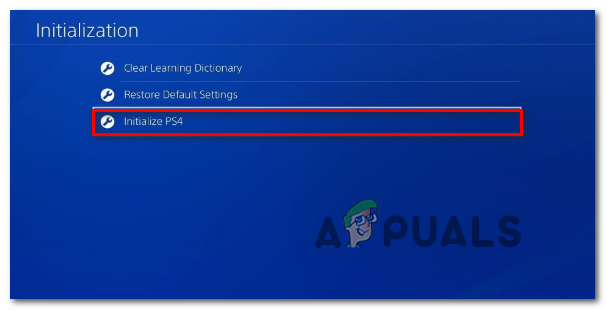
Factory resetting your PS4 - Confirm by clicking Yes and wait for completion.
- After rebooting in normal mode, navigate to Settings > Application Saved Data Management.
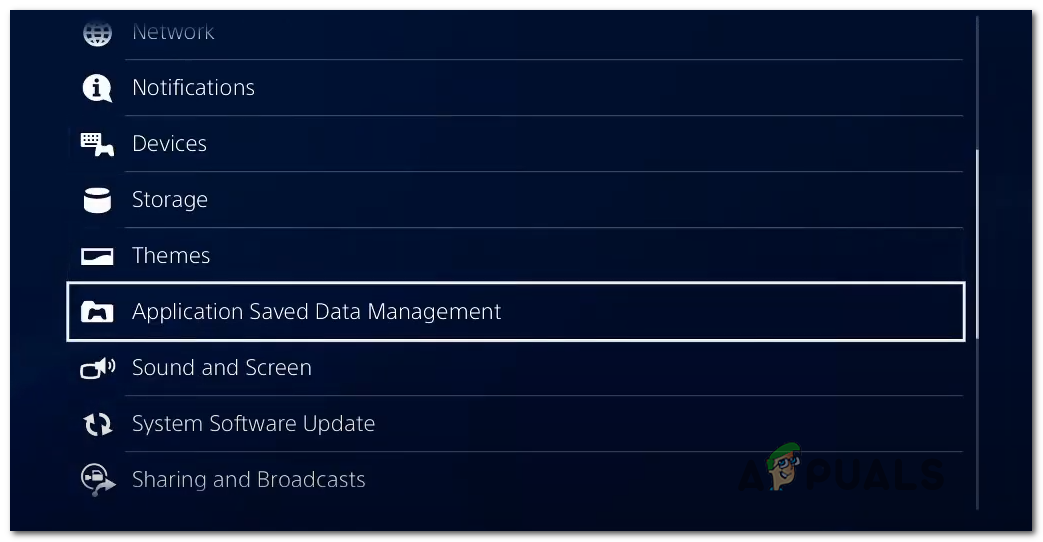
Access Application Saved Data Management - Select Saved Data in Online Storage and follow instructions to download your backup. For USB backups, choose Saved Data on USB Storage.
- Reinstall the firmware update to check if resolved.