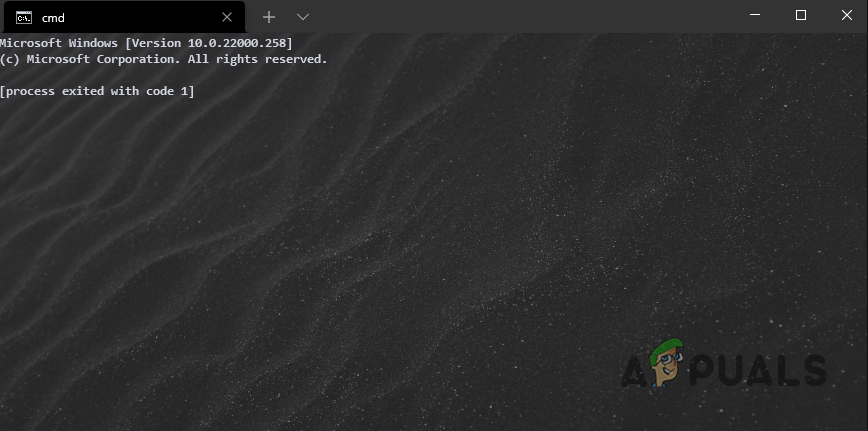
Process Exited with Code 1? Here’s how to fix
As it turns out, upon opening up a command prompt window, the “Process exited with code 1” error message is shown. In addition to that, there’s no prompt so users cannot use the command prompt at all. This problem usually comes up when you have Anaconda installed on your system which comes with its own Anaconda Prompt along with many other things. In this article, we are going to show you how to resolve the problem in question quite easily so just follow through with the given guidelines.
As it turns out, Anaconda is a famous toolkit for data science that mainly uses the Python and R languages. Since this is a toolkit, there are a number of different tools that come packed with Anaconda. While, normally, the command prompt is not used that much, there are still a lot of cases where it can be really helpful. Like we have mentioned above, the error message in question appears usually when you have installed Anaconda on your system and there is quite an easy remedy to the problem at hand. Thus, without any further ado, let us get started and show you how to resolve the “Process exited with code 1” error message.
Delete Command Processor AutoRun Key
In order to resolve the problem in question, you will have to delete a specific Windows Registry key. As it turns out, it is no surprise that Windows Registry is responsible for how your system behaves and operates. There exists a key inside Windows Registry for Command Processor which essentially refers to the command prompt called AutoRun.
The key is basically used for running a specific task or program automatically when the command prompt is launched. Thus, the name AutoRun. To fix the error message, you will have to get rid of the mentioned key.
Now, there are two ways you can achieve this, one is using a simple command that requires it to be entered in a Powershell window. We would recommend this if you are not versed with using or navigating the Windows Registry. Secondly, you can choose to remove the key manually by navigating to the respective path. We will be mentioning both ways so you can choose whichever suits you best.
Use Powershell
If you wish to go for the simpler approach, simply follow the instructions that are given down below:
- First of all, open up the Start Menu and search for Powershell. Right-click on it and from the drop-down menu, choose the Run as administrator option.
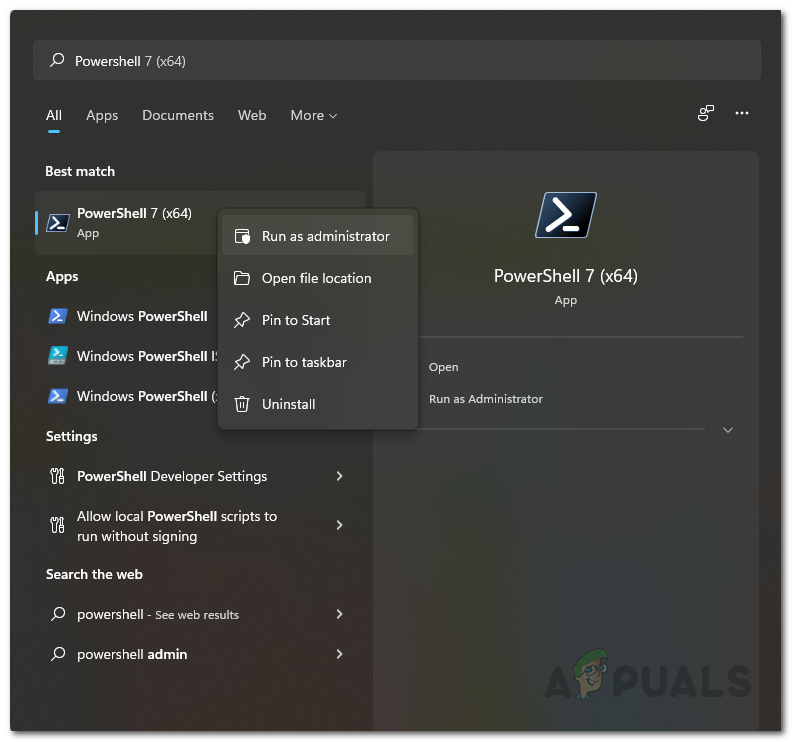
Opening up Powershell as an Administrator - Once the Powershell window is up, type in the following command or simply copy-paste it and then hit the Enter key:
C:\Windows\System32\reg.exe DELETE "HKCU\Software\Microsoft\Command Processor" /v AutoRun /f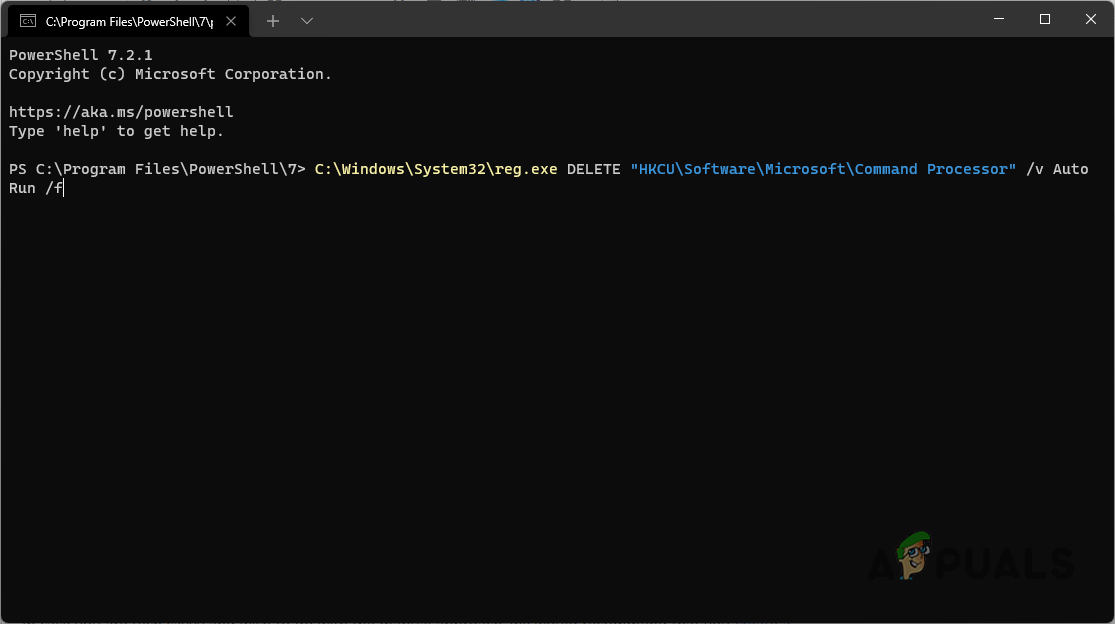
Deleting AutonRun Key via Powershell - After doing that, go ahead and restart your computer.
- Once your PC boots up, try opening up a command prompt window to see if the error message still appears.
Manually Delete AutoRun Key
In case you are tech-savvy and wish to go with the manual approach, we would recommend that you create a backup of the Windows Registry before proceeding. This is important because any unwanted mistake can render your PC stuck or something of the sort. With that said, follow the instructions that are given down below to do this:
- First of all, open up the Run dialog box by pressing Windows key + R on your keyboard.
- In the Run dialog box, type in Regedit and then hit the Enter key.

Opening up Windows Registry - This will open up the Windows Registry window.
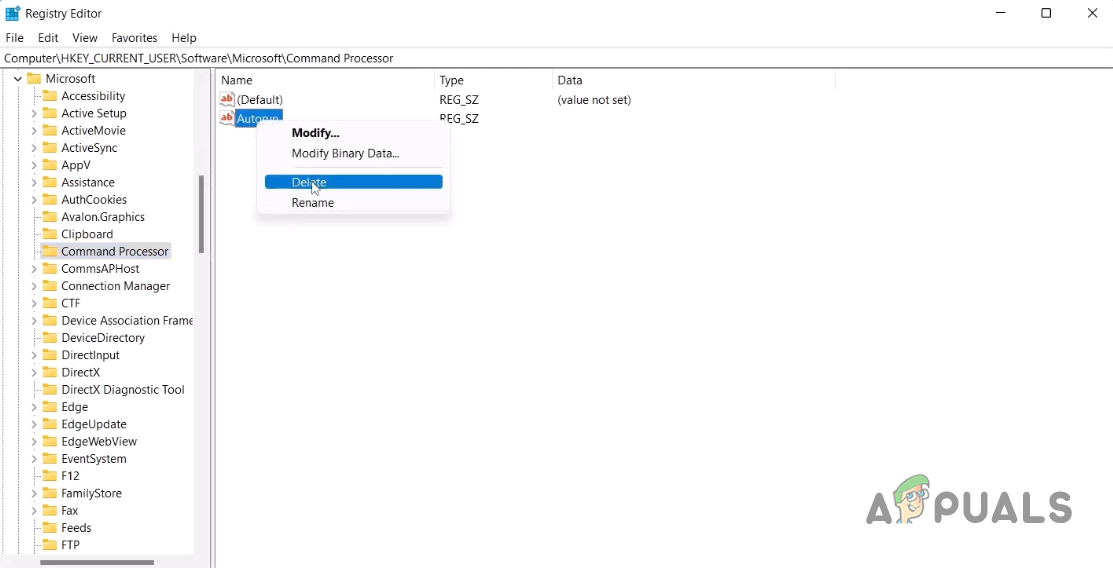
- In the address bar provided at the top, copy and paste the following path:
Computer\HKEY_CURRENT_USER\Software\Microsoft\Command Processor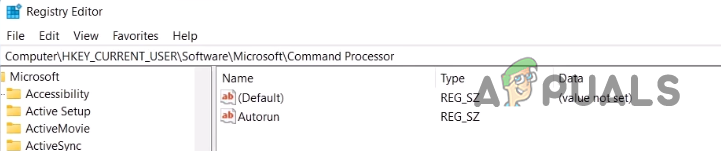
Navigating to Command Processor Path in Windows Registry - Once you are there, on the right-hand side, right-click on the AutoRun key provided, and from the drop-down menu, choose the Delete option.
Deleting AutonRun Key - With that done, go ahead and perform a system restart.
- As your PC boots up, open up a command prompt window and see if the error message is still there.
Create a New User Account
Finally, if the above solution has not fixed the problem for you, then in such a case, you can try creating a new user account on your system. This has been reported by other users facing the same error message and who were able to circumvent the problem by creating a new user account. Once you have created a new user account, you can choose to transfer your data to the new user account.
Follow the instructions given down below to create a user account:
- First of all, open up the Windows Settings app by pressing Windows key + I on your keyboard.
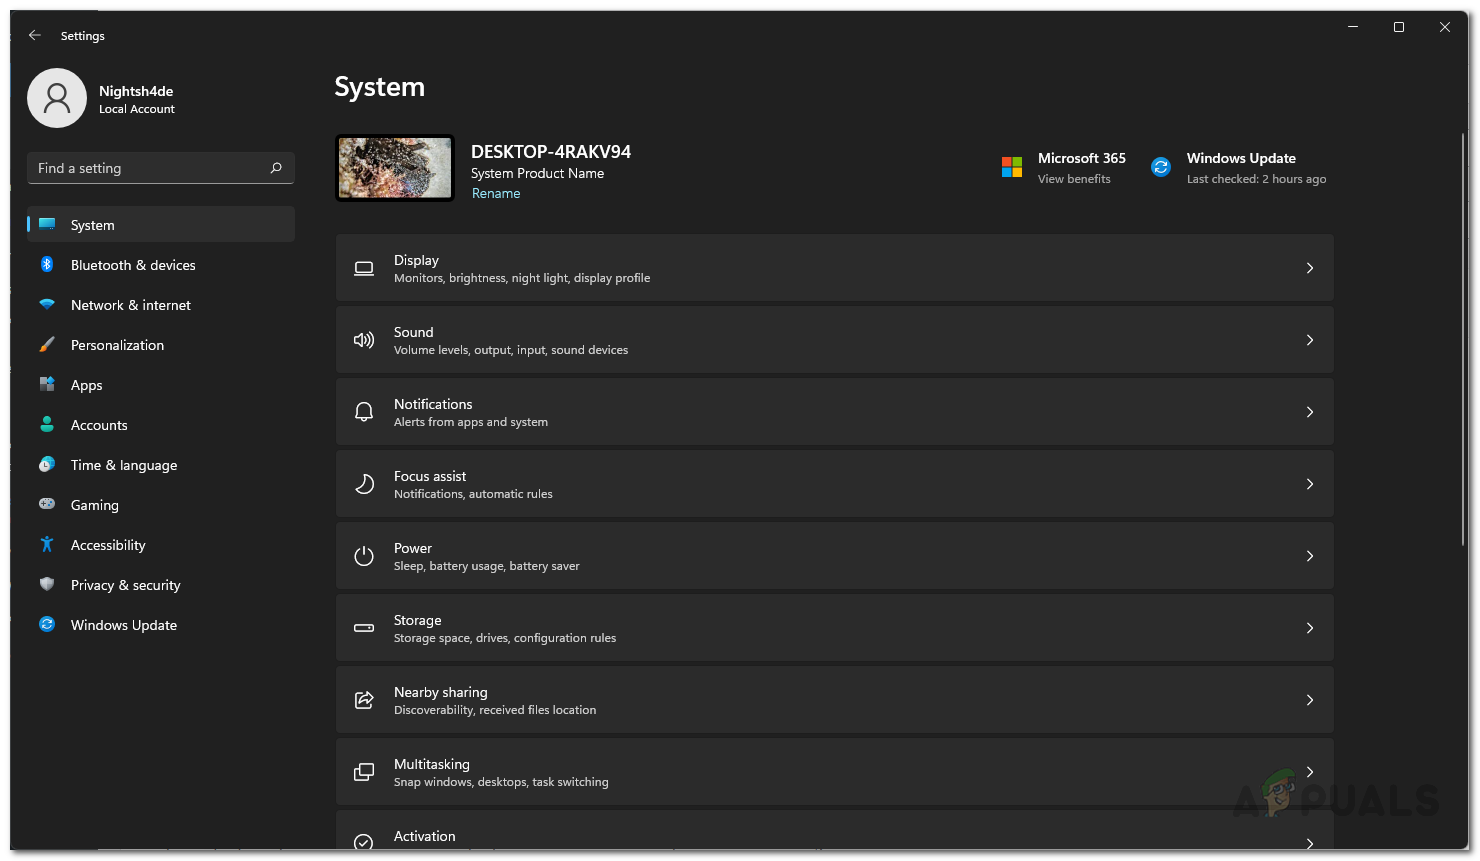
Windows Settings - Then, on the Settings app, navigate to Accounts.
- On the Accounts page, click on the Family & other users option provided.
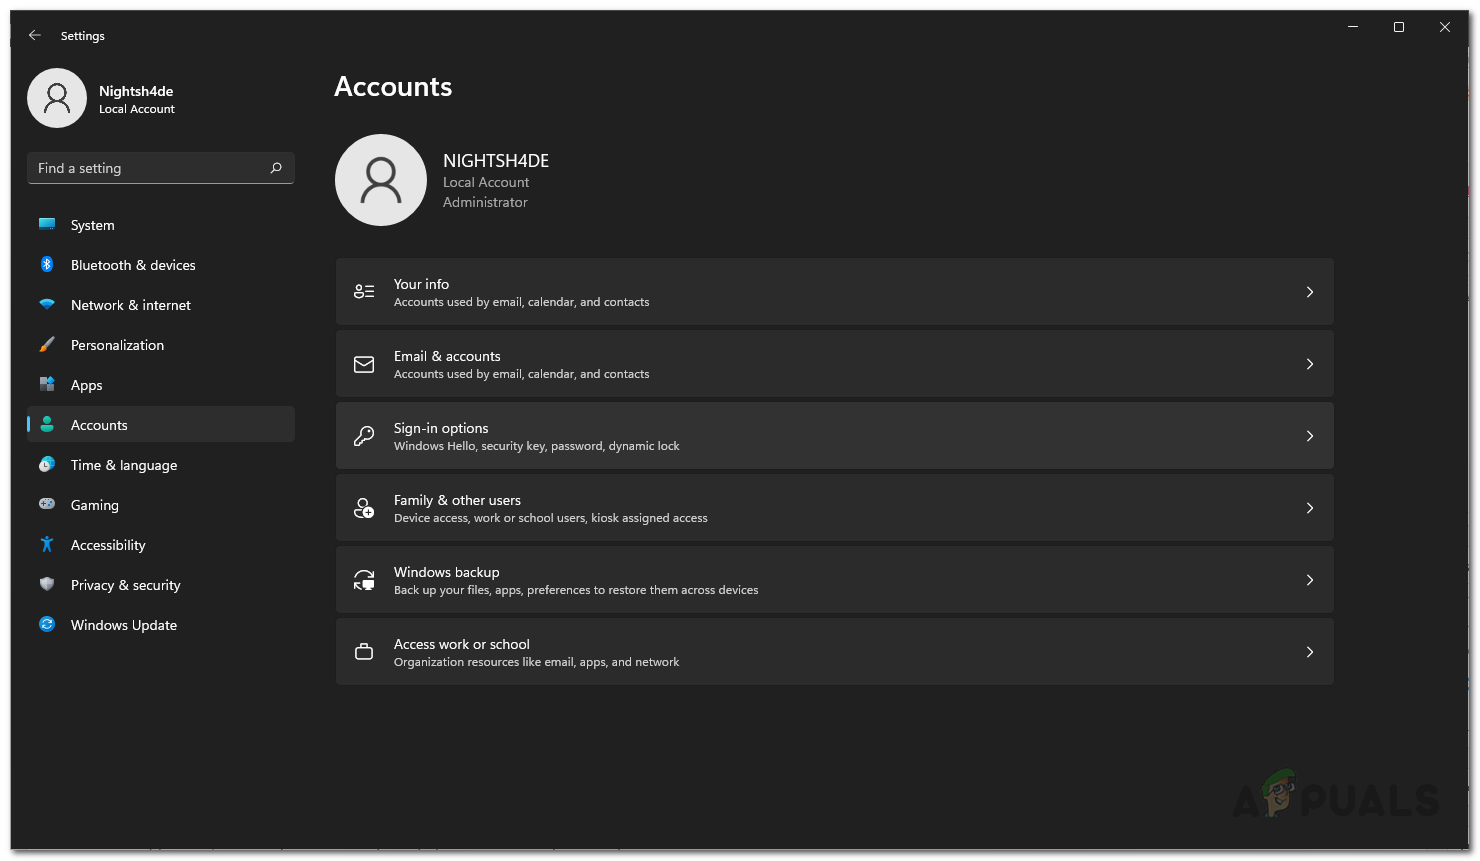
Accounts Settings - Once you are there, click on the Add account button provided in front of Add other user.

Adding New User Account - Follow the on-screen prompts to create a new user account.


Thanks, worked perfectly. I would have never found the correct registry entry without this article.