How to Print from Canva Yourself or With A Service
 Reviewed by Huzaifa Haroon
Canva is the most popular freemium online graphic design tool out there. Despite being (humorously?) seen as inferior to “real” graphic-design software like Photoshop, it offers a vast array of image and video editing options that include presentations, social media posts, poster design, AI image generation, and more.
While most print their designs by simply downloading it locally and using their printer, what many don’t know is that Canva offers a special custom print service. That’s why today, we’ll be taking a closer look at how you can print on Canva and the precise nuances of either option.
Table of Contents
Methods of Printing with Canva
If we were to break down printing on Canva at the top-most level, there is only one divide. Hence, there are 2 methods of printing with Canva:
- Printing using your device’s built-in app
- Printing using Canva’s special printing service
1. Printing using your device’s built-in application
A method that has been used ever since printing became commonplace, this involves downloading the design you created in Canva and printing it using the built-in application on your device. We’ll be addressing Windows and macOS devices in particular.
But first, here’s how to create and download your design on Canva on to your device:
- Head on over to Canva. Start your new project by clicking on any one of the options present on the site.
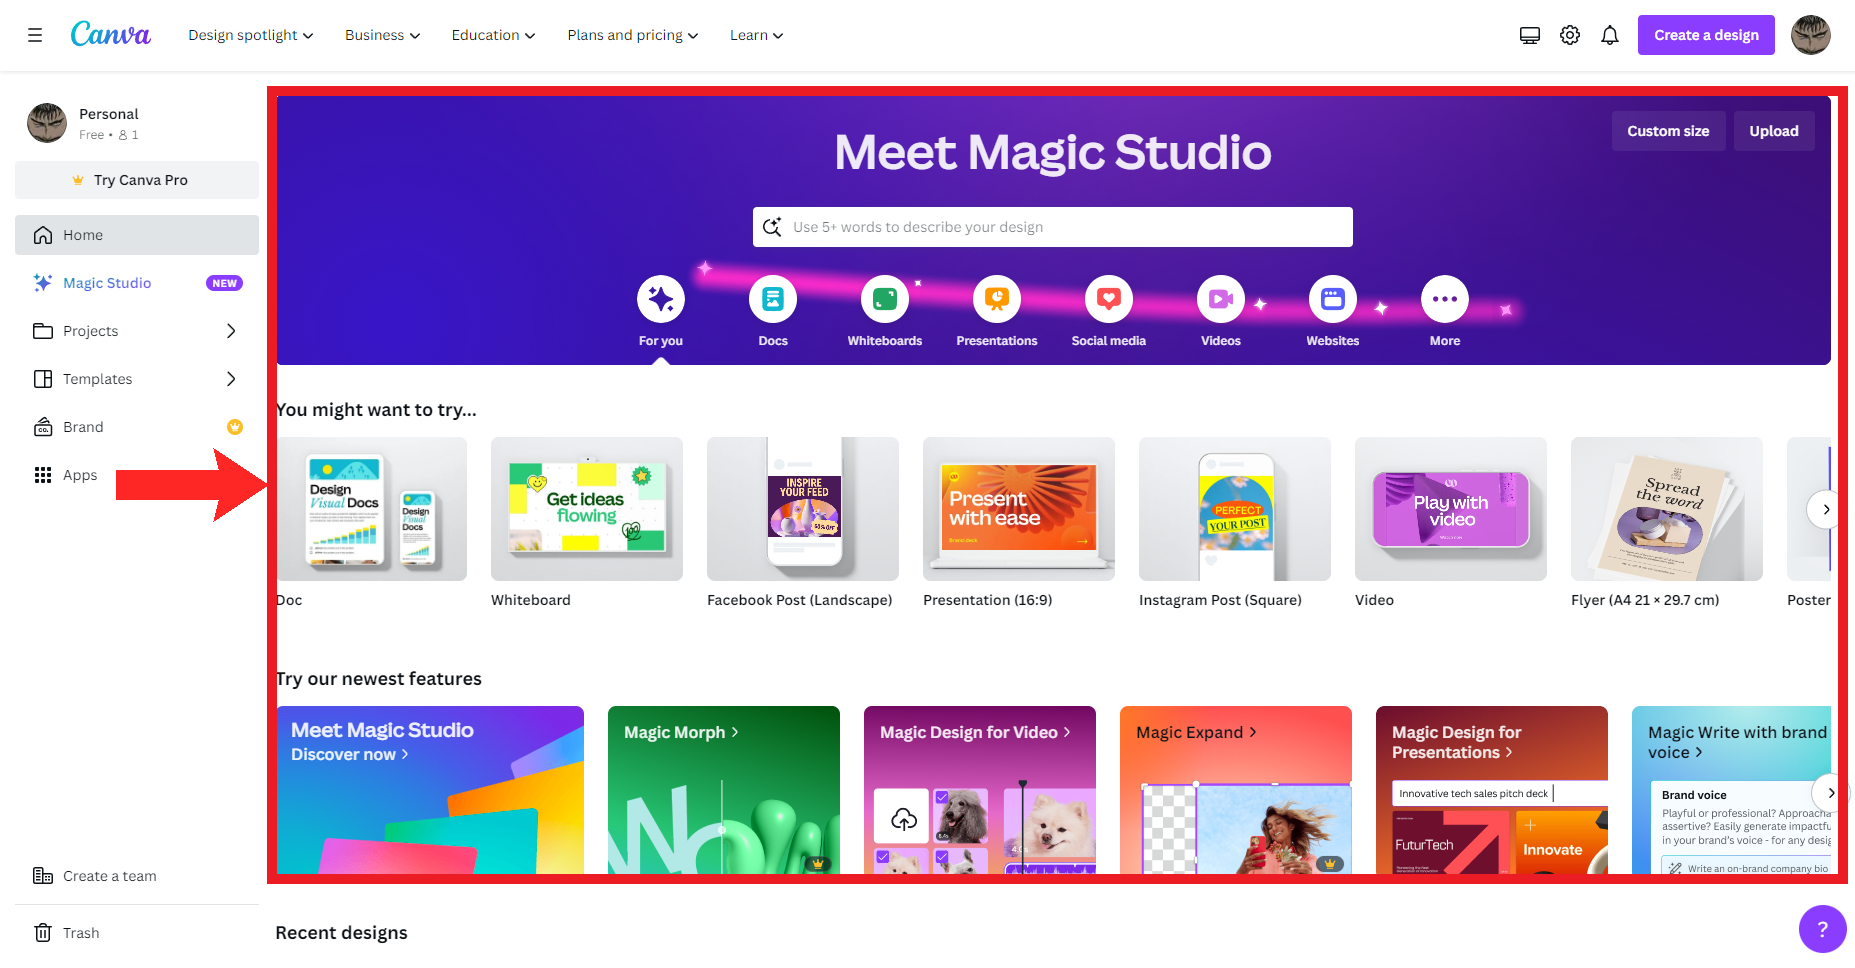
Choose from any of the creative options present on the homepage - Now, create a design of your liking. Try out all kinds of tools from the sidebar.
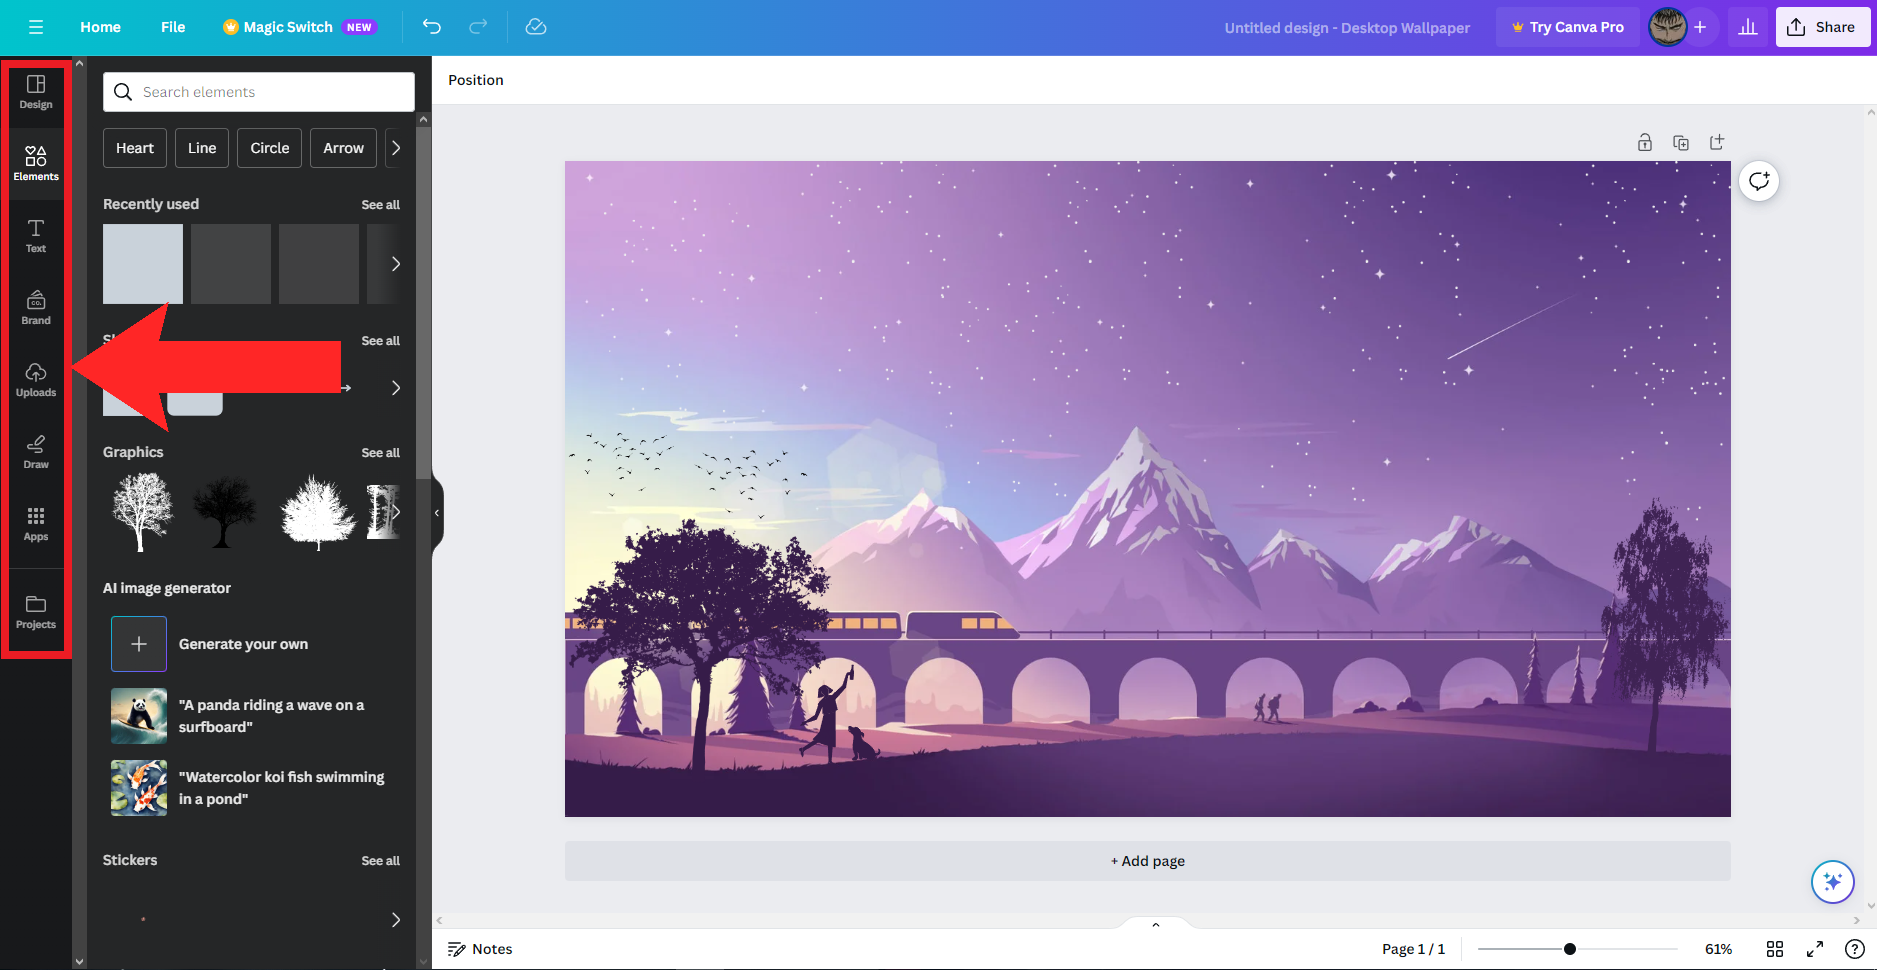
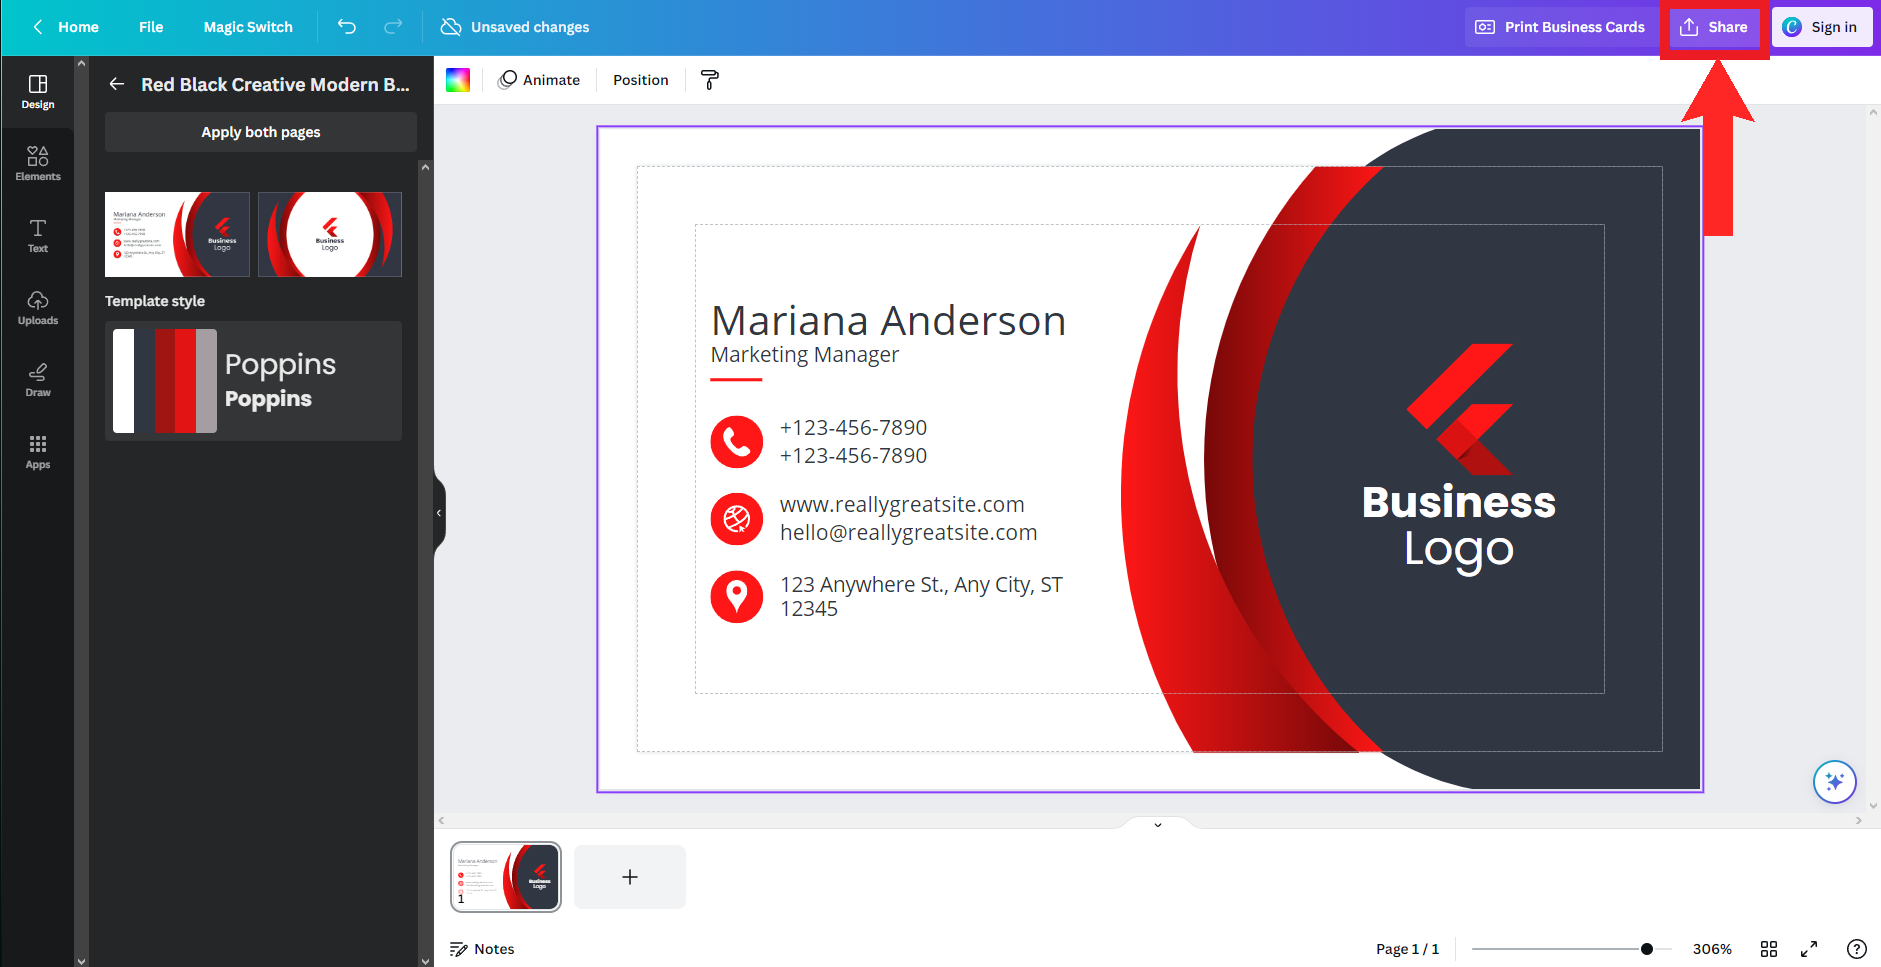
The sidebar hosts a wide variety of tools for modifying and enhancing your design - Once you’re done and ready to print, click on the Share button on the top-right corner of the screen.
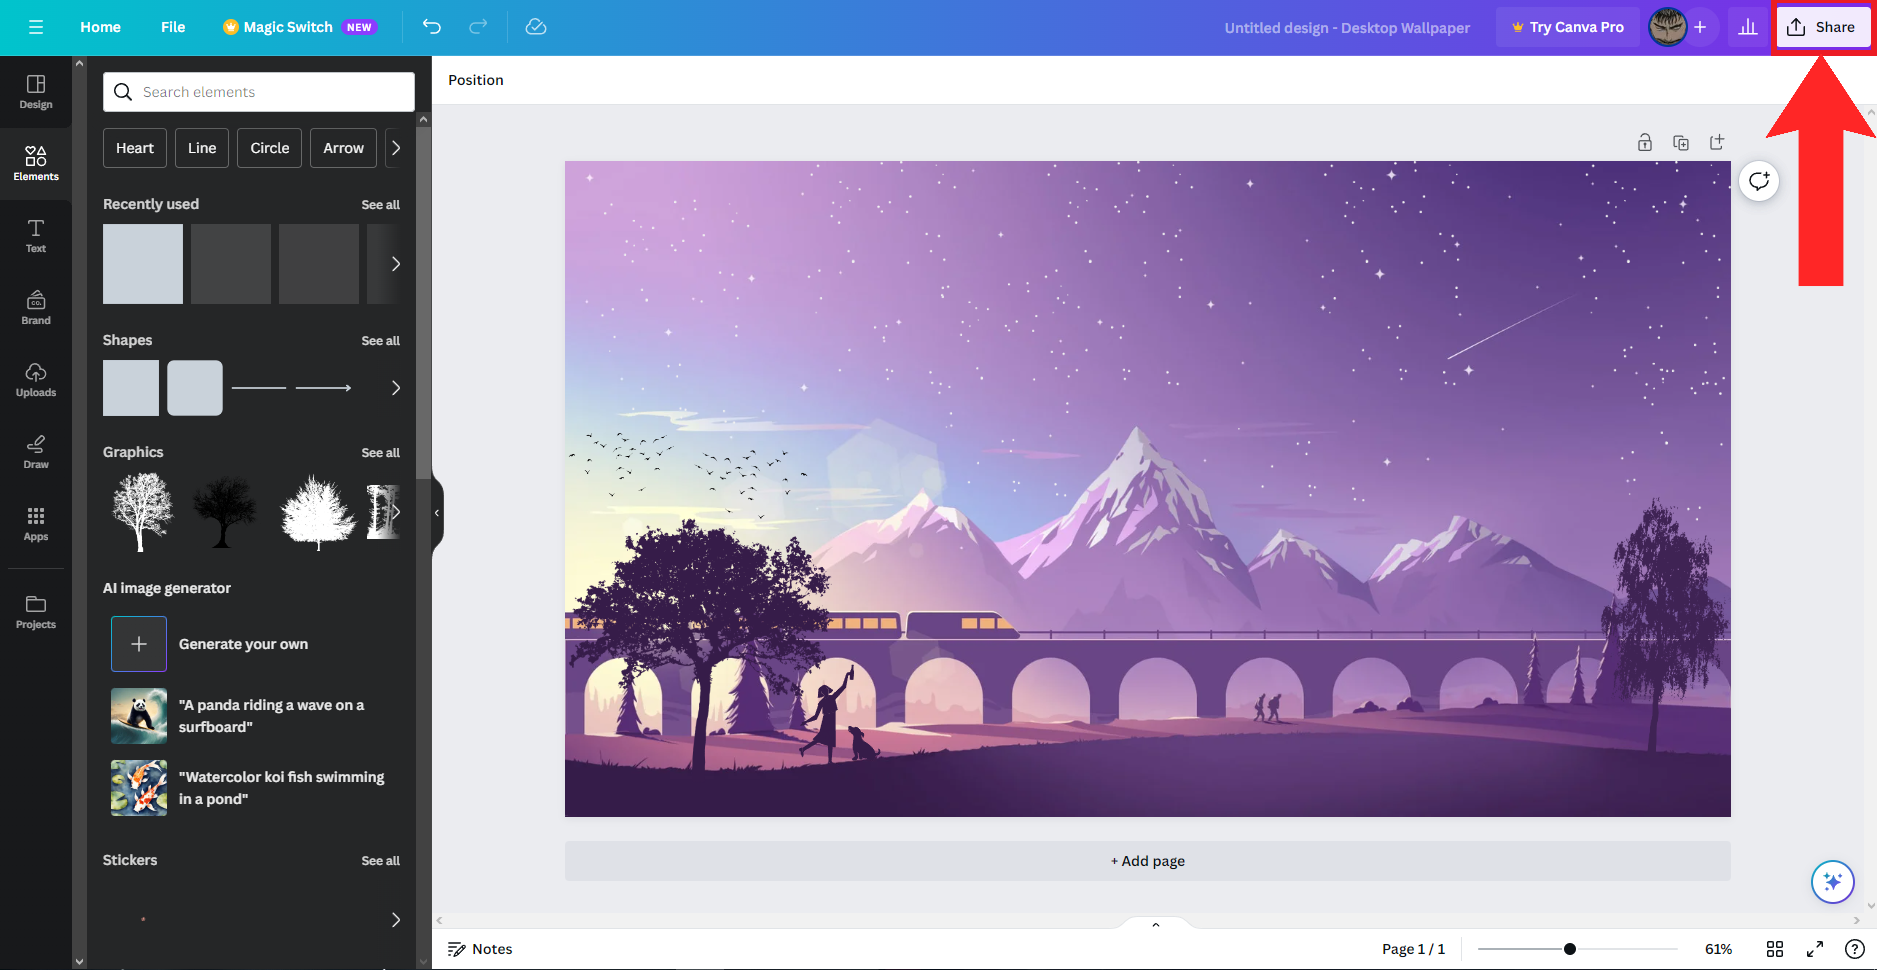
Click on “Share” - A drop-down menu will appear. Click on Download.
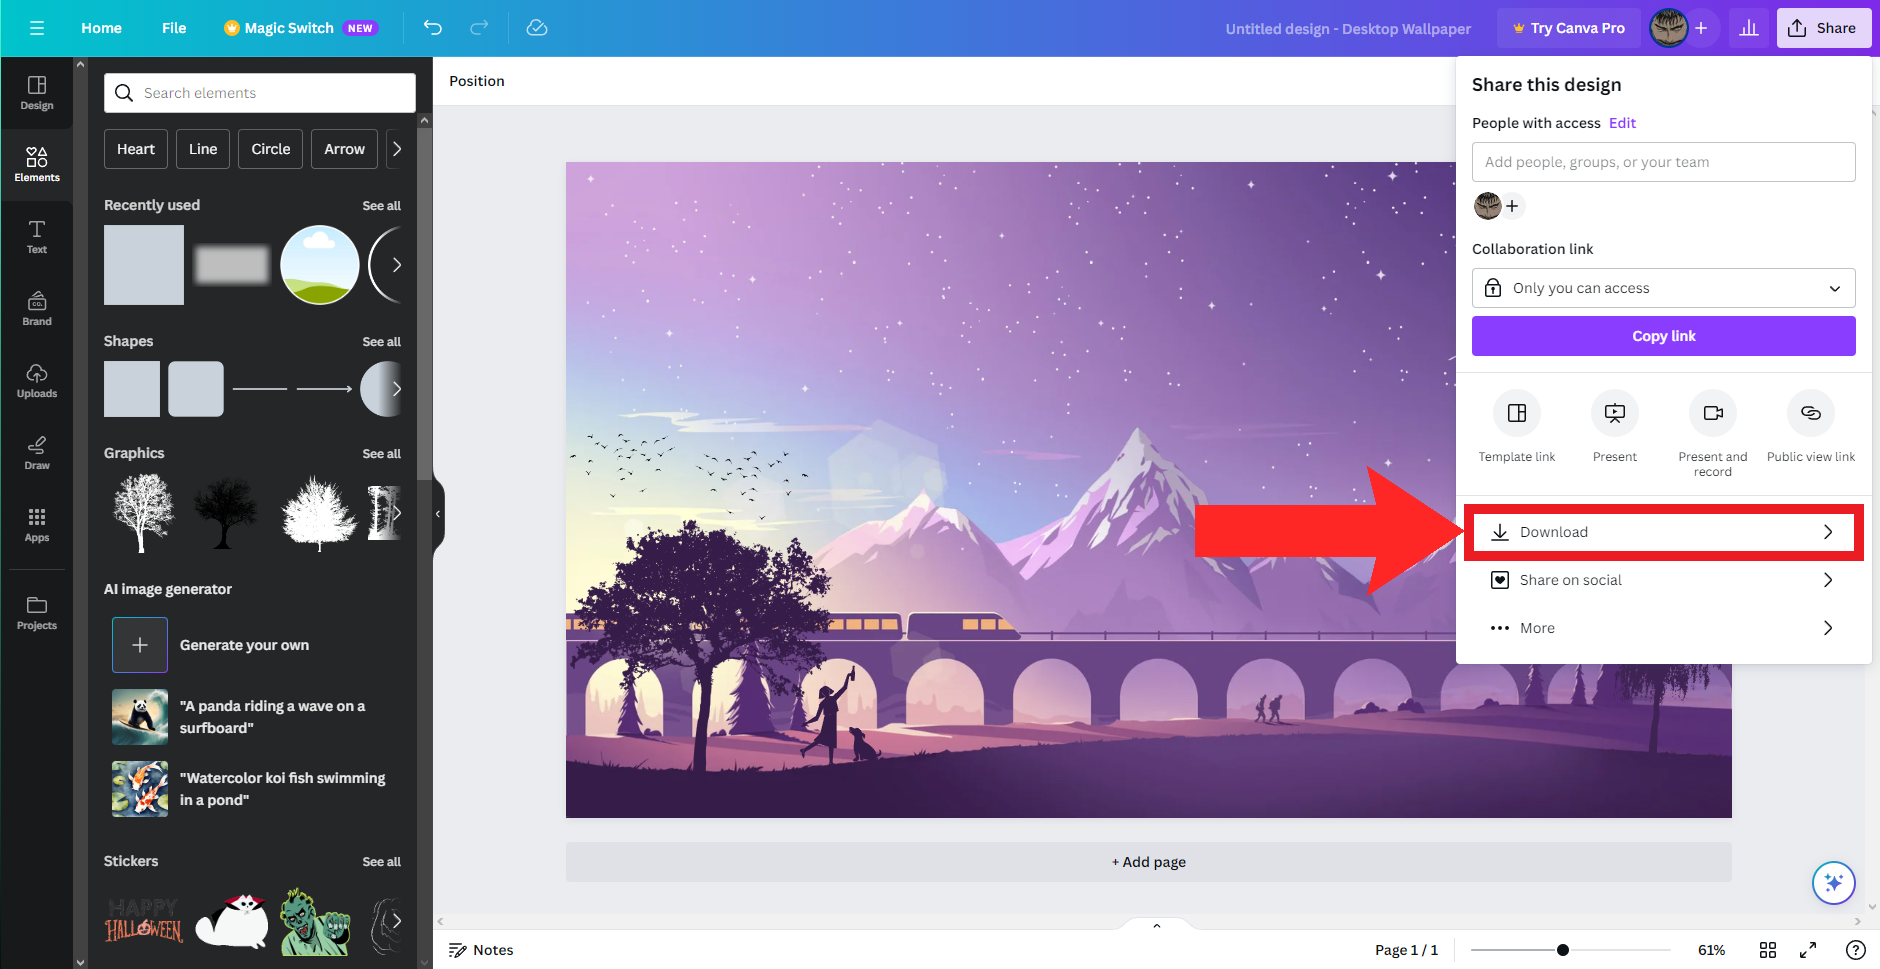
Click on “Download” - Next, the Download menu will appear. Click on the File type drop-down and choose PDF Print from the options.
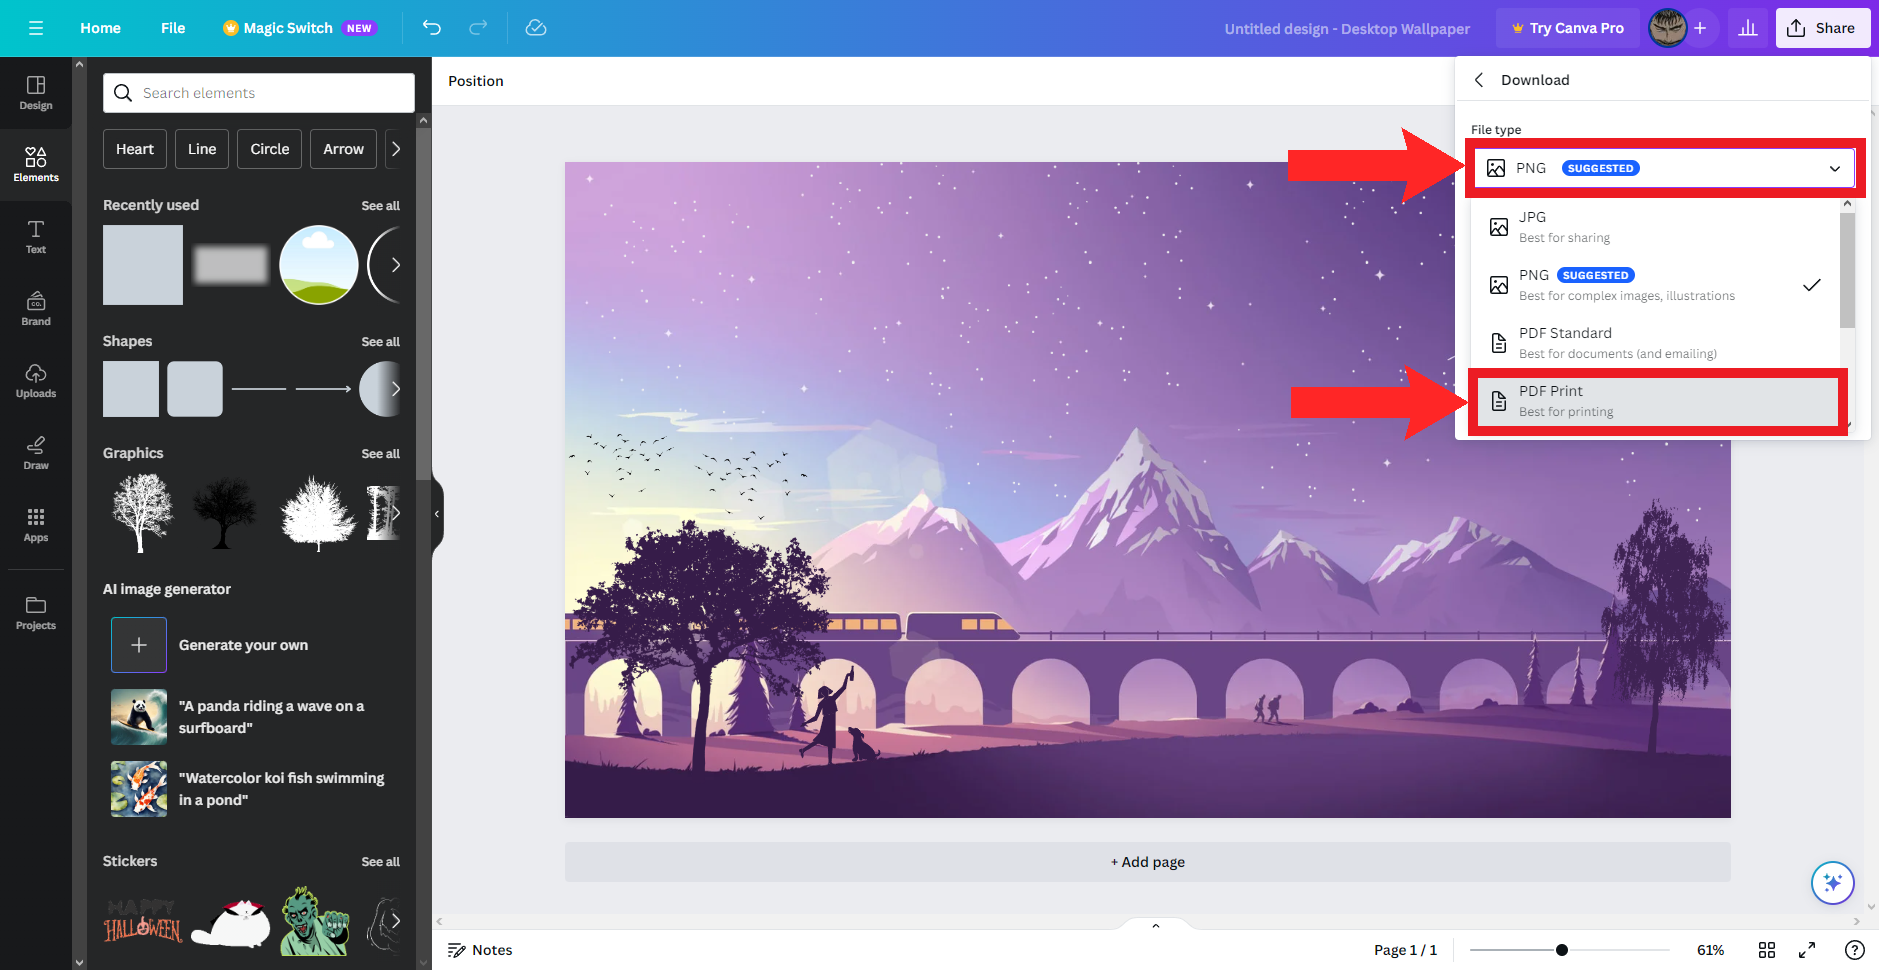
Choose “PDF Print” from the “File type” drop-down - Then, configure the settings given below the File type drop-down.
⤷ Crop marks and bleed: Used to highlight the parts you intend to cut out after printing.
⤷ Flatten PDF: Places all the elements of your design in a single layer, preventing it from being edited and allowing for a smoother printing process.
⤷ Include notes: Downloads the notes you’ve made under page along with your design.
We suggest leaving these options disabled. Except for the Flatten PDF option.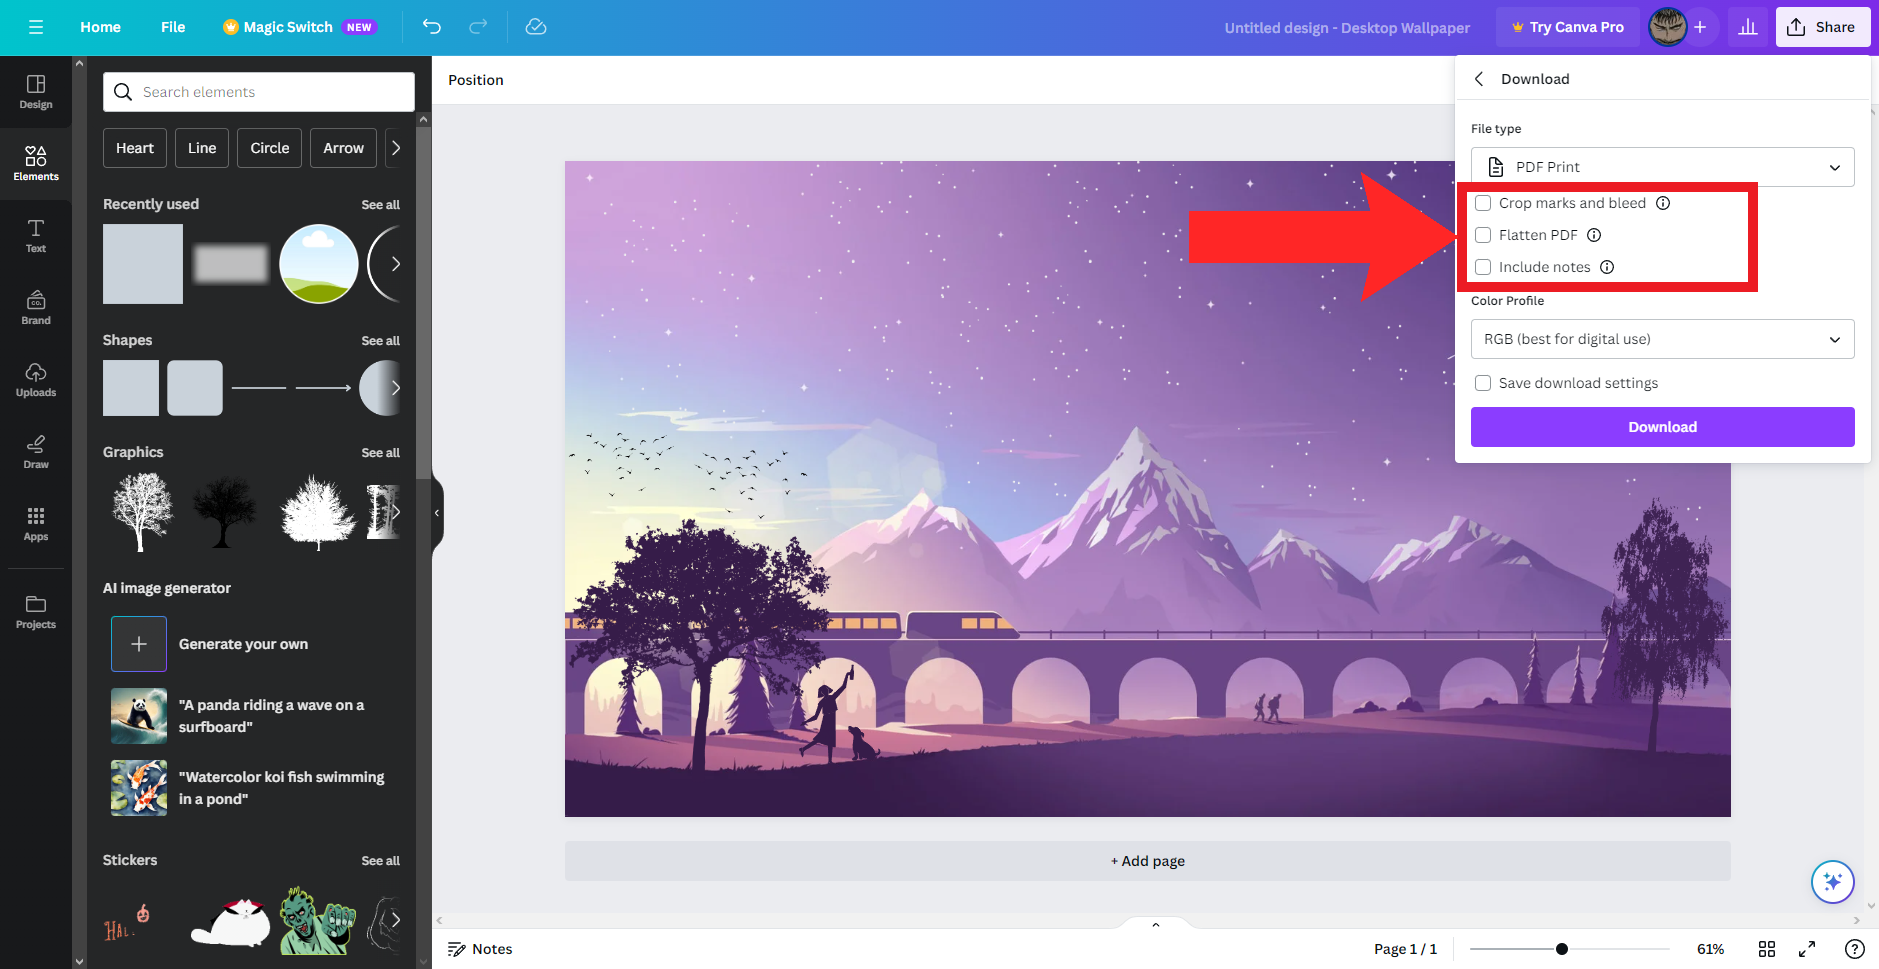
Configure these settings to your liking - Next, select your desired Color Profile by clicking on the drop-down.
⤷ RGB: This is suited for digital previews, like in presentations.
⤷ CMYK: This is much better suited for printing, as it has more prioritizes 4 different colors and is able to produce more vibrant colors - If you want to save these settings by clicking on the Save download settings checkbox. Click on Download.
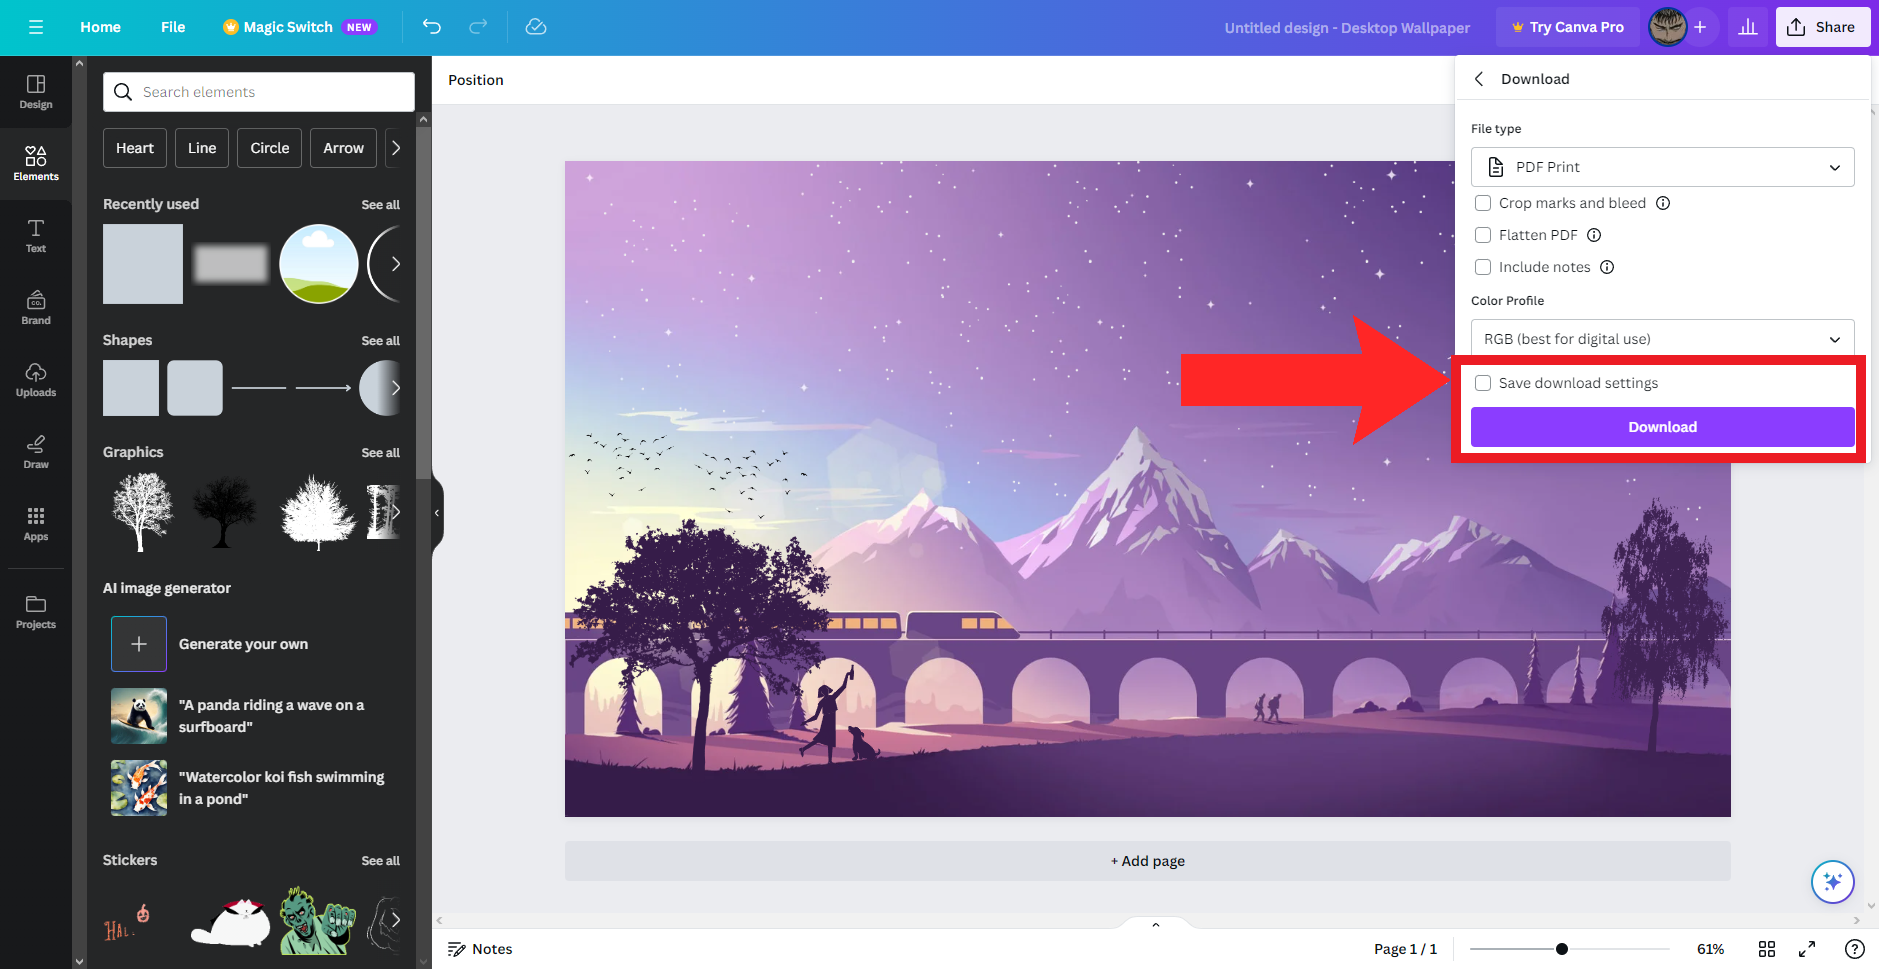
Enable the checkbox if you want and then click “Download” - Your design will be downloaded.
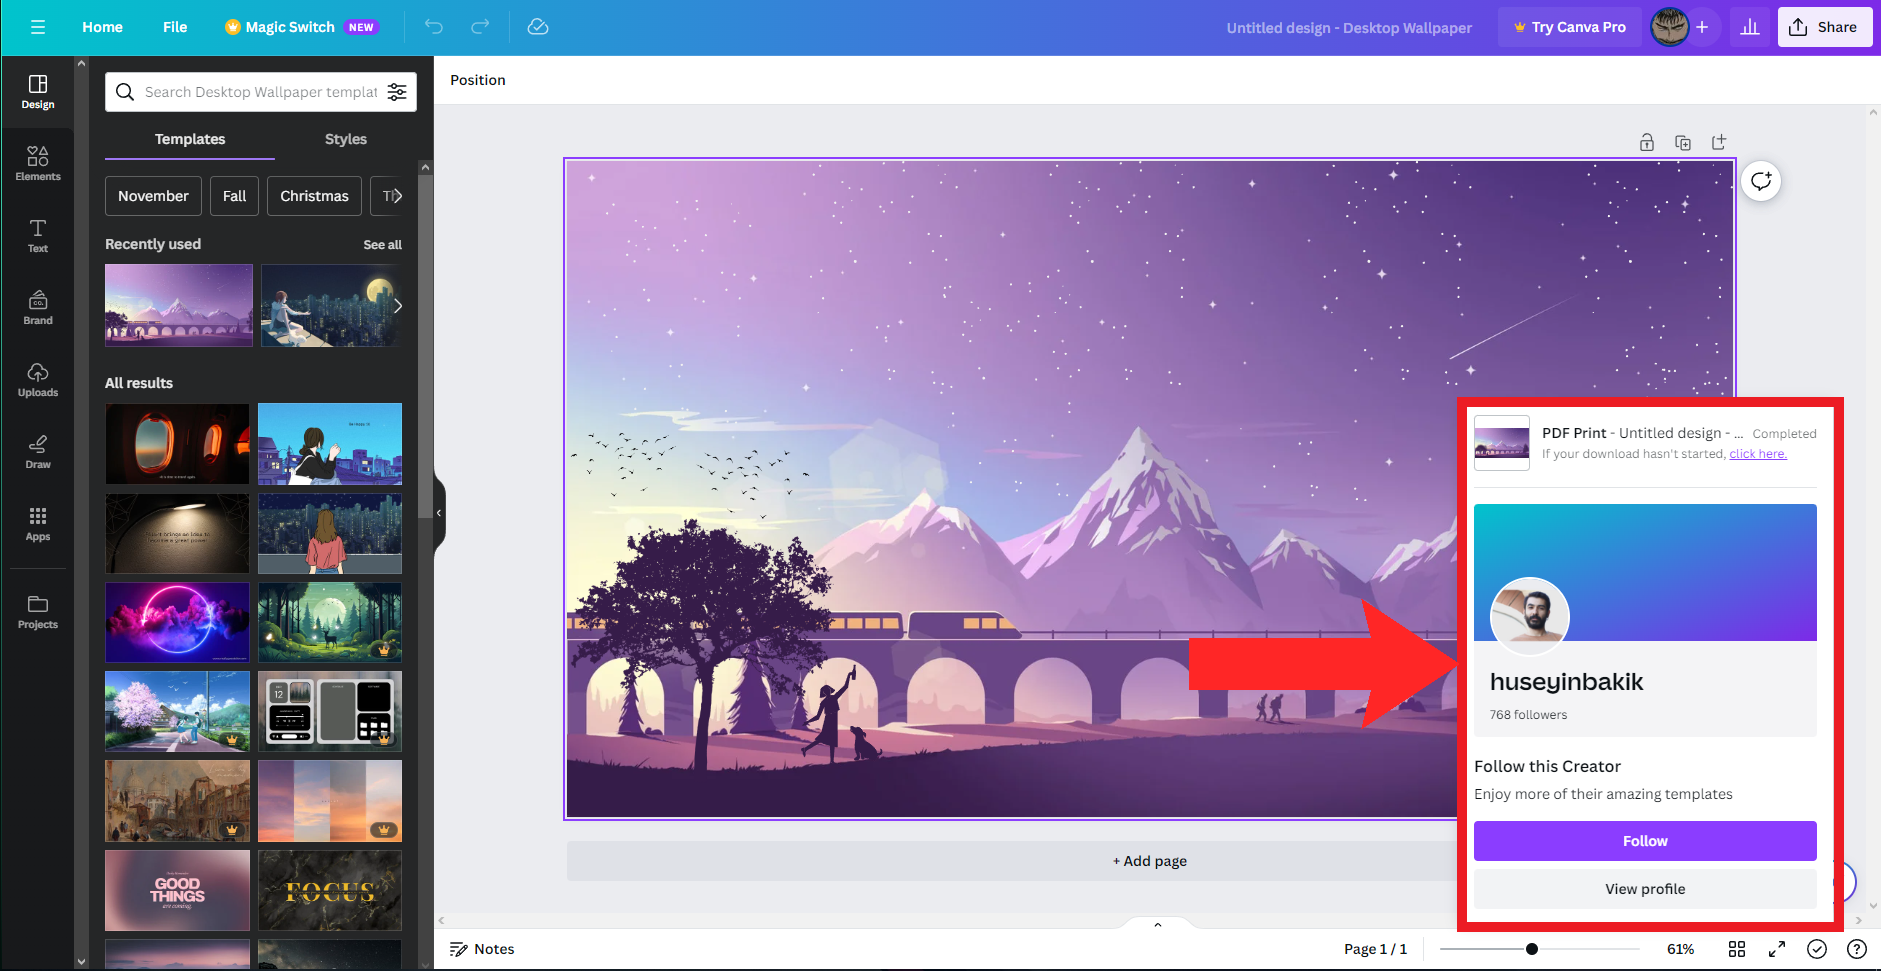
You can check the download progress here
Some of these features may require you to have Canva’s paid plan. Anyways, now that the design has been downloaded, all that’s left is to print it.
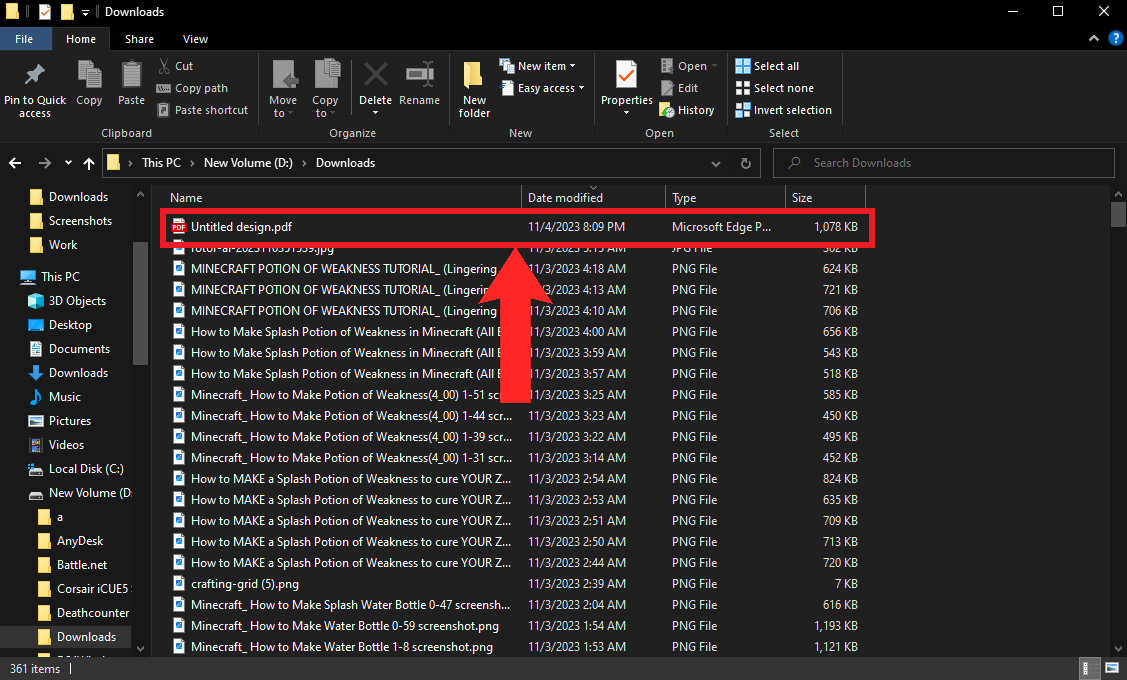
⤷ Printing on Windows
- Open up the File Explorer and navigate to your Downloads folder. Double-click on the downloaded design to open it.
You design should be a PDF file - By default, the PDF file should open up on Microsoft Edge. Click on the printer icon to open up the Print menu.
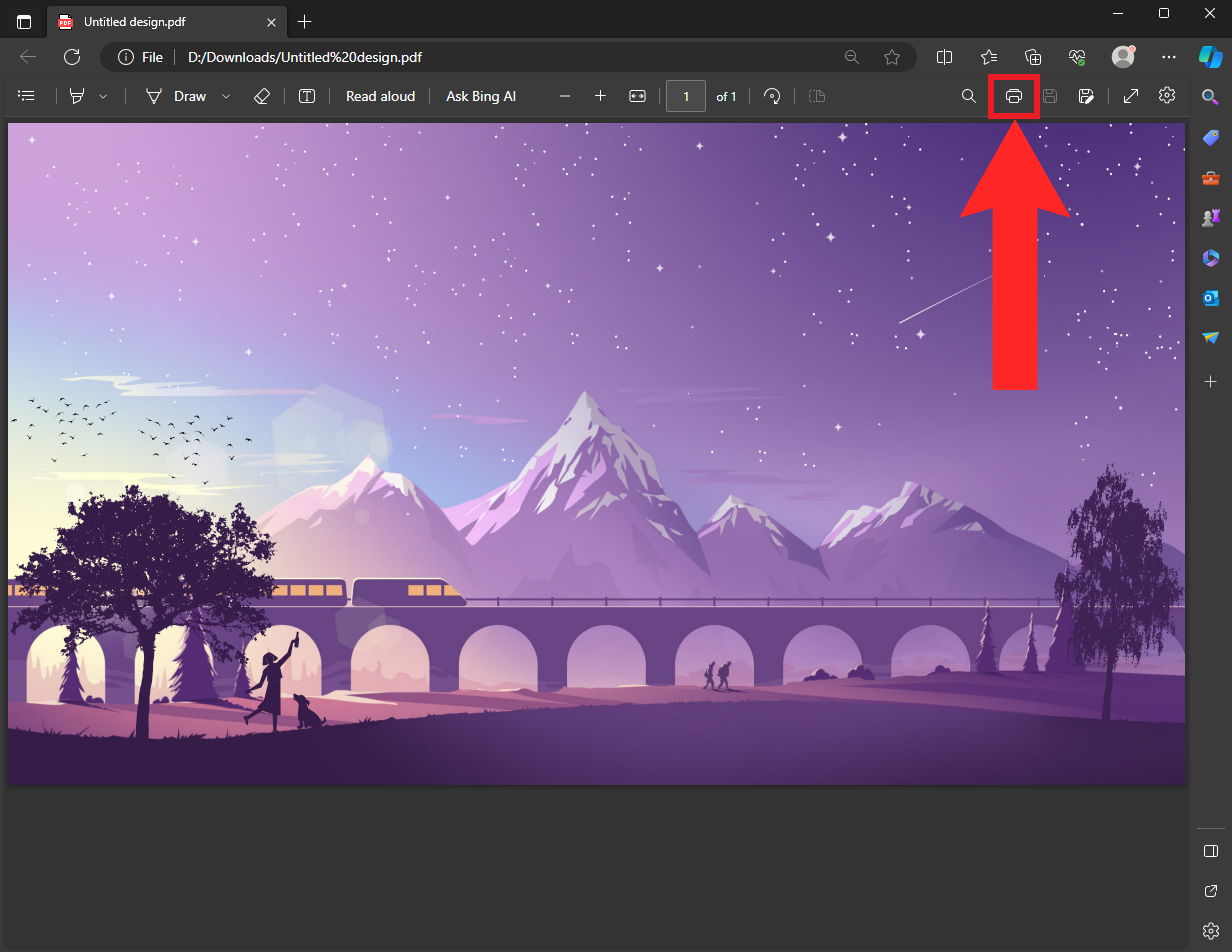
Click on the printer icon - The Print menu will appear. Choose your printer from the Printer drop-down.
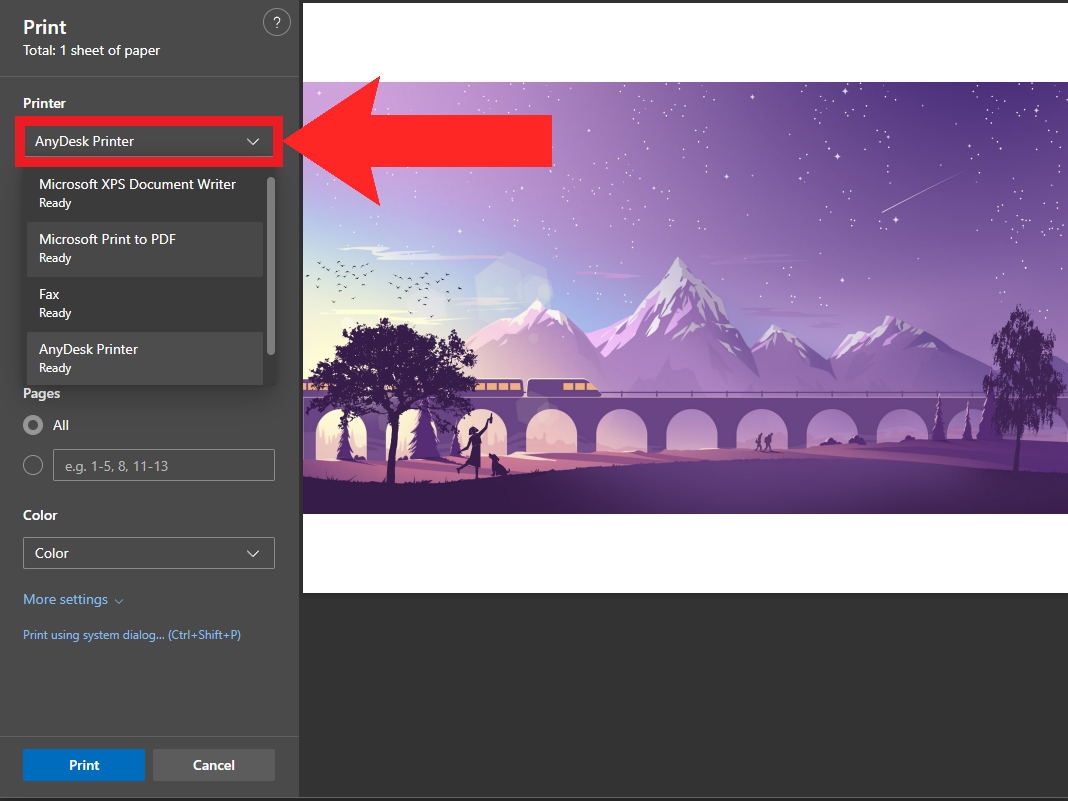
Choose your printer from the drop-down - Click on More settings and make the required changes as per your specifications.
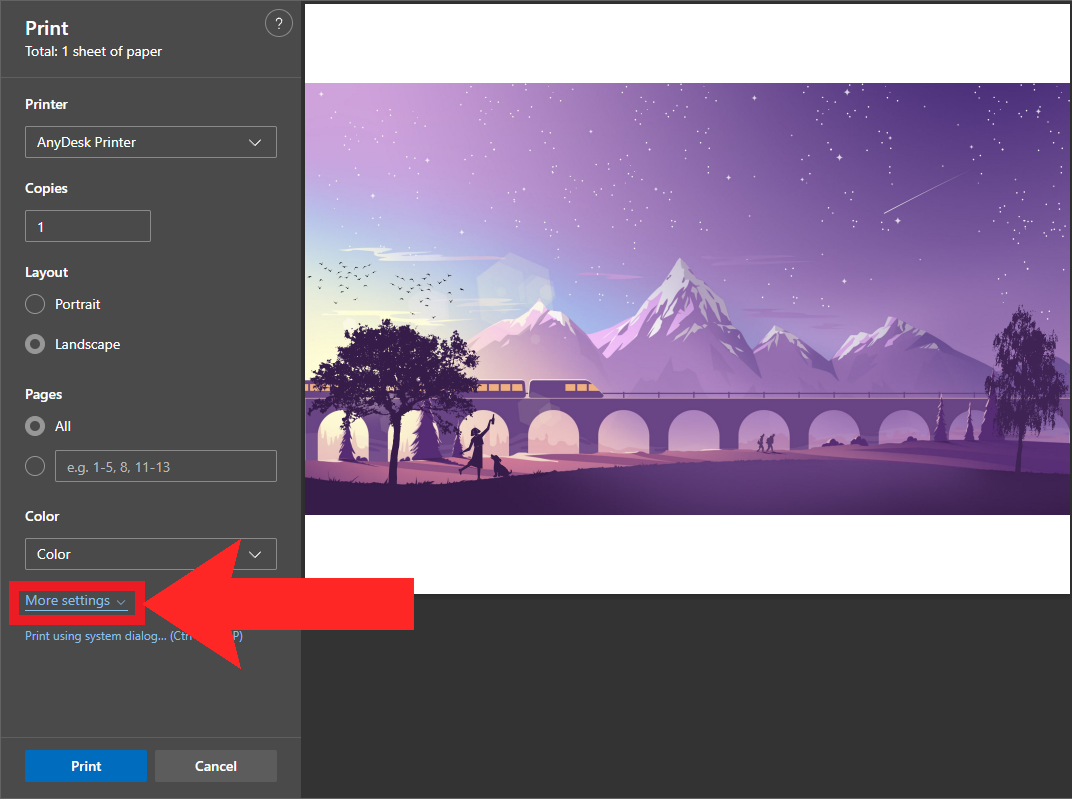
Click on “More settings” to access more options - After you’re done making the required changes, click on Print.
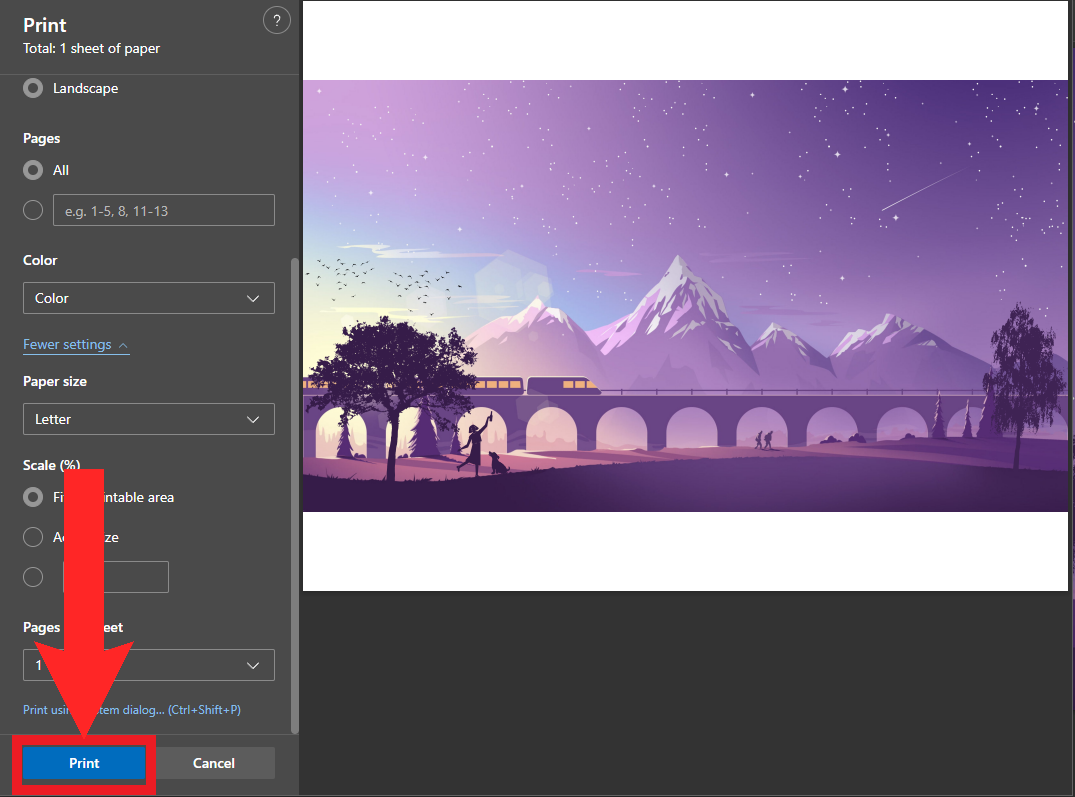
Click on “Print”
⤷ Printing on macOS
- Open up the PDF file you downloaded by just double-clicking on it in the Finder.
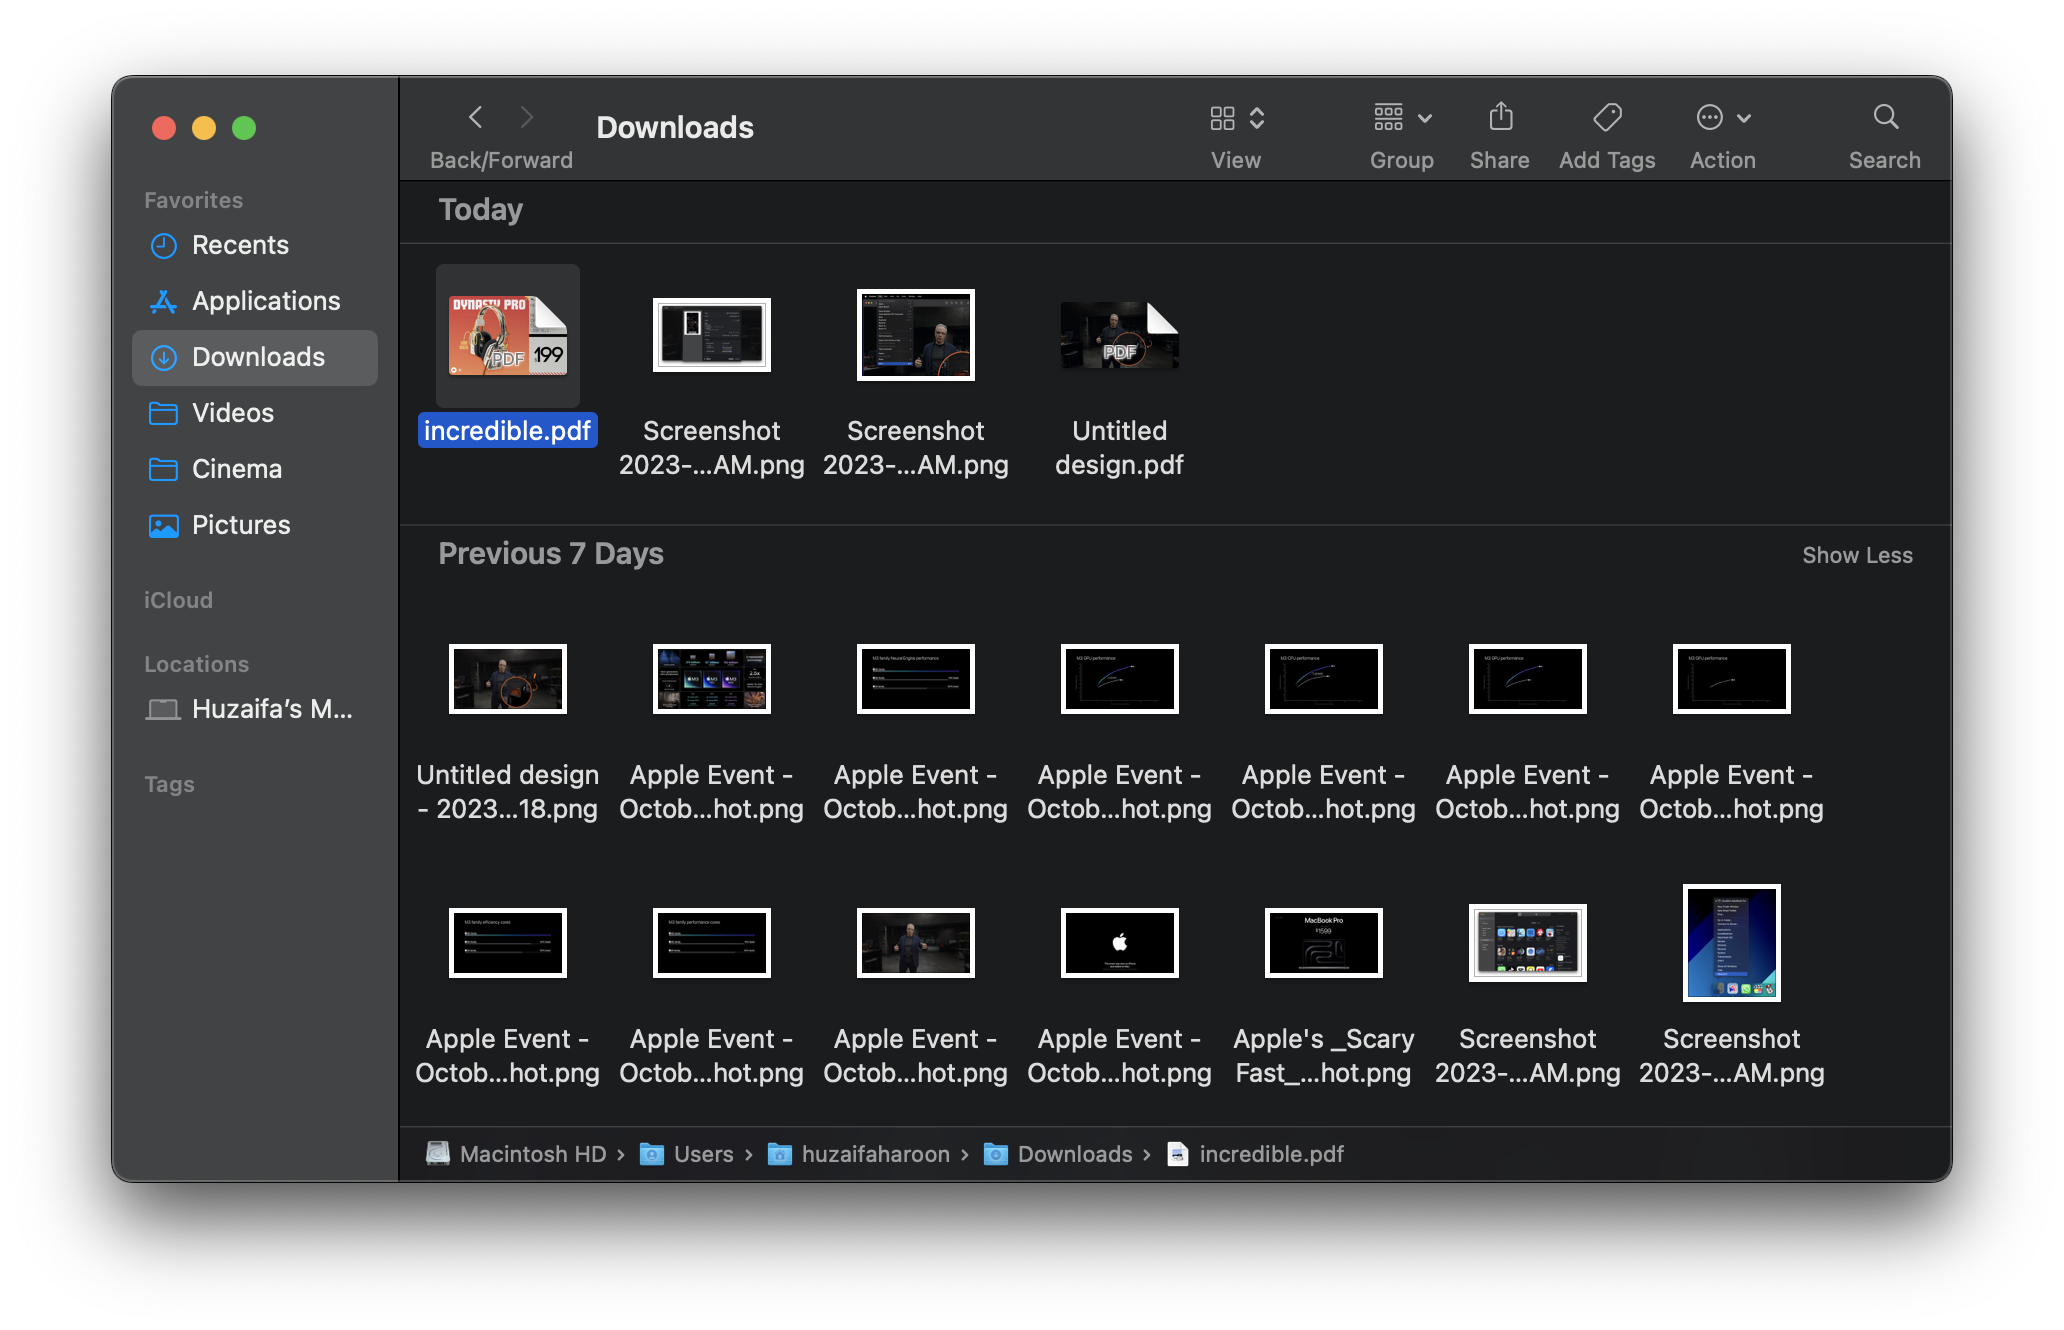
Double-clicking the PDF will open it in Preview - After that, click on the File option in the menu bar and from the drop-down menu, choose the Print option.
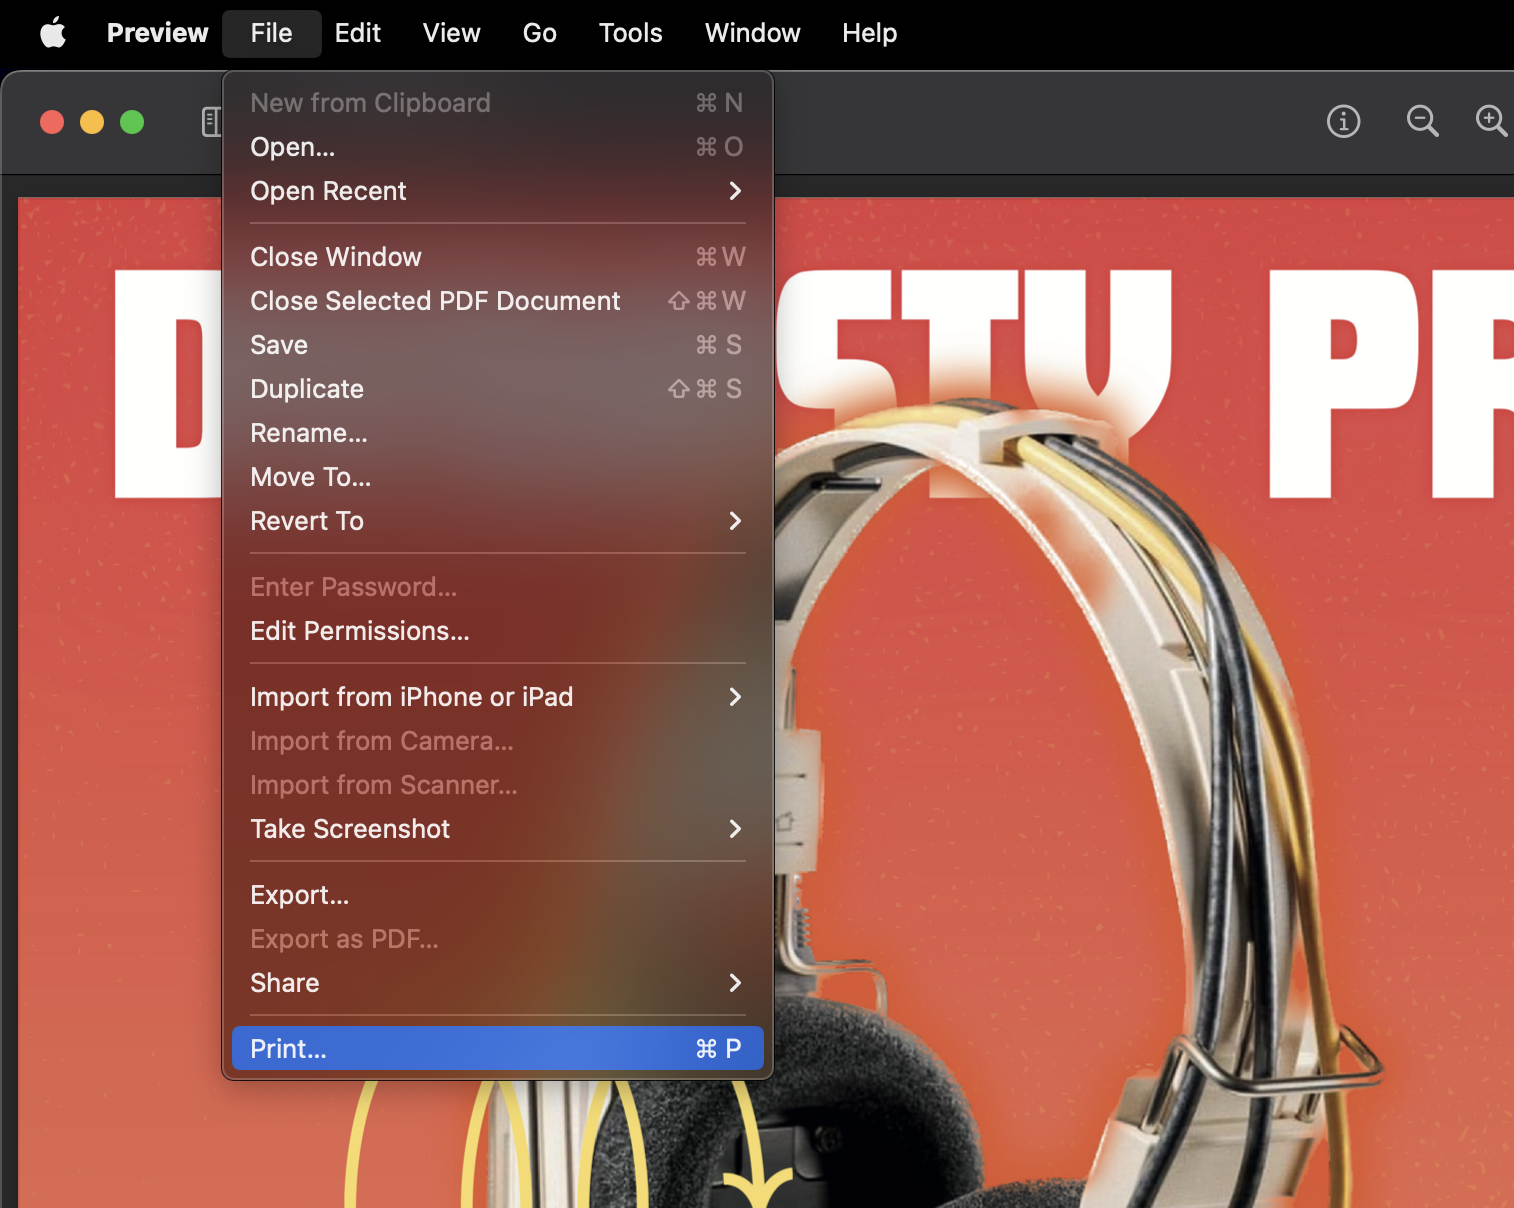
Click on File and select Print Navigating to Print Options - Make the changes based on your specifications.
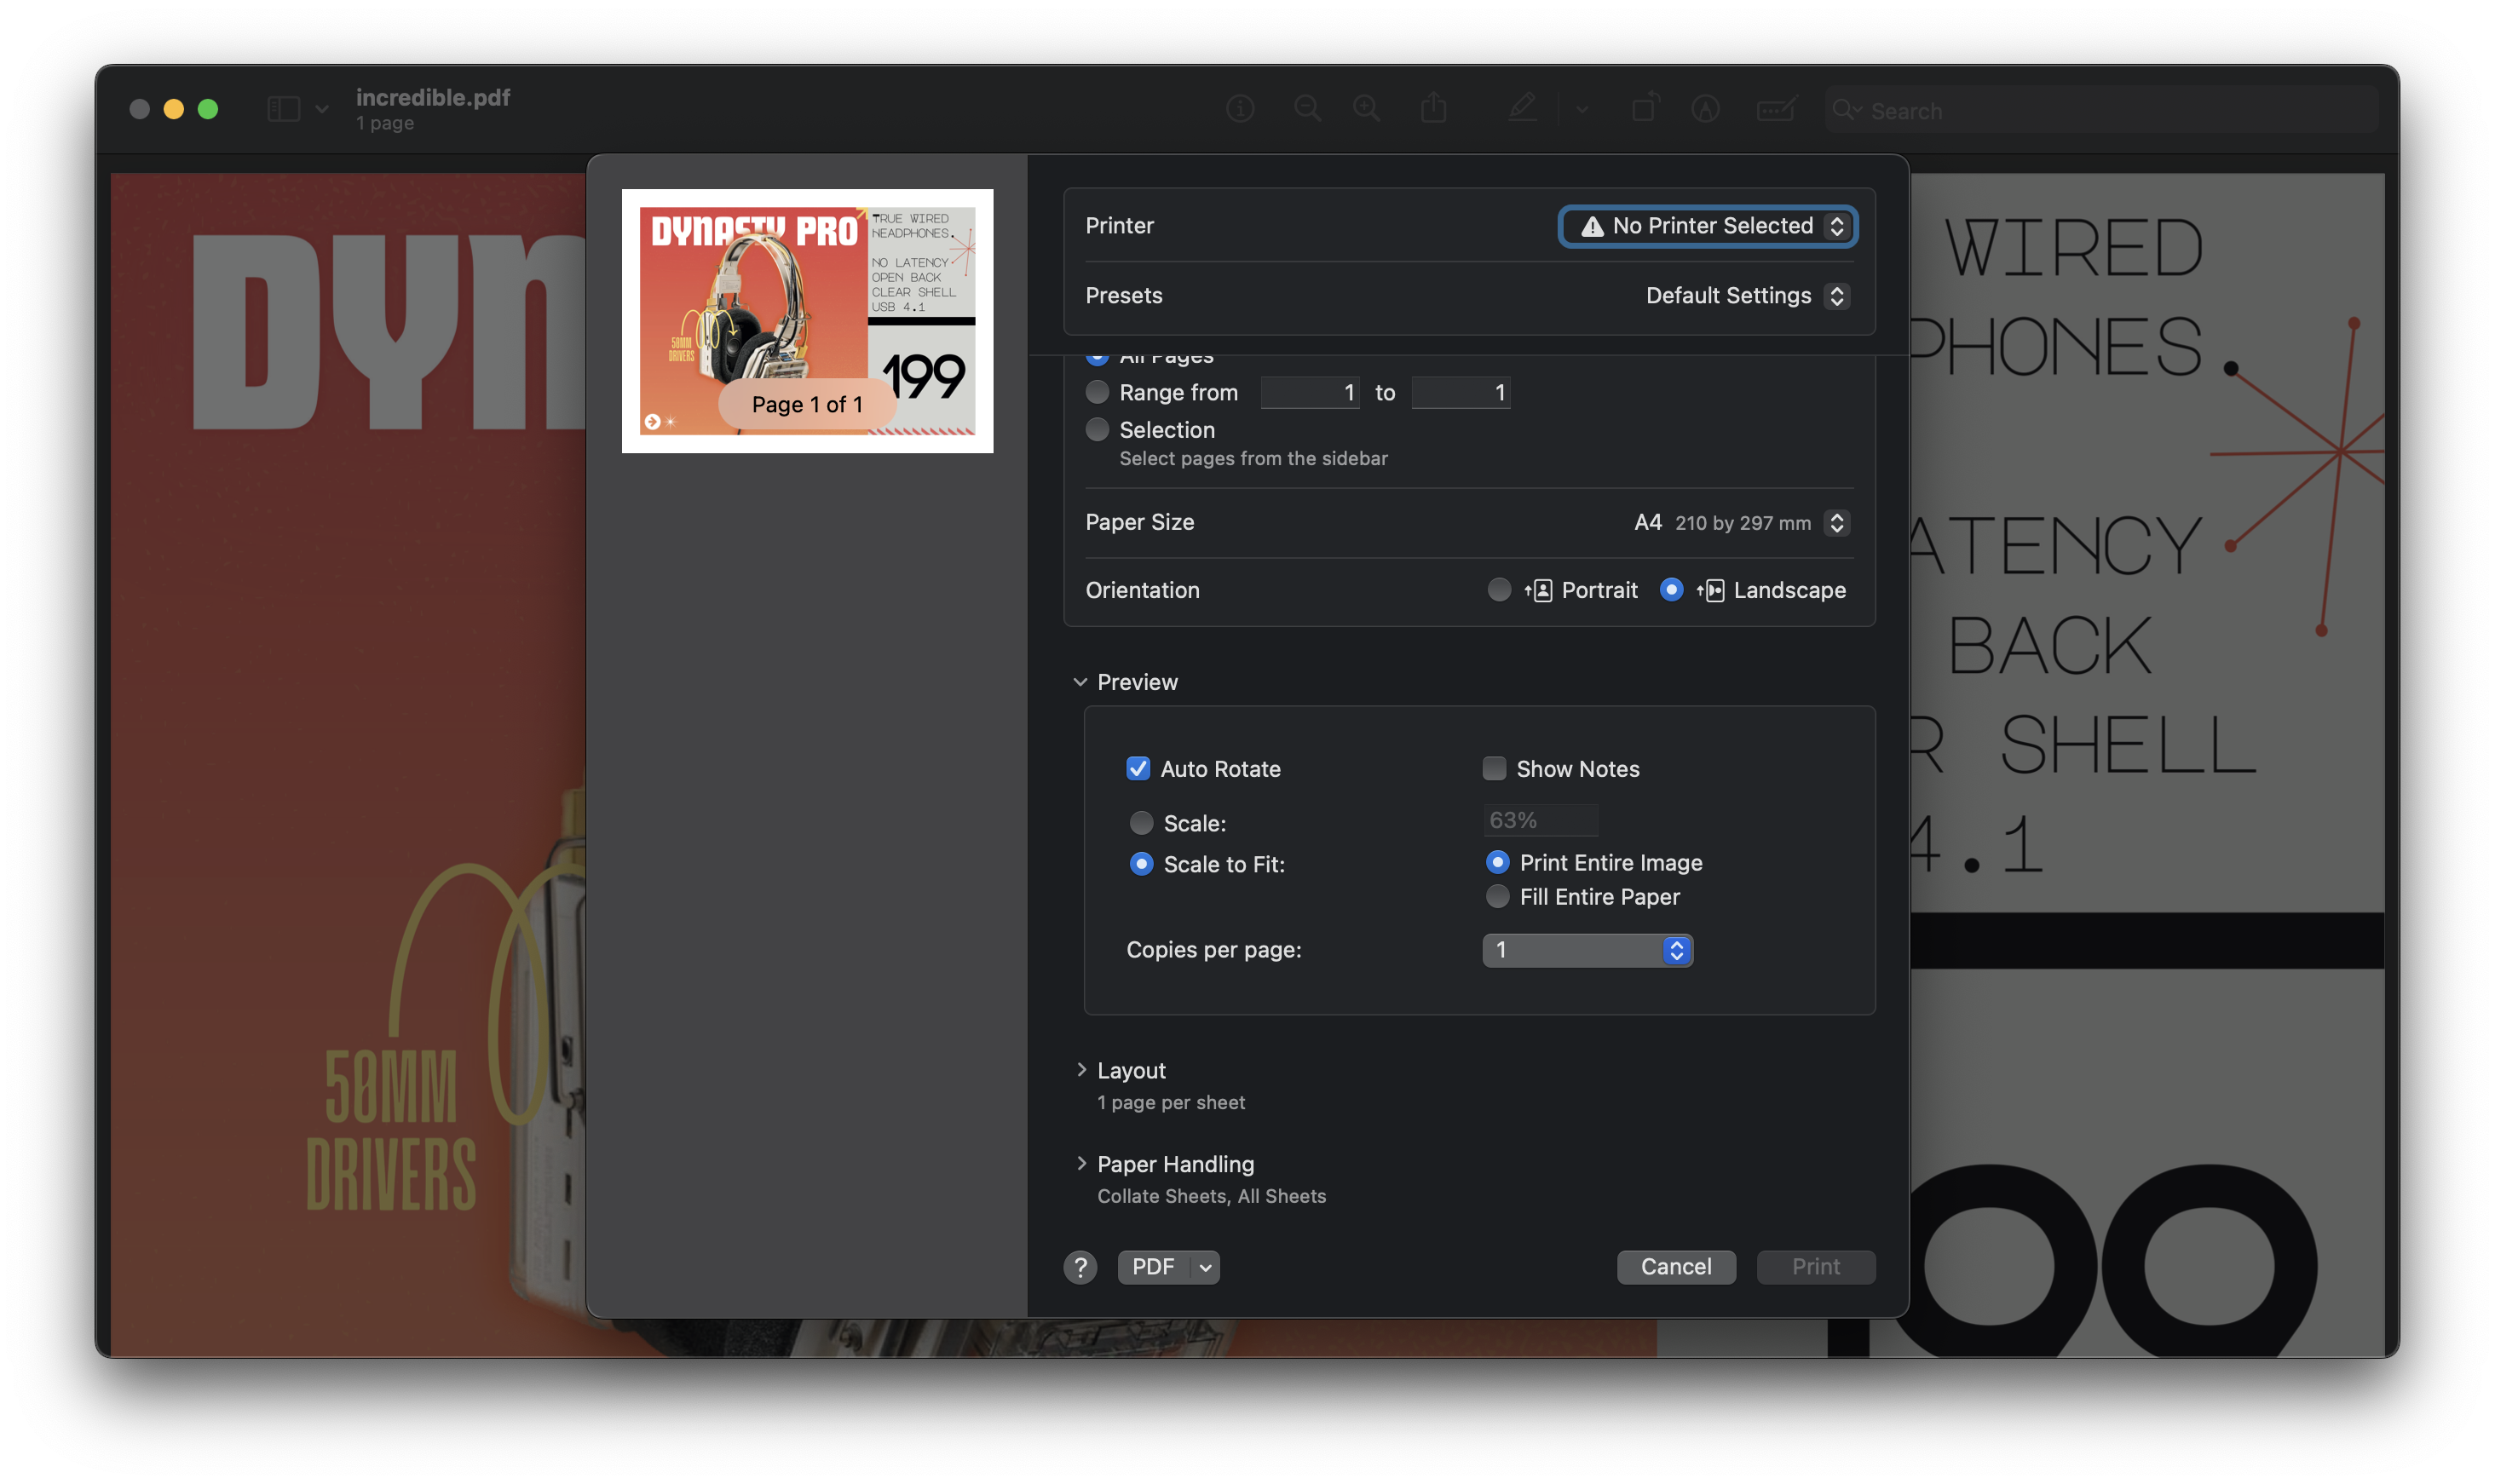
macOS print menu - Once you do that, click the Print button to start printing your design.
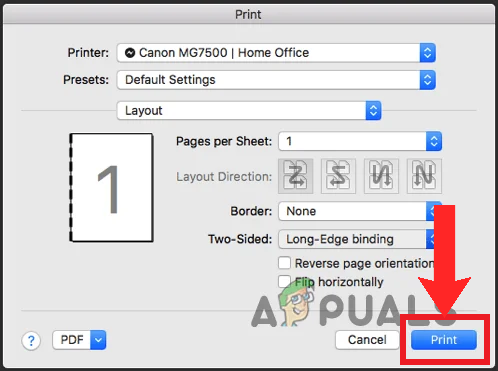
Imagine this is a modern macOS screenshot
2. Printing using Canva’s special service
Canva also offers a paid printing service for professional prints for all kinds of things: yard signs, banners, water bottles, mugs, clothes, etc. This way you can technically just hand over your design to Canva themselves to print it for you. However, this feature is only available in select regions and the options can also vary on the region.
To have Canva print your design, follow these steps:
- After you’ve created a design, click on File near the top-left corner.
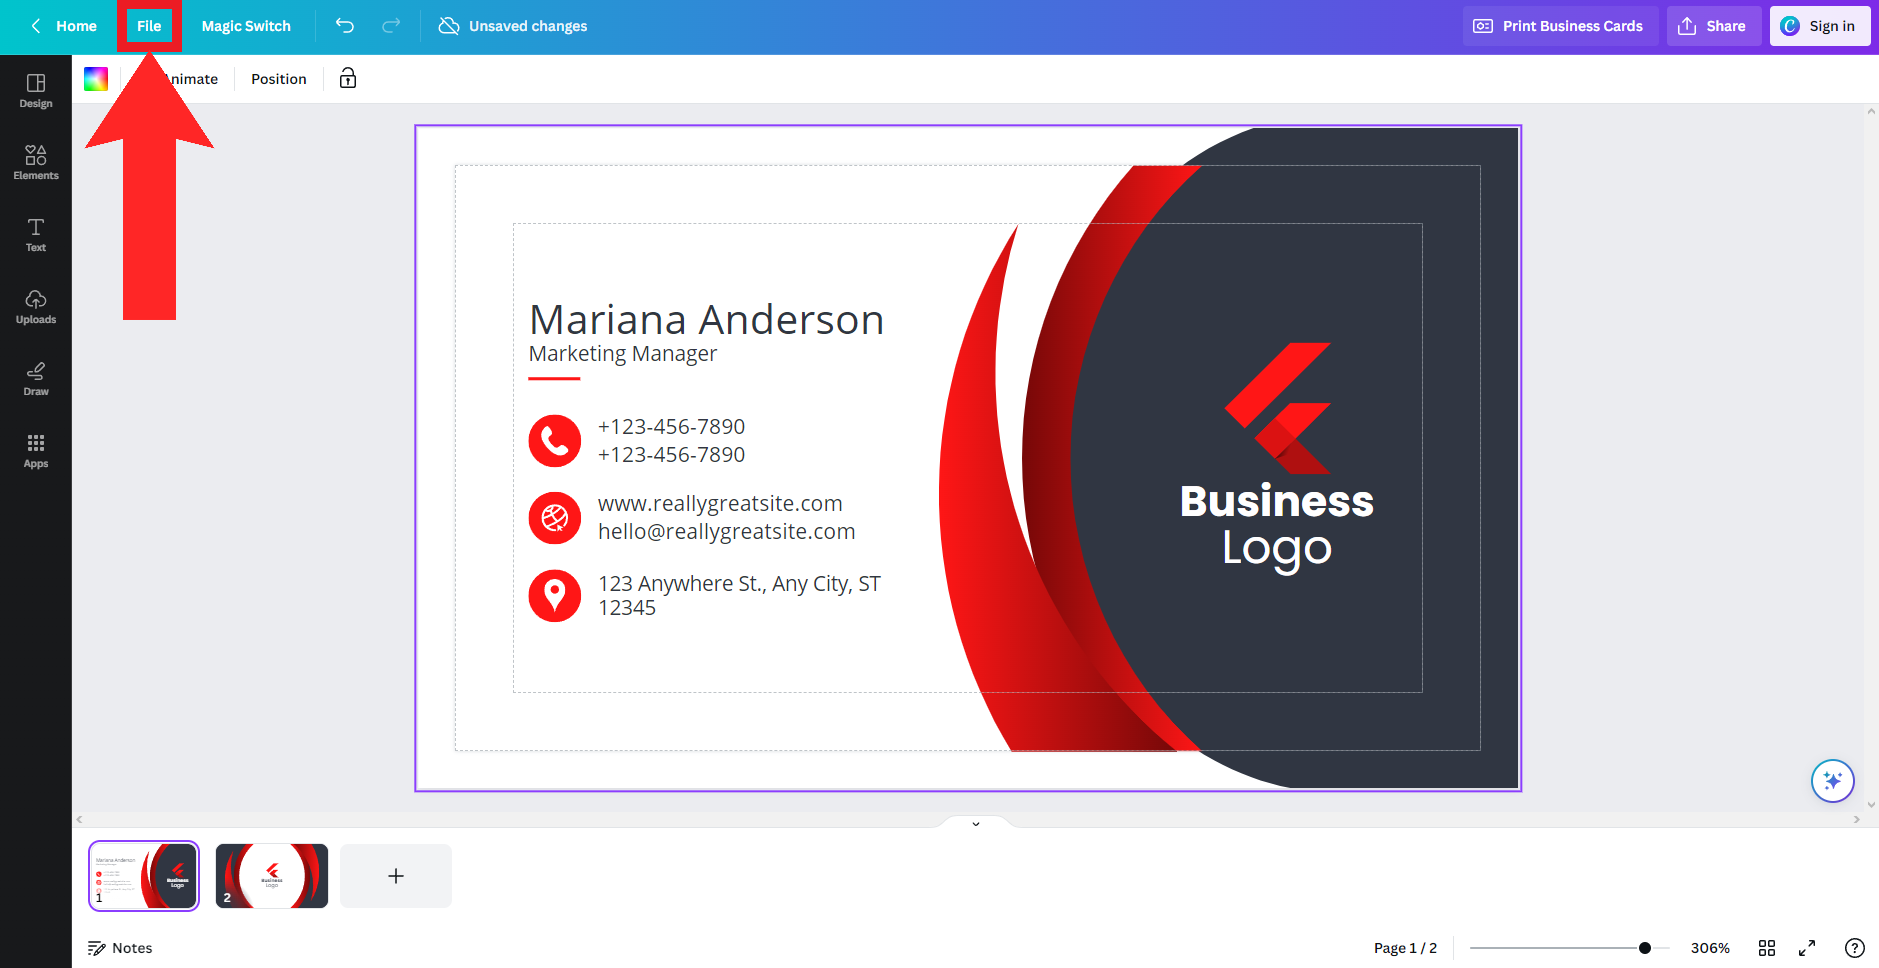
Click on “File” - When the drop-down appears, bring your cursor over to View settings. From the additional options that appear, choose whether you want to enable these settings.
⤷ Show print bleed: Shows the part of the design that will be printed on the edges
⤷ Show margins: Shows the part of the design that is sure to be displayed in the print.
We suggest using these options to ensure that your print comes out as expected. These lines will not be displayed on the final print.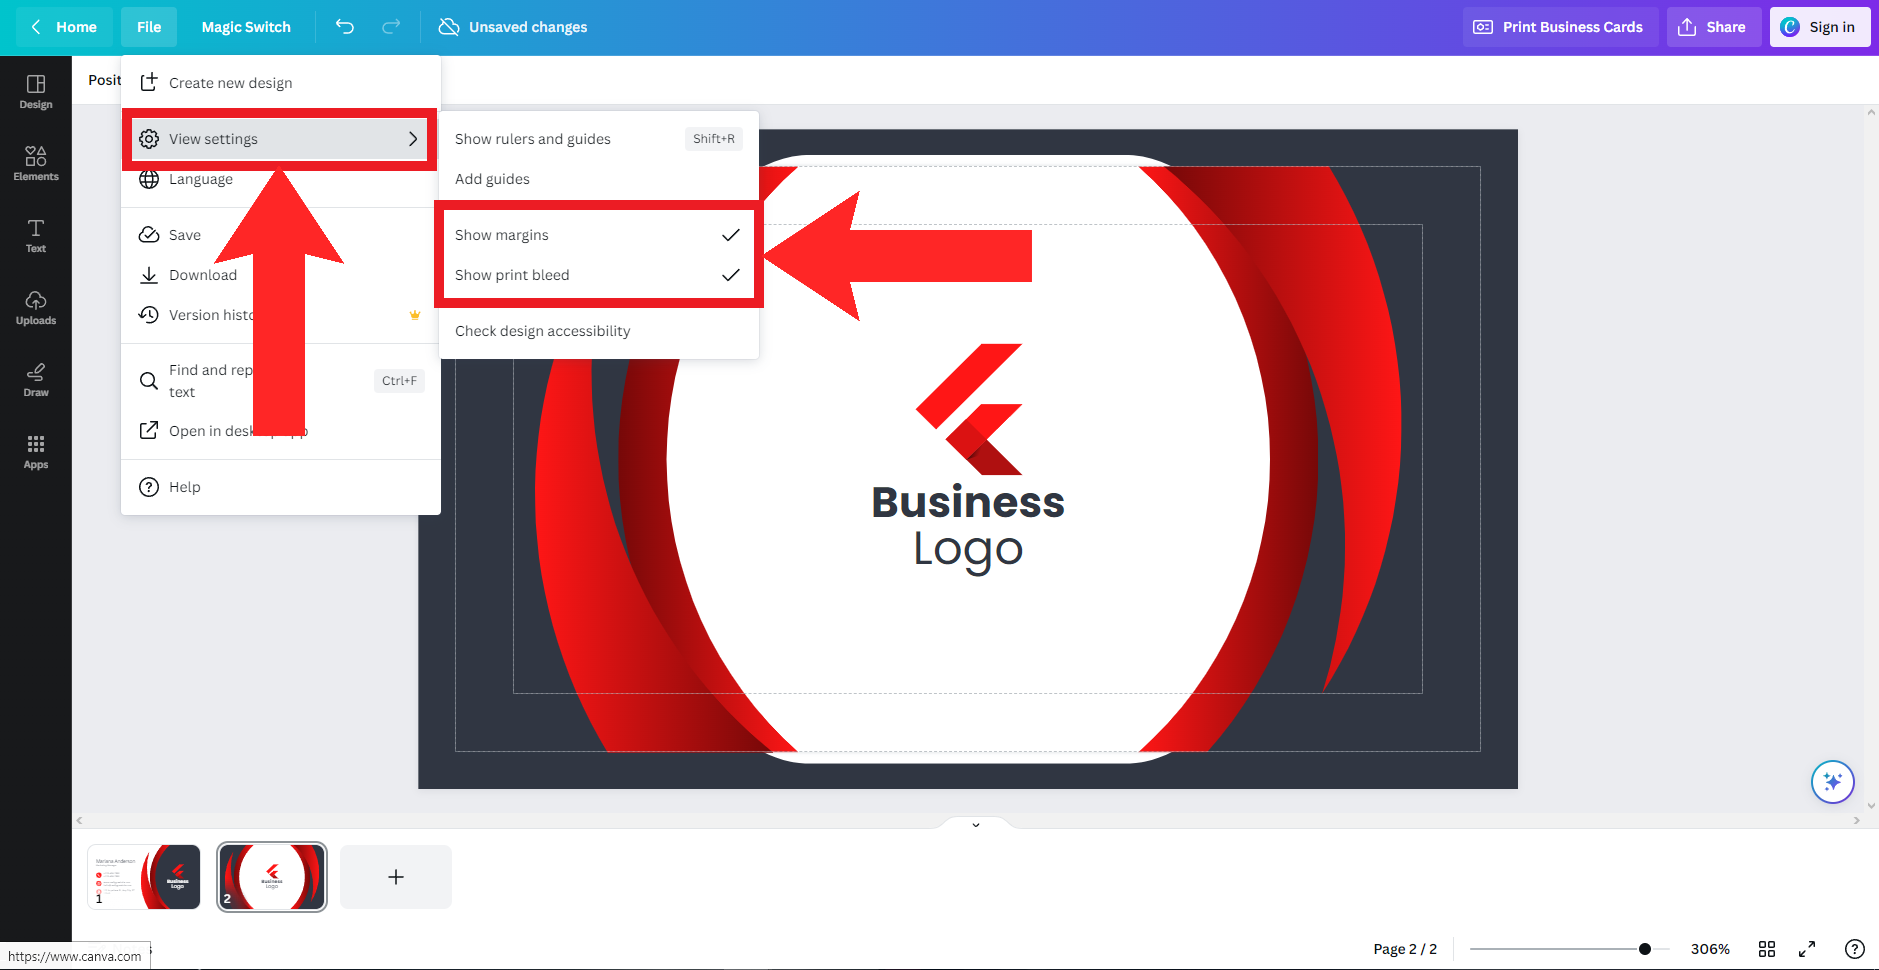
Access additional options from “View settings” - Next, click on Share on the top-right corner.
Click on “Share” - A drop-down menu should appear. Click on Print with Canva.
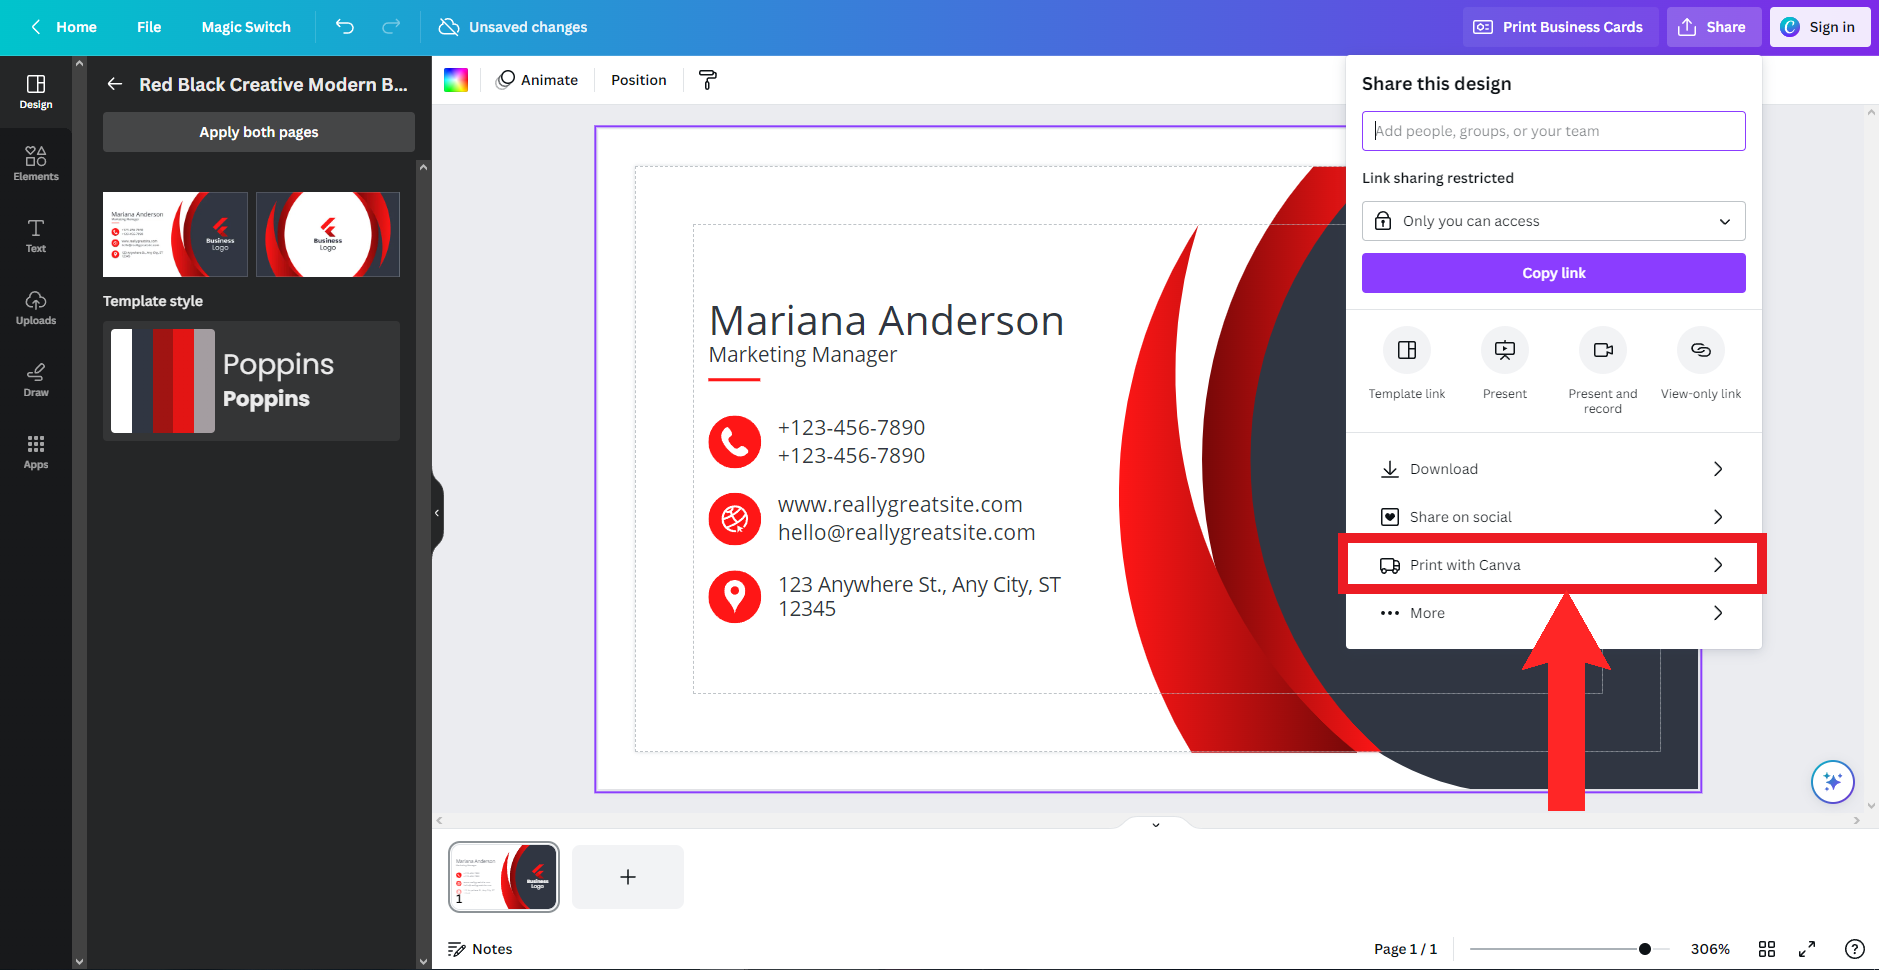
Click on “Print with Canva” - A variety of options will be made available for you. Choose what you want your design to be printed on by clicking on it.
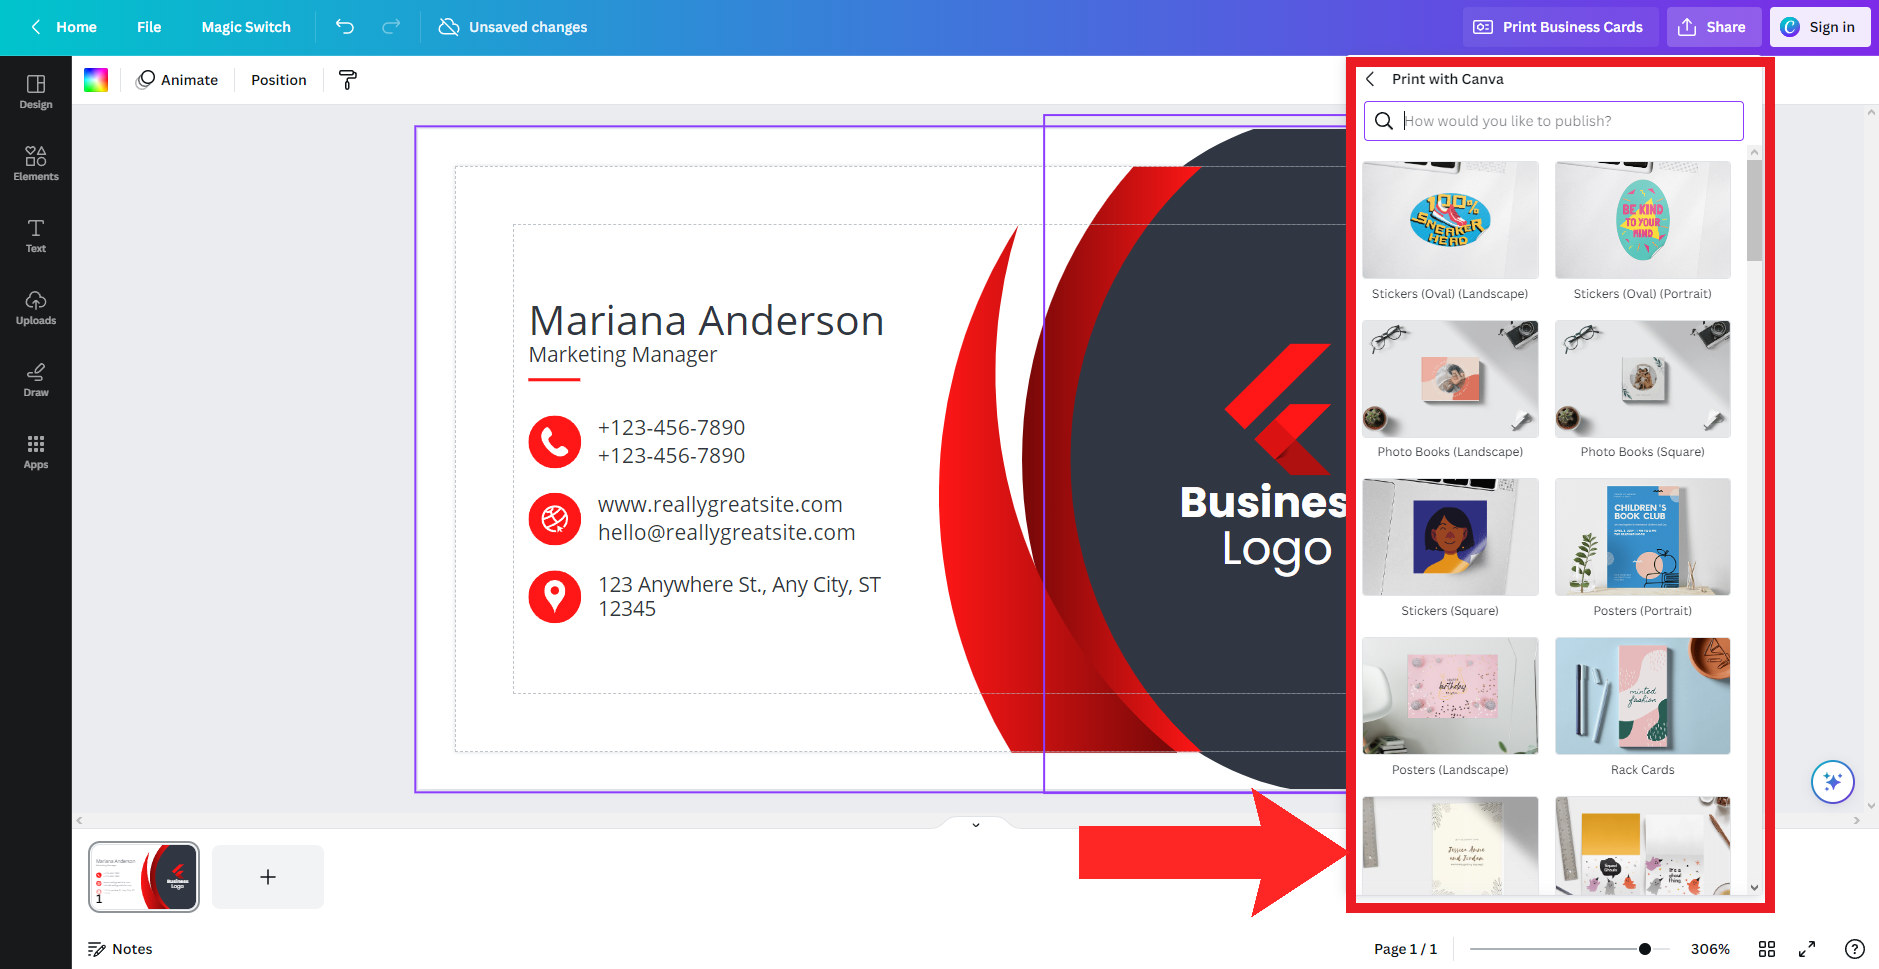
Choose your option by clicking on it If your design does not satisfy the required size for that object, this message will be displayed to you.
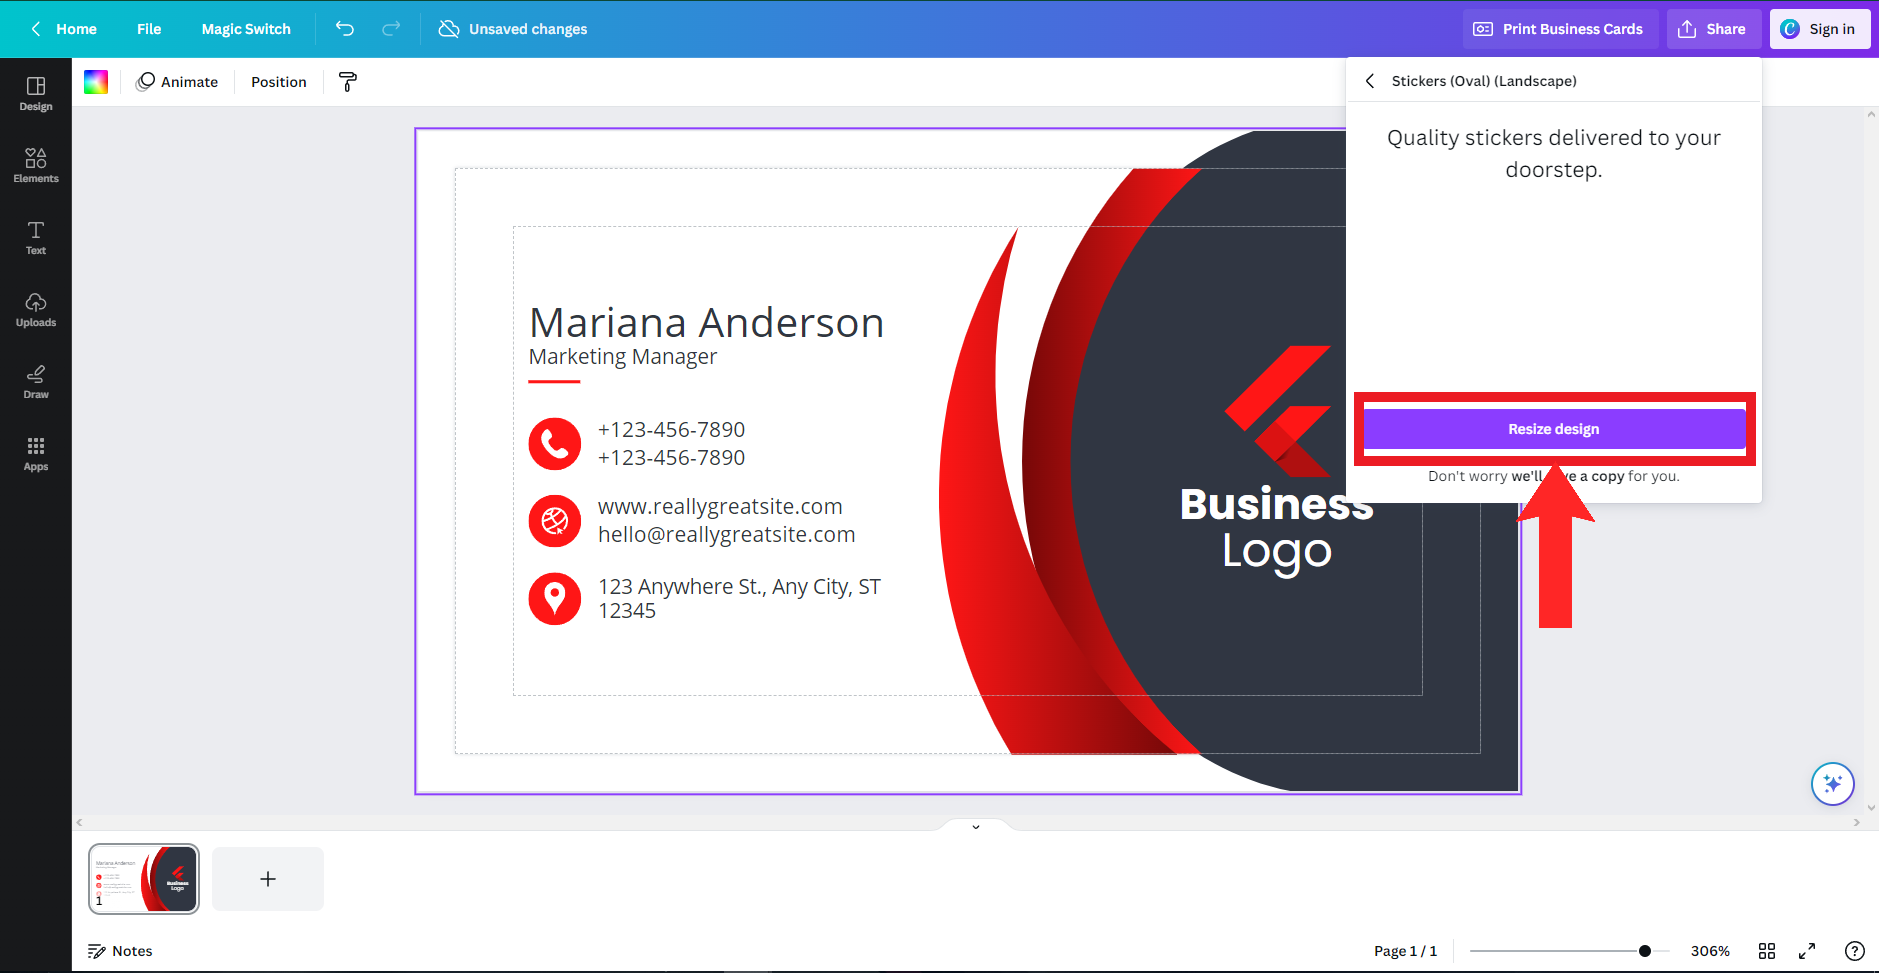
Click on “Resize design” to adjust the size and fit the requirements - Once you’ve chosen your design, several options will be available for you. Depending on your choice, the options can differ. Adjust them according to your requirements. You can also see a preview of how the print will look.
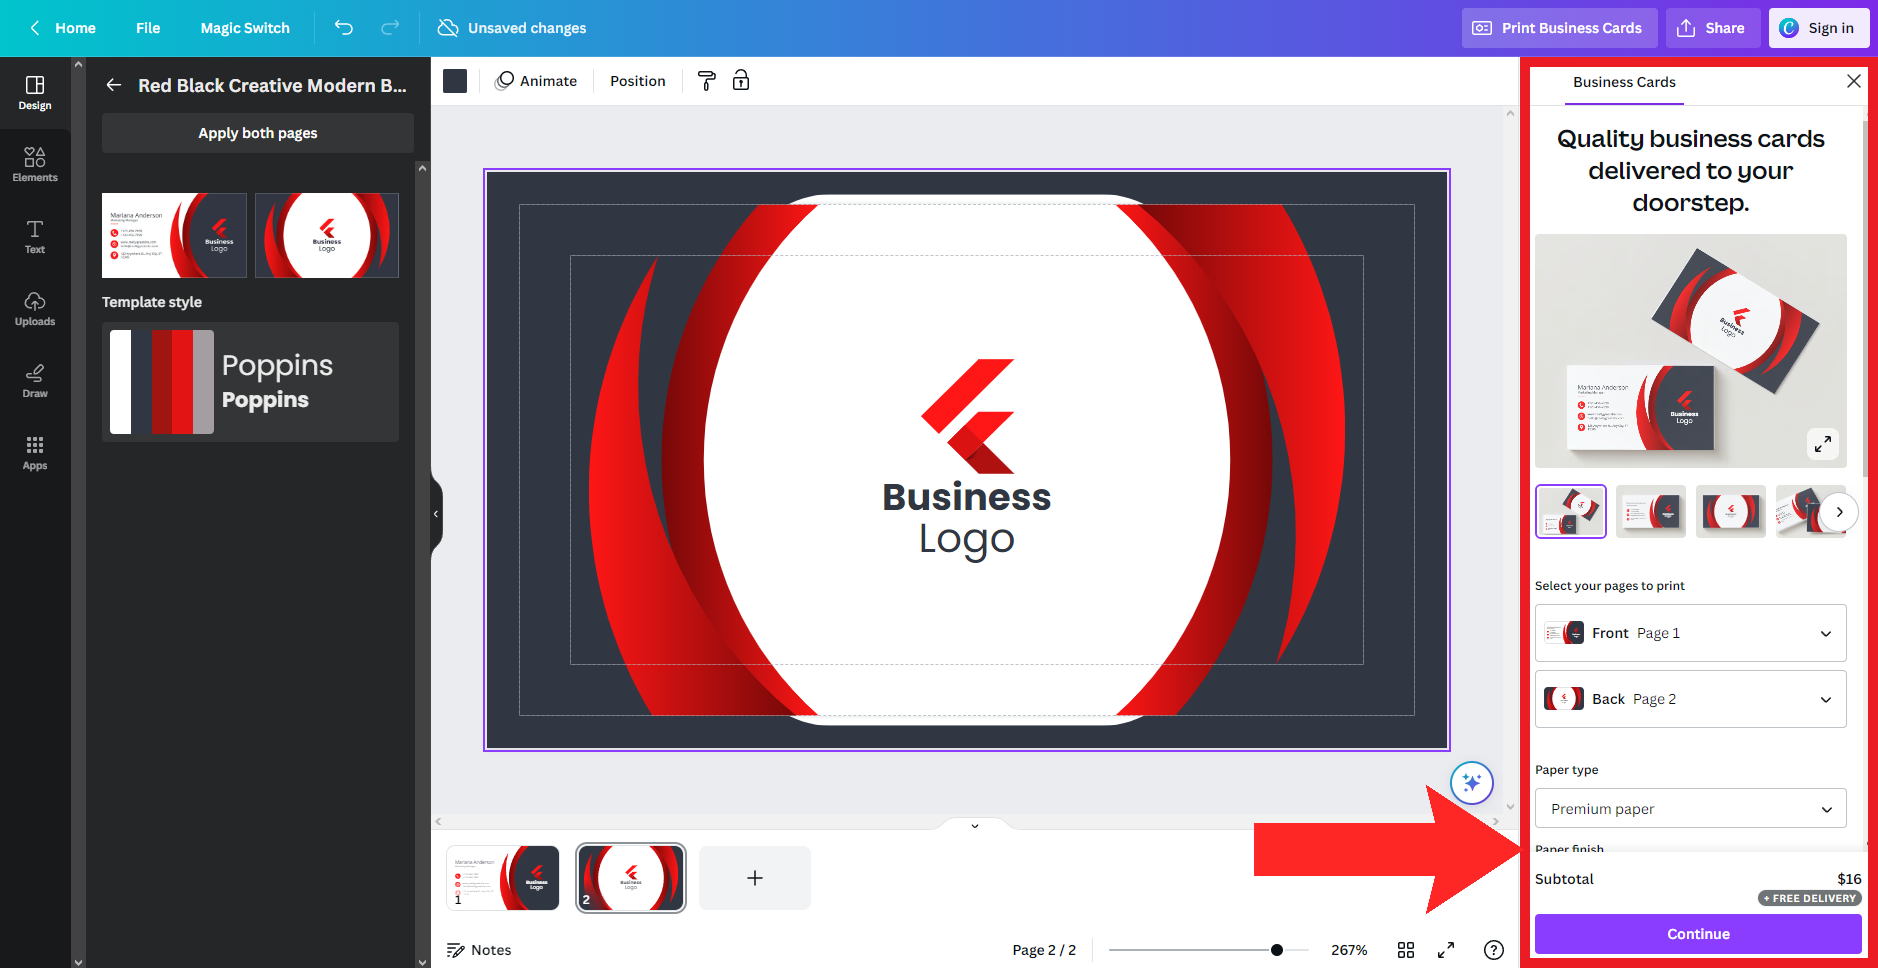
Make the required changes - The last option will be the amount of prints required. Click on How many? to adjust the amount.
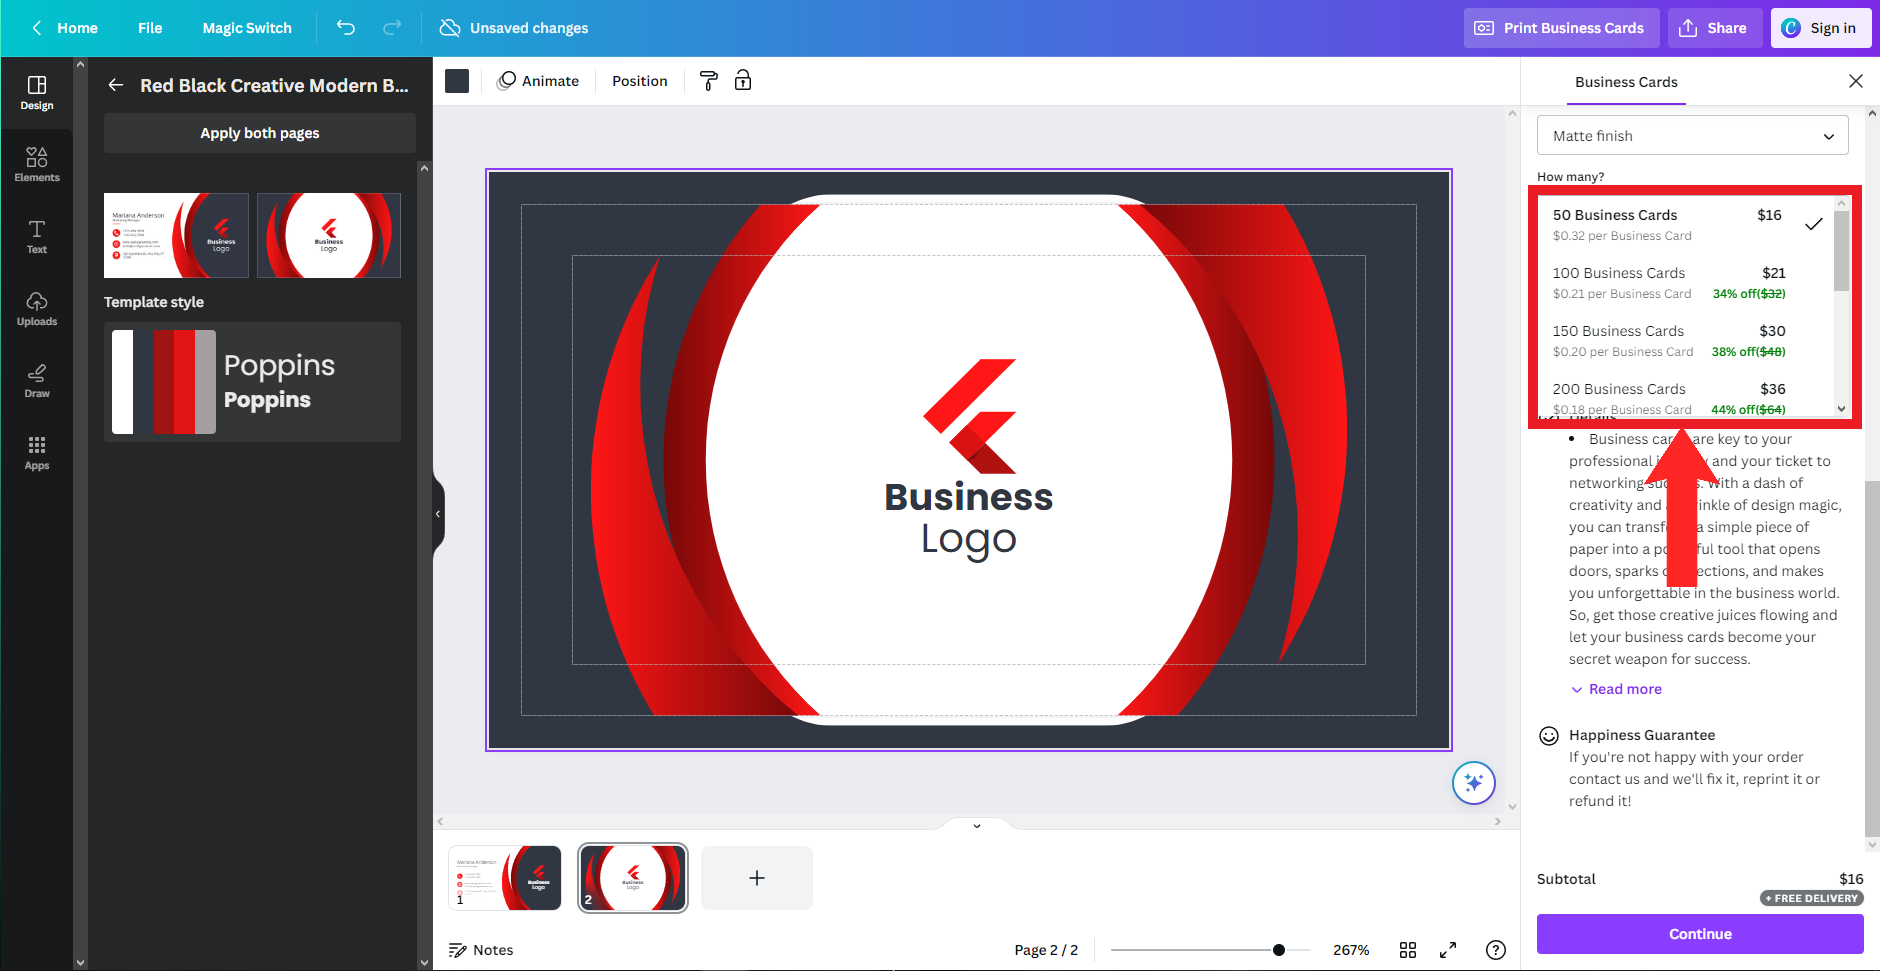
Click on “How many?” - Then, click on Continue.
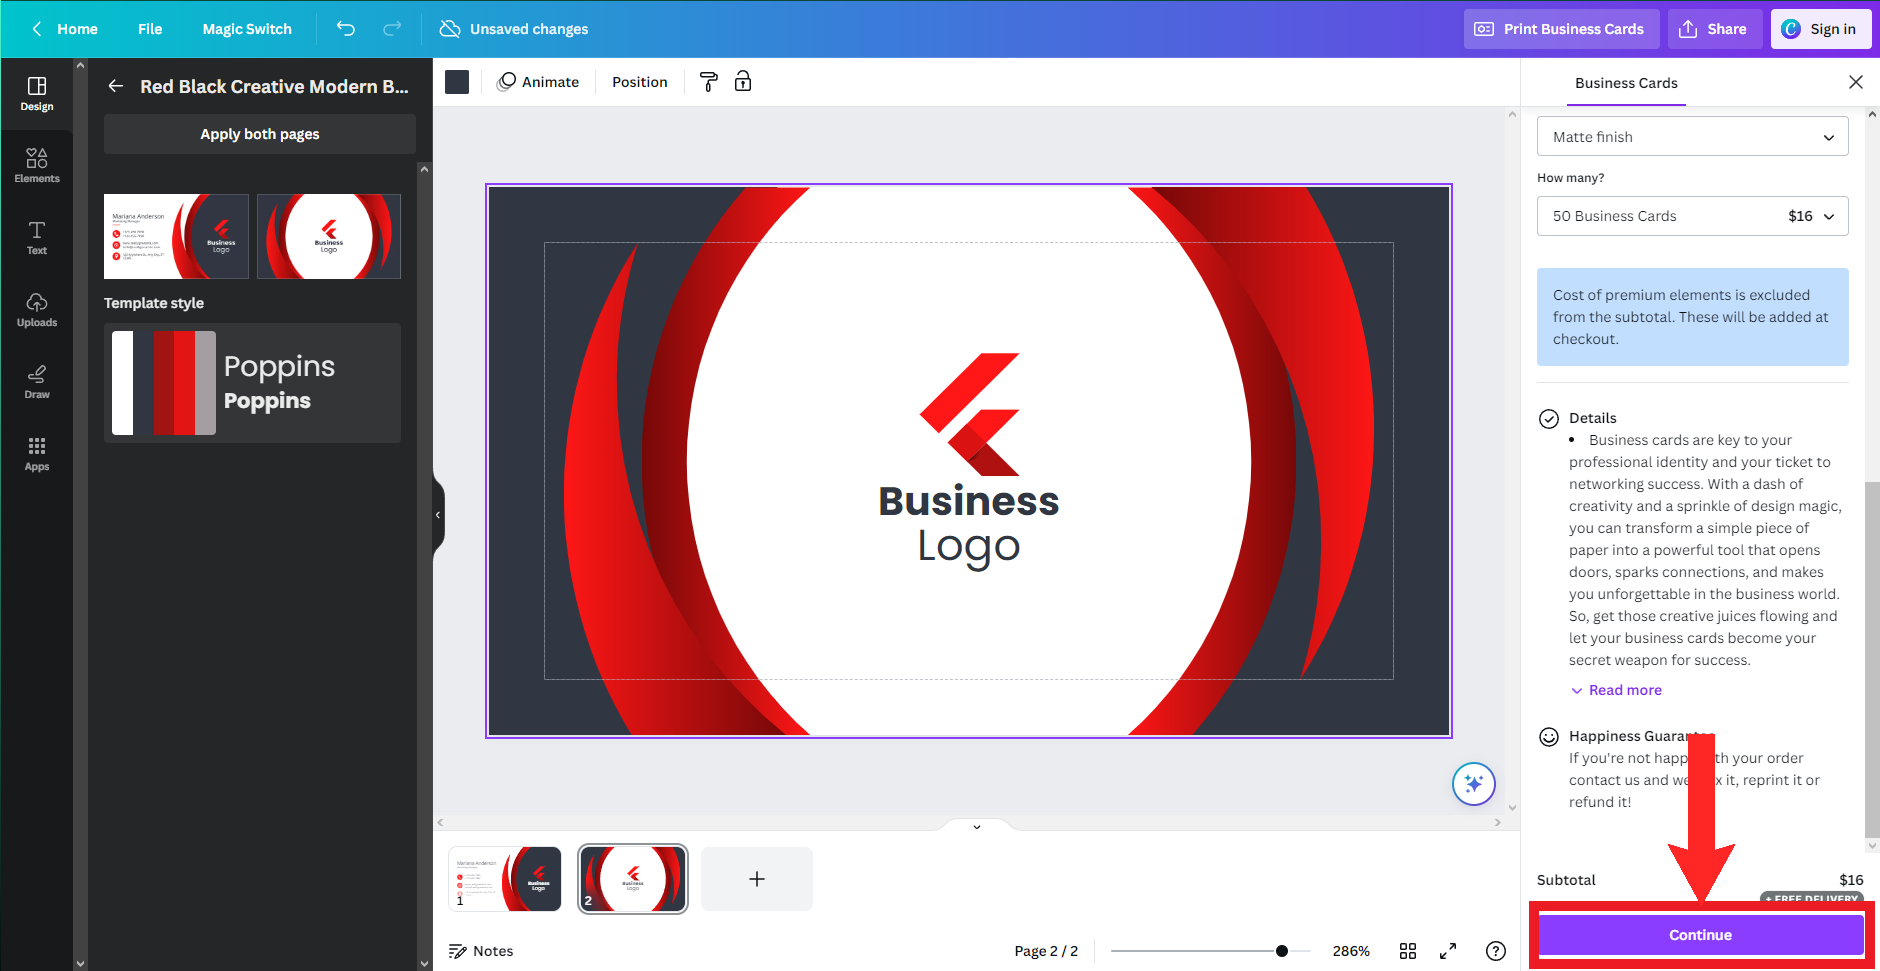
Click on “Continue” - If there are some problems present in your design, they will be pointed out to you. You can either fix them by yourself or click on the Automatically fix all issues switch to fix them automatically. Click on Continue to proceed.

Click on “Automatically fix all issues” and then click on “Continue” - Lastly, you’ll be taken to the checkout page. Enter your card details, home address, a coupon code (if you have one) and choose your delivery option. Finally, click on Place order.
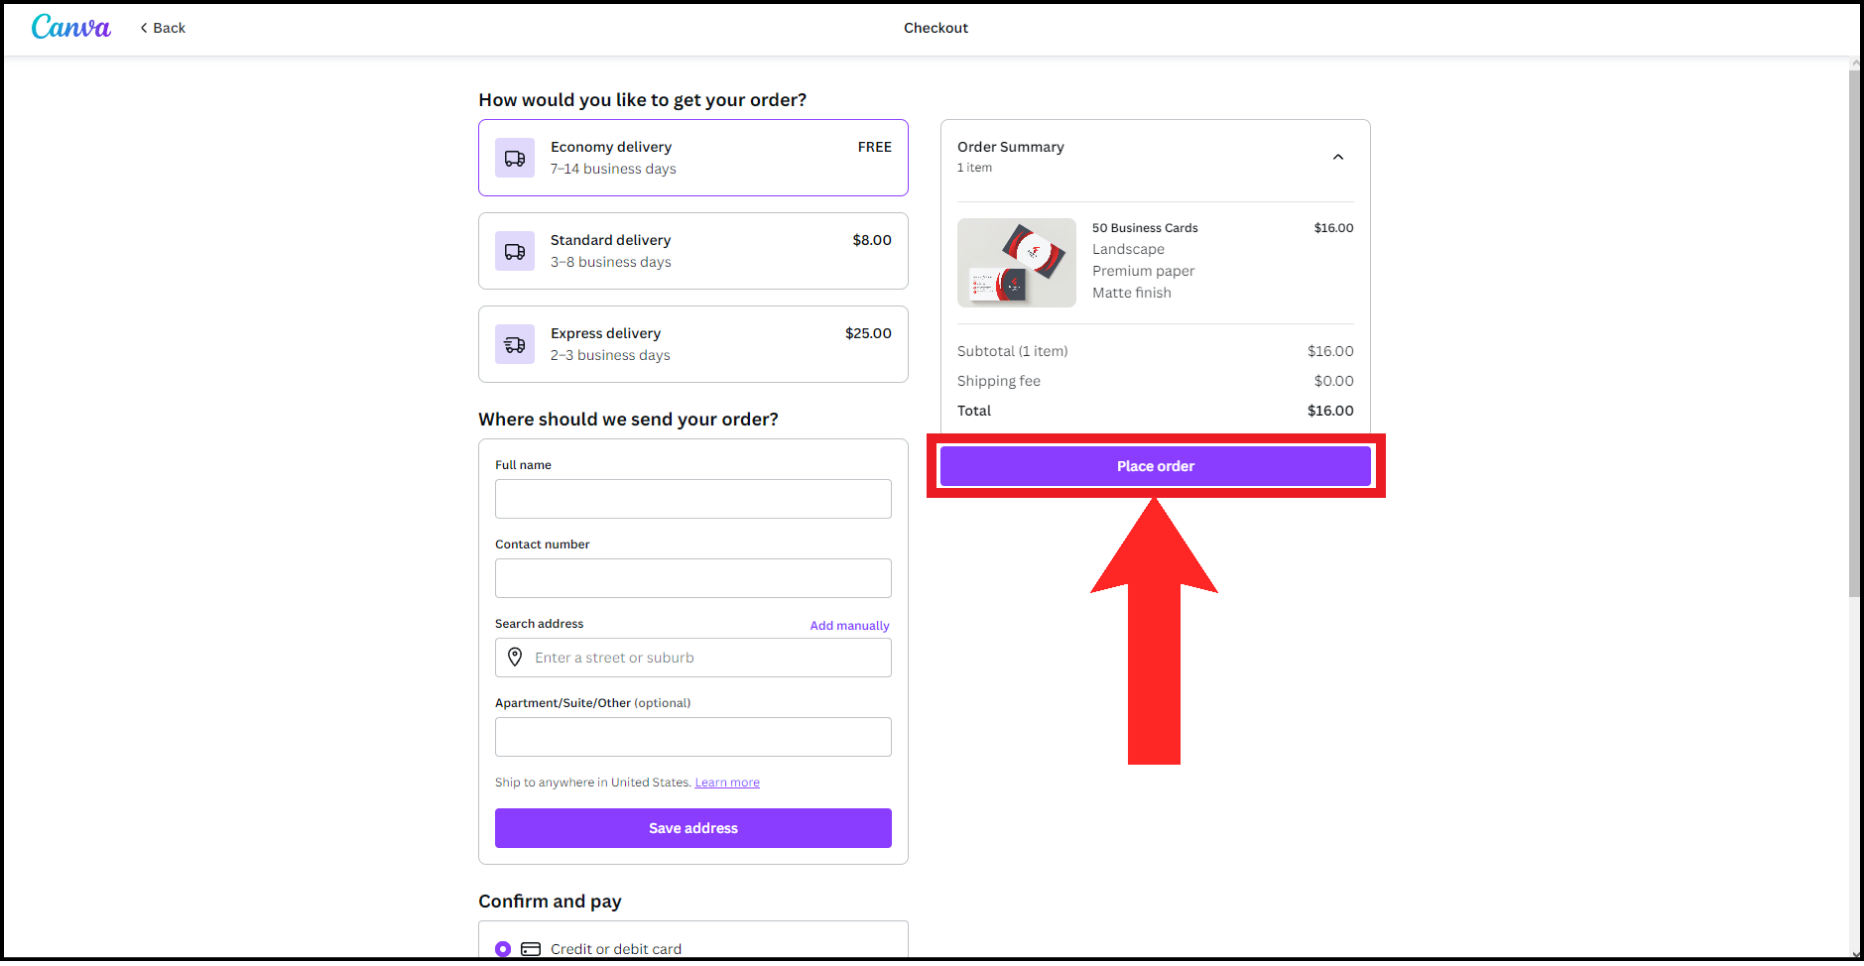
Click on “Place order” after you’re done entering your details
After placing your order, you will receive an email confirmation message. You can also modify or cancel your order for 2 hours after placing it.
Printing Yourself vs. Printing with Canva (or Other Services)
Printing by yourself is pretty common but when you want to get designs custom printed, things get a bit more complicated. You have to rely on third-party services for this job and there’s no guarantee for whether the quality will be up to the mark or not. Canva is reliable and safe, with the best quality guaranteed. They also offer a refund or reprint, if contacted within 30 days after receiving the order.
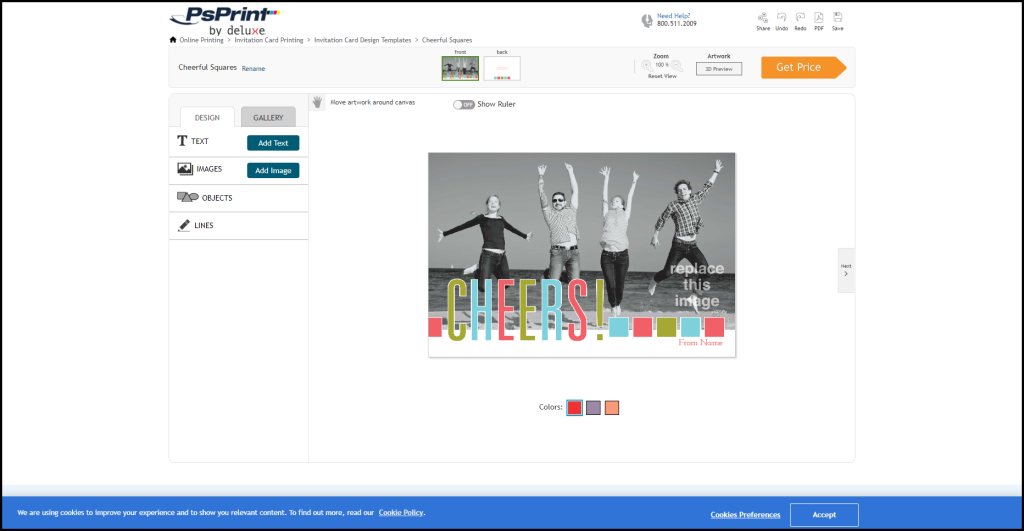
Other services like PsPrint are also great options, which also offer professional prints for a wide range of options, while being trusted. However, the main disadvantage would be the limited design options. Since Canva is primarily a graphic design tool, you can create almost anything on it. However, services like PsPrint do not offer much in the way of designs, and rely upon you already having ready-made ones.
| Features | Canva | PsPrint |
|---|---|---|
| Price | Varies on the material you’re printing on | Varies on the material you’re printing on |
| Delivery Time | Depends on the option you choose; the minimum being 2-3 days and the maximum being 7-14 days | Depends on the option you choose; the minimum being the next business day and the maximum being 6-7 business days |
| Shipping Regions | Covers most international regions | US, Alaska, Puerto Rico and Hawaii only |
| Customizability | Extremely customizable | Relies on you having a ready-made custom design or you can use their standard designs with slight alterations |
| Return Policy | Within 30 days of receiving the order | Within 7 days of receiving the order |
Reviewed by Huzaifa Haroon


