How to Prevent Users from Changing Mouse Pointers Windows?
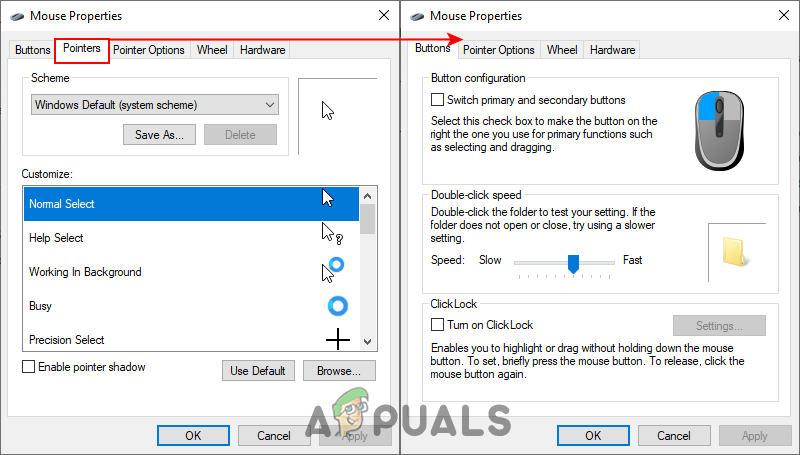
A mouse pointer or mouse cursor is a movable graphical image that is used to control certain elements in a graphical user interface. By default, it has the shape of an arrow that can be seen on the computer screen. The mouse pointer icon can be changed to a different shape in the Mouse properties. Users can also add new pointers from the internet. However, an administrator can prevent other standard users from changing mouse pointers. In this method, we will show you methods through which you can disable the mouse pointer settings. When disabled, it will remove the Pointers tab from the Mouse properties window.
The settings for disabling the mouse pointer setting can be found in the Local Group Policy Editor. However, the Group Policy Editor is not available in every Windows edition. That is why we have also included the Registry Editor method as an alternative solution.
Method 1: Using the Local Group Policy Editor
The Group Policy is a Windows feature that is used for configuring the different types of advanced settings on a computer. An administrator can apply any specific policy to the system by enabling or disabling it. There is a specific policy setting that can remove the Pointers tab from the Mouse Properties window. Standard users will be unable to change the Pointers for their system.
If your computer is equipped with the Local Group Policy Editor, then follow the below steps to see how it works. However, if you are using the Windows 10 Home edition and your system is not equipped with the Local Group Policy Editor, then skip this method.
- Press the Windows and R keys on your keyboard to open a Run dialog box. Then, you need to type “gpedit.msc” in the box and press the Enter key to open the Local Group Policy Editor.
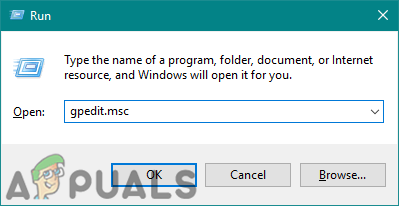
Opening the Group Policy Editor - Go to the following path in the Local Group Policy Editor window:
User Configuration\Administrative Templates\Control Panel\Personalization\
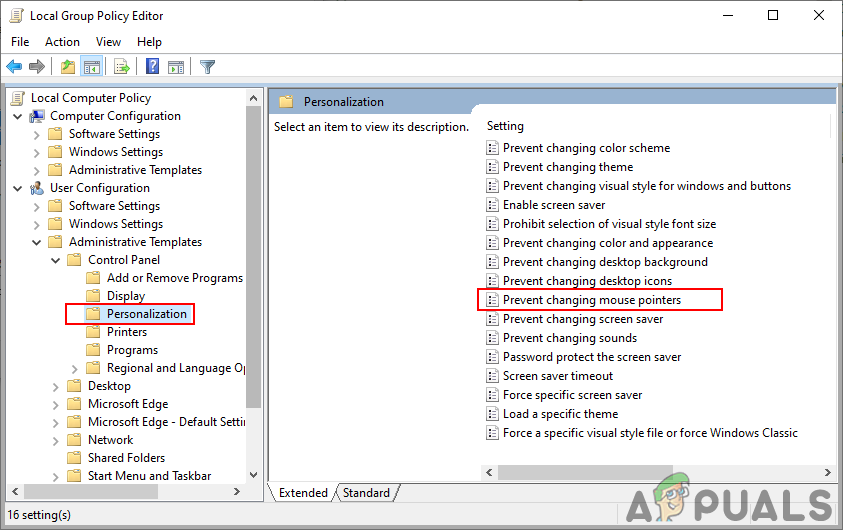
Navigating to the setting - Double-click on the setting named “Prevent changing mouse pointers” or you can right-click on it and choose the Edit option. Now change the toggle option to Enabled and click on the Apply/Ok button to save the changes.
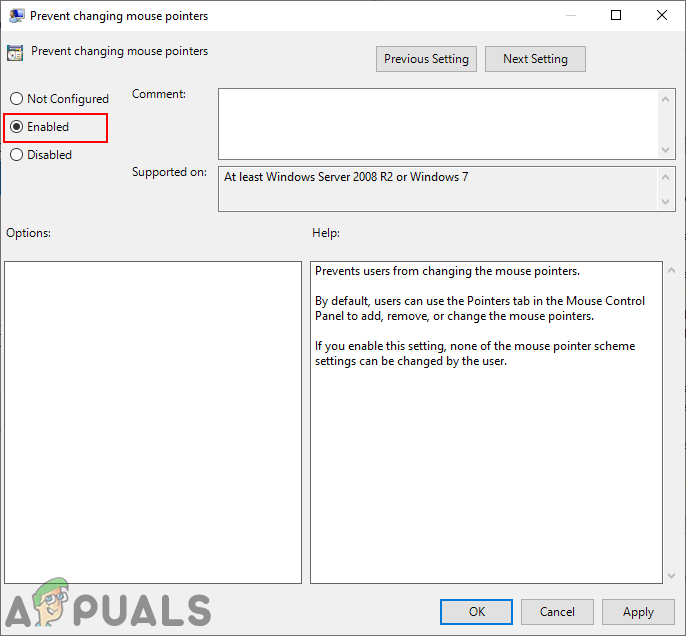
Enabling the setting - These changes automatically update instantly for most policies. However, if it doesn’t update automatically, then you need to force update the group policy.
- Search for the Command Prompt in the Windows search feature, right-click on it and choose the Run as administrator option. Now type the following command in the elevated command prompt and press the Enter key:
gpupdate /force
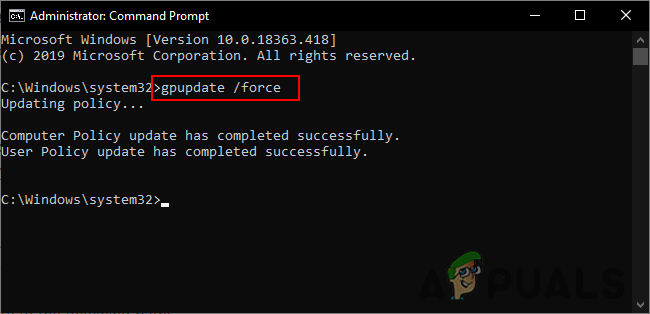
Force updating the group policy - You can always enable Pointers Tab back by changing the toggle option to Not Configured or Disabled in step 3.
Method 2: Using the Registry Editor
Another method to disable the Pointers tab is by using the Registry Editor. Just so you know, if you already used the Local Group Policy Editor method, then the Registry Editor will be automatically updated. However, if you are using this directly, then you need to create all the missing keys and values to make it work. Then you need to set a value data for the value to enable it or disable it. We have also included a registry backup step in the below steps, you can use it or skip it, it’s up to you. Follow the below steps and see how it works:
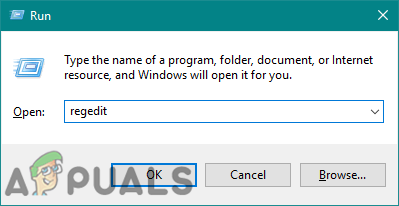
- Press the Windows and R keys on your keyboard to open a Run dialog box. Now type “regedit” in the box and press the Enter key to open the Windows Registry Editor. If you receive a UAC (User Account Control) prompt, then click on the Yes button.
Opening the Registry Editor - You can also create a backup before making any new changes in the Registry. Click on the File menu in the menu bar and choose the Export option from the list. Choose the name and location, then click on the Save button.
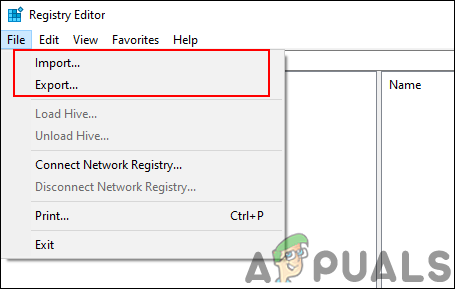
Creating a backup Note: Click on the File menu and choose the Import option to restore the Registry backup.
- Now navigate to the following path in the Registry Editor window:
HKEY_CURRENT_USER\Software\Policies\Microsoft\Windows\Personalization
Note: If the Personalization key is missing, you can create it by right-clicking on the Windows key and choosing the New > Key option. Then naming the key as “Personalization“.
- Right-click on the right pane of the Personalization key and choose the New > DWORD (32-bit) Value option. Now name this key as “NoChangingMousePointers” and save it.
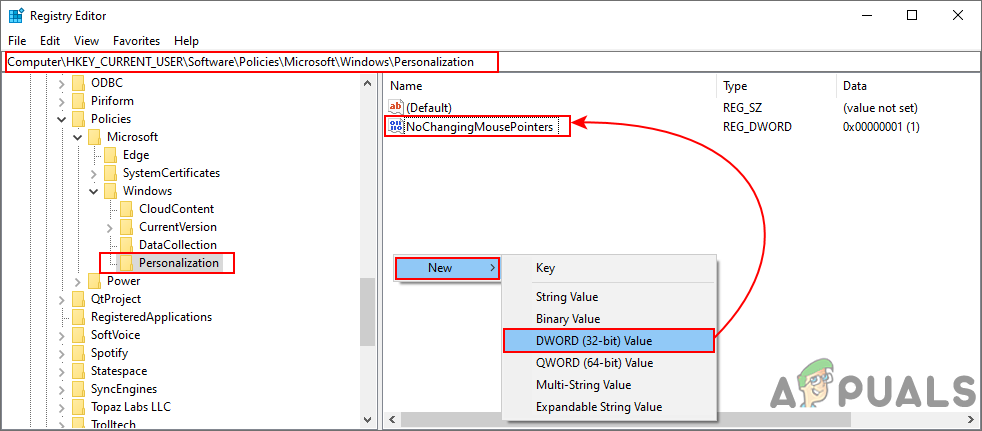
Creating a new value - Double-click on the NoChangingMousePointers value or right-click on it and choose the Modify option. Now change the value data to 1 to disable the Pointers Tab.

Changing the value data - Close the Registry Editor and restart your system to apply these changes.
- You can always enable the Pointers Tab again by changing the value data to 0. You can also simply remove the value to enable it back.


