How to: Change Your Cursor/Pointer in Windows 10
The pointer (also referred to as the ‘cursor’) is the graphical image that represents where on the display device of a computer the user’s pointing device (such as a mouse or trackpad) is at any given moment. The pointer basically tells the user where on a computer’s screen any actions performed using the pointing device – actions such as a click – will take effect. The pointer is essential for the everyday use of a computer, and since every person who uses a computer needs to have a pointer, the Windows Operating System offers a plethora of different customization and personalization options when it comes to pointers/cursors.
Windows users can customize their pointers in a variety of different ways. At the most basic levels of cursor/pointer customization in Windows 10 are the following:
The ability to change your pointer scheme – In Windows 10, a pointer scheme is a predefined set of pointers/cursors for all basic pointer actions ranging from Normal Select and Help Select all the way up to Busy and Precision Select.
The ability to change a specific pointer – If you wish to see a pointer/cursor of your own choosing instead of the Windows preset for a specific pointer action – such as Normal Select or Help Select, Windows 10 provides you with the option to substitute the default pointer for any pointer action of your choosing to a custom pointer.
Now a Windows 10 user can go about changing their pointer scheme or pointers/cursors through two different paths – one path going through Mouse Properties and the other going through the Registry Editor.
Option 1: Changing your pointer scheme and pointers through Mouse Properties
Out of the two options that you have, changing your pointer scheme and pointers through Mouse Properties is undoubtedly the easier one as Mouse Properties is a Windows utility with a graphical interface designed specifically to allow users to customize and personalize their pointers and pointer properties.
To change your pointer scheme:
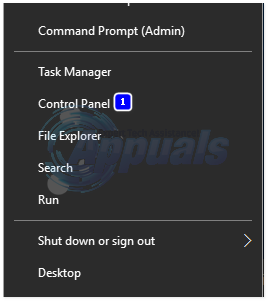
Hold Windows Key and Press X. Choose Control Panel.
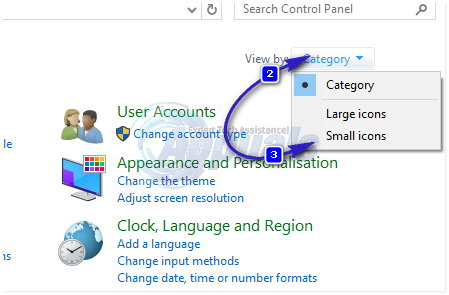
Open the Control Panel and switch to Icons View.
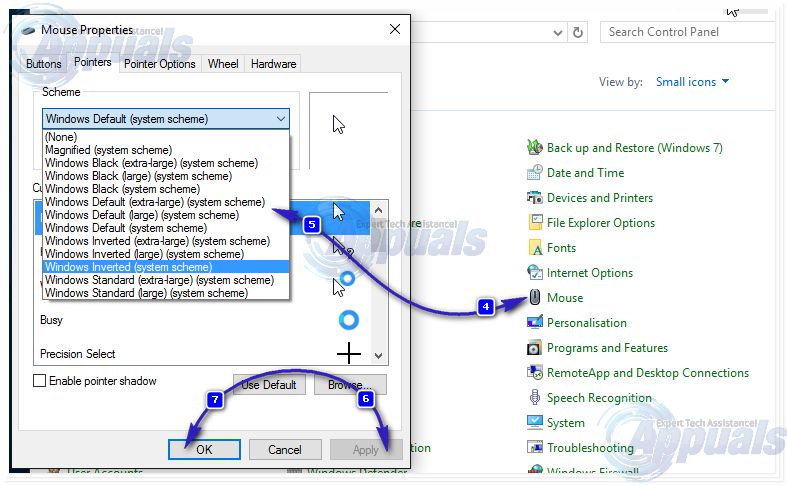
Click on the Mouse. Navigate to the Pointers. Open the dropdown menu in the Scheme. Click on the pointer scheme that you would like to use. Click on Apply. Click on OK. Exit Mouse Properties.
To change your pointers:
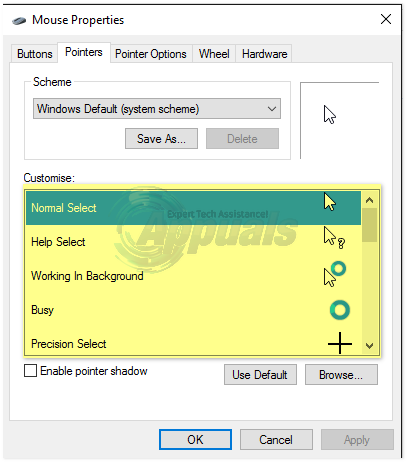
Open the Control Panel and switch to Icons View. Click on the Mouse. Navigate to the Pointers. Click on the pointer that you would like to change in the Customize.
Click on Browse…, navigate to the location of the .ani or .cur file for the custom pointer that you would like to use, click on the .ani or .cur file to select it and click on Open. To turn the selected pointer back into the Windows preset, click on Use Default instead of Browse…
Click on Apply. Click on OK. Exit Mouse Properties.
Saving and deleting pointer schemes:
Whenever you change a pointer in the Customize section, you automatically create a new pointer scheme. To save this new pointer scheme, click on Save as… in the Scheme section, name the new pointer scheme and click on OK.
To delete a pointer scheme, open the dropdown menu in the Scheme section, click on the pointer scheme you want to delete, click on Delete in the Scheme section and click on Yes in the contextual popup.
Option 2: Changing your pointer scheme and pointers via the Registry Editor
This option, although is bound to provide you with the same result as Option 1, is a tad bit riskier seeing as though it requires you to fiddle around with your computer’s Registry. Before proceeding, please know that a Windows computer’s registry is an extremely fragile area and even the slightest of mistakes while using the Registry Editor can cause you a lot of trouble, so creating a System Restore Point before going any further is recommended. To create a System Restore Point on a Windows 10 computer, use the Creating System Restore Point section of this article.
Also, it should be noted that changing your printer scheme and pointers through the Registry Editor will be a bit trickier as compared to the alternative because the Registry Editor does not have a graphical interface dedicated to allowing users to change pointer schemes and replace pointers.
To change your pointer scheme:
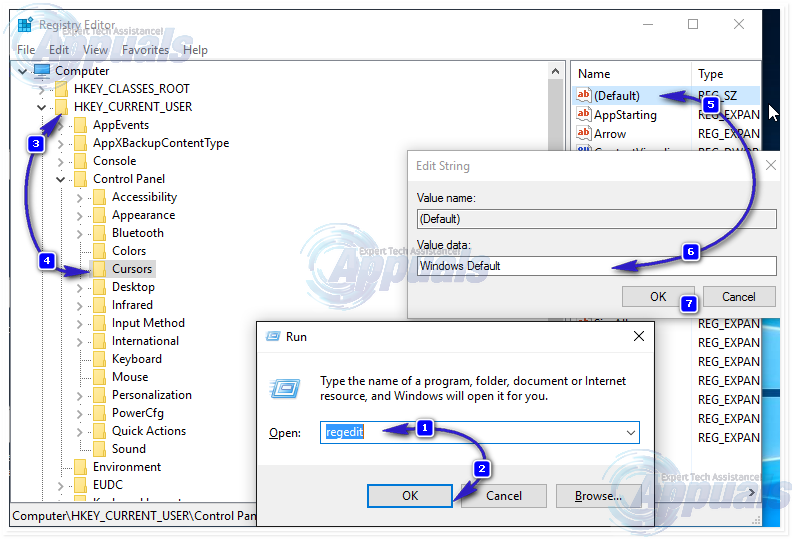
Press Windows Logo key + R to open a Run . Type regedit into the Run dialog and press Enter.
In the left pane of the Registry Editor, navigate to the following directory:
HKEY_CURRENT_USER\Control Panel
Click on the Cursors folder in the left pane to expand its contents in the right pane.
In the right pane, double-click on the string value named (Default). When the Edit String window opens up, type the name of the pointer scheme (list of pointer schemes provided below) you want to make your current pointer scheme into the Value data. Click on OK. Close the Registry Editor.
Either sign out of and then back in to your user account or restart your computer to have the changes take effect.
If you are not familiar with the names of the pointer schemes available by default in Windows 10, here is a list of all of them:
Magnified

Windows Black (extra large)

Windows Black (large)

Windows Black

Windows Default (extra large)

Windows Default (large)

Windows Default

Windows Inverted (extra large)

Windows Inverted (large)

Windows Inverted

Windows Standard (extra large)

Windows Standard (large)
If you want to set your pointer scheme to None, simply leave the Value data field blank.
To change your pointers:
Press Windows Logo key + R to open a Run
Type regedit into the Run dialog and press Enter.
In the left pane of the Registry Editor, navigate to the following directory:
HKEY_CURRENT_USER\Control Panel
Click on the Cursors folder in the left pane to expand its contents in the right pane.
In the right pane, double-click on the string value that corresponds to the pointer you want to replace with a custom pointer of your choosing. A list of the names of the string values for all of the pointers in Windows 10 is provided below.
Type in the full path of the location of the .ani or .cur file for the custom pointer you want to replace your current pointer with into the Value data field of the Edit String
Click on OK.
Close the Registry Editor.
Either sign out of and then back in to your user account or restart your computer to have the changes take effect.
If you are not familiar with the names of the string values for each of the many different pointers in Windows 10, here is a complete list:
Pointer Name of string:                               Value
Normal Select                                                        Arrow
Help Select                                                             Help
Working in Background                                      AppStarting
Busy                                                                         Wait
Precision Select                                                     Crosshair
Text Select                                                              IBeam
Handwriting                                                          NWPen
Unavailable                                                            No
Vertical Resize                                                       SizeNS
Horizontal Resize                                                 SizeWE
Diagonal Resize 1                                                 SizeNWSE
Diagonal Resize 2                                                SizeNESW
Move                                                                      SizeAll
Alternate Select                                                   UpArrow
Link Select                                                            Hand
yesg