How To Use Prebuilt Templates To Make Whiteboard Animations
Whiteboard animations are rising in popularity for all the right reasons. Getting your message across with whiteboard animations is the smart move and you should jump in on this train. It has been shown to attract much more viewers and has a higher retention rate. Making whiteboard animations can be just as easy as it can be difficult. Their difficulty can sometimes come off as proportional to how different your video is going to be. Starting from scratch with a brand new idea is going to take more time than using a pre-defined template.
With your whiteboard animated video, you’re looking at something special that will attract the viewers and deliver the message that you want to be delivered. You can customise your animation so that it resonates with the viewers exactly how you want it to.
As appealing as that sounds, there are cases when going for a ready-made template that you can make some quick changes to is the smart option. Perhaps spending that much time on a completely fresh animation video is just not something you have on your hands. Or maybe, the situation dictates that you get an easy way out for now. Many a time, you’ll find that prebuilt templates are quite useful in ways more than one. With Videoscribe, you get a huge collection of prebuilt templates that the community is quite happy to share. And, using them for yourself is quite easy as well, before we start you can go ahead and get videoscribe here.
When should I use and not use a prebuilt template for my whiteboard animation?
Templates for whiteboard animation videos are almost completely ready. Doing just a few changes and adding a bit of a personal touch here and there, your whiteboard animation can be ready to go. However, going for them is not always the smartest bet. When making your animation videos, you will surely encounter times where you will need to put in the time and effort required to make a video from scratch or find a template that you can tidy up in a short amount of time.
When browsing for templates put to use by others, you will find quite a vast variety to choose from. And as I mentioned earlier, going for them can help save time. However, you should keep in mind that this selection is put to use for others as well. You may find a whiteboard animated video that is based on the template that you are using. If adding uniqueness and personalizing the video to your brand is what you need to do, then these prebuilt templates will end up requiring a lot of time as well.
Getting started with prebuilt templates
Videoscribe brings you the templates that are ready for you to use quite easily. You have a selection of templates put out by Videoscribe as well as others that are made by the users in the Videoscribe community.
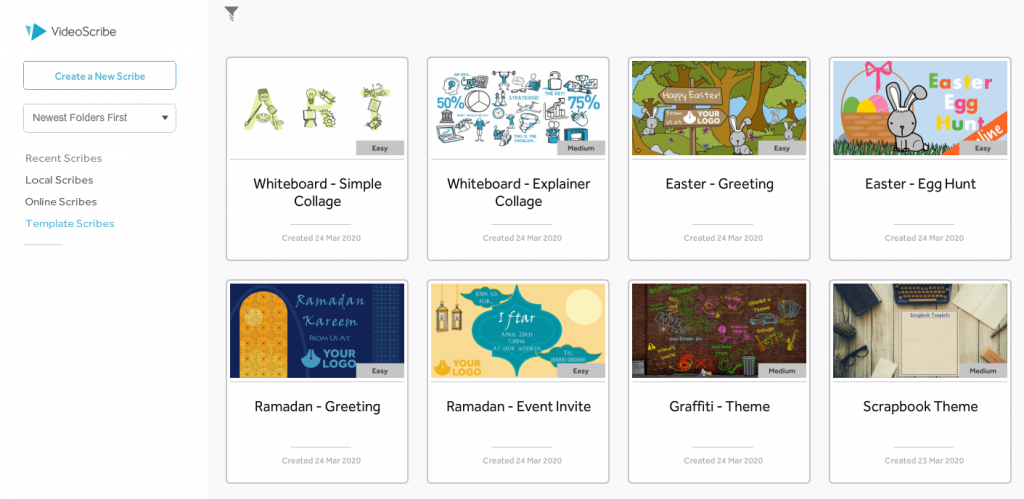
When opening Videoscribe, you’ll see an option for “Template Scribes” in the left portion of your window. Clicking that will load some prebuilt templates that are put out for you to use by Videoscribe.
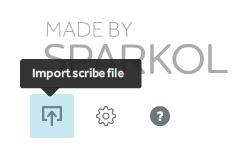
In addition to that, you can also find other templates for Videoscribe online in the forums or community. Download a template from there and import it by clicking on the button in the bottom left corner of your window.
Editing prebuilt templates
Loading your desired prebuilt template on Videoscribe is just the first step. You will also need to make it your own by customizing it according to what your message is- be it a brand advertisement or an awareness message.
To start off, try playing the template in its default state to see how everything plays out. It will give you a good sense of direction as to what you need to change and what needs just minor adjustments.
 Changing the text and images
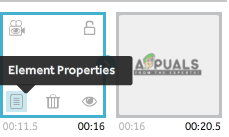
Changing the text or image of a prebuilt template works just like a fresh canvas. In Videoscribe, a timeline in the bottom panel should show all elements that are in your canvas. Select the frame that you want to edit and click on the “Element Properties” button.
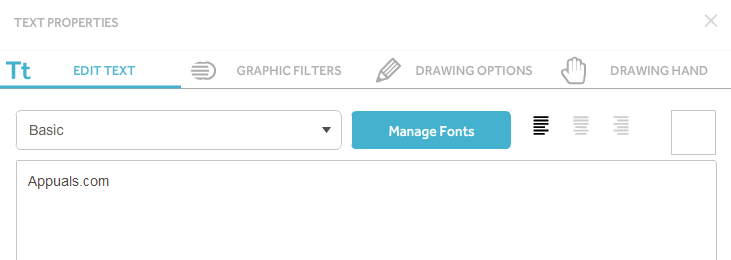
Clicking on the “Element Properties” button will open up a new window with multiple tabs. You will have access to all the editing and animation features that Videoscribe has put for your use. Go through them and customize the text or image to however you want it to be displayed. For text, you can choose one of many fonts from Videoscribe’s library or import one of your own. To do that, click the “Manage Fonts” button in the “Edit Text” tab.
The process for changing the images is pretty much the same. You select the frame from the timeline in the bottom panel and click on “Element Properties”. From there on, you can either edit the already existing image by changing the drawing options or adding graphic filters from their respective tabs or changing the picture altogether. To change the picture, go to the “Select Image” tab from the window that opens up after selecting “Element Properties” and select one that you need.
Changing the drawing hand type
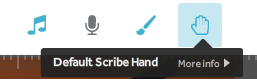
Along with many other options, changing the drawing hand is also one that is at your disposal when using Videoscribe. When loading a prebuilt template, you may find a drawing hand type that is not what you want. You should have seen that when you first played the template to see what’s what. In the top right corner, click the little hand icon to change the drawing hand types and choose one of your preference.
Adding voiceovers and songs
A plain animation video with no sounds and audio to back it up feels very bland. Voiceovers and background audio are a great way to bring your animations to life and it is something that you should always do before finalizing your video. With Videoscribe, you can do both and really breathe life into the video that you’re putting your hours in.
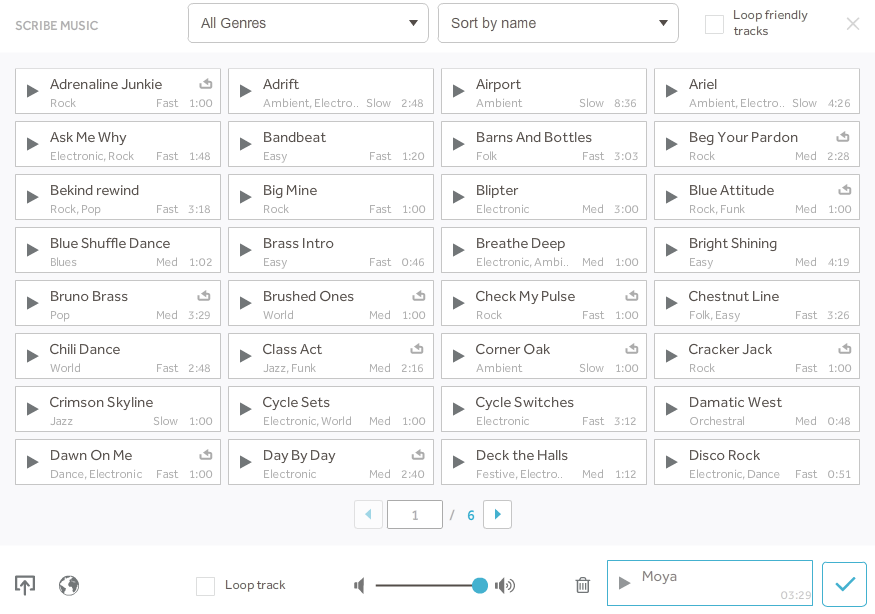
Add a song from the selection available in Videoscribe or import one of your own by pressing the import button displayed in the bottom left corner of the above picture.
Fine-tuning other details
The little tricks that one might not pay much attention to at first are what separate a good animation video from a professional one. With Videoscribe, everything is made easy by putting everything in a neatly fashioned order so your screen is not cluttered.
You can drop and drop the images and text frames to rearrange them in the timeline. Instead of moving things from scratch, explore your options before finalizing on one design by learning to control the timeline. Dragging and dropping make everything.
In the image properties, you can also change the colours of the characters by opening the “Drawing Options” tab from “Element Properties”. Videoscribe has a tonne of different animated pictures that you can change colours of. When looking for one, choose one with a little colour palette symbol located beside it.
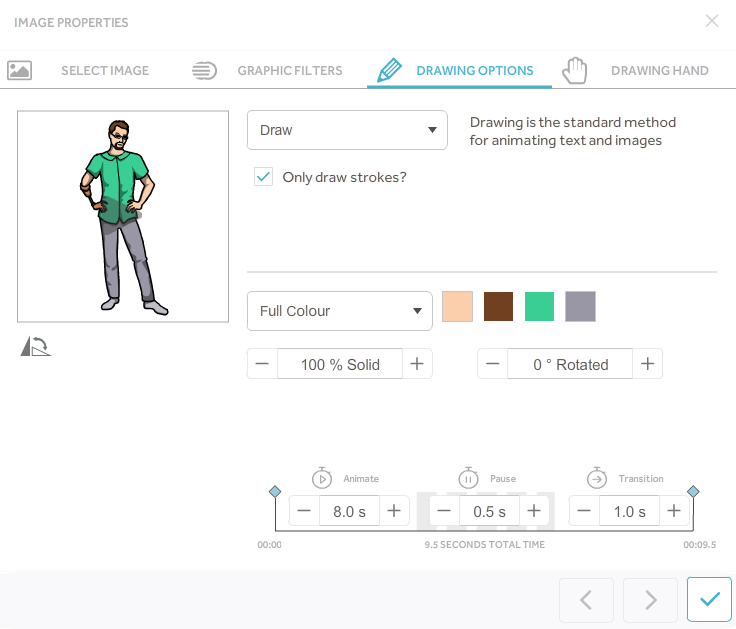
From the above picture, you can see that Videoscribe has a tonne of different options for you to explore. You can change the “Animate” time to determine how long it will take to draw that picture, “Pause” for letting that picture stay on the screen for said amount of time and “Transition” for how long it will take to transition from one picture to the next corresponding one.
A prebuilt template can really make things a lot easier by giving you almost all the essentials that you need. Take your time in finding the right template to start your work with and then go about exploring it. These templates are not going to be fully ready as you will need to customize them so that the video resonates to what your message is. Luckily, doing that is quite easy with Videoscribe. From the very huge library of templates to making them your own, it’s all just a few simple steps that I have put together for you here.


