How To Make A Potion of Weakness in Minecraft
 Reviewed by Huzaifa Haroon
In the world of Minecraft, magic and potions play a big role in battles and can help even the odds. One especially helpful potion is the Potion of Weakness. In this guide, we’ll cover what it is, how to get one, how to use it, and more—all in simple steps that anyone can follow.
The Potion of Weakness gives whoever drinks it, or is hit by it, the weakness effect. This means their melee attack damage is reduced. At first, it might not sound very helpful, but it’s actually used in making advanced potions and is important for curing zombie villagers. Plus, it’s the easiest potion to brew in Minecraft since it’s the only one that does NOT require a nether wart.
Now, let’s go over how to get a Potion of Weakness in Minecraft.
Obtaining a Potion of Weakness
You can get a Potion of Weakness in two main ways:
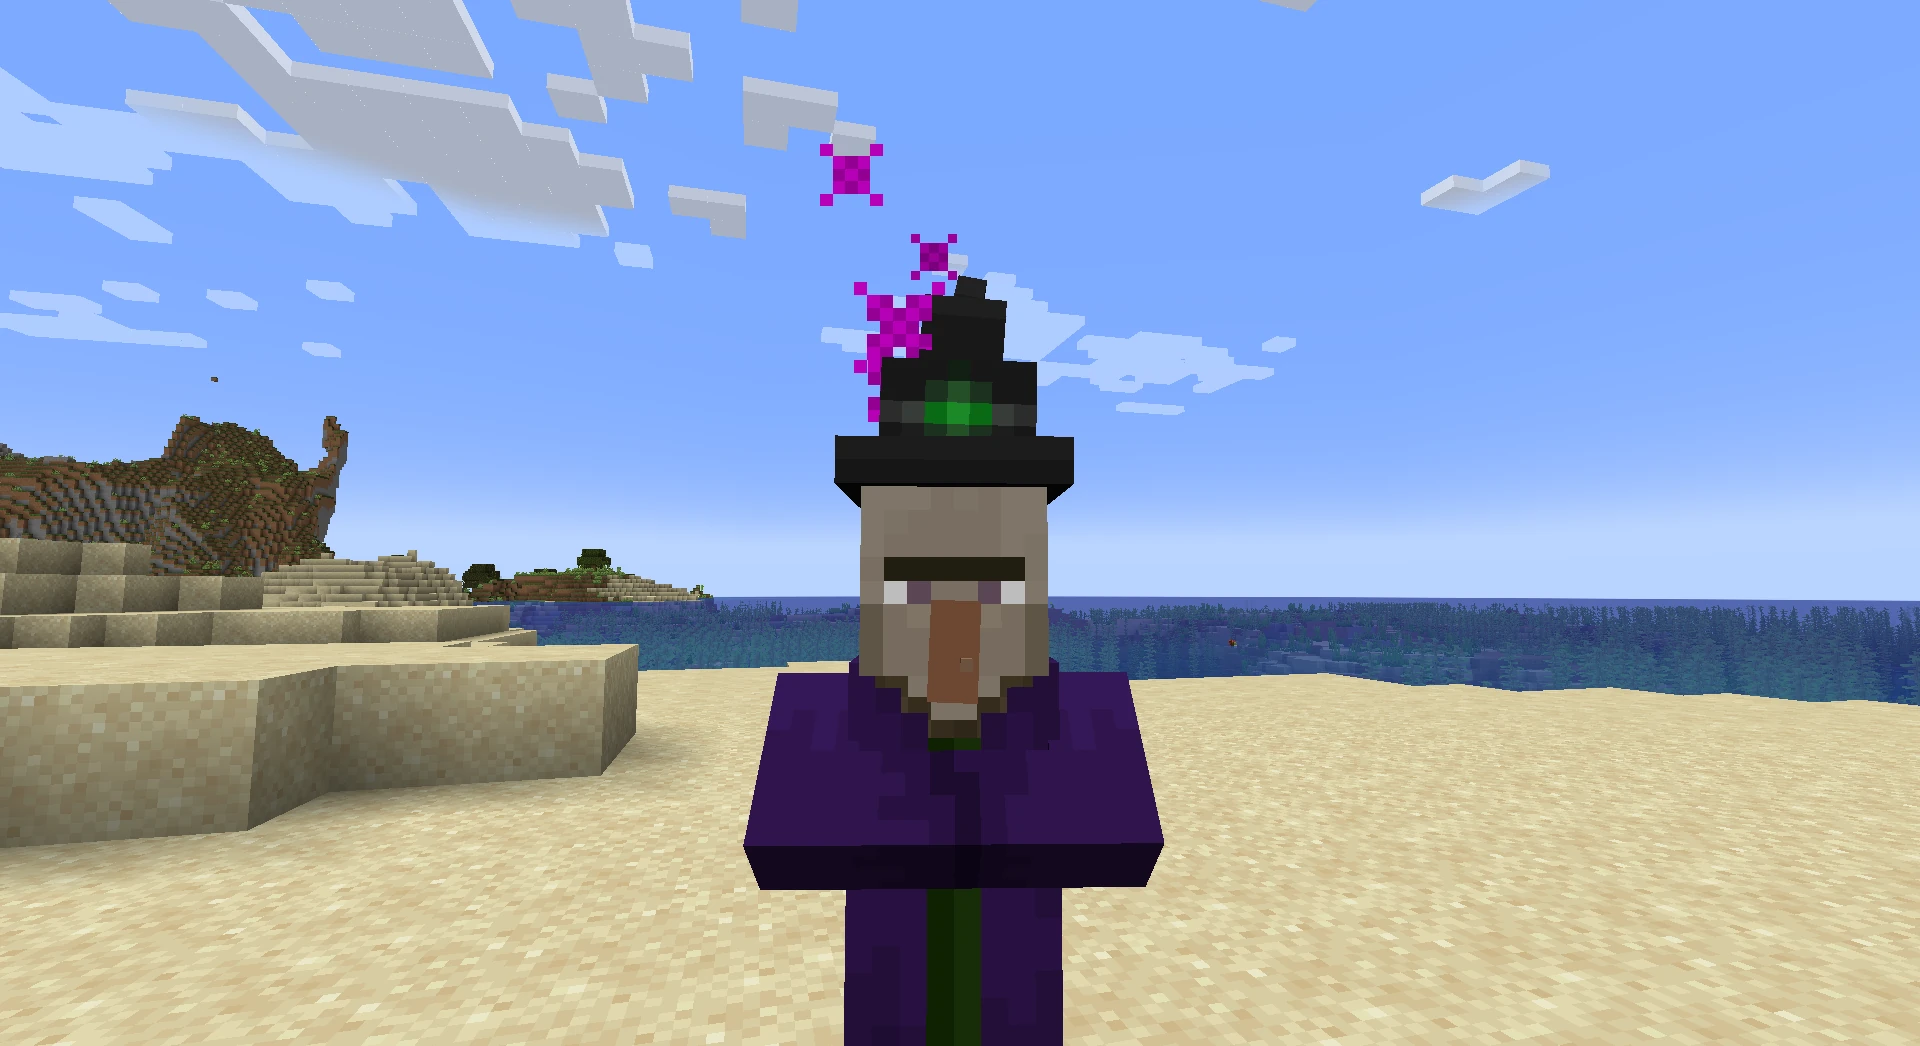
- Defeat witches — they sometimes drop a Potion of Weakness.
- Brew one yourself—this is the most reliable method.
Ingredients Required for Brewing a Potion of Weakness
To brew a Potion of Weakness, here’s what you’ll need:
- A Crafting Table
- A Brewing Stand
- One Blaze Powder
- One Bottle of Water
- One Fermented Spider’s Eye
1. Crafting Table
Beginners start with a 2×2 crafting grid, but almost everything you’ll need—including potions—requires a 3×3 grid. To upgrade, you need a crafting table.
- Gather some wood. Since you’ll need wood for other items too, collect at least 3 logs. Simply chop or punch any tree.
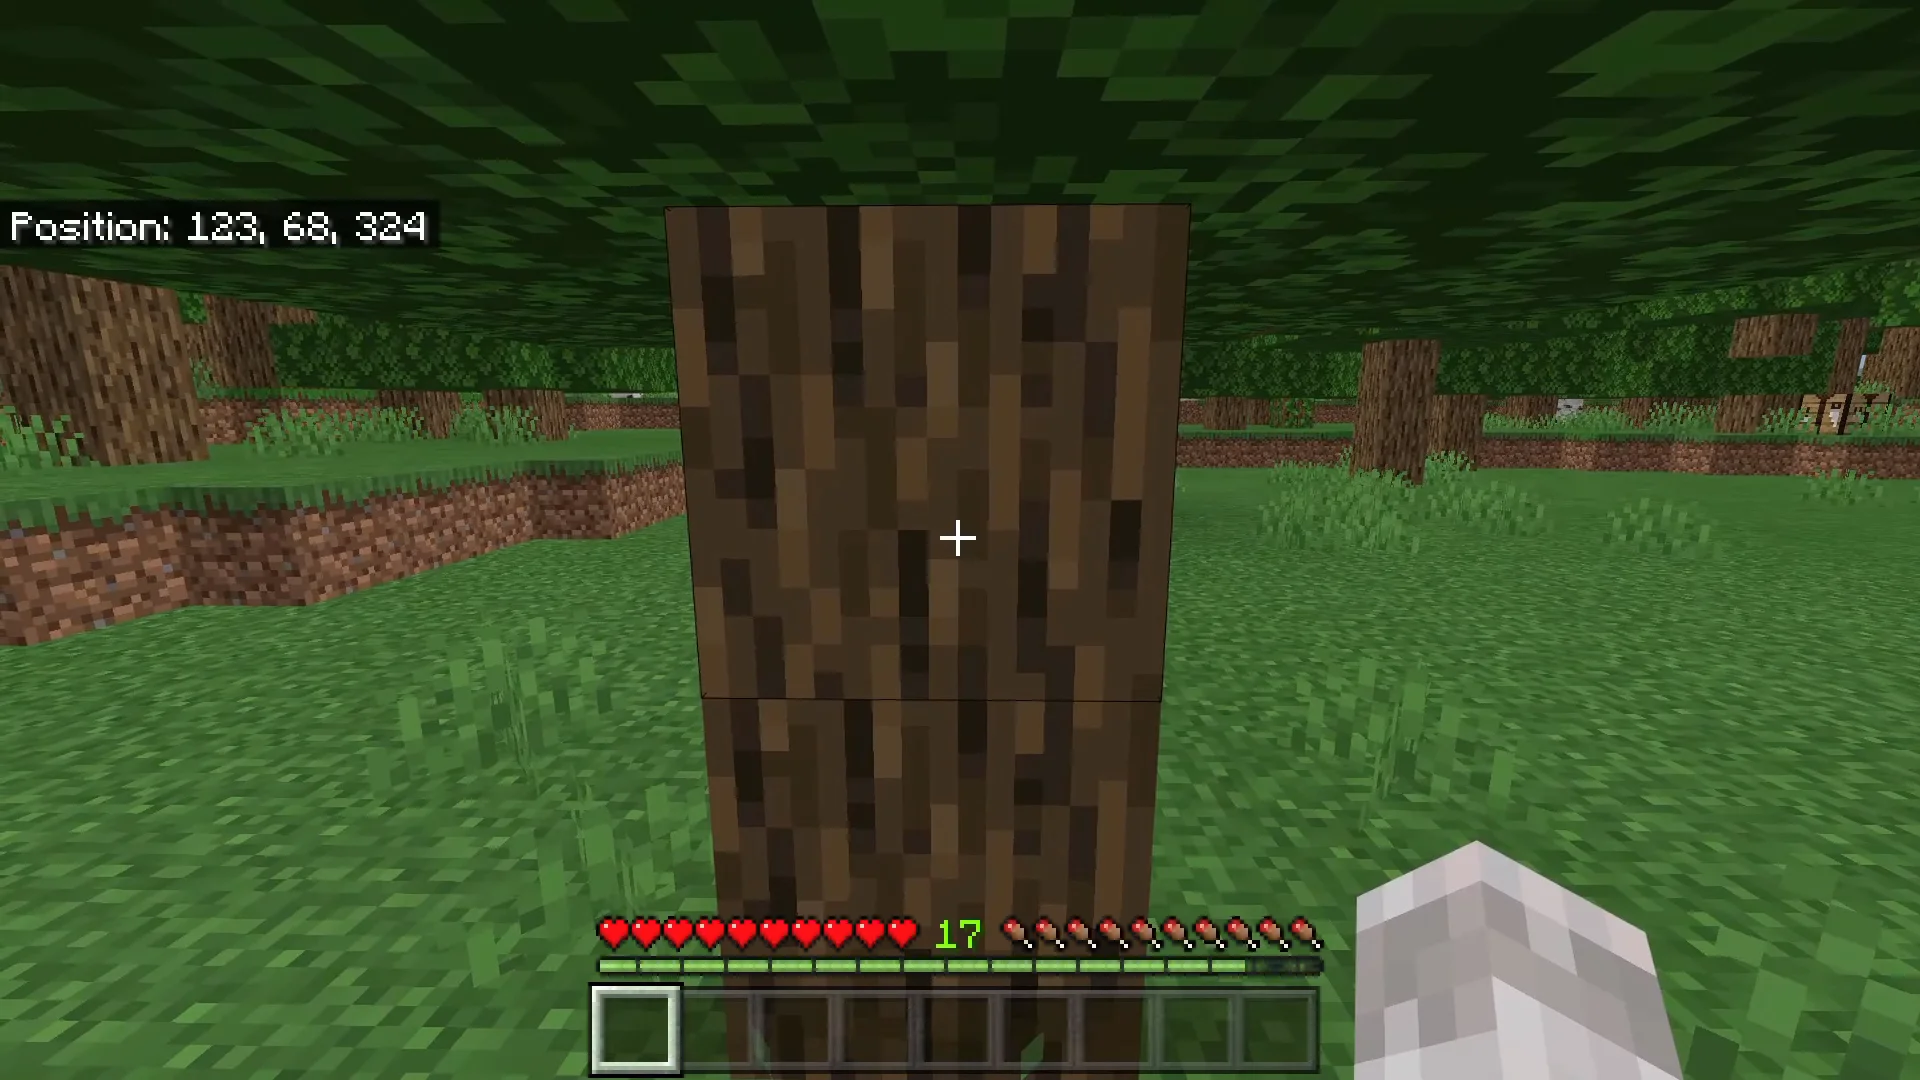
Trees are everywhere in Minecraft—wood is easy to get - Open your crafting menu and put 1 log into any slot to get 4 wooden planks.
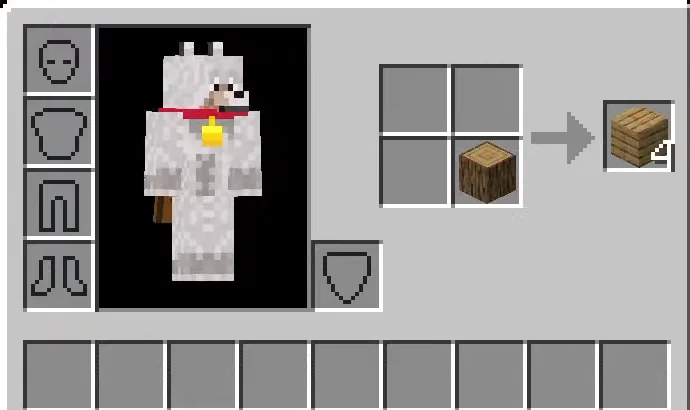
You can place the log in any crafting grid slot - Remove the logs and fill all slots with the wooden planks to make a crafting table.
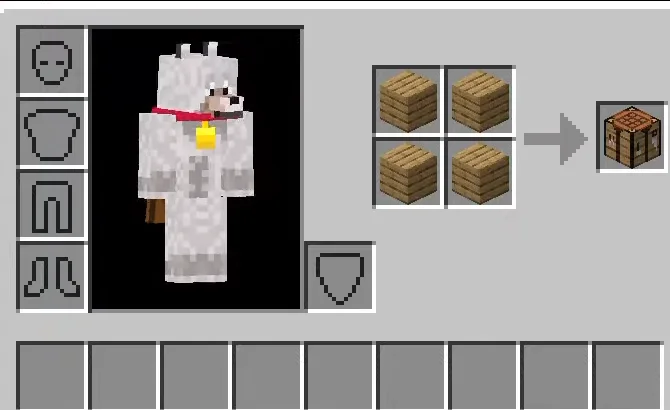
Fill the crafting grid with your planks - Place your crafting table in your base.
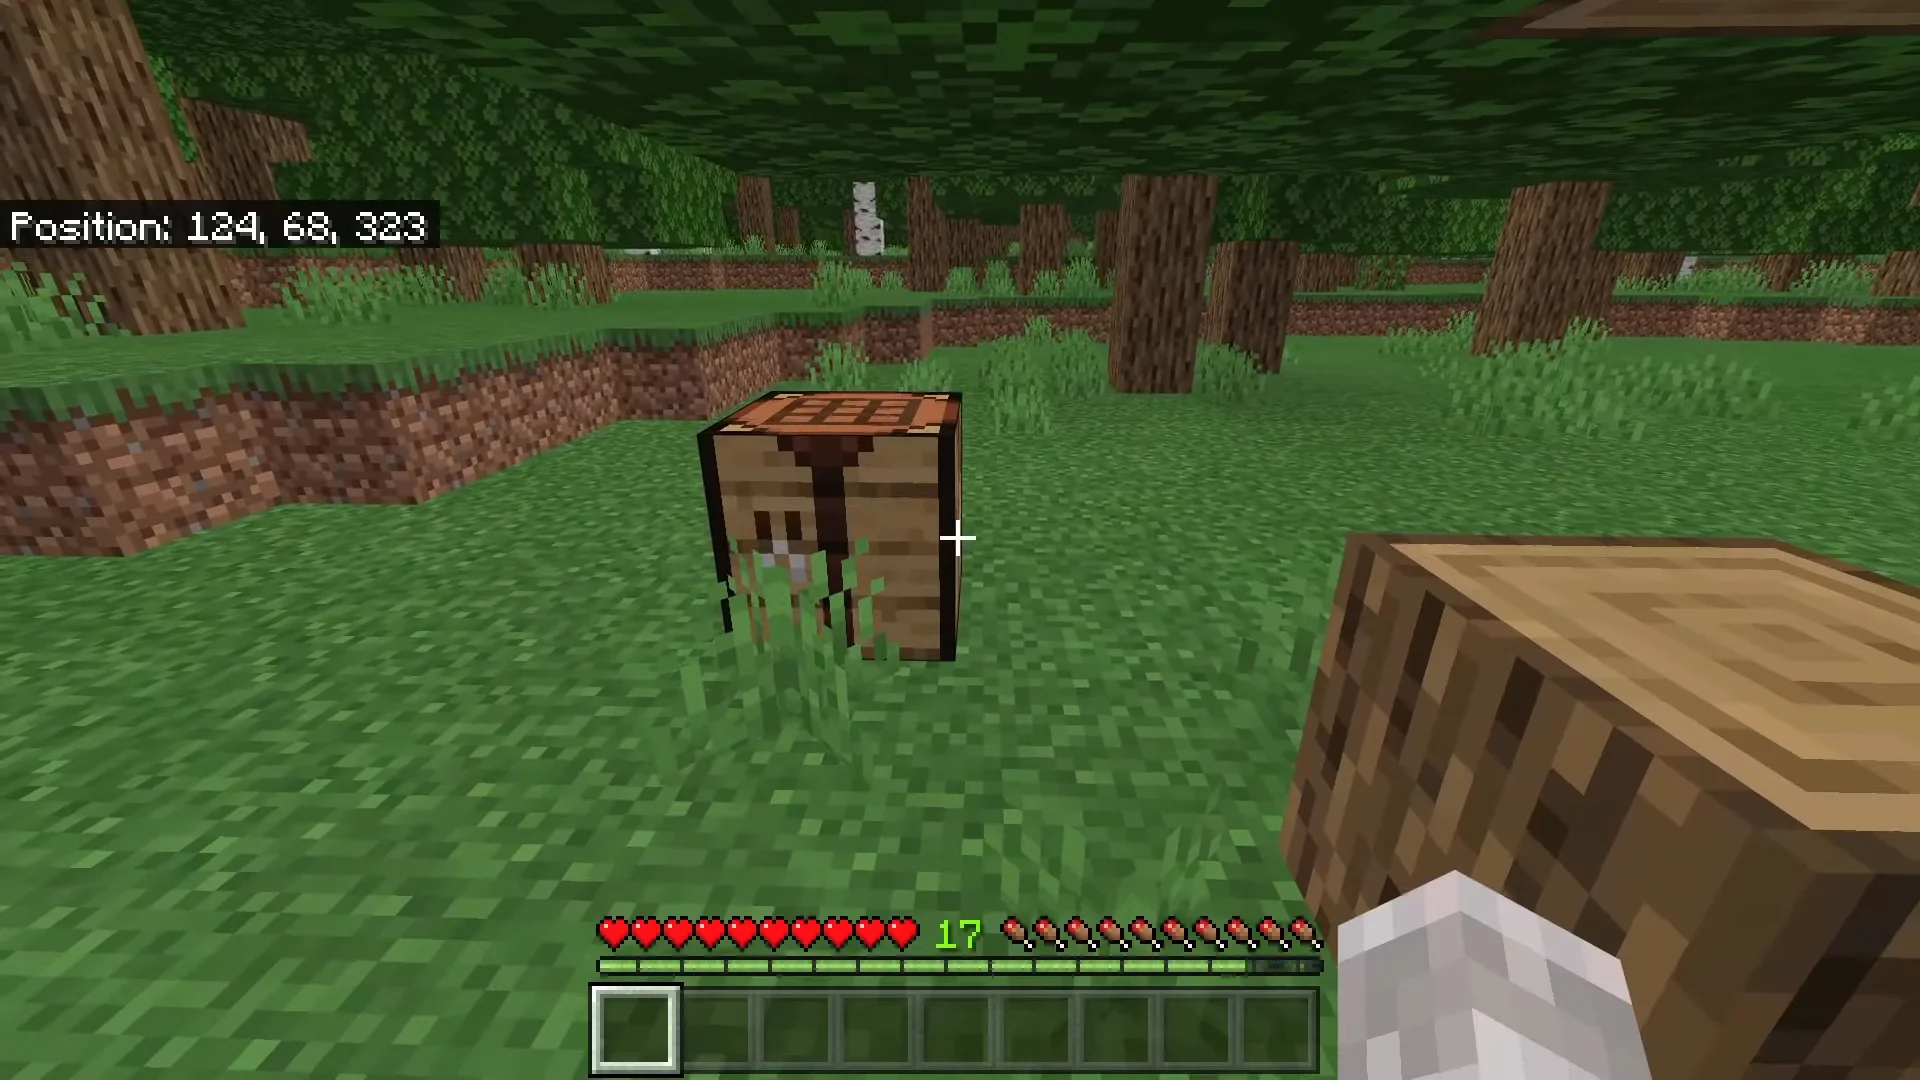
Keep your crafting table somewhere handy - Exit and re-enter the crafting screen to see your new 3×3 grid.
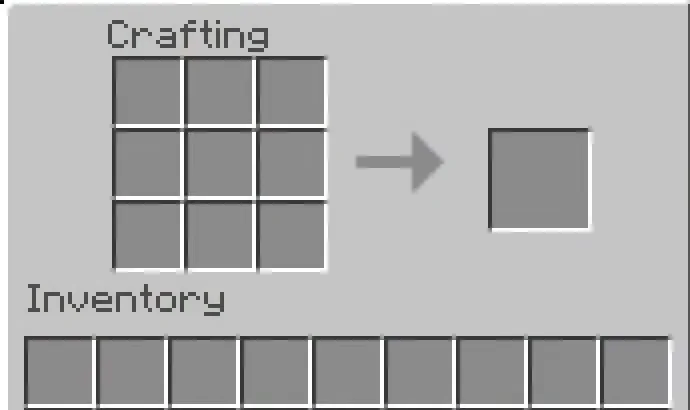
Now you can craft more complex items with ease


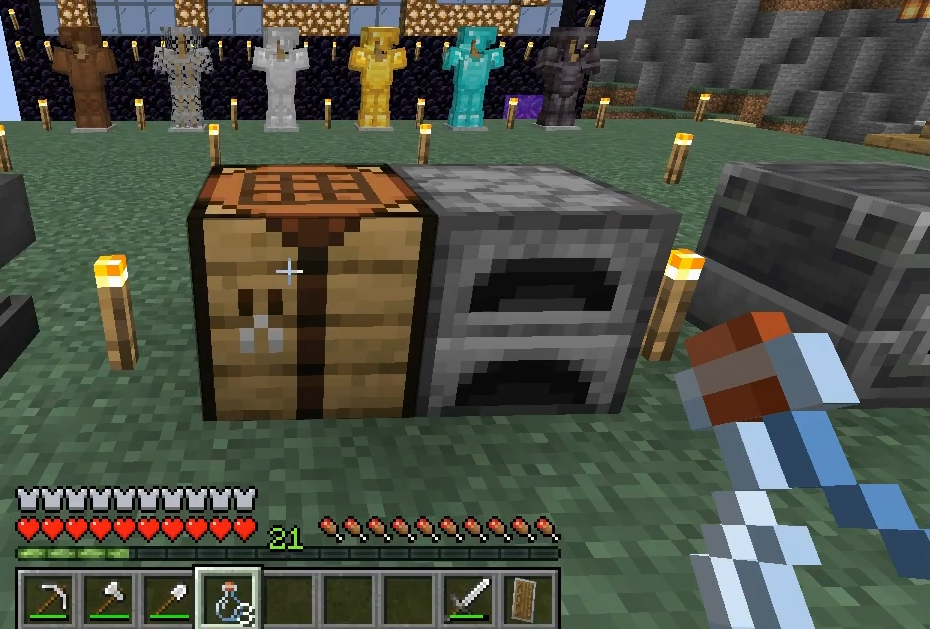
2. Brewing Stand
To make a Brewing Stand, you’ll need 1 Blaze Rod and 3 cobblestone. Blaze rods are dropped by blazes in the Nether, while cobblestone is found underground almost everywhere.
- Open your crafting menu. Place 1 Blaze Rod in the center slot and 3 cobblestone blocks in a row below it.
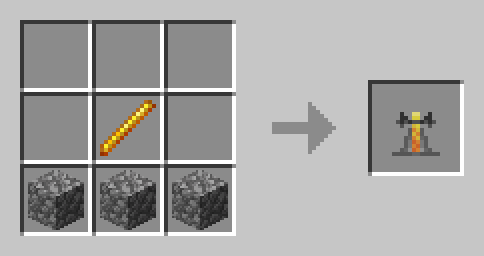
Arrange them as shown - Move the Brewing Stand to your inventory.
- Place the Brewing Stand in your base so you can start making potions.

Set it up wherever you want | @lofiiii
3. Blaze Powder
Blaze Powder fuels your brewing. Make it using one more Blaze Rod:
- Place a Blaze Rod in any slot in the crafting menu. This will give you Blaze Powder.
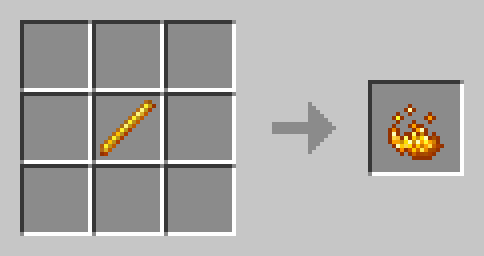
Just one Blaze Rod is enough - Add the Blaze Powder to your inventory.
4. Bottle of Water
A Bottle of Water in Minecraft is easy to get. You can find them while fishing, or craft one from a Glass Bottle. Here’s how to make a glass bottle and fill it with water:
- To craft glass, use 3 sand and any fuel source in your furnace. One sand makes one glass.
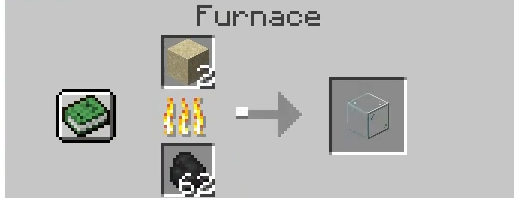
Any sand and any fuel will do - Collect the finished glass from the furnace.
- In your crafting menu, place one glass in each of any three columns (making a small “V” shape).
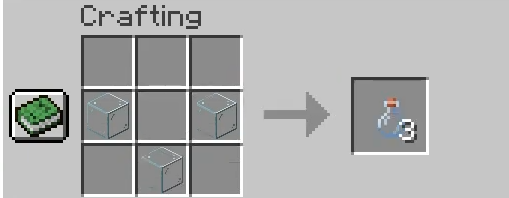
Glass bottles crafted in a “V” shape - Move the glass bottles into your inventory.
- Select a glass bottle, find a body of water in your world, and right-click (or press left trigger on your controller) to fill it. It’s now a water bottle!
Just aim at the water and use the bottle - You’ll see the “Water Bottle” message, and your glass bottle will turn blue.
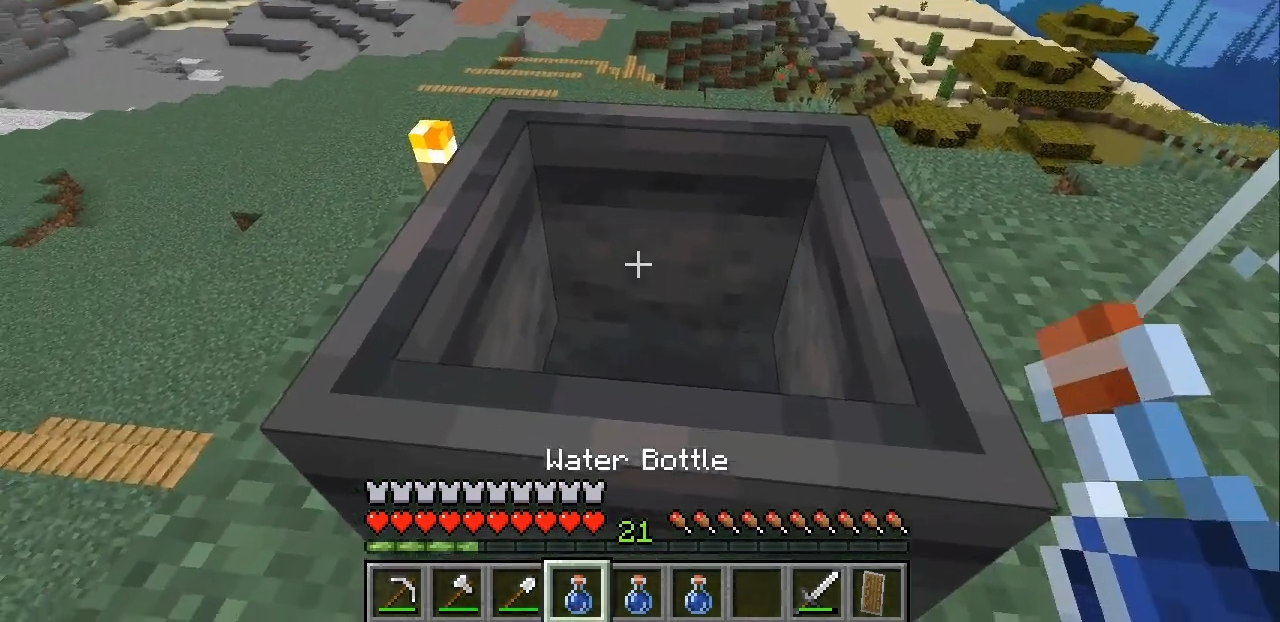
When you see “Water Bottle,” it’s ready
5. Fermented Spider’s Eye
This is probably the trickiest ingredient. You have to craft it using 1 brown mushroom, 1 sugar, and 1 spider’s eye.
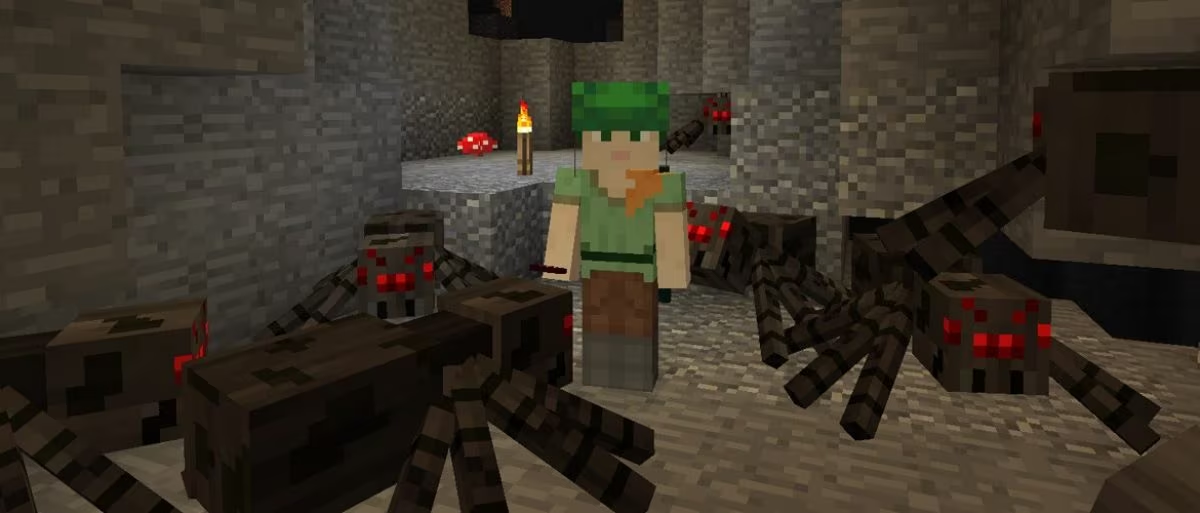
Brown mushrooms are common in swamps, the Nether, and other dark places. Sugar is easily crafted from sugar cane, or can sometimes be found in loot. Spider eyes are usually dropped by spiders and cave spiders when you defeat them, or occasionally by witches.
Once you have all three:
- Open your crafting menu and place each ingredient next to the others, in any order.
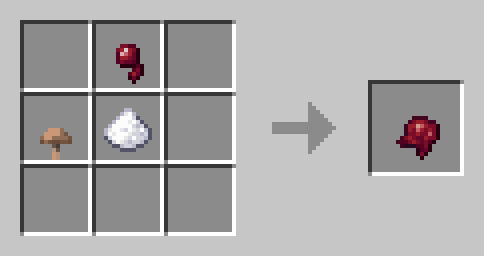
Just make sure they’re next to each other - Move the Fermented Spider’s Eye to your inventory.
Crafting the Potion of Weakness
Once you’ve got all your ingredients, here’s how to brew your Potion of Weakness:
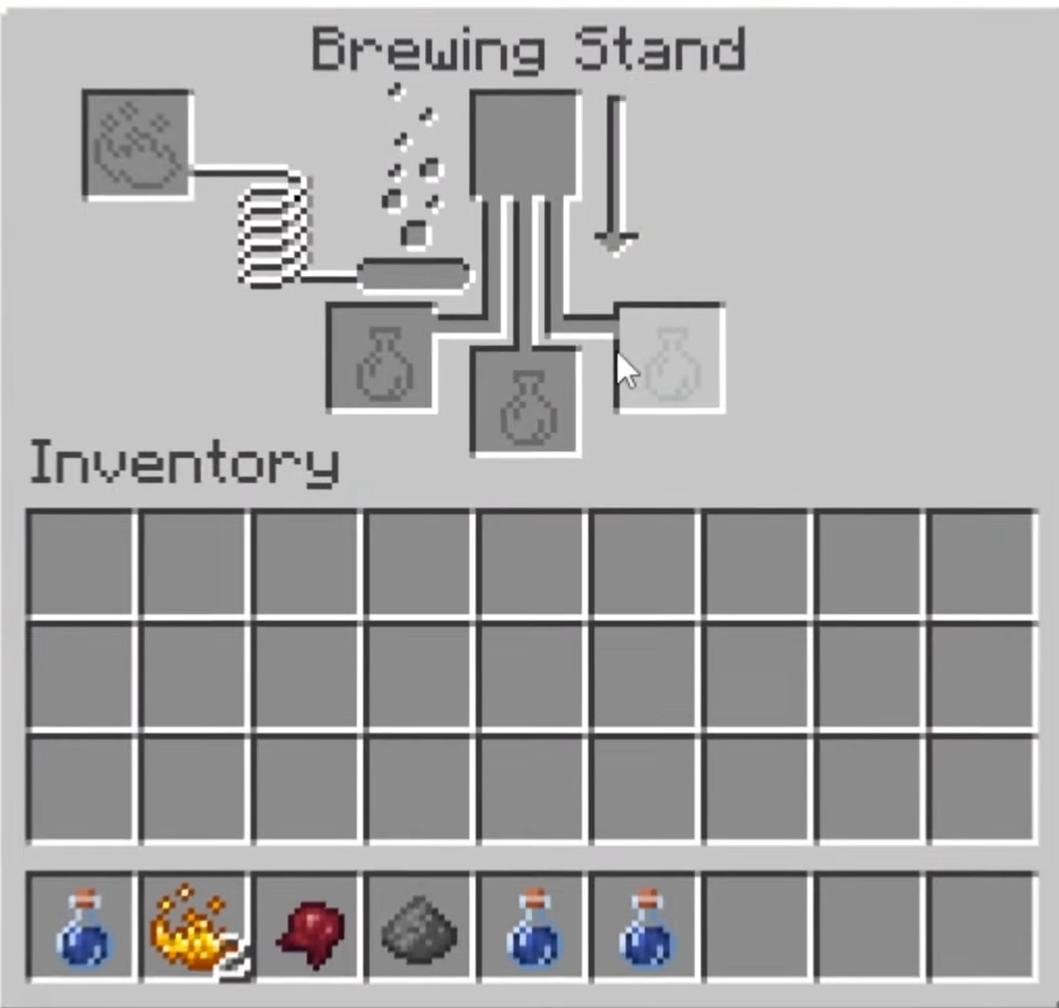
- Open the Brewing Stand menu.
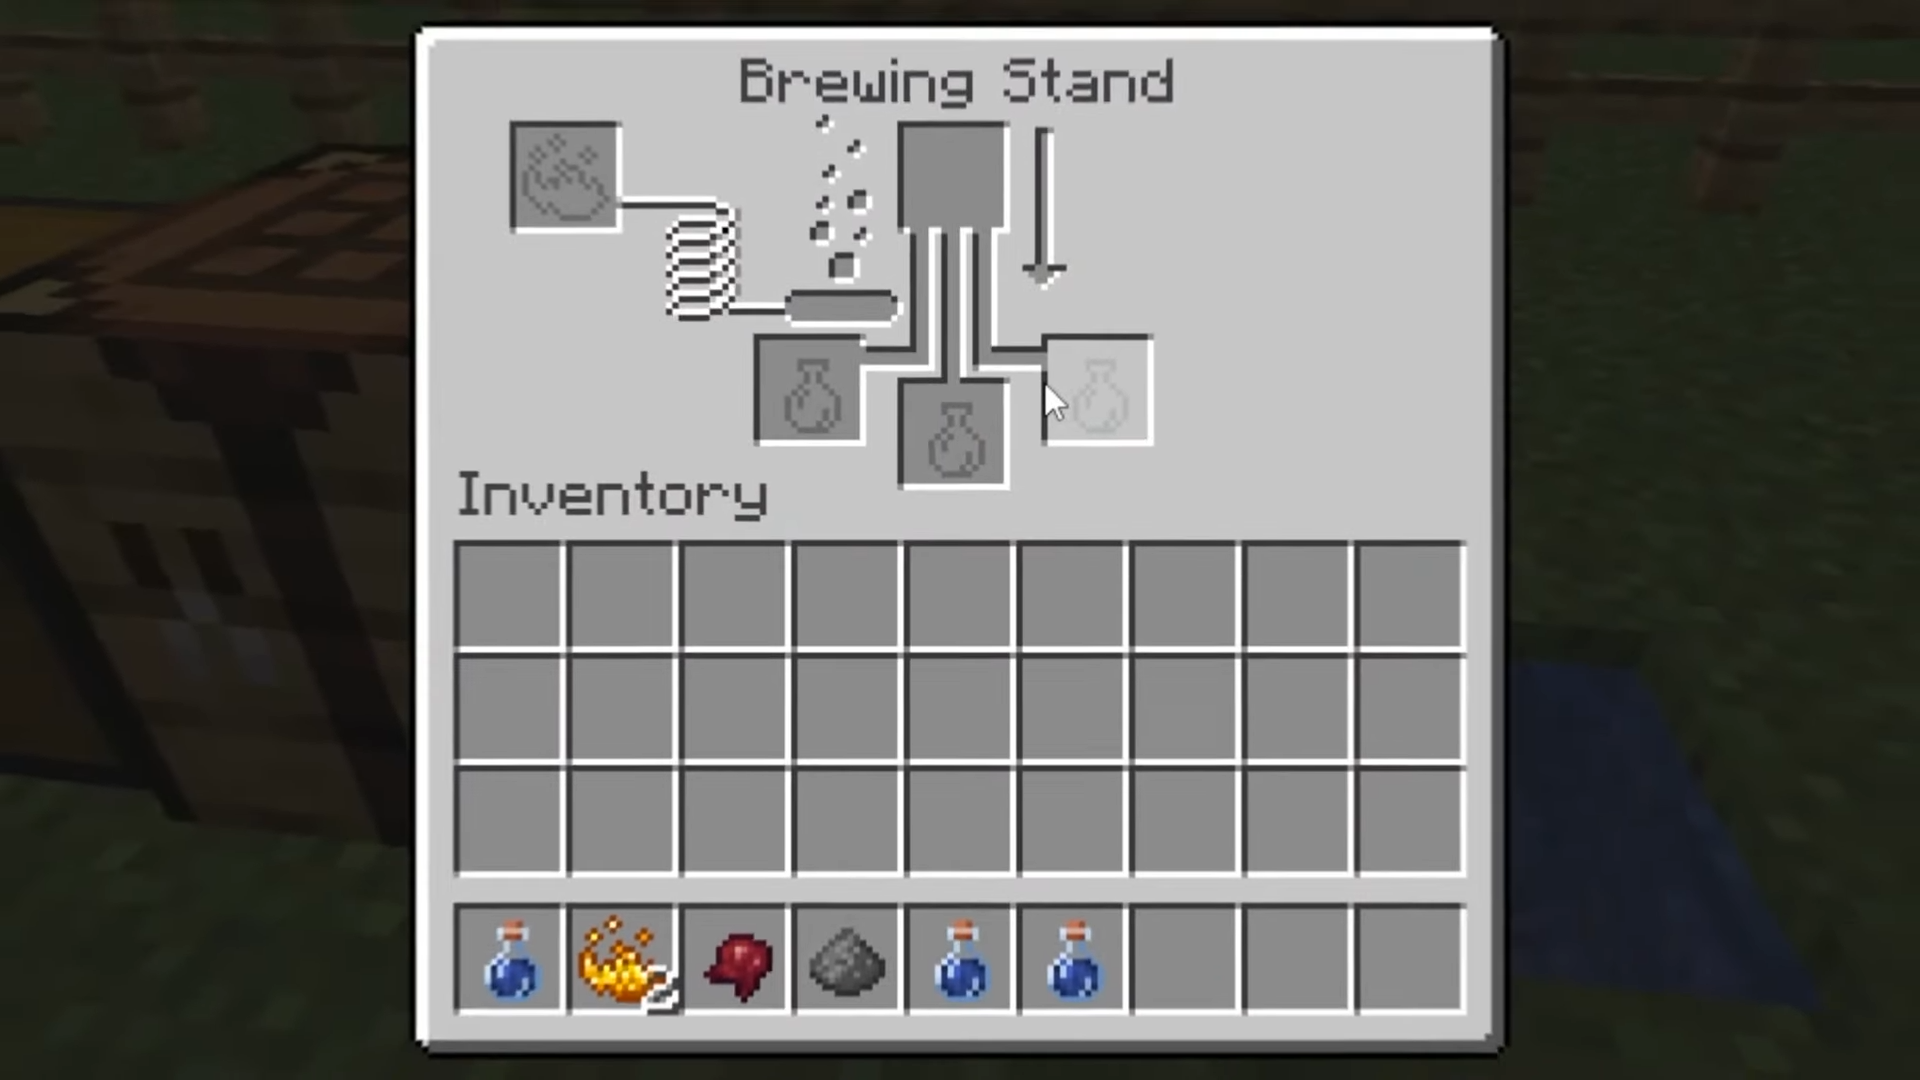
Open up the Brewing Stand menu - Place your water bottle(s) in the bottom slot(s). You can brew up to 3 at a time.
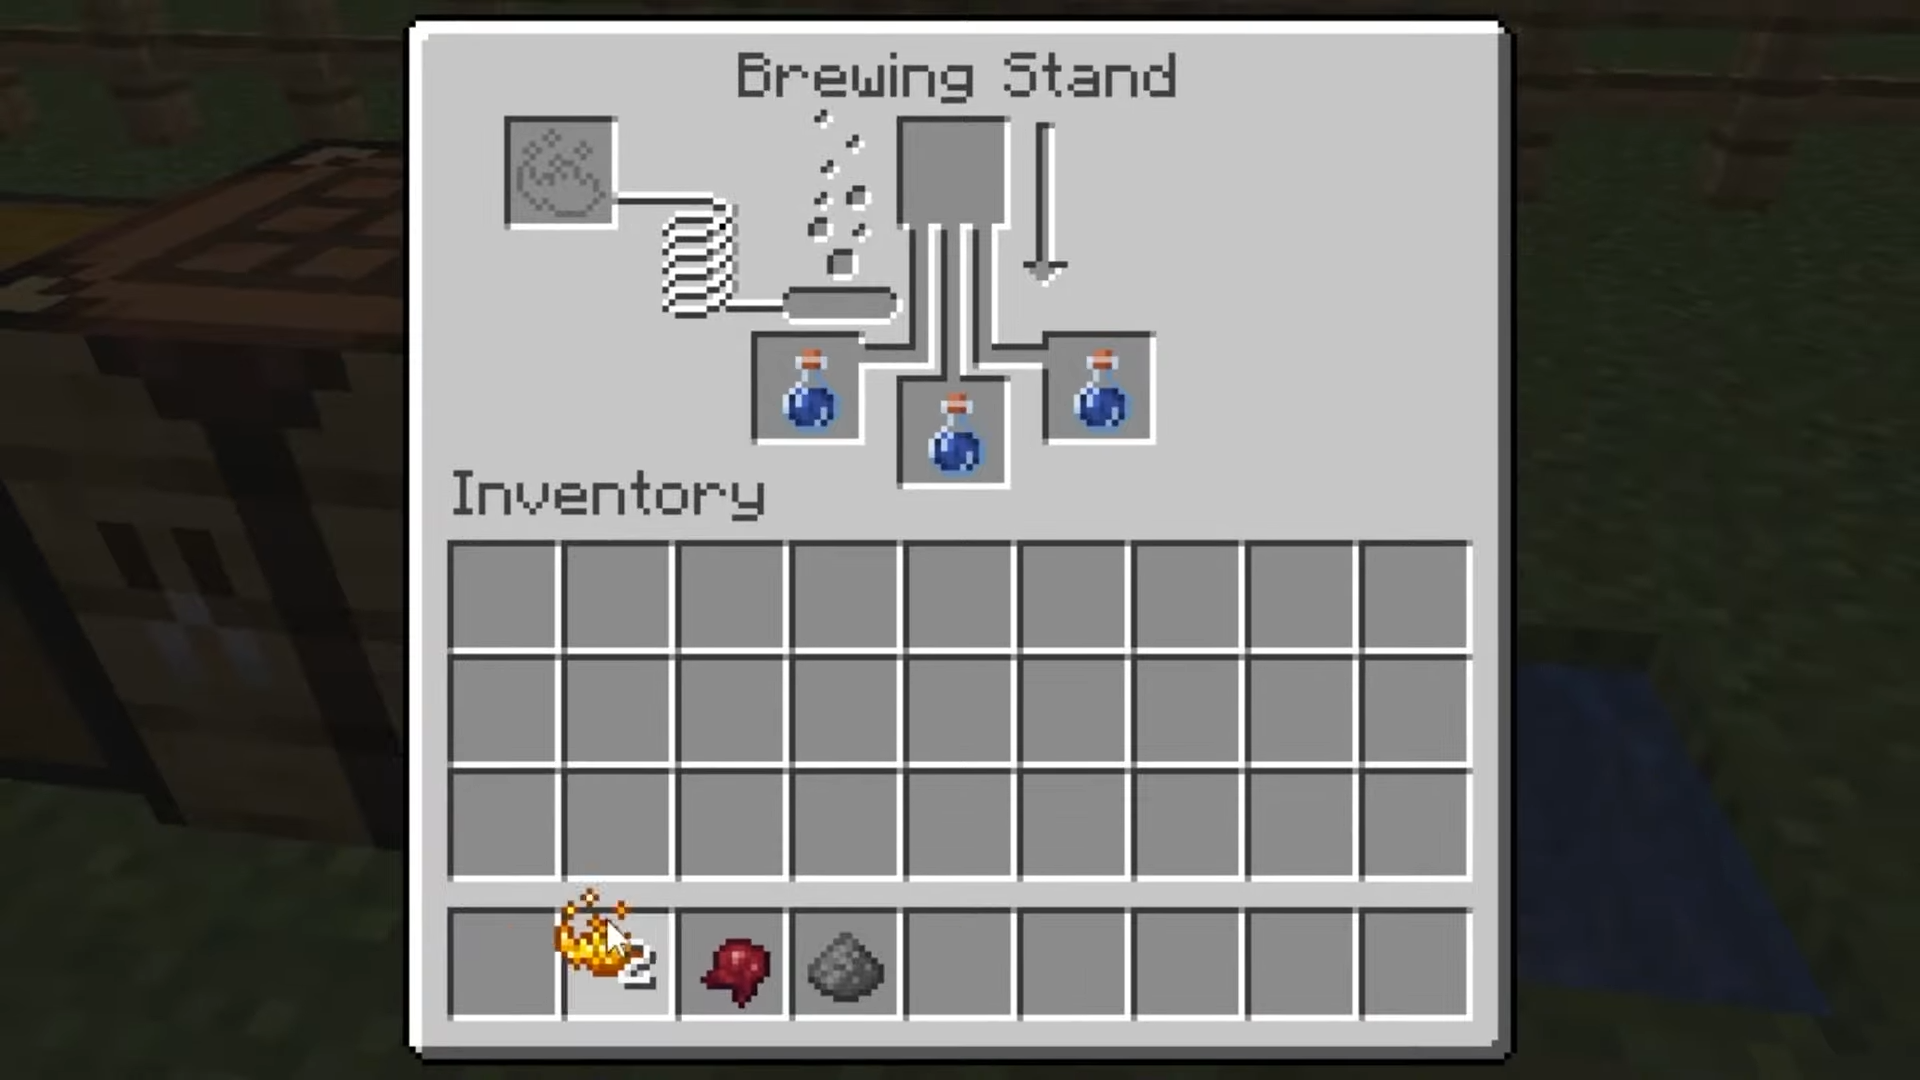
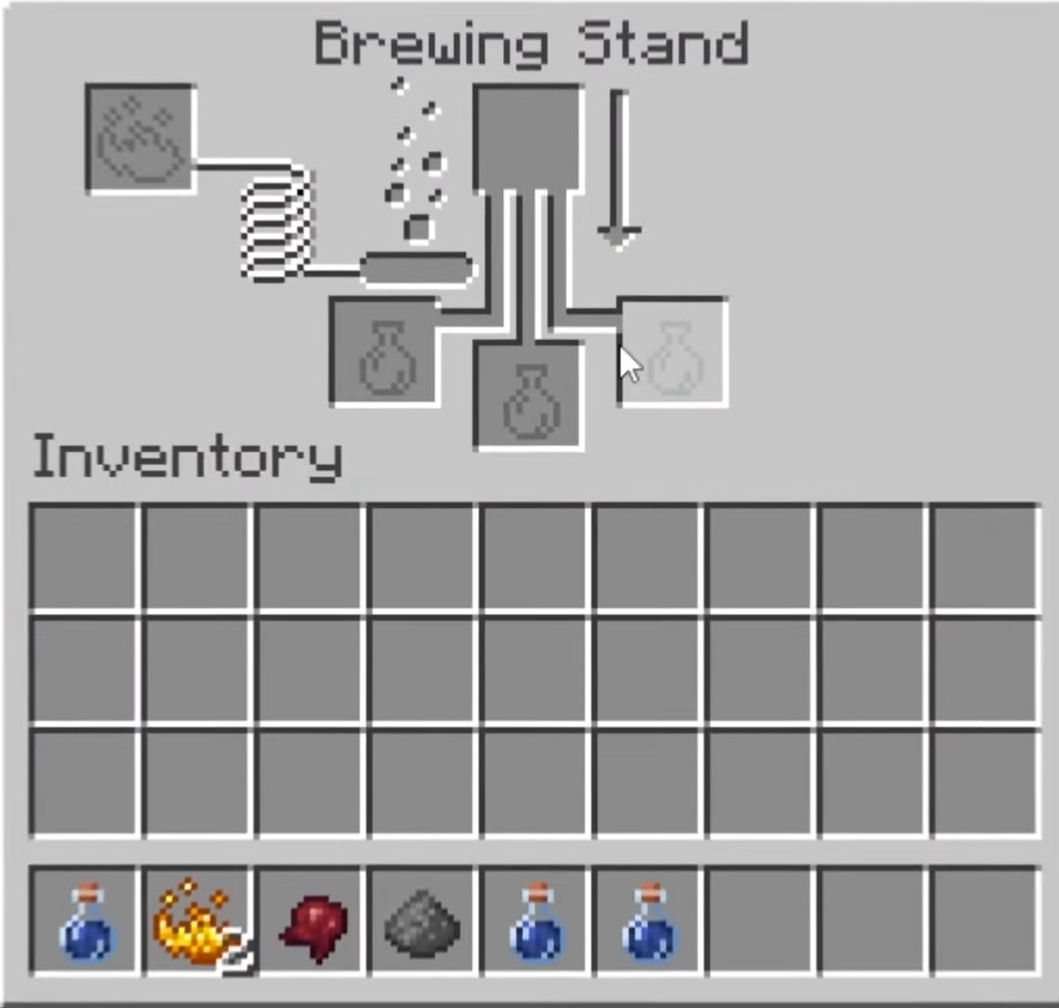
Water bottles always go on the bottom - Put the Blaze Powder in the top-left slot as fuel.
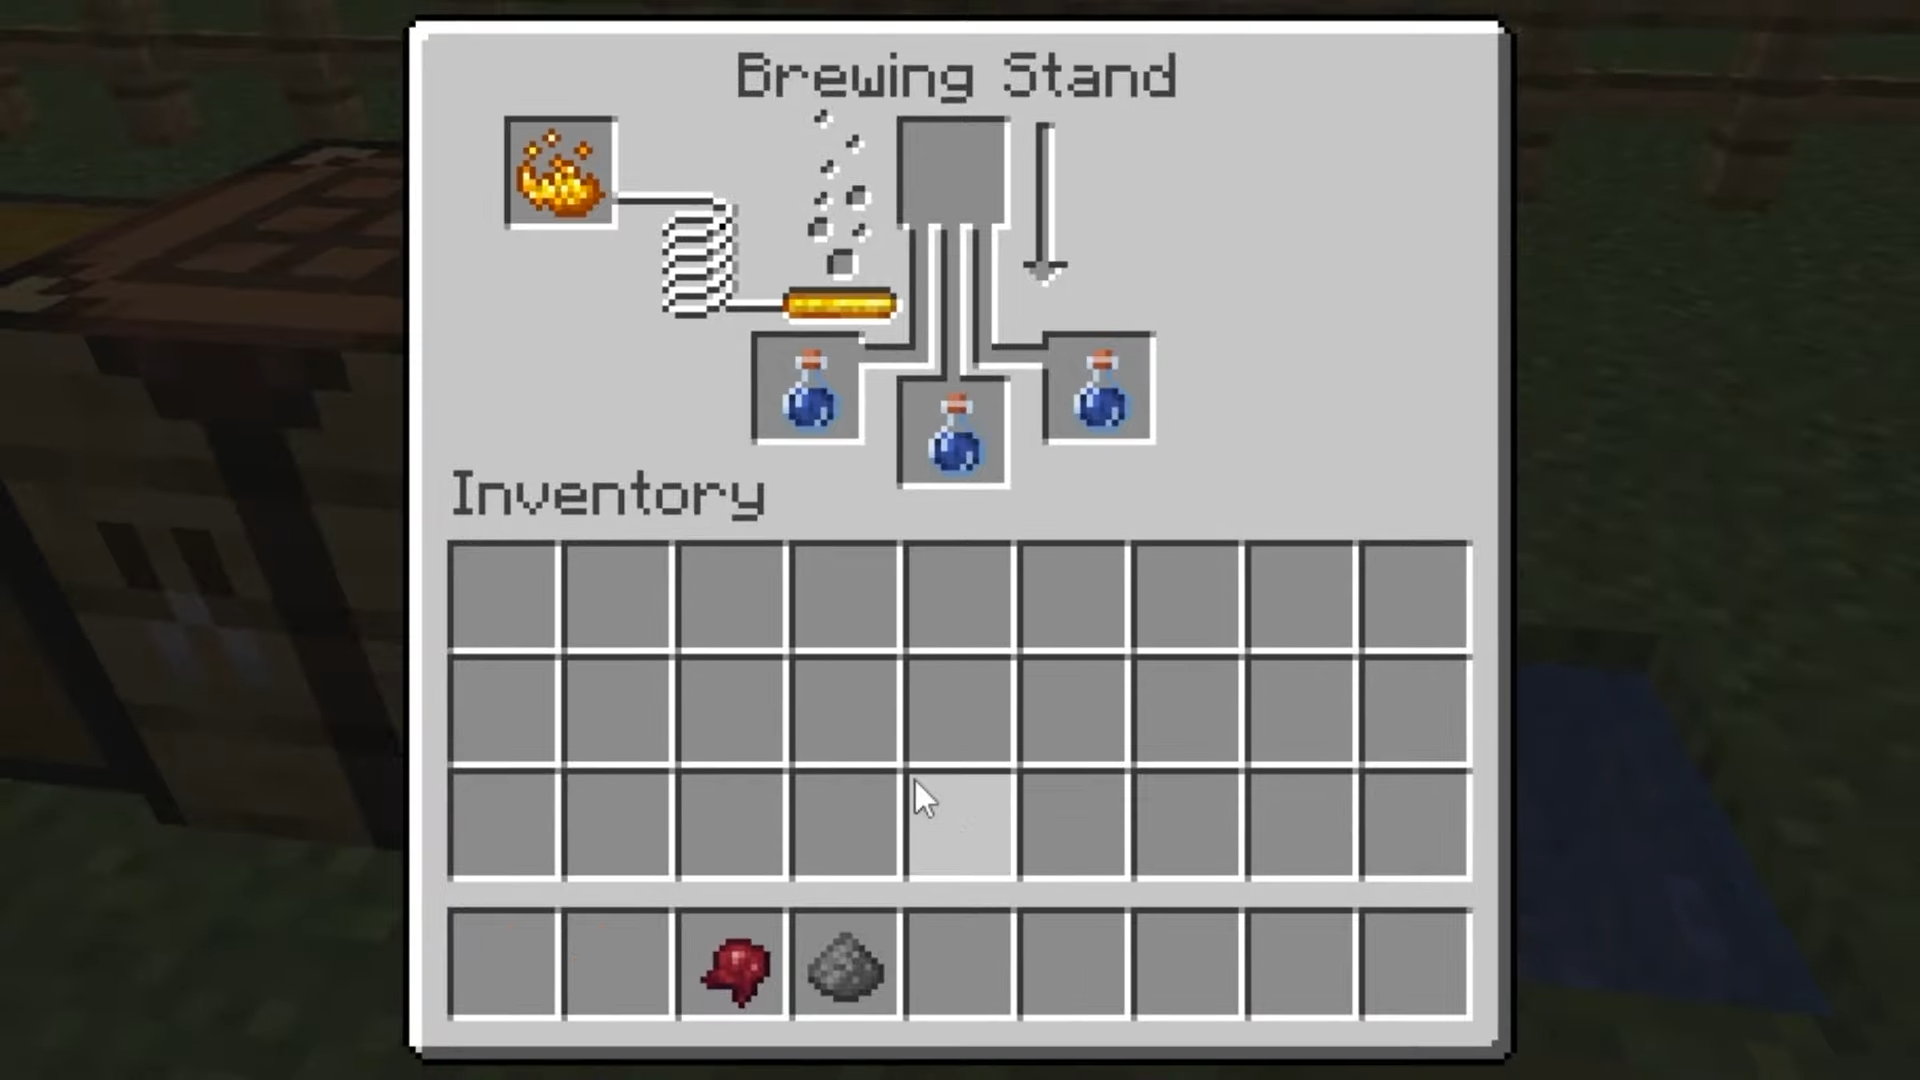
Blaze Powder powers the stand - Place the Fermented Spider’s Eye in the top-center slot, above the water bottle(s).
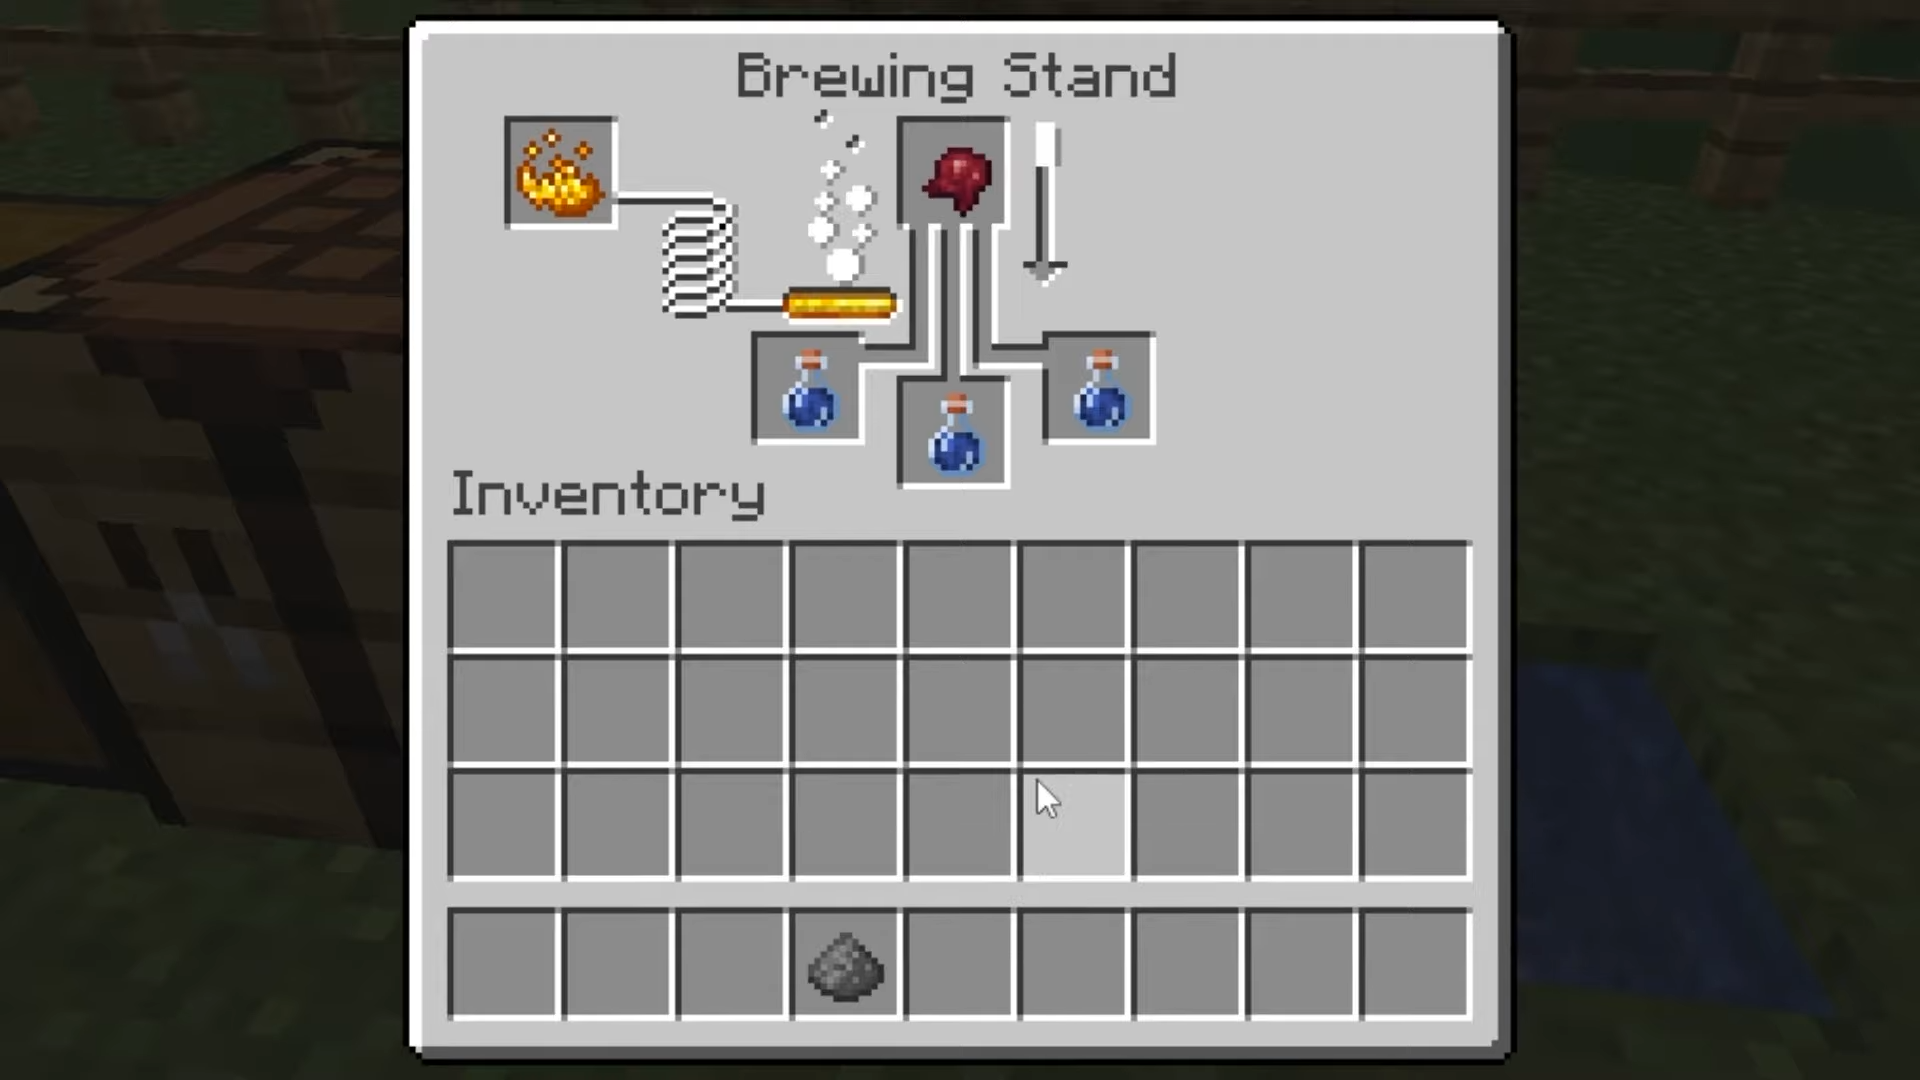
The actual potion ingredient goes in the top-center - When the brewing finishes, you’ll have Potions of Weakness ready!
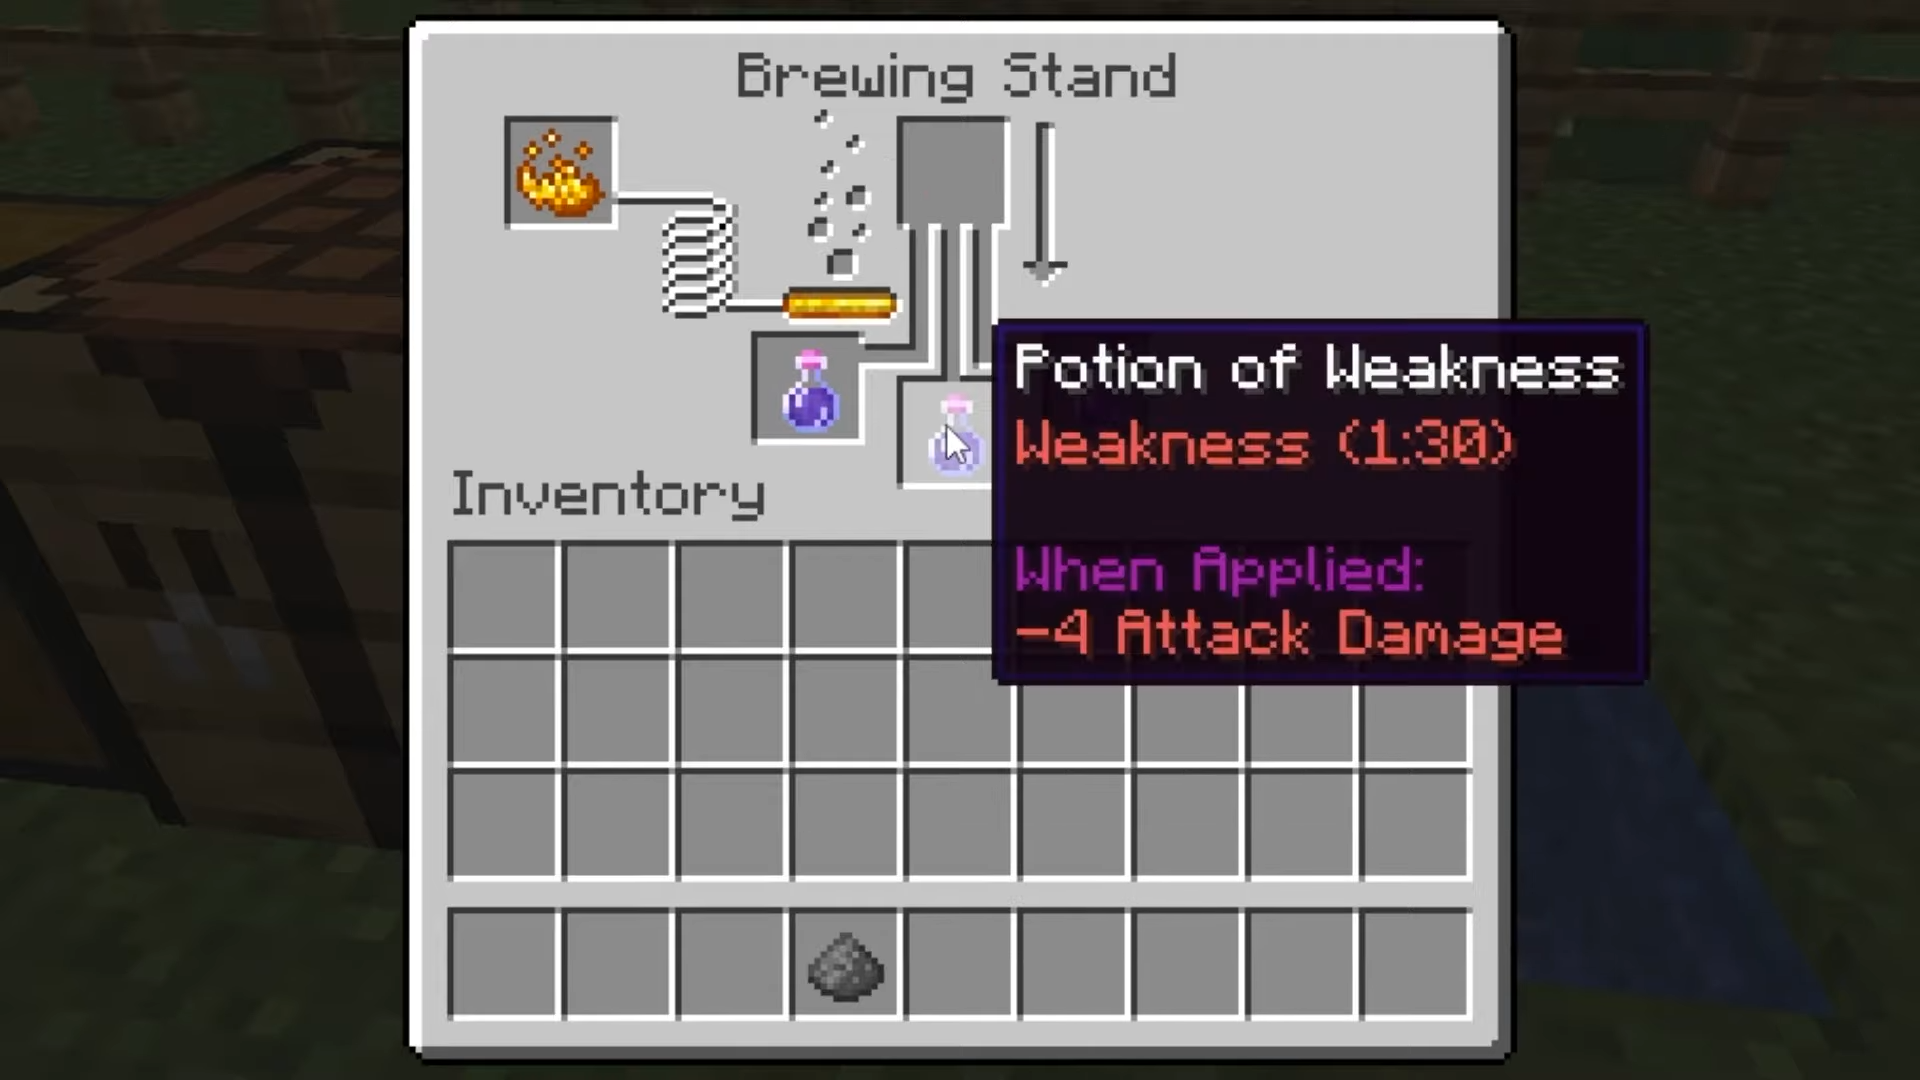
Your Potion(s) of Weakness is ready
Crafting a Longer-lasting Potion of Weakness
The default Potion of Weakness lasts 1 minute and 30 seconds. If you want it to last longer (up to 4 minutes), you’ll need some Redstone Dust. You can find Redstone deep underground with an iron pickaxe or better. Here’s how to boost your potion’s duration:
- Open the Brewing Stand menu.
- Put Blaze Powder in the top-left slot to power the stand.
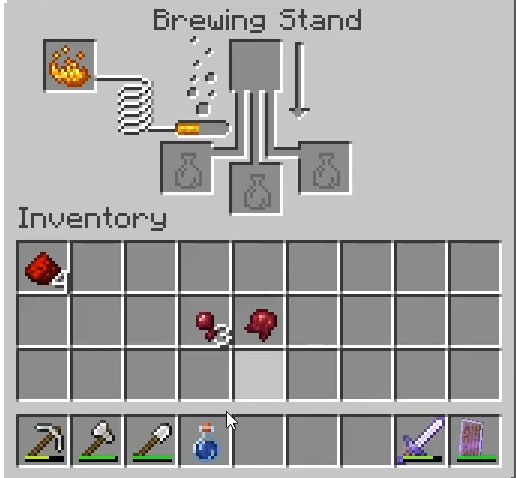
Every potion starts with Blaze Powder as fuel - Put your existing Potion of Weakness in any of the bottom slots.
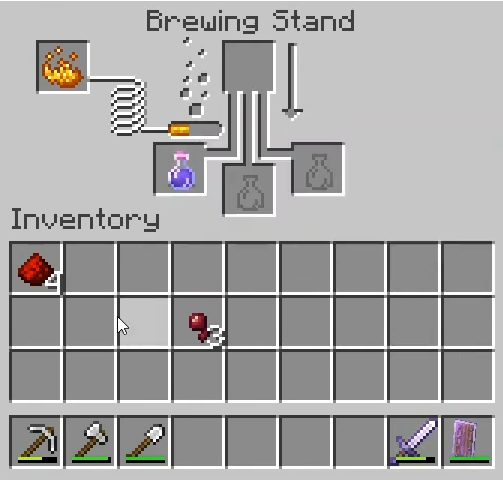
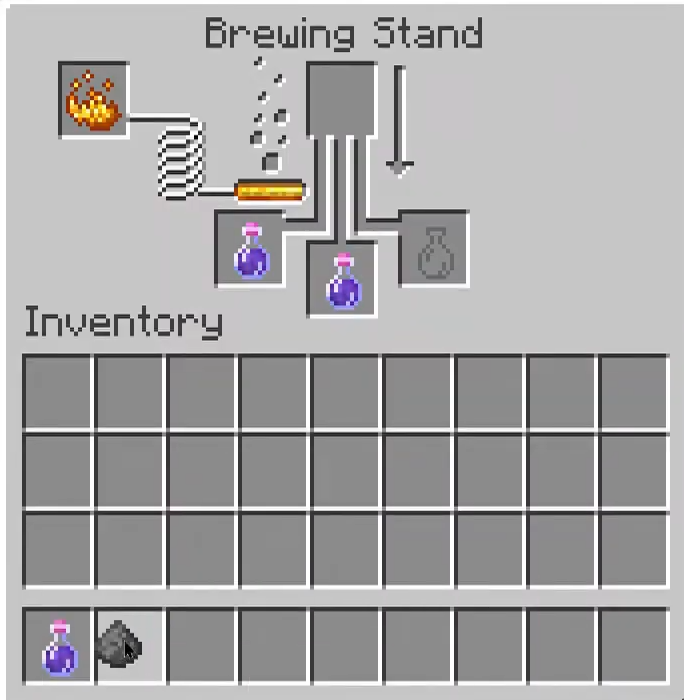
The potion goes at the bottom - Add Redstone Dust to the top-center slot and let the brewing finish.
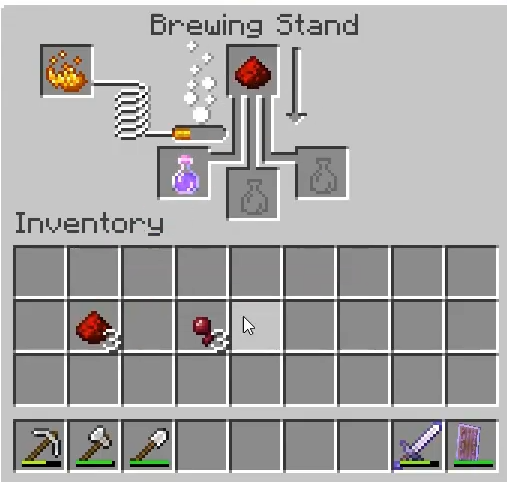
Redstone increases the duration - You’ll know it worked when the potion now reads (4:00) next to its name.
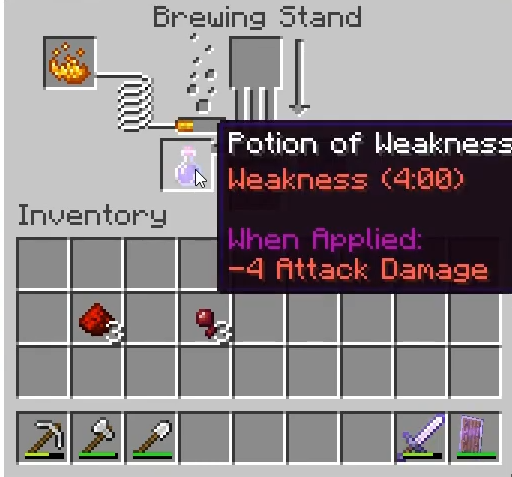
The upgrade is complete!
Crafting Additional Potions Using the Potion of Weakness
By itself, the Potion of Weakness only adds a de-buff. But when you use it with other materials, you can create new potions that are more useful in combat.
1. Splash Potion of Weakness
A Splash Potion of Weakness is a throwable potion. Instead of drinking it, you throw it at another player or enemy to reduce their attack damage. To craft it, you need Gunpowder, Blaze Powder, and a Potion of Weakness.
- Open your Brewing Stand menu.
Brewing Stand menu - Put Blaze Powder in the top-left slot.
Add Blaze Powder as fuel - Place the Potion(s) of Weakness in the bottom slots.
Use potions you’ve already brewed - Add Gunpowder in the top-center slot and start brewing.

Gunpowder makes it throwable - You’ll know you’ve crafted it when the name is now Splash Potion of Weakness—it even has a curved bottle!
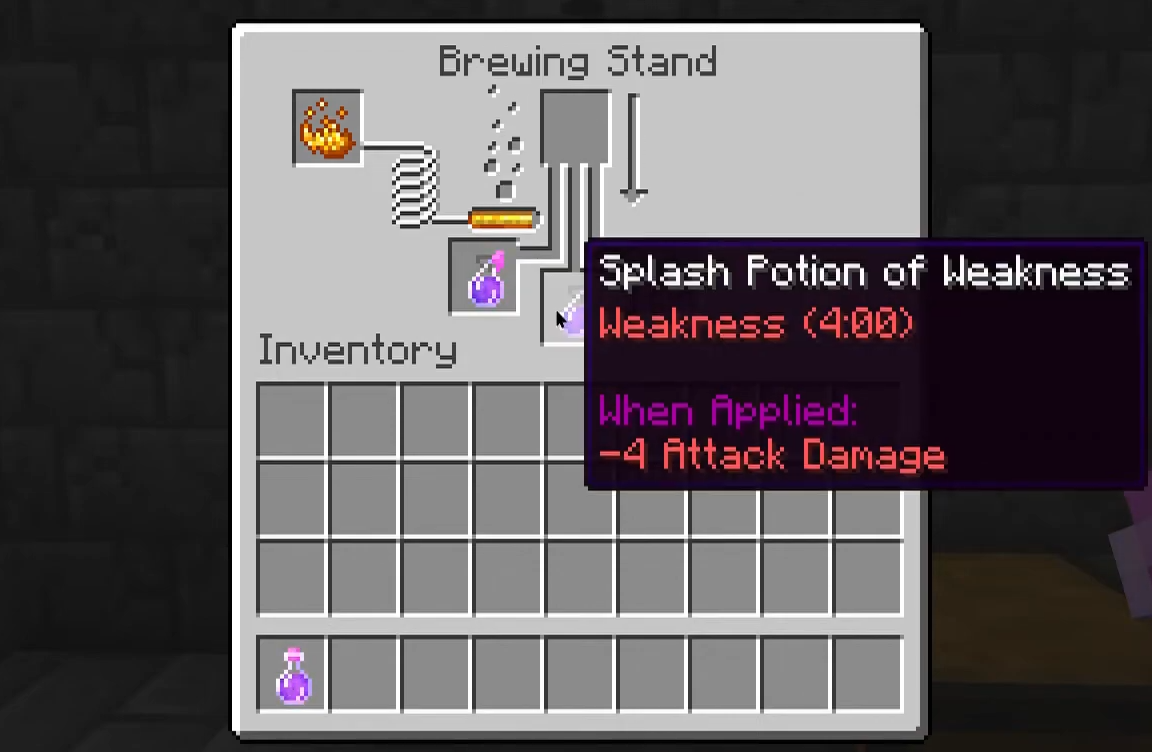
A unique bottle shape means it’s throwable
2. Lingering Potion of Weakness
A Lingering Potion of Weakness works like a stronger version of the Splash Potion. Instead of disappearing in one use, it creates a cloud where it lands—any players or mobs who walk through the cloud get the weakness effect. Great for crowd control!
To make one, you’ll need Dragon’s Breath, Blaze Powder, and a Splash Potion of Weakness. Dragon’s Breath is obtained in the End from the Ender Dragon. If you have a longer-lasting version of the Splash Potion, you can use it for an even better effect.
- Open your Brewing Stand menu.
Brewing Stand menu - Put Blaze Powder in the top-left slot.
Blaze Powder goes here - Add the Splash Potion(s) of Weakness in the bottom slots.

Use Splash Potions here - Place Dragon’s Breath in the top-center slot and let the process finish.
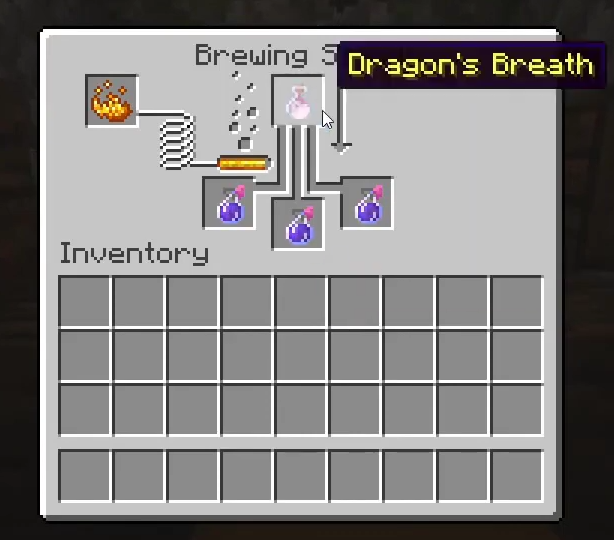
Dragon’s Breath creates the lingering effect - When done, you’ll have a Lingering Potion of Weakness—check the bottle shape and name to make sure.

The lingering cloud will help against groups
Just like with Splash Potions, you can use the Lingering Potion of Weakness with a Golden Apple to cure Zombie villagers.
Reviewed by Huzaifa Haroon