Fix: Please insert the external storage media and press OK
As you probably already know, updating or re-installing your Windows OS can be quite a lengthy process, especially when you face errors similar to this one all the time. This particular error usually appears when users are trying to reinstall their copy of Windows if they are using an external storage device to install Windows 10 to.
The error message says “Please insert the external storage media and press OK” and it won’t appear even after users connect their external storage device. Sometimes the cause for this error is simply the fact that users don’t have enough storage but sometimes it appears for no particular reason at all.
There are some prerequisites which need to be met before you install Windows 10 at all so let’s see just what might be causing this error and how to solve it.
Solution 1: Disable or Uninstall Your Antivirus and Disconnect All Peripheral Devices
As you probably already know, Windows Setup is not a big fan of antivirus and security programs and each guide you can find online will tell you to always disable your antivirus before starting to update your Windows build.
- Disable your antivirus.
- The process for each antivirus is different. However, if you are a Windows 10 user, you also need to disable Windows Defender.
- Right-click on the shield icon on your taskbar and click on Open.
- When Windows Defender Security Center opens, click on the shield icon below the home button, open Virus & threat protection settings and turn off Real-time protection and Cloud-based protection.
- Navigate to the browser icon (second from the end) and turn off the Check apps and files option.

Windows Firewall may also cause some connectivity issues because it automatically blocks unrecognized connections towards you computer and it’s quite possible it’s currently blocking some of the connections related to Windows Setup.
- Open Control Panel by searching for it after pressing the Start button located at the bottom left part of your desktop.
- Change the View by option to Small icons and locate the Windows Firewall option.
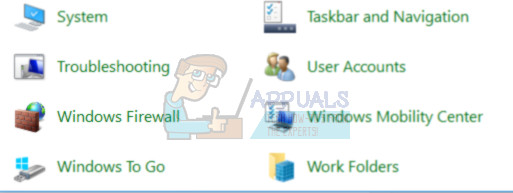
- Click on it and select the Turn Windows Firewall on or off option located at the menu on the left side of the window.
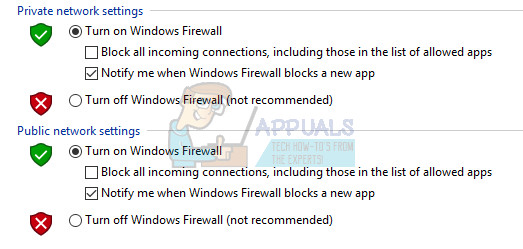
- Click the radio button next to the “Turn off Windows Firewall (not recommended)” option next to both the Private and Public network settings.
However, sometimes you have to take this one step further and completely uninstall your antivirus because many users have reported that uninstalling their antivirus program such as AVG or ESET Smart Security was able to fix the problem and Windows 10 installing process proceeded without issues.
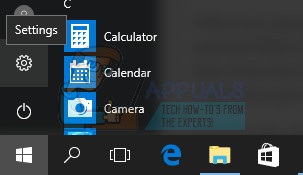
- Click on the Start menu located at the bottom left part of your screen and select Settings by clicking on the gear icon above the Power button in Start menu.
- Click on the Apps section in the Settings app and wait for the list to load with all of the programs you currently have installed.
- Select your antivirus from the list of installed apps and then click its Uninstall button.
- Respond to the instructions displayed on screen to complete the uninstall process.
Disconnecting Peripheral Devices and Storage Media
When you encountered this error message, it’s probably because there are some peripherals connected, such as an external HDD, SSD, USB thumb drive/flash drive or an SD card. Just remove and disconnect all external storage drive from the USB port. If you’re using USB drive containing setup files to install OS, reconnect only the bootable USB drive and start again.
To make this clear, only leave the device which is necessary for your installing process since other devices may cause incompatibility issues with your computer.
Note: Many users reported “Please insert the external storage media and press OK” error message while trying to install Windows 10 on a SSD. According to users, in order to fix this issue you’ll have to disconnect all other hard drives and leave only your SSD drive connected.
Alternatively, you can try disabling all other hard drives except for your SSD from BIOS. After you’ve disabled or disconnected all other drives, the SSD should be recognized by installer. Now all that you have to do is to delete all partitions on your SSD and Windows 10 should install without any problems.
Solution 2: Use an USB Port for Your SD Card
If you were using an SD card to install the new version of Windows on your PC or laptop, you may have encountered this error which appears even after you have inserted the SD card into your computer and it gets the process stuck in a loop which needs to be terminated by exiting the setup process.
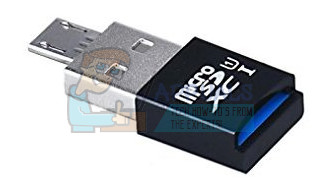
However, you can use an USB adapter in order to connect your SD card via an USB port on your computer and users have suggested that they have solved their issue by applying this particular method. Try it out yourself and check to see if it works!
- Plug the USB part of the adapter into an open USB port located on your computer. Make sure that the port you are using is operational and that it doesn’t provide connectivity issues since even a slight disconnection might terminate the setup.
- Align the SD card so that the metal grooves are looking downward. Insert the SD card into the adapter you can order online or buy in a hardware store.
- When the popup message appears, click on the “USB Removable Disk” option on your desktop in order to access the files on the card. This way you know the card is connected successfully so make sure you retry the setup using this method.
Users have also reported that the external storage device you are using as a backup or as a storage device for Windows 10 must be a USB storage device and it needs to be connected to a USB port on your computer.
Solution 3: Update BIOS
A computer’s Basic Input-Output System (BIOS) is embedded software on a motherboard. It is the first software your PC loads so that it can use things like CD drives, mice, and keyboards practically from the moment you turn it on.
Updating BIOS can help you deal with certain issues regarding Windows Setup and users have reported that updating BIOS enabled them to follow through without seeing this particular error message.
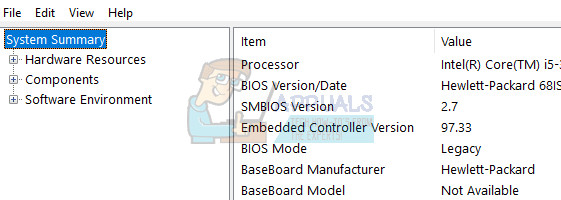
- Find out the current version of BIOS you have installed on your computer by typing msinfo in the Search bar in the Start menu.
- Locate the BIOS version just under your Processor model and copy or rewrite anything to a text file or a piece of paper.
- Find out whether your computer was bundled, pre-built or assembled manually by purchasing all components individually. This is important because you don’t want to use BIOS made for one component of your PC when it won’t apply to your other devices and you will overwrite BIOS with a wrong one, leading to major errors and system problems.
- Prepare your computer for the update. If you are updating your laptop, make sure its battery is fully charged and plug it in just in case. If you are updating a computer, it’s advisable to use an Uninterruptible Power Supply (UPS) to make sure your computer doesn’t turn off during the update because of a power outage.
- Follow the instructions we prepared for various desktop and laptop manufacturers such as Lenovo BIOS Update, Gateway BIOS Update, HP BIOS Update, Dell BIOS Update, and MSI BIOS Update.