How to Play Videos using VLC on Chromebook
If you have lived with a Chromebook for a while, you know that playing video files of different formats with subtitles is not a straightforward task. As ridiculous as it sounds, the native video player on Chrome OS does not support adding subtitle files at all. Also, it only supports a limited number of audio and video codecs, so chances are that it might not be able to run a lot of your downloaded movies. Watching videos on a Chromebook is a mess, but with a few apps and tweaks, it can be done. Here are the different problems with video on Chrome OS and how to solve them.
Add Subtitles to Videos
Since Chrome OS does not support adding subtitles for its native video player, we will have to download another application from the Chrome Web Store, called Subtitle Videoplayer. Once you install it from the store, you can find it in your App Drawer which can be accessed by pressing the dedicated ‘Search’ button on Chromebook keyboards, or the circular button at the beginning of your navigation bar.
Open the video player, which will have a control panel at the bottom.
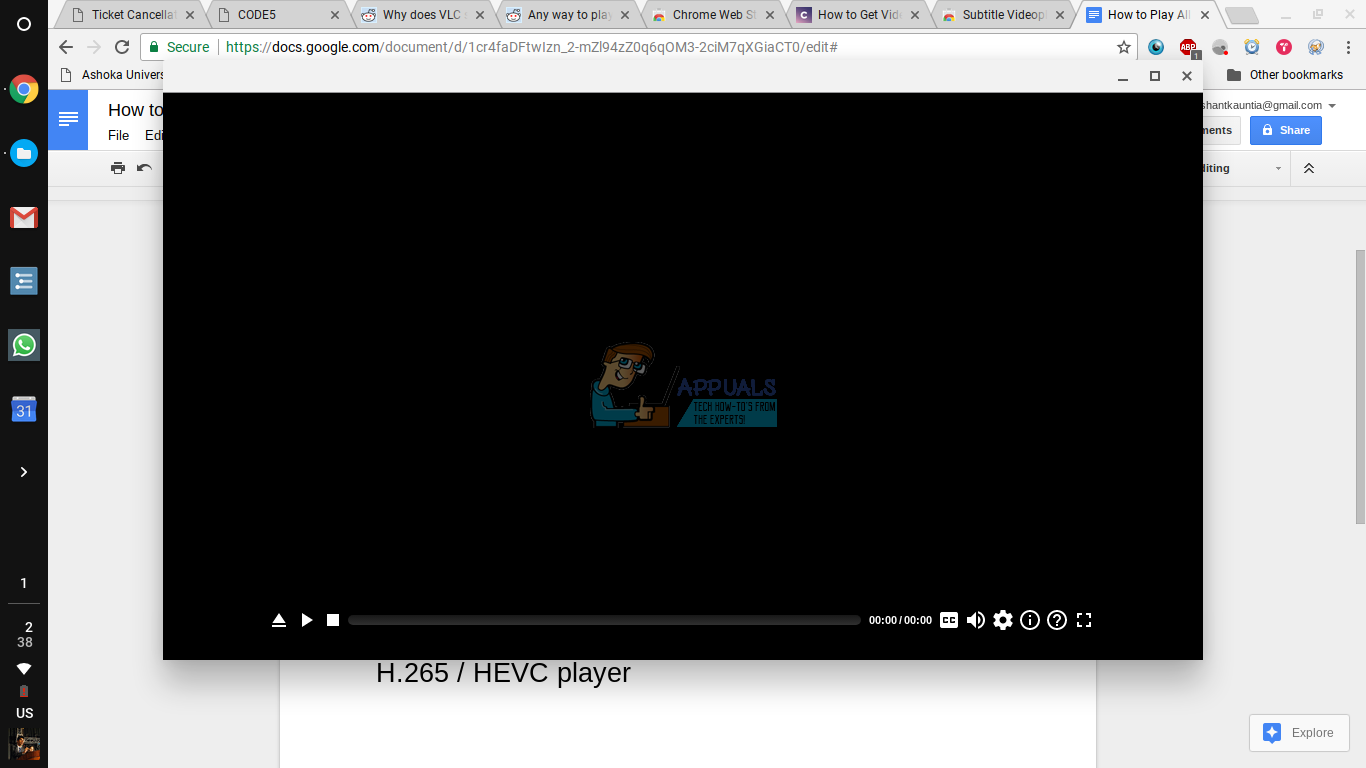
To open your desired video, click on the first icon (the upward arrow) in the control panel. It will take you to your files app and prompt you to select a file to open. Locate your video file, and click ‘Open’. Your video should then be loaded and ready to play.
Now for the subtitles. On the right side of the control panel, you will see the ‘CC’ option. When you hover your cursor over it, you will see a pop-up window with additional options.
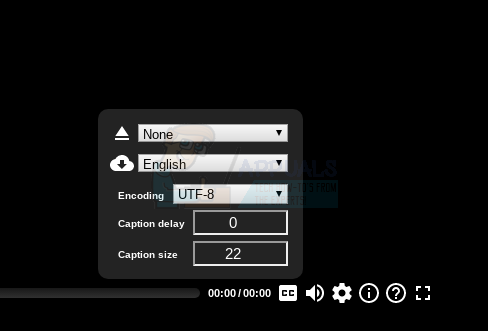
You can either choose to import a subtitle file that you already downloaded, or download a file from the internet automatically.
To import a locally stored subtitle file, click on the upward pointing arrow in the options menu, and open your desired file from the pop-up Files app.
To download the subtitle for your media file automatically, press the cloud button with the download arrow. Subtitle Videplayer will then look for subtitles for your media file, and download them automatically. It will also import the file to the player, so you have your subtitles in the media player without any hassles. I have been using this feature for a long time, and it works like a charm,
Play AVI Files
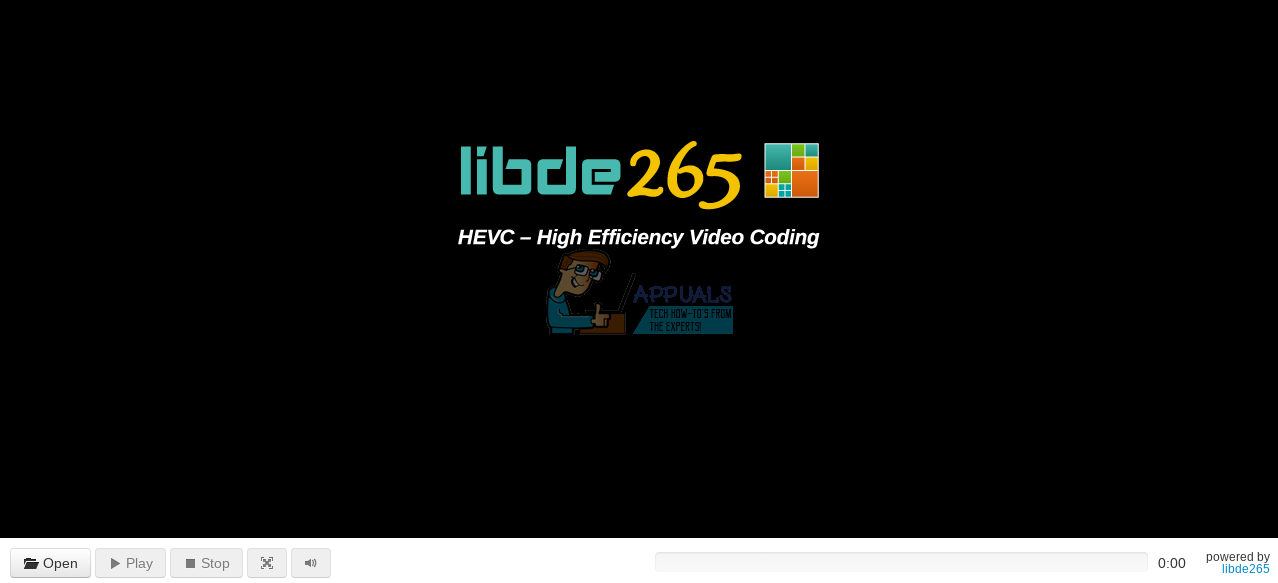
AVI files have always been a problem for Chromebook users. The native video player on Chrome OS cannot play them properly, and Subtitle Videoplayer does not support them at all. Thankfully, there are other video players that come to the rescue. To play AVI files, you can download H 265/ HEVC Video Player from the Chrome Web Store.
On the bottom-left corner of the player, you will spot the ‘Open’ button.
When you click on it, the Files app opens prompting you to select a file, but AVI files don’t show up under the listed files by default. To show AVI files, go to the bottom left corner of the Files app pop-up, and switch from ‘Movie Files’ to ‘All Files’.
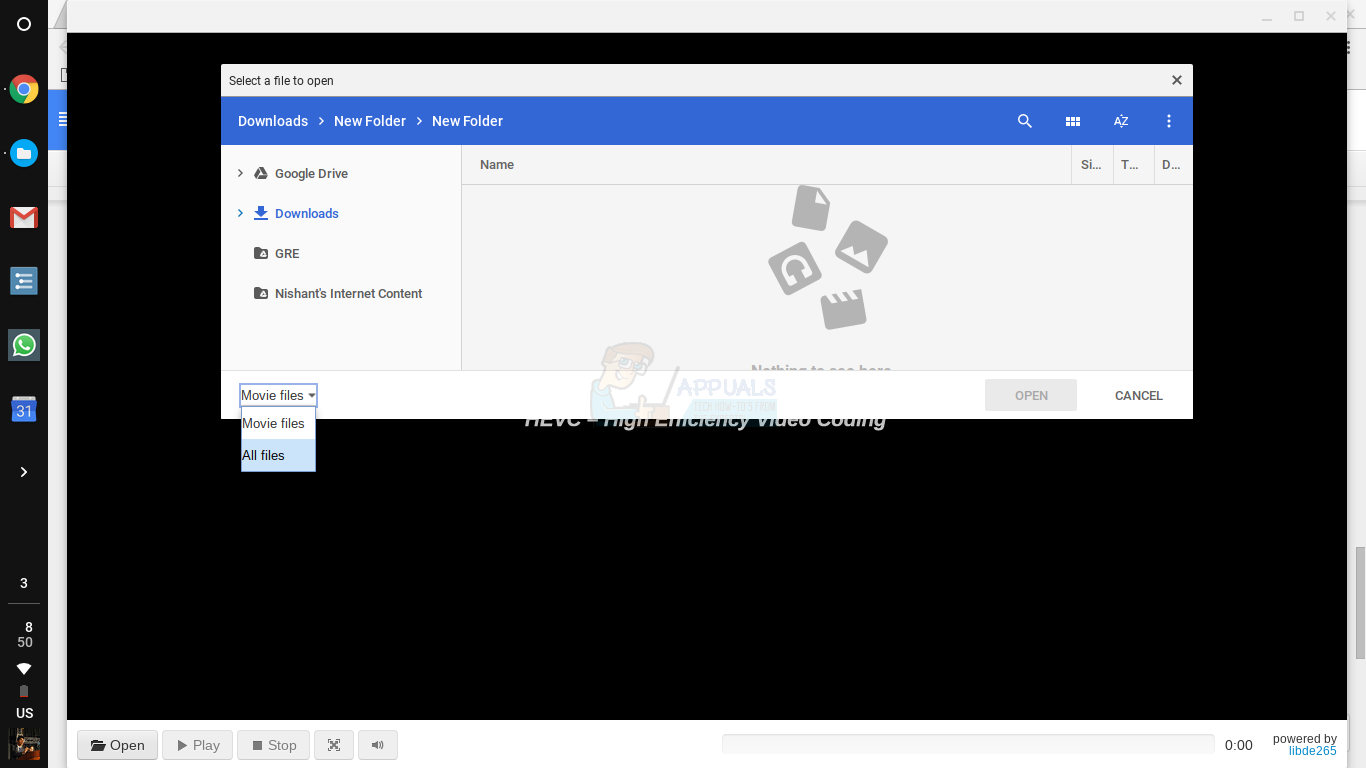
You should then see your AVI file listed, and you can open it to play it seamlessly. However, this player does not support subtitles. Hence, there is no easy way to play AVI files with subtitles on Chromebooks. Considering that most older movies are AVI files, this is not an insignificant problem, and is a pretty major flaw on Chrome OS. Hopefully, Google will eventually add support for these much needed features. Until then, if you really want to make the effort, there is a way to get VLC, the most popular all-in-one media player running on your Chromebook.
Get VLC on your Chromebook
First, a much needed clarification – There is a version of VLC available on the Chrome Web Store right now, but it is not the actual desktop version of VLC. The VLC android app has been ported to Chrome OS. However, this ported VLC cannot do anything that other players listed above can’t do. It cannot import subtitles, and crashes frequently. The good news is that you can get the real, fully-powered VLC on your Chromebook, by installing a Linux distro on it and running VLC on Linux.
First, install a linux distribution on your Chromebook. You can use this guide to follow the easy steps to installing Ubuntu on your Chromebook. Once you have Ubuntu up and running, go to your Chrome OS terminal by pressing Ctrl + Alt + T inside Chrome. On the terminal, type the command ‘shell’ and press Enter.
Then, copy paste these commands onto the terminal
sudo apt-get update
sudo apt-get install vlc
VLC will be downloaded and installed on your system, and you will be able to access it from the Ubuntu app directory.
You can now use VLC for all your special needs when it comes to playback. VLC is by far the best media player when it comes to compatibility and functionality. Hence, there will be no need to worry about media files once you have it running on your Chromebook.
While most people will find it enough to get Subtitle Videoplayer or H 265/HEVC player, VLC on Linux can still be run for those who need a more powerful solution. Watching video on Chromebooks is far from sorted, though, and Google has it’s work chalked out for Chrome OS. As long as Chrome OS doesn’t have an all-in-one simple solution for media playback, it will not be able to compete with the likes of Windows and Mac OS.
Nice article and I got ubuntu to work and after i´ve installed VLC it works, but it doesn´t maximise maximise the screen when i double click or choose the option fullscreen. Only the borders disappear but it doesnt expand to fullscreen. Any solution to that=