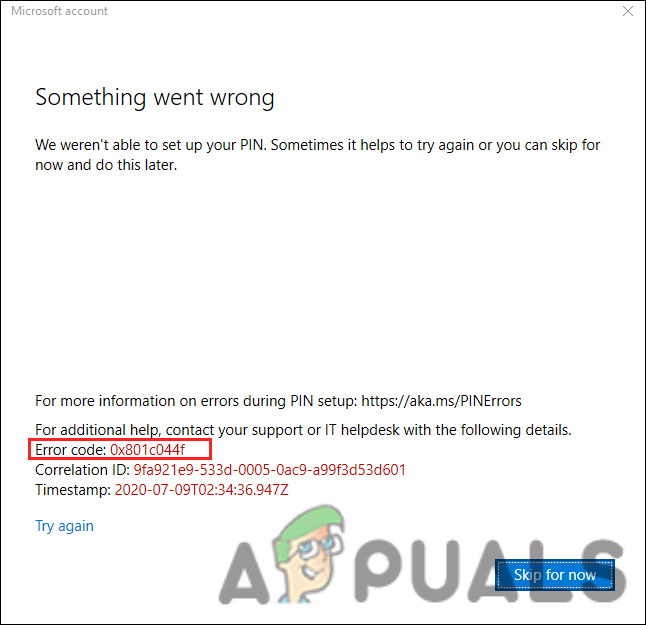
How to Fix PIN Error 0x801c044f on Windows 10/11
The error 0x801c044f pops up when the users try to set up a new PIN on their personal computers. The system displays an error stating ‘Pin option is unavailable for personal accounts’.
This error mostly occurs when there is a problem with the security settings of Windows. In some cases, it can also be caused due to a temporary bug that is causing the system features to act up. Below, we have discussed the troubleshooting methods that can help you fix this problem in no time. Proceed with the method that fits your situation the best.
1. Switch User Accounts
Switching to a local user account and then switching back to a Microsoft account can resolve the following error. The system will ask you to set up a PIN upon doing this.
Here is how you can do this:
- Press the Win + R keys to open Run.
- Choose Accounts from the left pane.
- In the Accounts window, click on Your Info and then choose Sign in with a local account instead in the Account settings section.
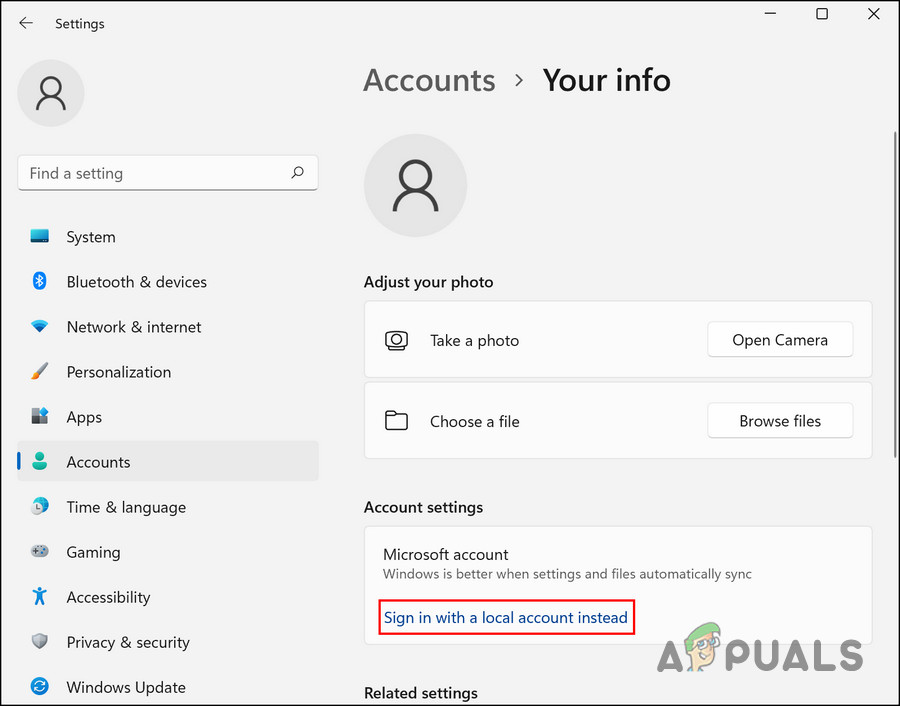
Sign into Windows with a local account - In the following dialog, verify your identity by entering your PIN.
- Choose a name for the local account and enter a PIN for it.
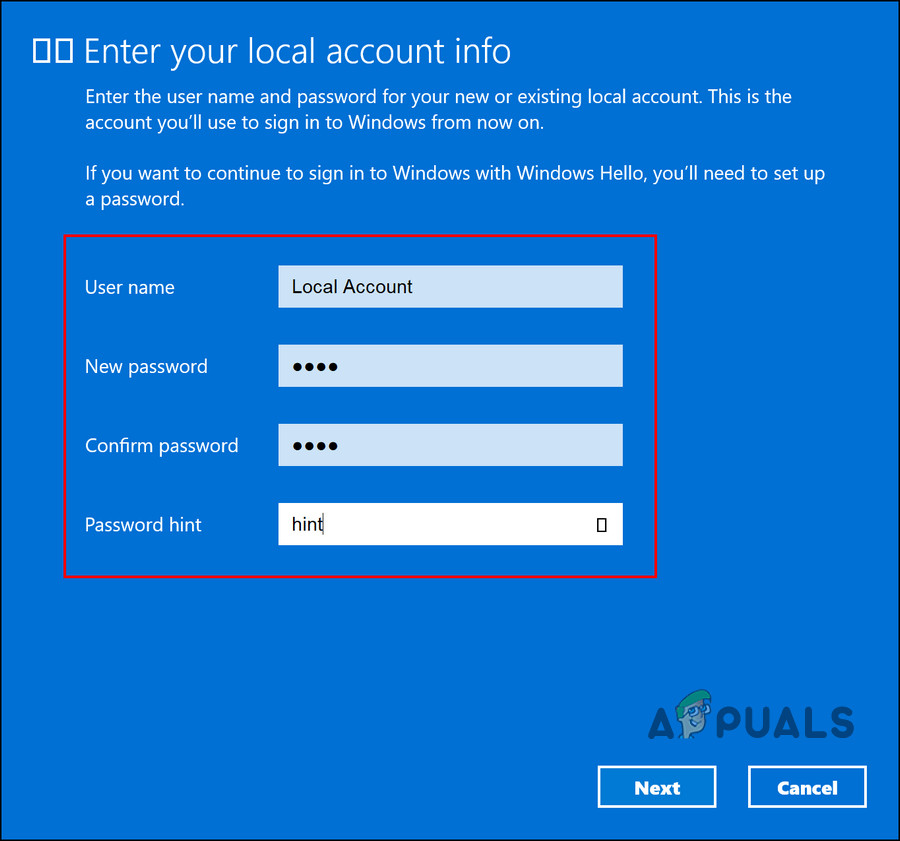
Add a new PIN - Restart and sign into the system with a local account.
- Once you have logged into the local account head over to Settings.
- Navigate to Accounts > Your Info > Sign in with a Microsoft account instead.
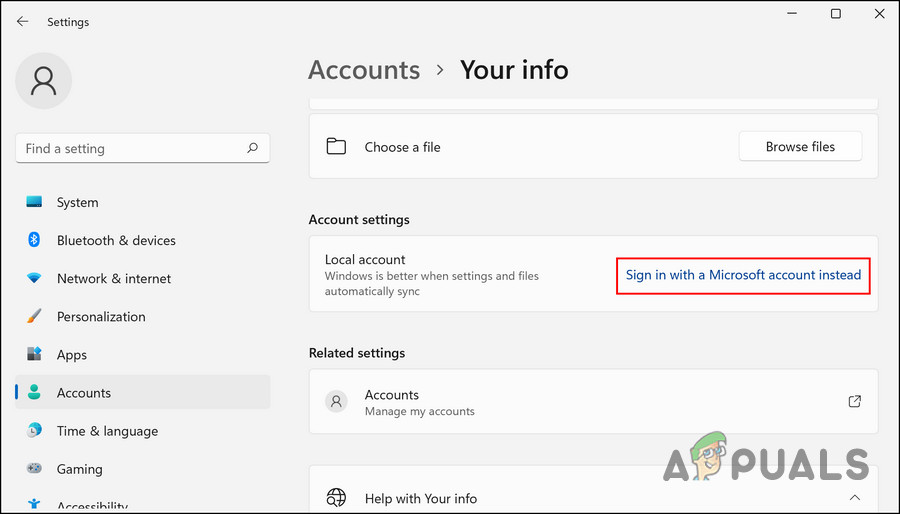
Sign into Windows with a Microsoft account - The system will now ask you to set up a PIN.
- Proceed with the on-screen instructions and check if the issue is resolved.
2. Modify Group Policy
There is also a chance that you are restricted from setting up a PIN via a domain policy. If you have administrative privileges, you can change this setting in the Group Policy Editor and see if that makes any difference.
The Group Policy Editor is an administrative-level utility that stores information about the Windows program and processes in the form of group policies. You can modify these policies to customize the operations of your system.
Here is how you can change the relevant group policy to fix the PIN code error. Make sure that the Windows Hello for Business feature is disabled for this method to work.
Note: Group Policy editor isn’t available in Windows 10/11 Home, if you can’t able to open it you have to install GPEDIT for Windows 10/11 Home.
- Press the Win + R keys together to open Run.
- Type gpedit.msc in the text field of Run and click Enter.
- Hit Yes in the UAC prompt.
- In the GPE window, navigate to the following location:
Computer Configuration\Administrative Templates\System\Logon
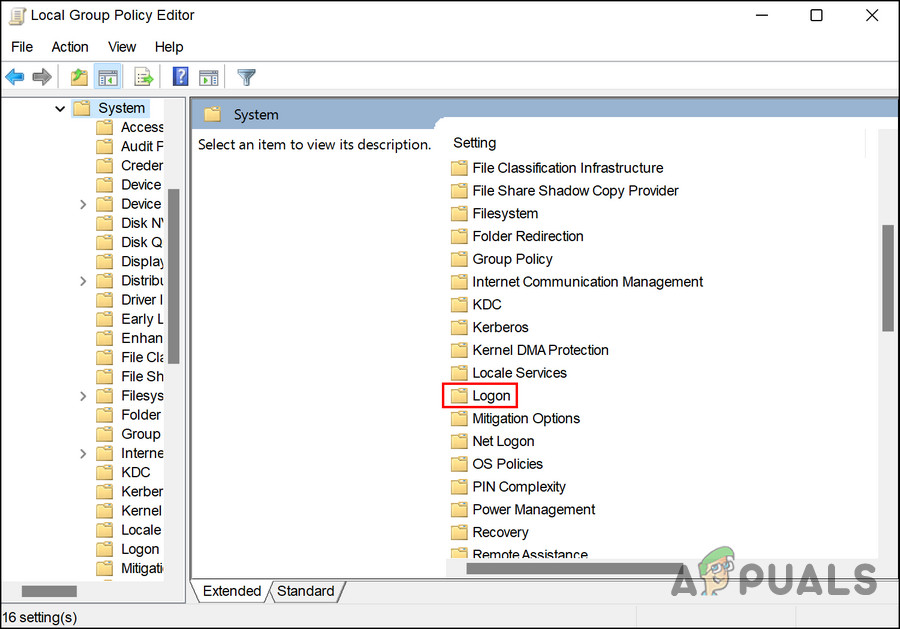
Click on Logon - Double-click on Turn on convenience PIN sign-in and choose Enabled.
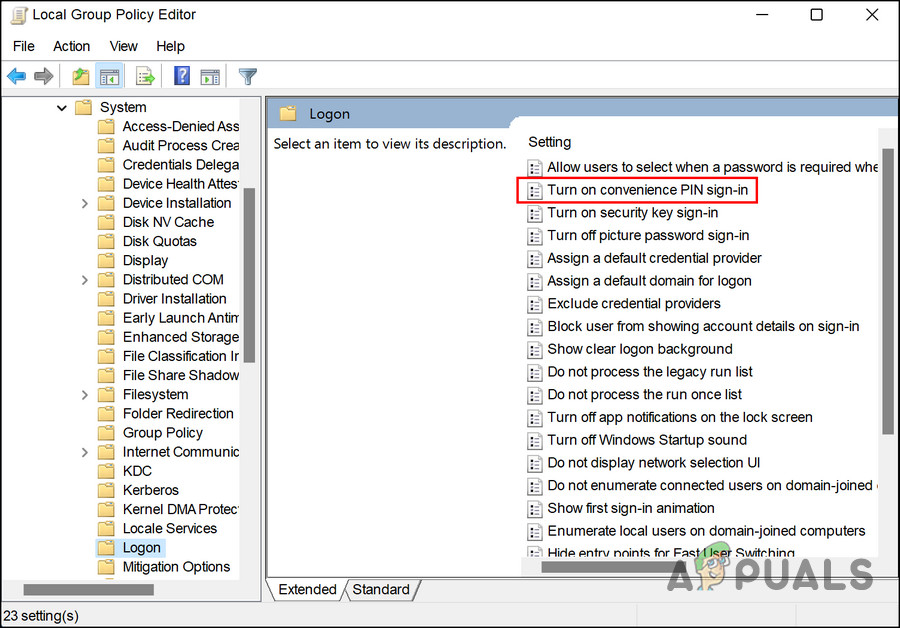
Enable Turn on convenience PIN sign-in - Click Apply > OK to save the changes.
- Now try settings up a PIN again and check if the issue is resolved.
3. Delete the NGC Folder
You can also delete the NGC folder, which stores and manages all the PIN-related information in Windows. If this folder becomes corrupted, you are likely to experience issues while setting up and new PIN or login into the computer using an existing one.
The solution, in this case, is simple, as all that you need to do is delete the NGC folder to get rid of issues related to it.
- Launch File Explorer and head over to the following location:
C:\Windows\ServiceProfiles\LocalService\AppData\Local\Microsoft
- Here, locate the NGC folder and right-click on it.
- Choose Delete from the context menu.
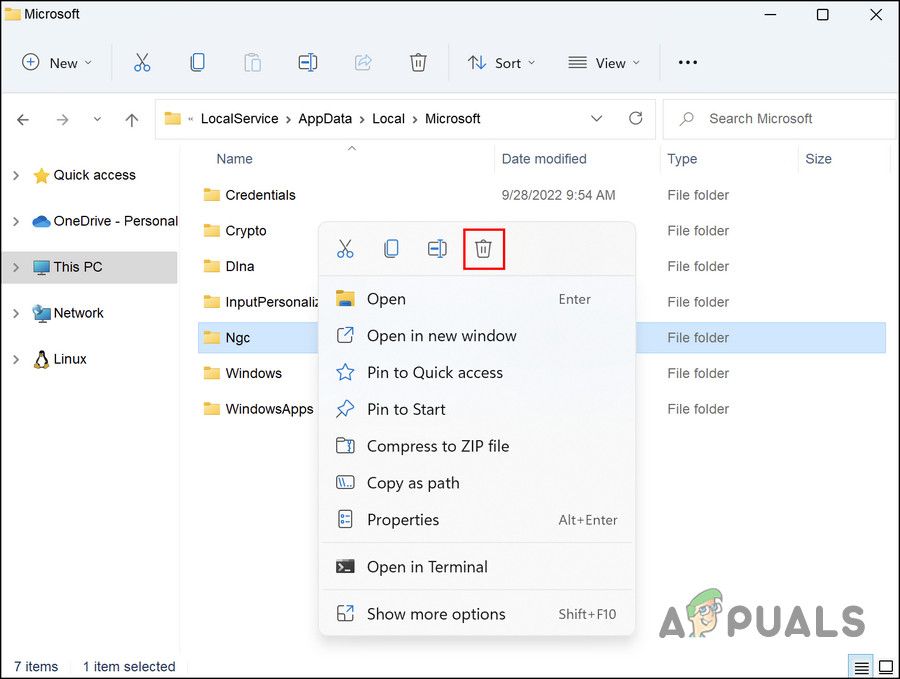
Delete the NGC folder - Once done, reboot and then try logging into Windows using your PIN.
4. Use the I Forgot My PIN Option
This method is for users who are trying to change their current PIN but are failing to do so. If the ‘Change PIN’ option is not working for you, then you can also try using the ‘Forgot my PIN’ option.
Follow these steps to proceed:
- Head over to the Accounts section of the Settings window.
- Choose Sign in options and expand the PIN section.
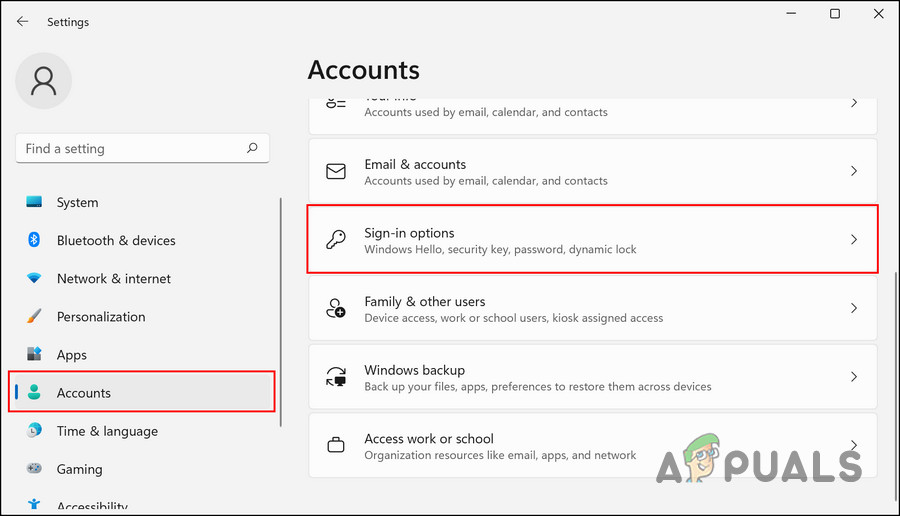
Click on Sign in options - Click on I forgot my PIN.
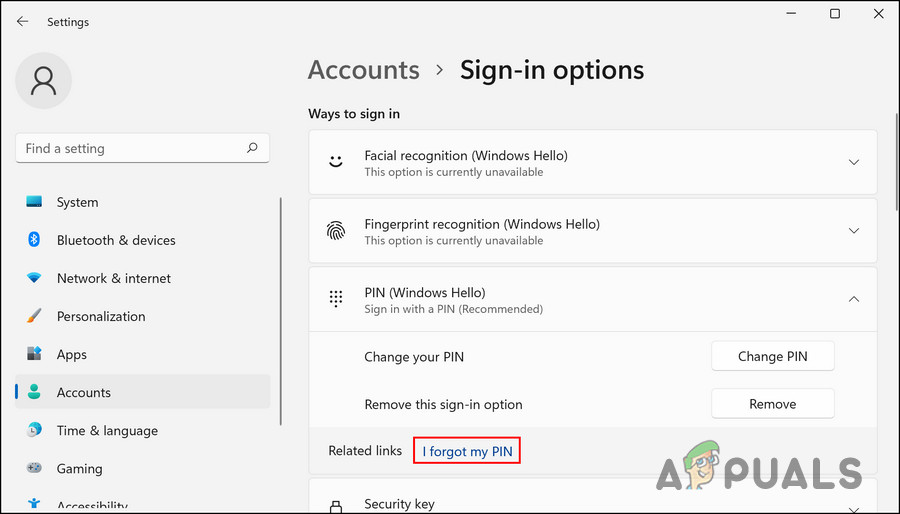
Click on the I forgot my PIN option - In the following dialog, click on Continue.
- Enter your Microsoft account credentials and follow the on-screen instructions to proceed.
You should now be able to set up a new PIN without any problems.
5. Use the System Restore Utility
You can also try going back to a system state where the PIN error was not present. For this, we will be using the System Restore utility, which takes snapshots of the system before performing important operations. When you access this service in the Control Panel, you will see a list of all the restore points available on the system.
Follow these steps to proceed:
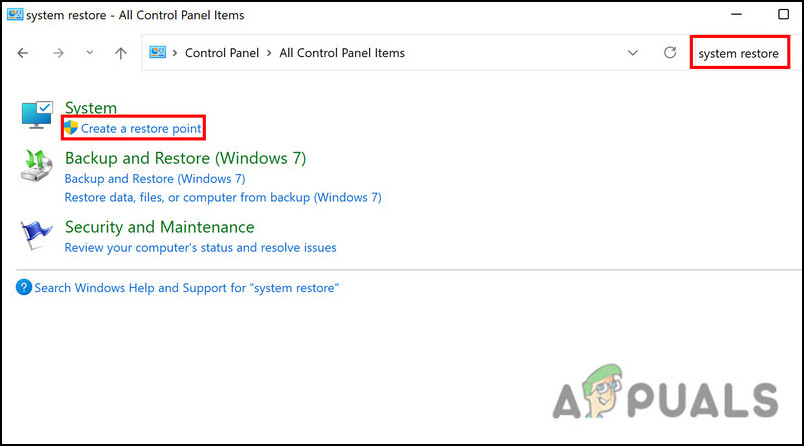
- Type Control Panel in Windows search and click Open.
- In the following window, use the search bar to search for System Restore and then click on Create a restore point as shown below.
Click on the Create a restore point option - Now, click on the System Restore button as shown below.
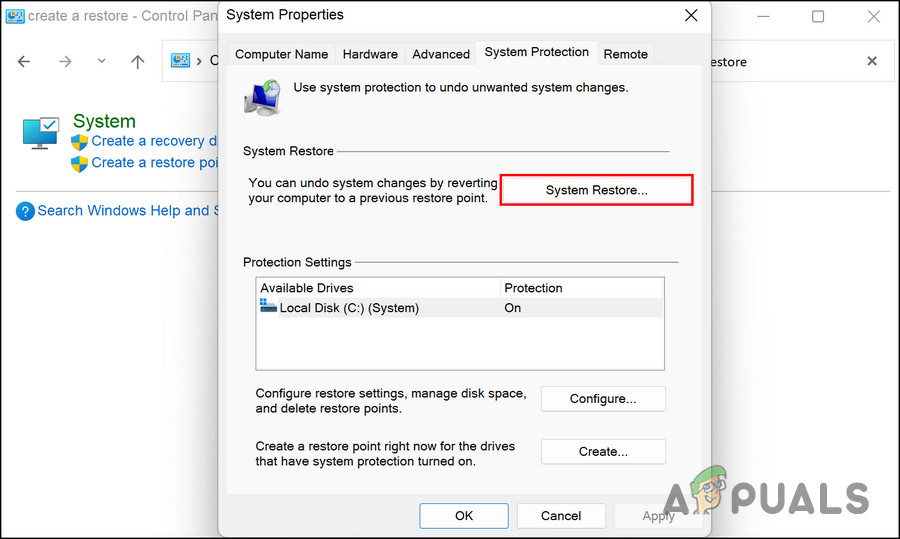
Click on the System Restore button - From the System Restore dialog, pick a restore point click Next.
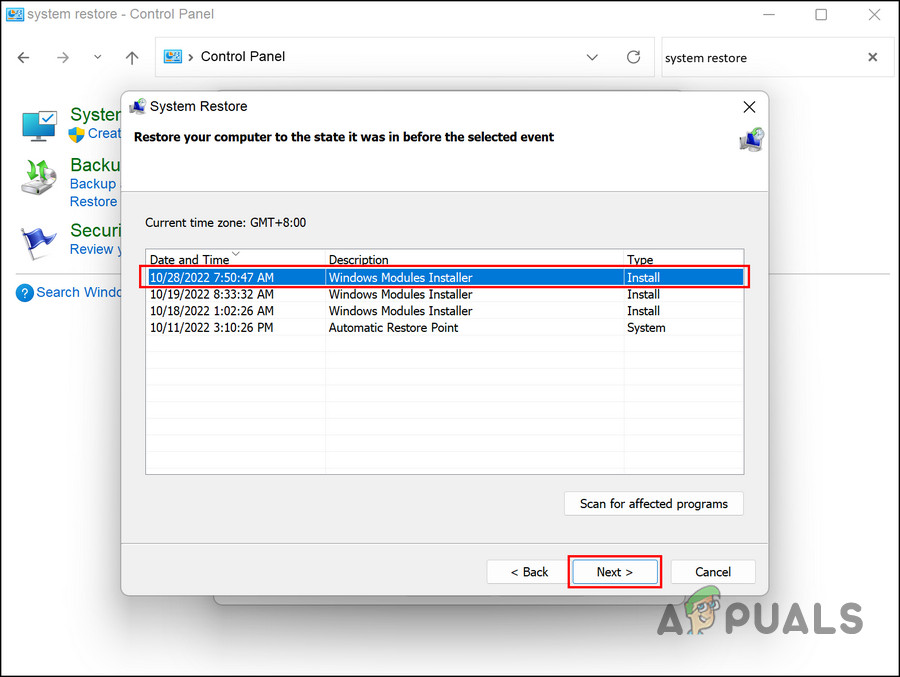
Choose a restore point - Follow the on-screen instructions to proceed.
If your computer does not have a restore point, that means the feature has been disabled. If that is the case, move on to the next method.
6. Reset the PC
In the event that none of these methods work, then your problem might be caused by a corruption error that can’t be fixed conventionally.
The best thing you can do if this scenario applies to your computer is to reset it. During the process, Windows allows you to keep your personal data and files, so you won’t lose them.
Resetting your system will restore it to its default state without any such errors.
To proceed, follow these steps:
- Press the Win + I keys to open Windows Settings.
- Choose System from the left pane and then click on Recovery on the right side of the window.
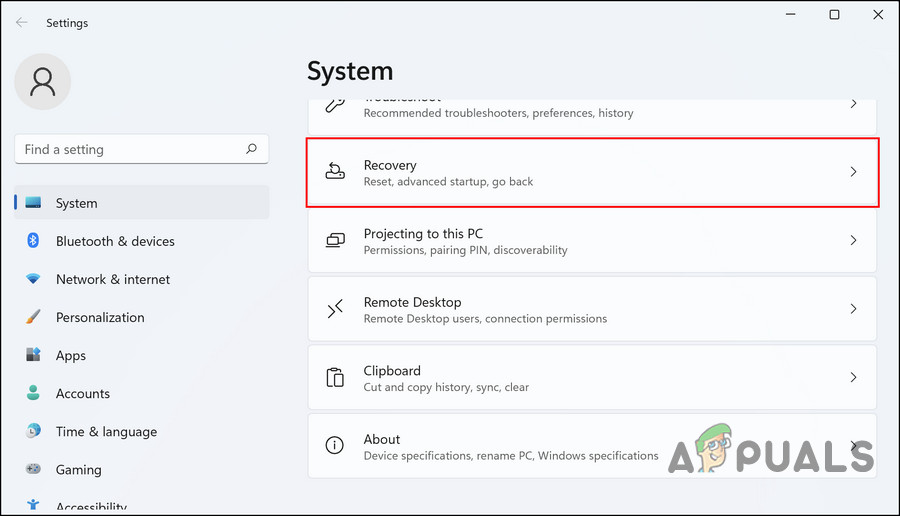
Click on the Recovery option - Head over to the Recovery options section and click on the Reset PC button under it.
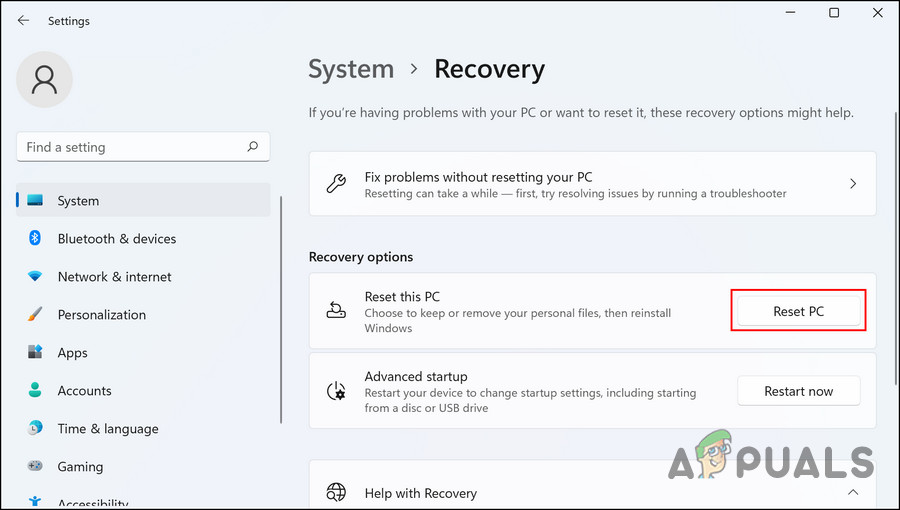
Click on the Reset PC button - In the following window, click on Keep my files. If you wish to remove everything during the process, click on Remove everything.
- Follow the on-screen instructions to proceed.
Hopefully, performing a complete reset of the system will resolve the issue for you.
Alternatively, you might want to contact the Microsoft team and wait for an official fix from them rather than resetting the system.


