Fix: Pictures Not Displayed as Thumbnail (PREVIEW) on Windows 7
Windows 7 users have open expressed their agitation over their pictures not getting showed as thumbnail previews. Despite trying all sorts of methods, the issue doesn’t get resolved. The issue is actually not as grotesque as it seems, and more importantly the fault is not at Microsoft’s end. All you have to do is change a few settings and you will be able to see the thumbnails to your pictures without a problem. We recommend you to not follow the long and cumbersome methods that you might find on other websites; there is no need to install third-party applications, just make it to the end of this article and you will have one less problem in your life.
We present the simplest yet the most prolific way to deal with this problem. Follow these steps:
Go to the folder where your pictures are stored. Press the ALT key to pull down the Menu Bar -> Choose Tools then choose Folder Options.
Now move over to the View
From the section beneath “Advanced settings”, uncheck the checkbox behind “Always show icons, never thumbnails”.
Solution 2: Re-Writing Images
In some cases, due to a glitch, the thumbnails of images stored in a particular folder aren’t loaded. Therefore, in this step, we will be initiating a workaround to get them to load the thumbnails. For that:
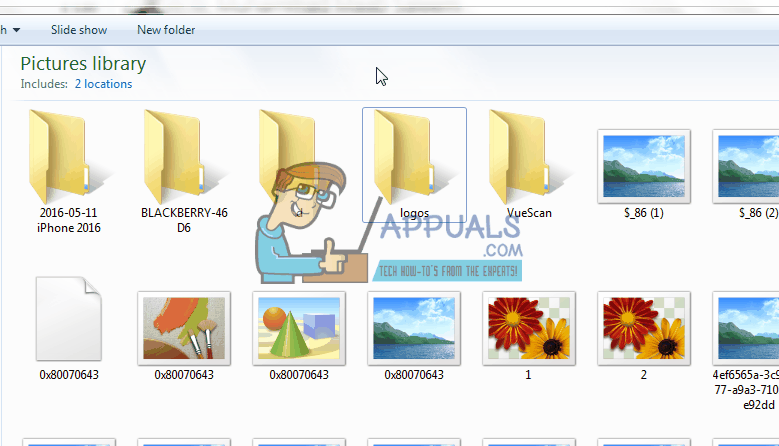
- Navigate to the folder which contains the images.
- Press “CTRL” and click on the images that you want the thumbnails to be displayed for.
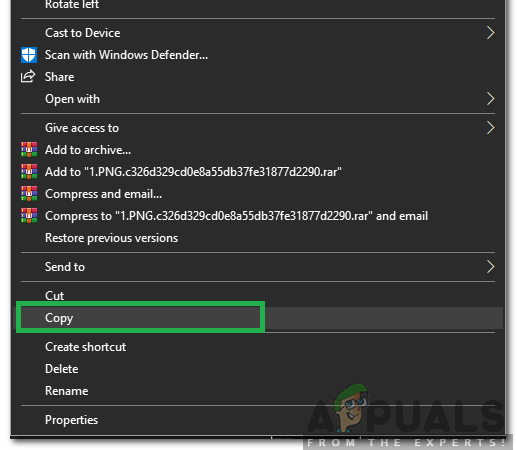
- Right-click on the selected images and select “Copy“.
Right-clicking on the image and selecting copy - Create a new empty folder on the desktop and open it.
- Right-click anywhere inside the folder and select “Paste“.
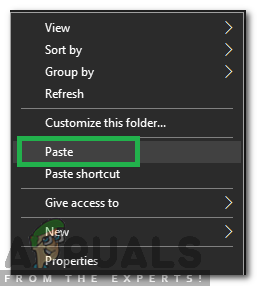
Right-clicking and selecting Paste when inside the folder - Once the copying process finishes, select all the images in the folder and right-click on them.
- Click on “Copy” and navigate back to the original folder.
Right-clicking on the image and selecting copy - Select “Paste” and click on the “Copy and Replace” option.
- Check to see if the issue persists.
This should fix the issue for you once and for all! Let’s know in the comments how you felt after being able to get rid of the issue after all!
That solution is posted everywhere online and… it still doesn’t work, for me at least.
🙁