Thumbnail Previews Not Working in Windows 11? Here’s the Fix!
Windows 11 lacks many functions that came in Windows 10 by default and were quite useful. One such feature is the thumbnail previews on folders in File Explorer, which many users are complaining they cannot view.
There can be a number of reasons why you are not able to view this feature, such as incorrect settings and generic corruption errors that are making the File Explorer program act up.
Below, we have discussed different methods of getting the thumbnail preview feature back. Proceed with the method that suits your situation the best.
1. Enable Thumbnail Previews
The easiest way to get the thumbnail previews back is by enabling this option in the File Explorer’s Folder options manually.
Here is how you can do that:
- Launch File Explorer and click on the three dots in the top-right corner.
- Choose Options from the left pane.
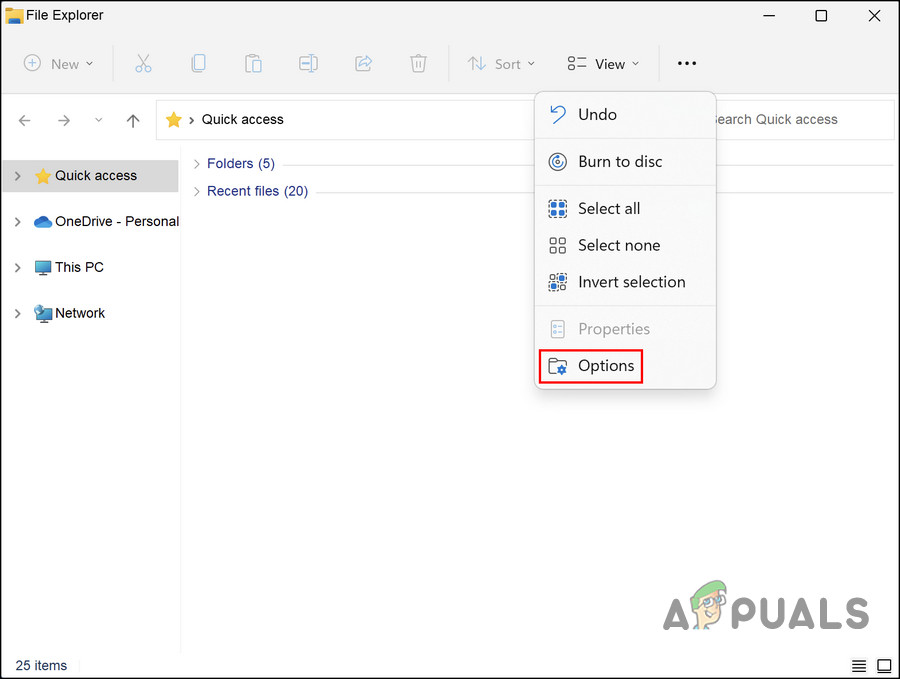
Click Option in File Explorer - In the following dialog, head over to the View tab and scroll down to the Files and folders section.
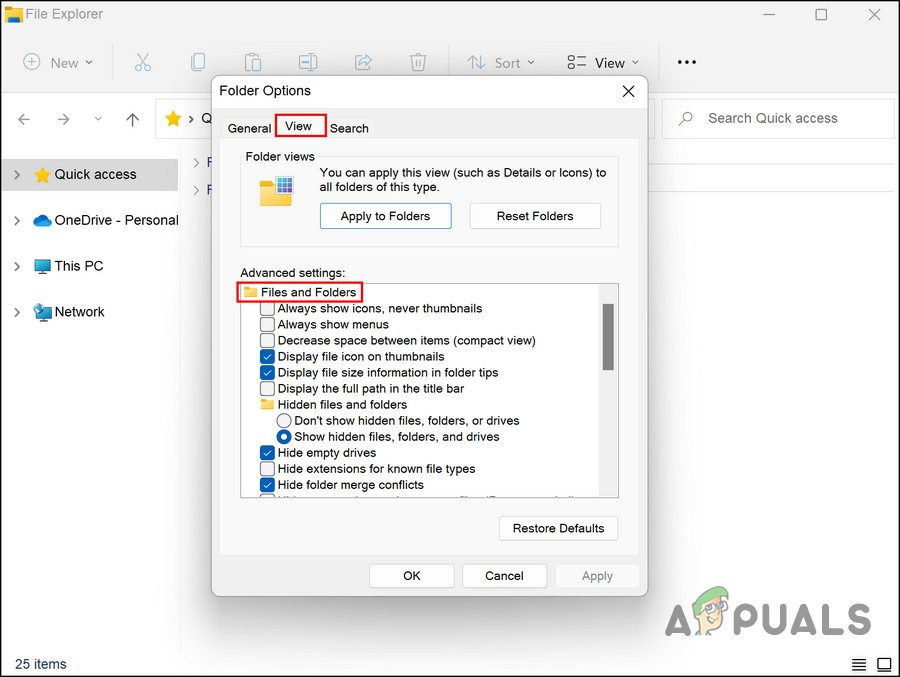
Access the Files and Folders - Uncheck the box for Always show icons, never thumbnails and click Apply > OK to save the changes.
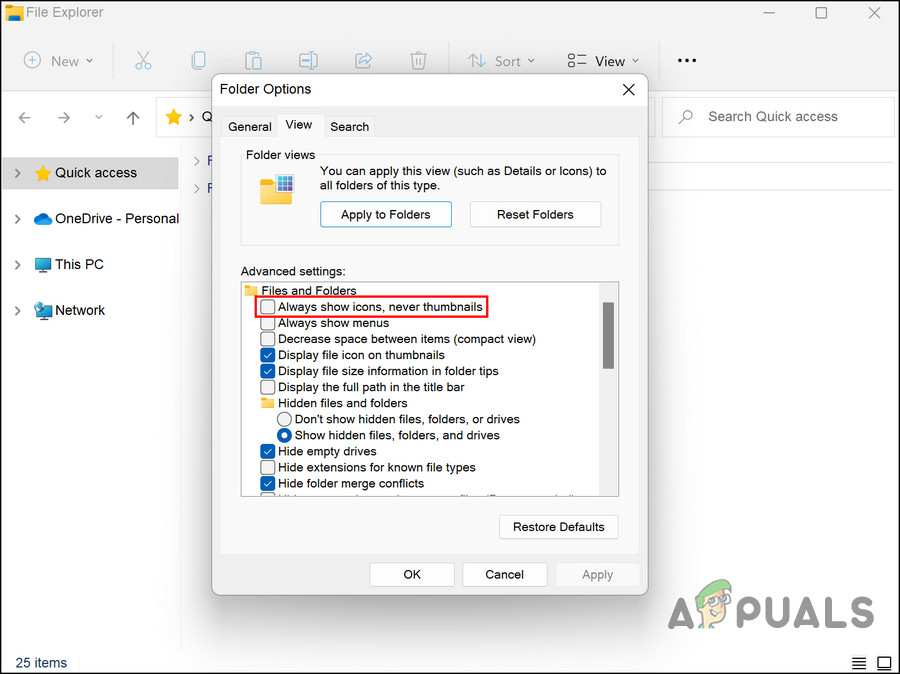
Choose the Always show icons, never thumbnails option
Once you are done, you should be able to see the thumbnail previews on folders without any problems.
2. Restart the File Explorer
There is also a chance that several features of File Explorer are acting up due to a glitch within the application. In this case, the best course of action would be to first restart the File Explorer and check if that makes any difference.
If there is a temporary corruption issue the app is dealing with, restarting the program will fix the problem.
Here is how you can proceed:
- Type Task Manager in the search area of the taskbar and locate Windows Explorer in the Processes tab.
- Right-click on it and choose End task from the context menu.
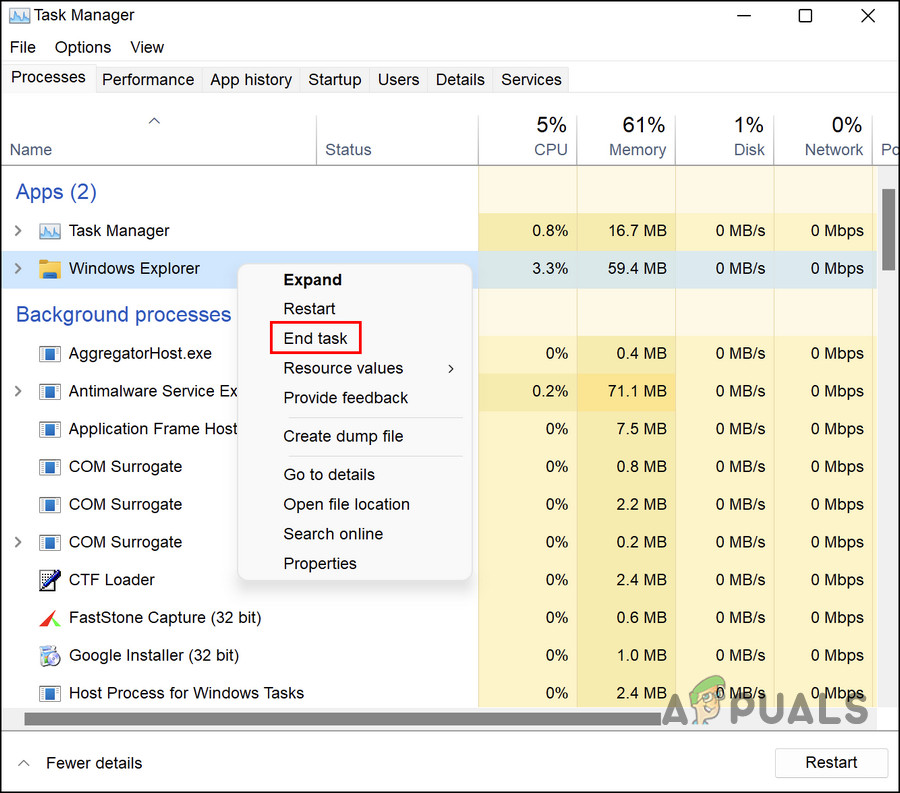
End the Windows Explorer task - Close the Task Manager window and launch File Explorer. If the issue was caused by a temporary glitch, restarting the app should fix the problem.
3. Reset File Explorer Cache
The thumbnail previews problem might also be caused by corrupt File Explorer cache files.
If you do not know already, cache data is a set of temporary files that are used by programs to retrieve information faster. While this data is quite helpful in making your user experience more smooth, it can sometimes become corrupt due to various reasons, and make the relevant application act up.
When that happens, you can simply reset this data to fix the problem. Since it is temporary, resetting or deleting the cache files does not harm the app or the system.
Follow these steps to reset the File Explorer cache on Windows 11:
- Press the Win + I keys to open Windows Settings.
- Choose System from the left pane and navigate to Storage.
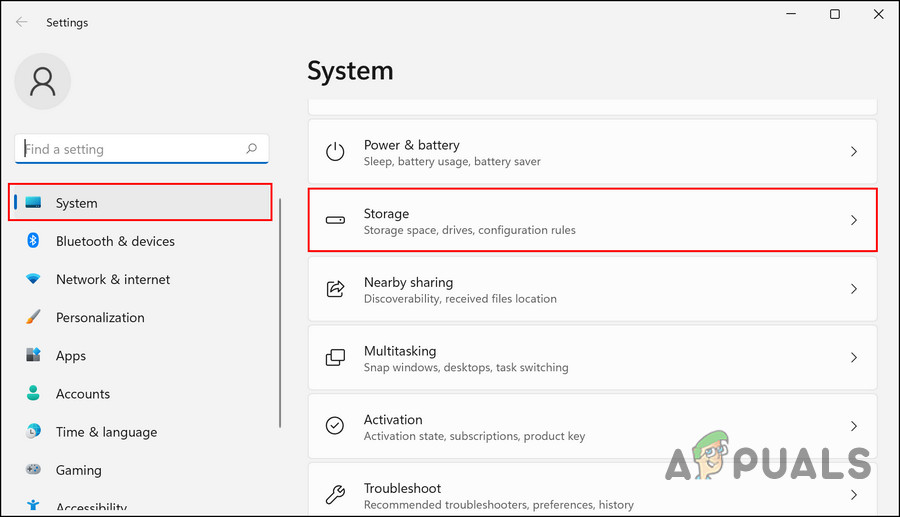
Choose the Storage option - In the following window, click on Temporary Files.
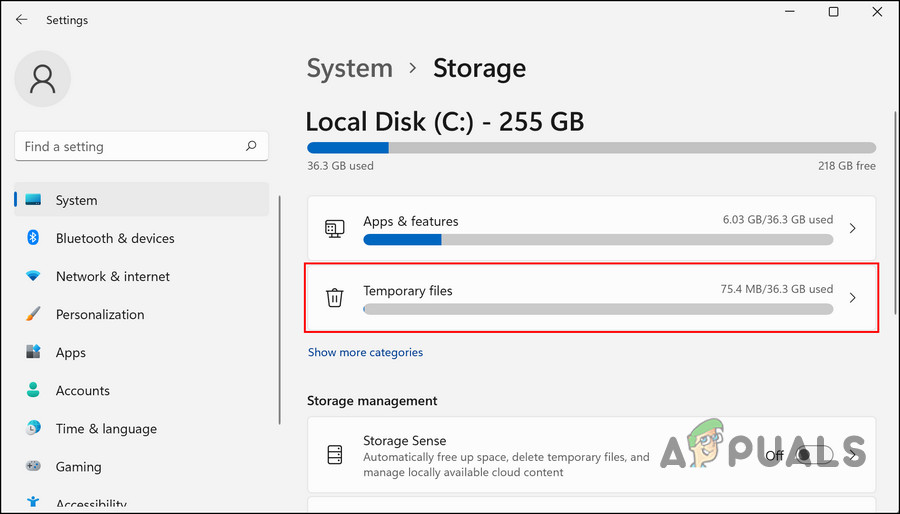
Access the temporary files - Now, checkmark the box associated with Thumbnails and click on the Remove files button.
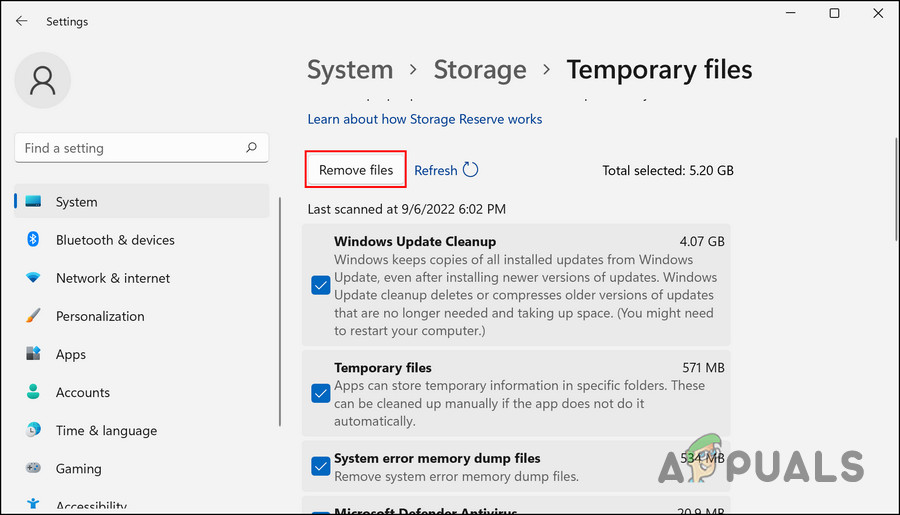
Click on the Remove files button - Once done, restart your computer and check if the issue is resolved.
If the steps mentioned above do not work for you for some reason, try following these:
- Press the Win + R keys to open Run.
- Type cleanmgr in the text field of the dialog box and click OK.
- In the Cleanup dialog, checkmark the box for Thumbnails and click OK.
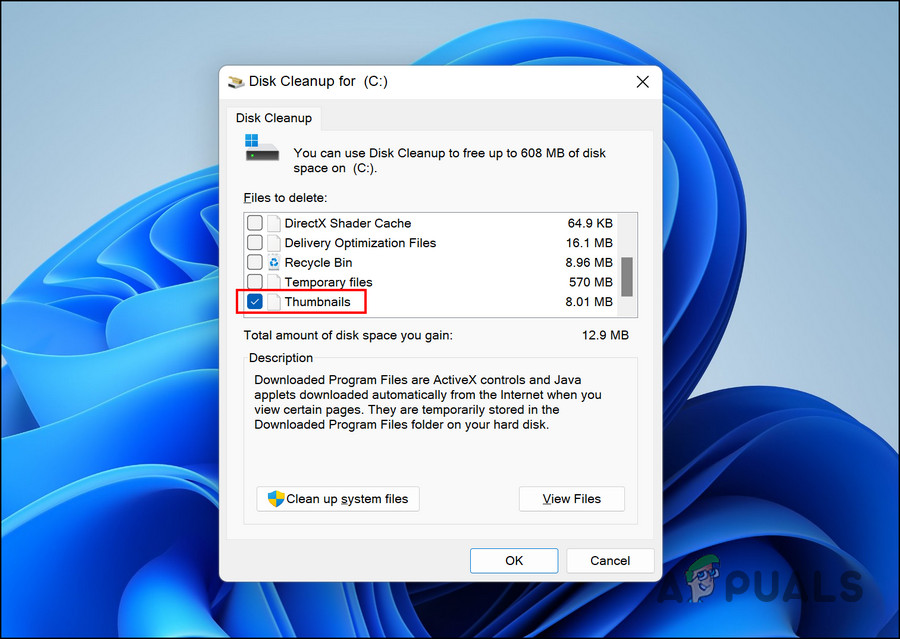
Enable Thumbnails
You should now be able to see the thumbnail previews successfully.
4. Restore the File Explorer
If resetting the cache files did not make any difference, then you can try resetting the File Explorer settings as a whole and check if that makes any difference.
This will revert the application to its default state, where the error was not present. However, keep in mind that you may lose any of the customizations that you have made within the application.
Here is how you can restore File Explorer to its default state:
- Launch File Explorer and click on the three dots in the top-right corner.
- Choose Options from the left pane.
- In the following dialog, head over to the View tab.
- Click on the Reset folders button. If a confirmation prompt appears, confirm your action to proceed.
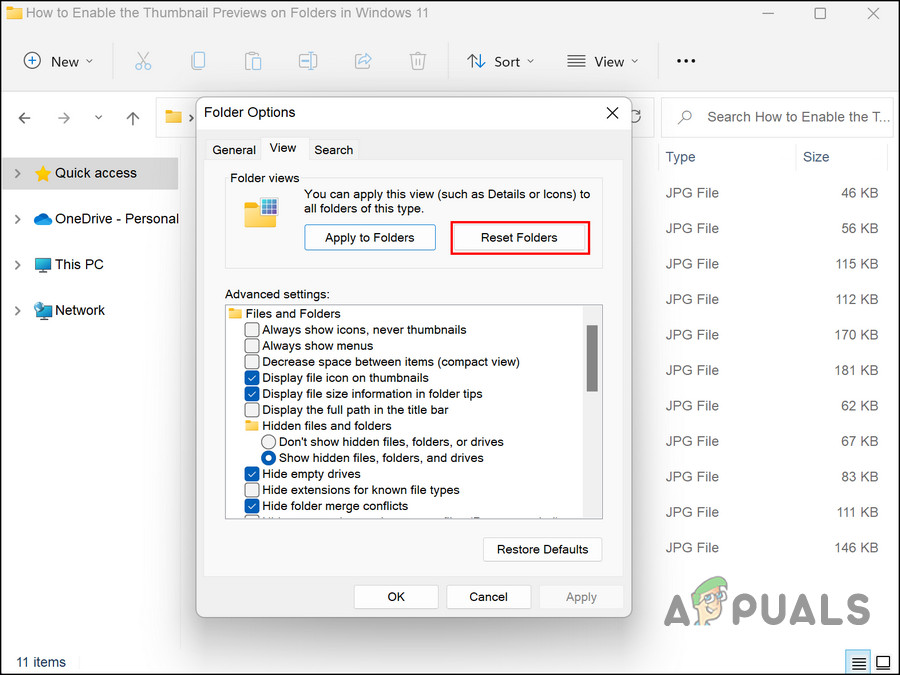
Click on the Reset Folders button
Once the process is completed, check of the issue is resolved.
5. Revert to the Previous Version of the OS
If none of the methods above did the trick for you, then you can try reverting to the previous OS version as a last resort, till Microsoft releases an official fix for the thumbnail previews problem.
You have two options to proceed in this case. Either, you can uninstall an update that you recently installed which may have been problematic, or you can go back to the previous Windows version (switch back to Windows 10 if you are a Windows 11 user).
This method is divided into two sections where we discuss the methods of both the scenarios mentioned above. Proceed with the method that suits your preferences the best:
5.1 Uninstall the Update
If the issue started occurring after you installed a system update, then there is a chance that the update is buggy. If this scenario applies to you, then you can uninstall the update to fix the problem.
Follow these steps to do so:
- Press Win + R to open Run.
- Type control in the text field of Run and hit Enter.
- In the following window, choose Programs.
- Click on View installed updates.
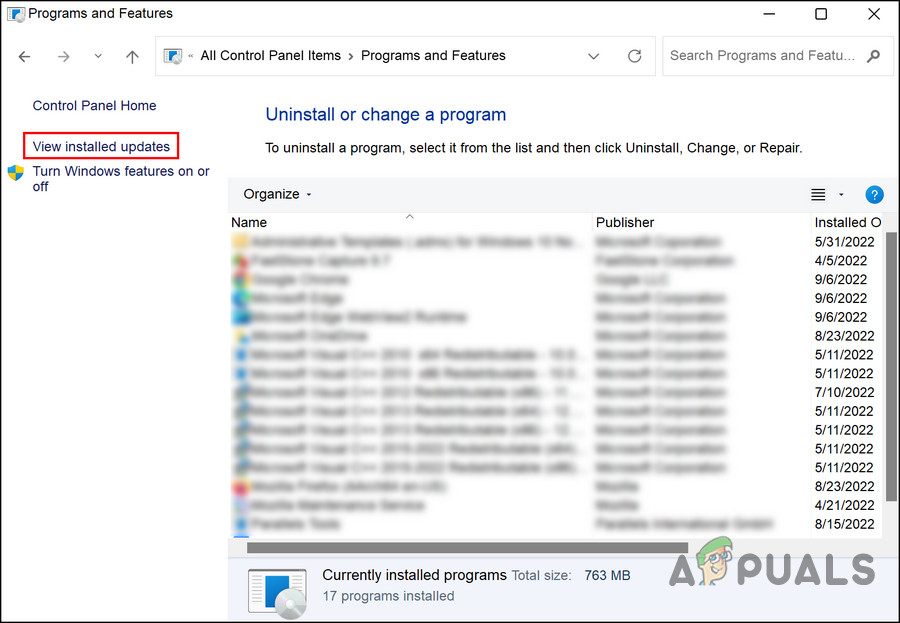
View the installed updates in the Control Panel - You should now see a list of all the updates installed on the system. Right-click on the problematic update and choose Uninstall.
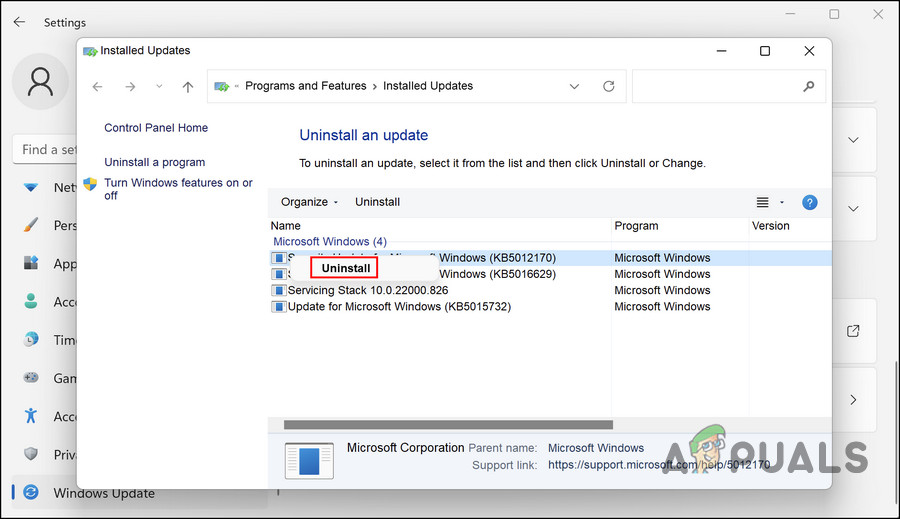
Click on the Uninstall button - Follow the on-screen instructions to proceed.
5.2 Revert to Windows 10
If you are facing the issue right after upgrading to Windows 11, then you have the option to go back to Windows 10 till Microsoft fixes the issue.
Here is how you can proceed:
- Launch Settings by pressing Win + I.
- Navigate to System > Recovery.
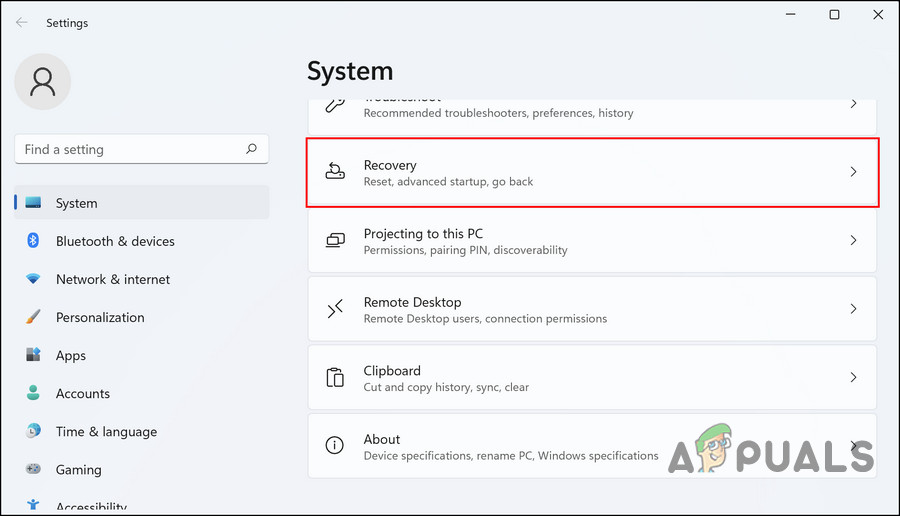
Choose the Recovery settings - Head over to the Recovery options section and click on the Go back button associated with Previous versions of Windows.

Hit the Go back button - In the following dialog, specify the reason you want to go back to the older Windows version.
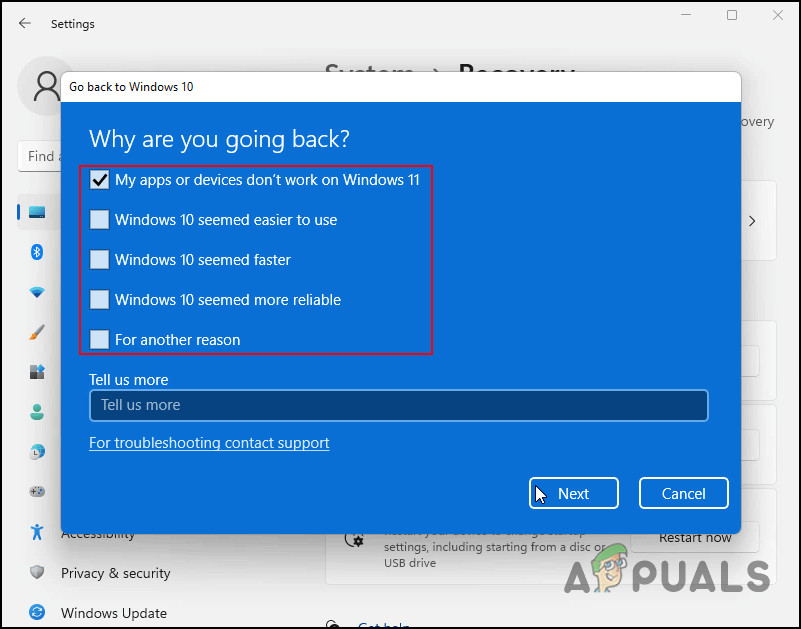
Choose a reason for reverting - Now, choose if you want to update the OS in the process.
- Click Next.
- Hit the Go back to earlier build button and wait for the process to complete. You should now be able to enjoy thumbnail previews again.
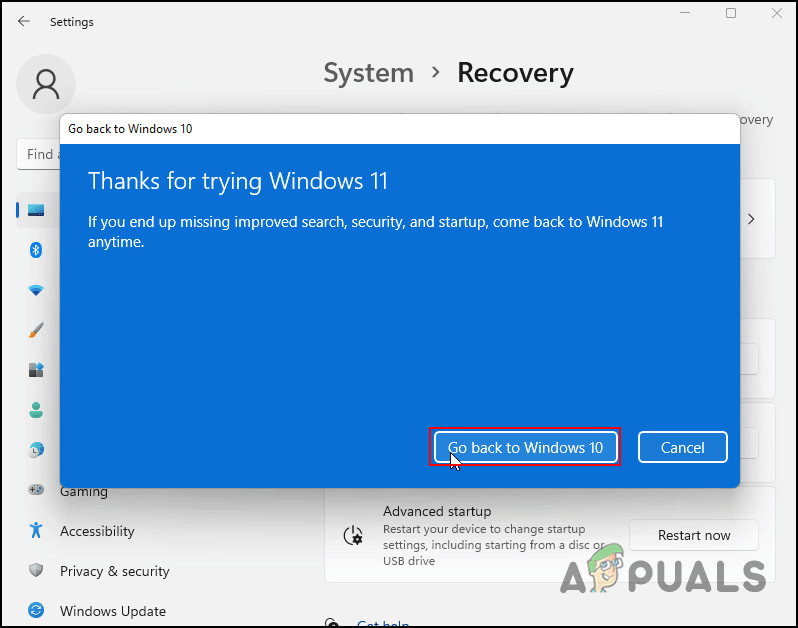
Go back to the previous version of Windows


