How to Fix ‘Lost Connection to Game Server’ in Overwatch 2
Overwatch 2 not connecting to the server or connectivity issues can be caused due to server unavailability. The game at the startup loading screen show’s an error that says “Lost connection to game server” and closes after a few seconds.
However, there are other factors that may cause the user to face such errors for example, if the game is blacklisted from the firewall it won’t be able to send data packets over the network thus causing errors similar to the one in the discussion.
Now let’s head over to troubleshooting methods.
1. Check Server Availability
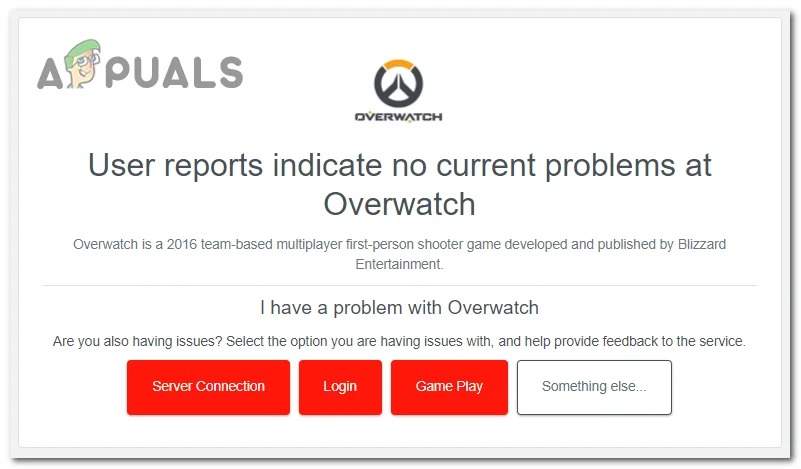
Before we explore troubleshooting steps to resolve the issue, we will identify if Overwatch servers are online, as sometimes servers can be offline during maintenance or even development.
When game servers are offline, a user can’t do much except wait for the developers to resolve the issue at the backend. Follow these steps to check Overwatch’s server status:
- Click here to check the server status of Overwatch 2.
Using a third-party tool to check the server status of the Overwatch 2
If the servers are offline, there is nothing to be done at this stage except wait for a few hours and keep an eye on the server status. However, if the servers are up and running, follow the next steps to fix the connectivity issues on Overwatch 2.
2. Restart your router
Before applying any advanced fixes, try restarting the router. Restarting the router restarts all components inside the device, also clearing the cache data stored on it. Follow these steps to restart your router using the graphical interface:
- Open a web browser and type in the IP address on your router’s back label. For example, 192.168.1.1.
- If your router is inaccessible physically, follow these steps to find the Default Gateway IP address:
- Press the Windows + R keys simultaneously to open the Run dialog box and type CMD. Hit enter to open the command prompt.
Running the command prompt via the RUN dialog box. - Type IPCONFIG in the command prompt terminal and hit enter. Copy the Default gateway.
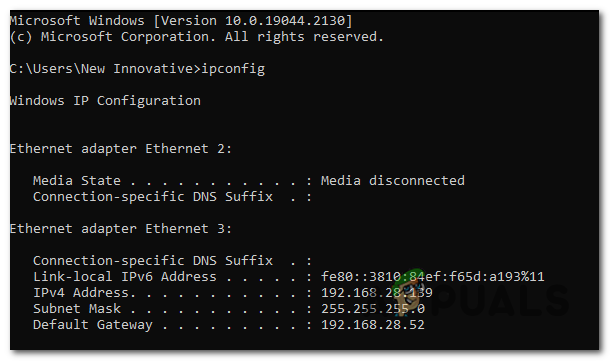
Fetching the Default Gateway IP address via the command prompt - Navigate through the interface and find the restart button. This option varies from router to router.
3. Allow the game through controlled folder access
Windows security sometimes automatically blacklists specific programs from accessing necessary folders. Once blacklisted, that application won’t be able to access the root directories of the application. In this method, we’ll be allowing the game through the windows controlled folder access. Follow these steps to do so:
- Press the Windows and I key simultaneously to open the windows settings app
- Now in the Settings app, navigate to Privacy and Security > Windows Security > Virus and threat protection.

Opening Windows Security inside of the Privacy and security settings - After that, Scroll down and click on Manage Ransomware protection, as shown in the image below.
- Click on Allow an app through controlled folder access.
- Click on the “Add an allowed app” button. After that, Click on Browse all apps.
- Now, navigate to the Overwatch 2 installation folder. Here is an example path for users who chose the default location during the installation.
C:\Program Files (x86)\Overwatch
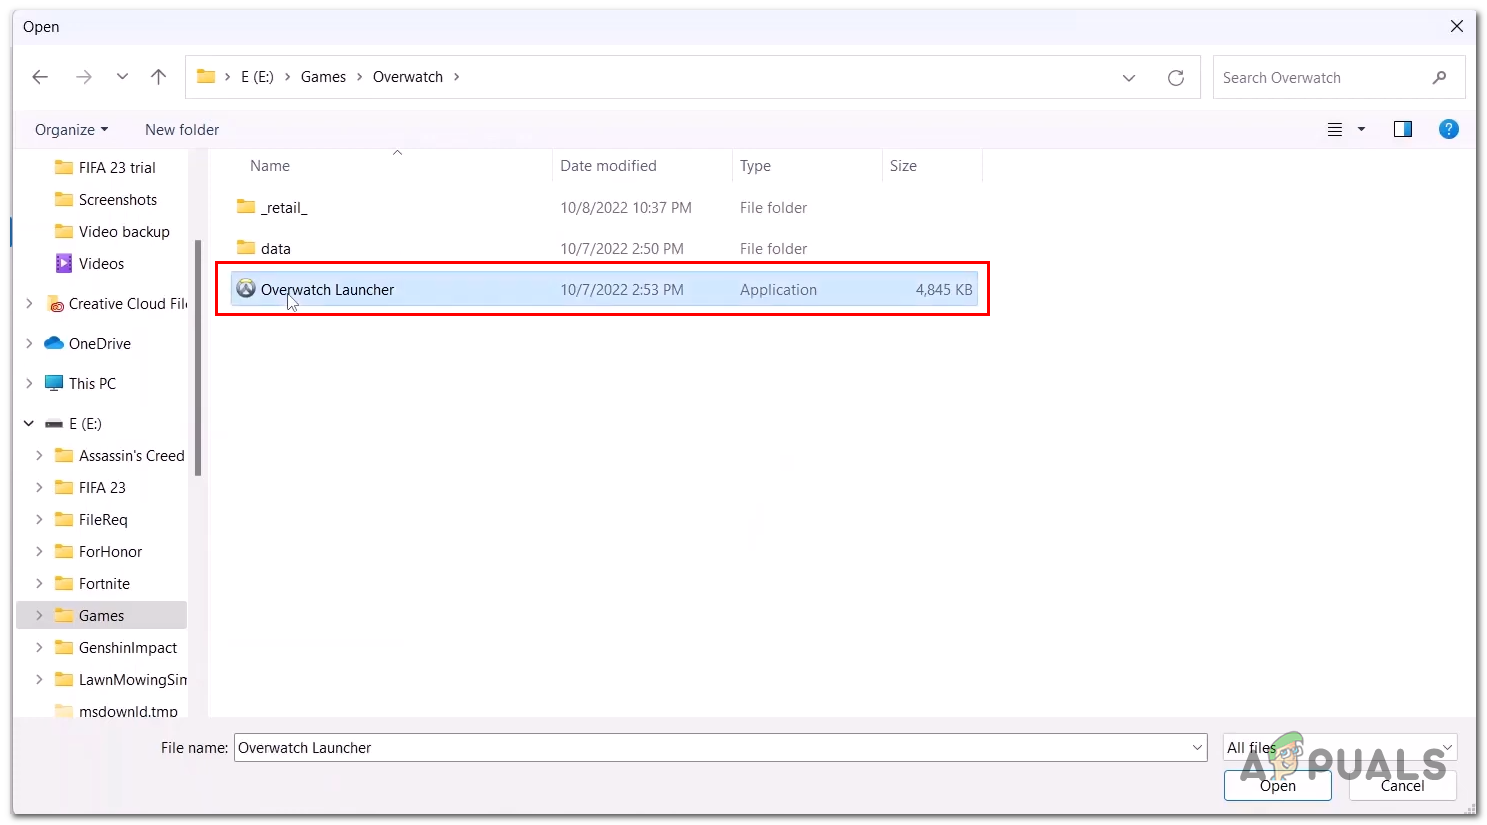
- Inside the Overwatch 2’s installation folder, select the Overwatch Launcher application file and click on the Open button at the bottom-right of the window.
Allowing the Overwatch 2 Controlled folder access - Similarly, Click on the “Add an allowed app.“ button and navigate to Overwatch 2’s installation folder again.
- Open the _retail_ folder and select the Overwatch Application file.
- Click on the Open button.
- Now, Try launching the game.
4. Add Overwatch 2 to the Windows Firewall whitelist
It is possible that, for some reason, Overwatch 2 on your computer is either not added to the firewall whitelist or is blacklisted. Blacklisted applications from the windows firewall cannot send data packets over the network; hence in our case, Overwatch will be unable to access the game server. Follow these steps to add Overwatch to the whitelist:
- Press the Windows key on your keyboard to open the windows start menu, and in the start, menu search bar, type Control panel and open it.
- Click on the System Security settings box.
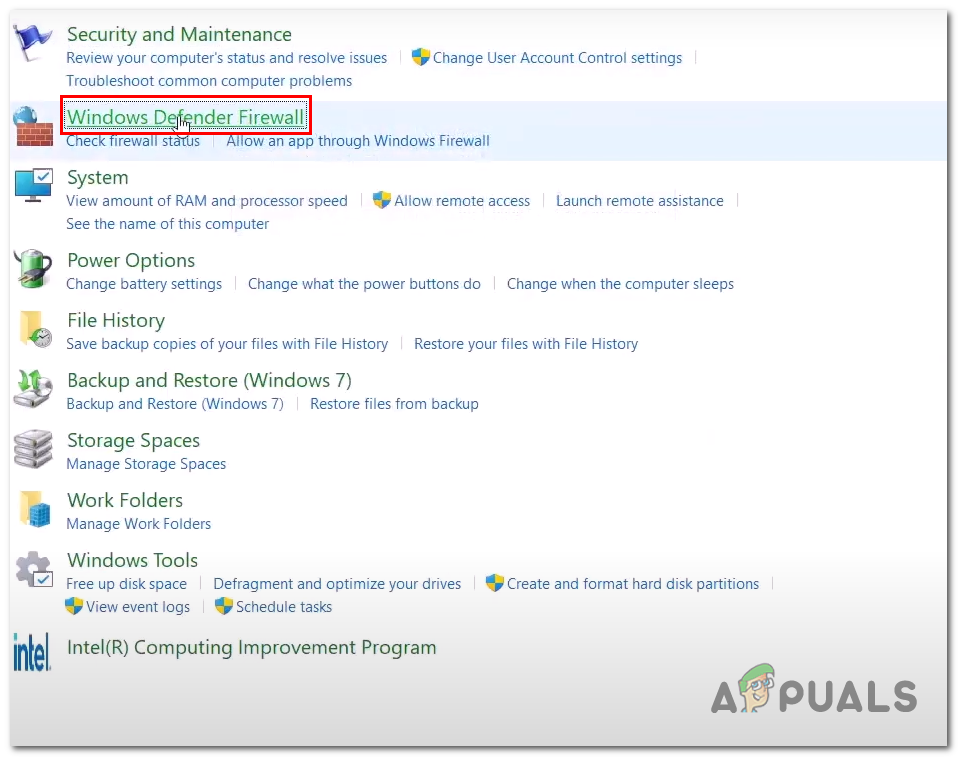
- Click on Windows Defender Firewall.
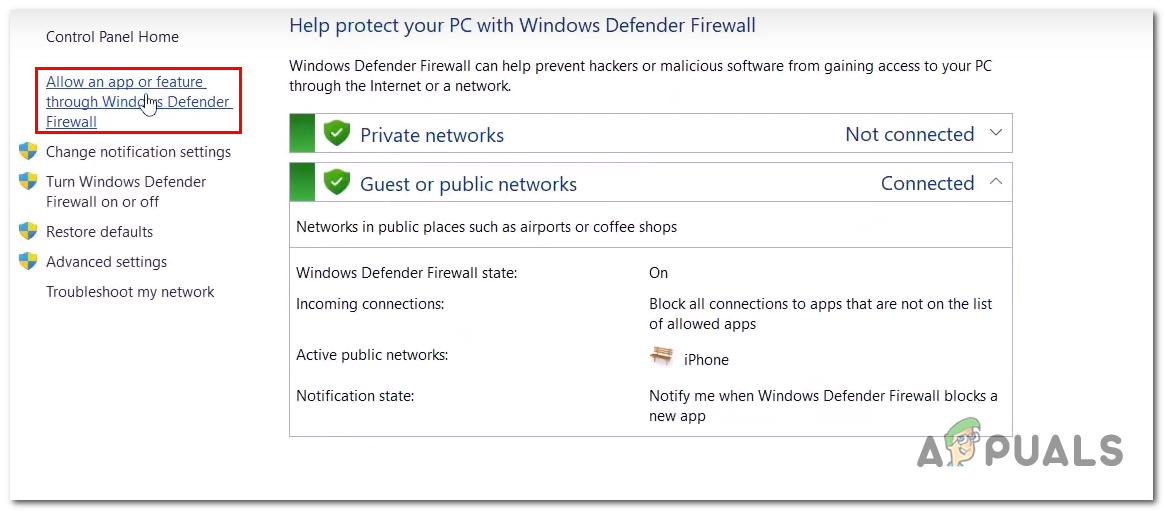
Opening windows firewall from the control panel - After that, Click on Allow an app or feature through windows defender firewall situated on the left side of the screen, as shown in the image below.
Allowing overwatch controlled folder access via the windows defender firewall - Now, Click on the Change Settings button.
- Click on Allow another app button.
- Similar to the last method, open the Overwatch 2 installation folder. For reference, here’s the default installation location
C:\Program Files (x86)\Overwatch
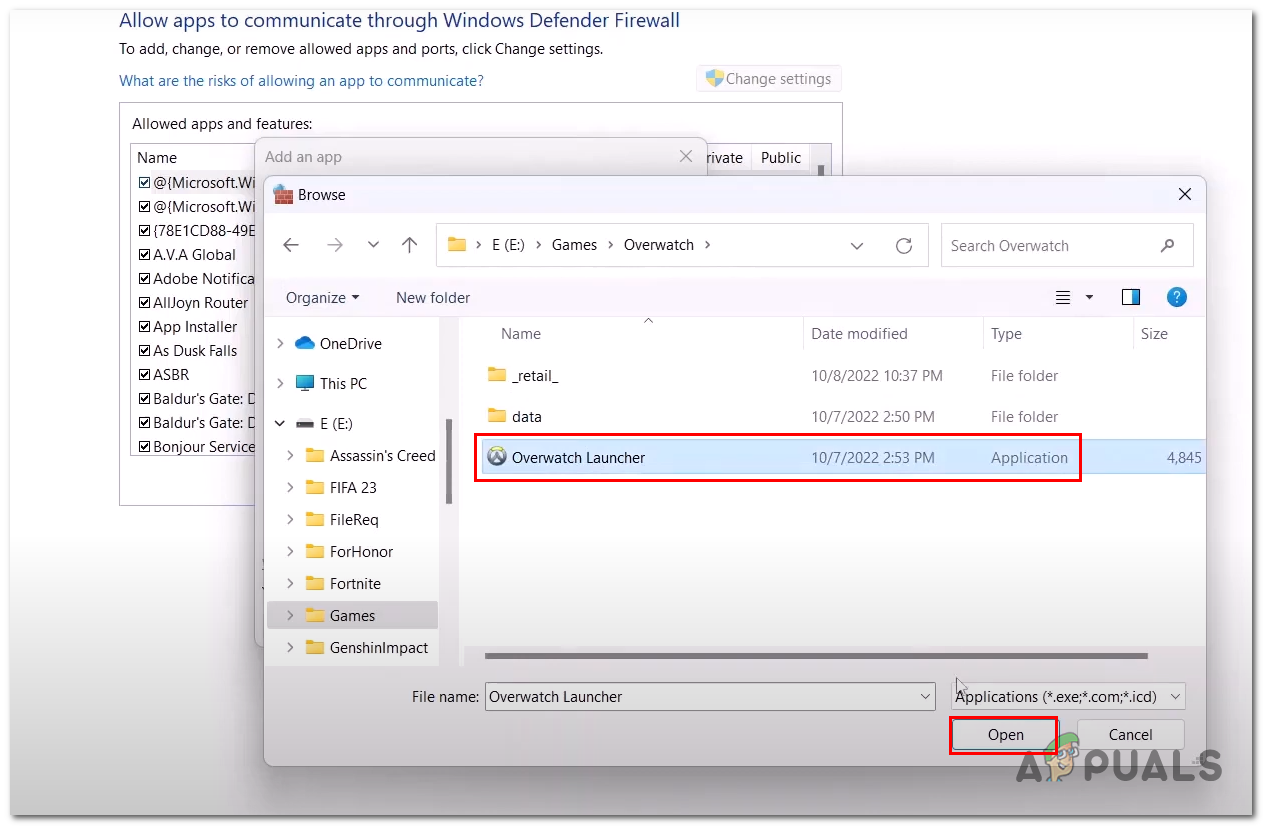
- Once you have opened the Overwatch 2 installation folder, Select the Overwatch launcher and click on the open button as shown in the image below.
Adding overwatch 2 to the whitelist - After that, Click on the Add button.
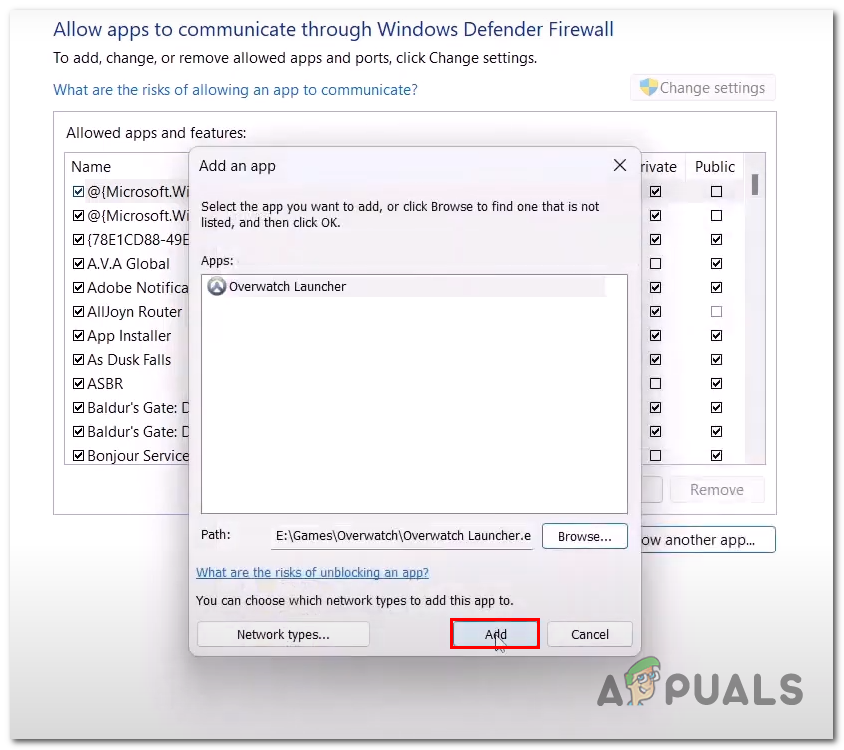
Adding overwatch 2 to the whitelist - Click on Allow another application again and open the Overwatch 2 installation folder.
- Open the _Retail_ folder and select the Overwatch application file.
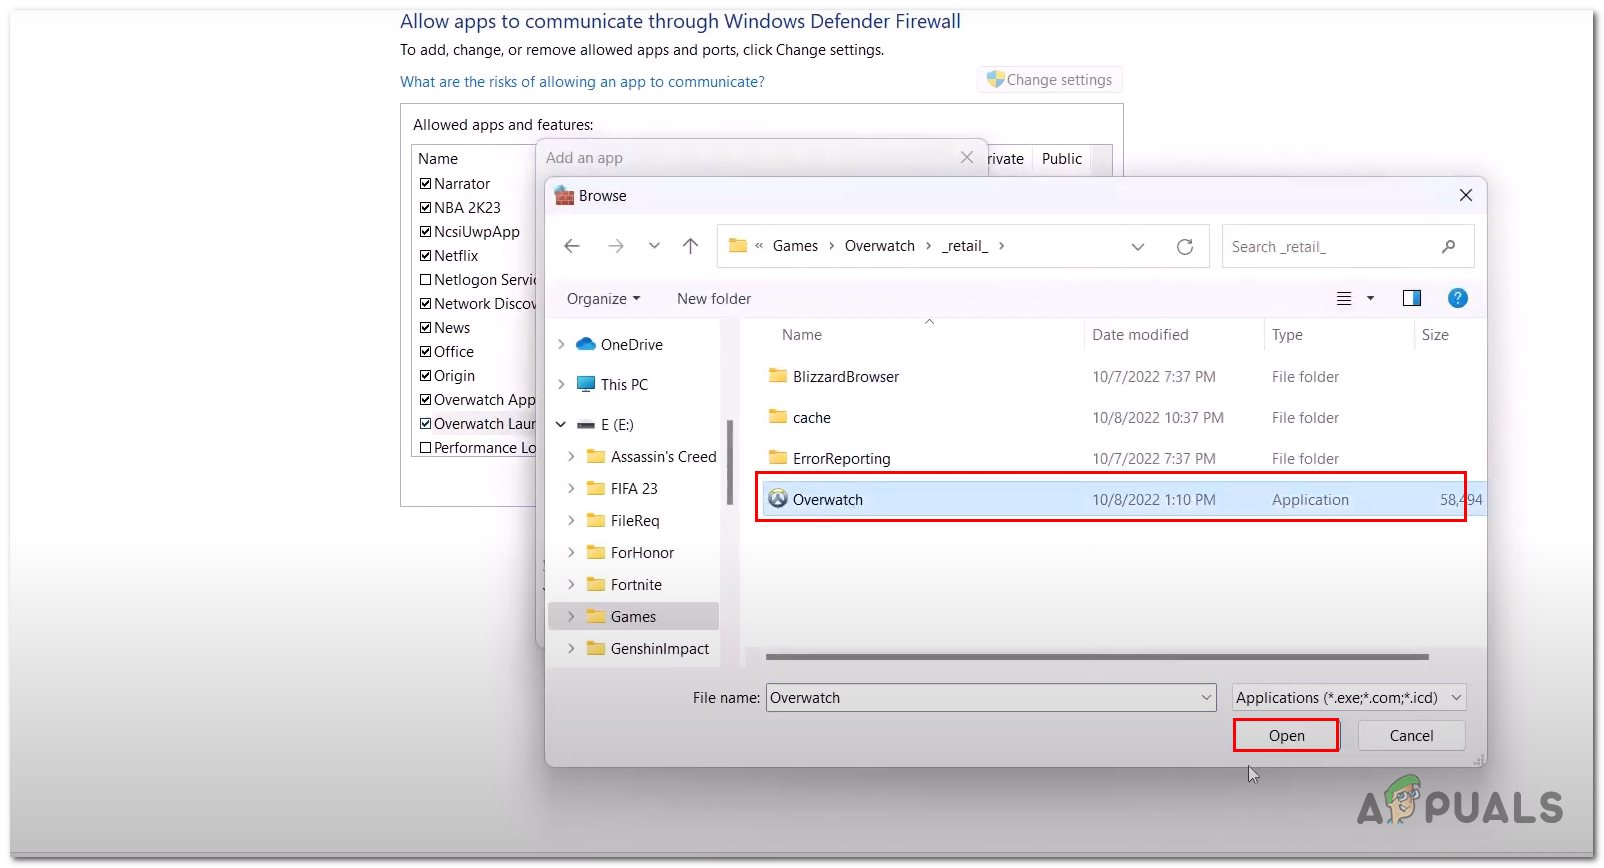
Adding overwatch 2 to the whitelist - Click on the Add button.
Once done, Try launching the game. If the problem persists, continue to the next method.
5. Enable Windows auto-tuning
Window auto-tuning improves the performance of programs that receive TCP data. It dynamically adjusts the receiver buffer size to the throughput and latency of the link. Simply put, it is supposed to help users reach an overall efficient data transfer rate over the network. If disabled, it could cause users to face problems with applications that send larger chunks of data online. Follow these steps to enable Windows autotuning:
- Press the Windows + R key simultaneously on your keyboard to open the Run dialog box.
- Type ‘CMD’ in the run dialog box and hit the Enter key.
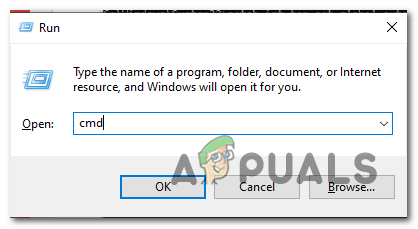
Running command prompt via the Run dialog box - Paste the following command in the command prompt terminal.
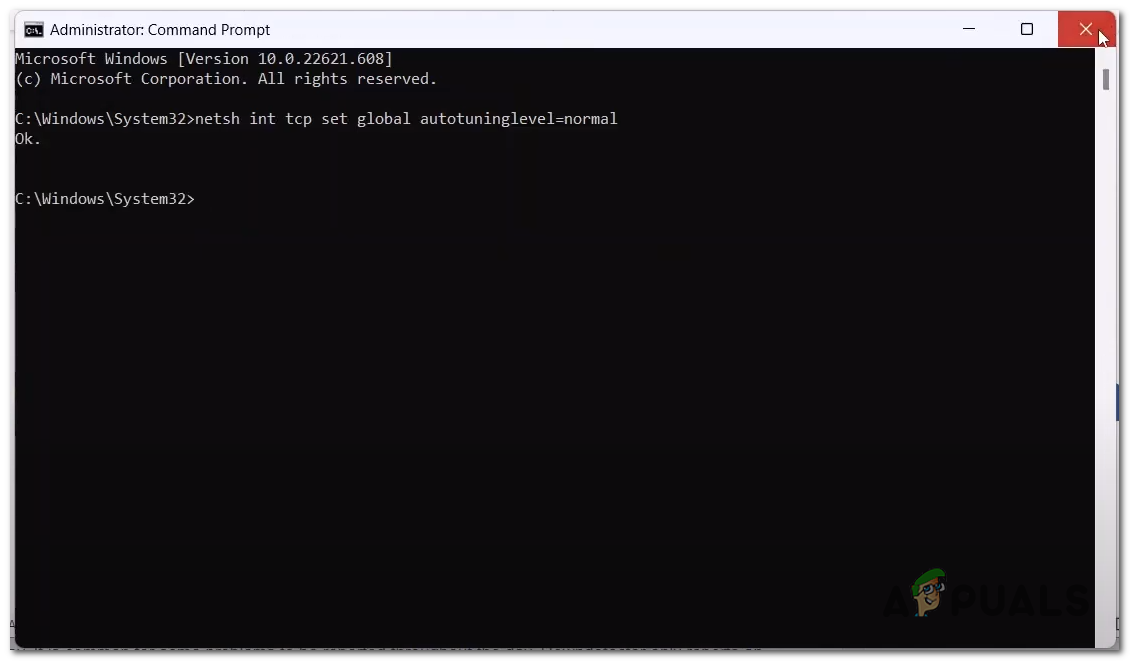
Enabling window auto-tuning through the Command prompt netsh int tcp set global autotuninglevel=normal
- Hit the Enter key.
Once done, try launching the game to identify if it is working fine now or not. If it isn’t, jump to the next fix.
6. Disable Manual proxy
Windows comes built-in with a feature that allows users to connect to proxies. We don’t want that to happen in our case, as it makes our network private and sometimes causes connectivity problems for many games. Follow these steps to disable manual proxy.
- Open the windows start menu by pressing the windows key, and click on the Settings icon to open settings.
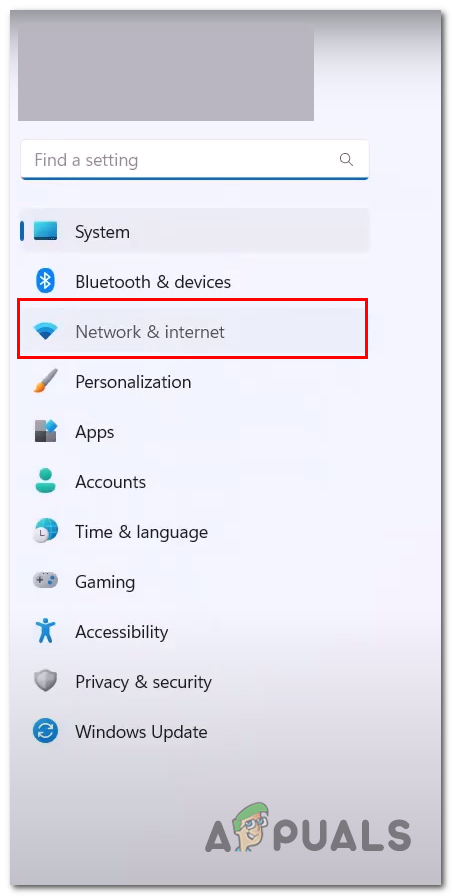
- Click on Network and Internet inside the menu on the left side of your screen.
Opening Network and Internet settings - Click on the proxy settings box.

Disabling the manual proxy feature in windows - Make sure the setting is turned off.
7. Run network troubleshooter
Windows comes built-in with a feature specifically designed to diagnose and troubleshoot network-related problems. In such cases, it is a good idea to let the windows network troubleshooter take care of the error. Follow these straightforward steps to run the network troubleshooter:
- Press the Windows key to open the start menu and click on the settings icon to open the Windows settings.
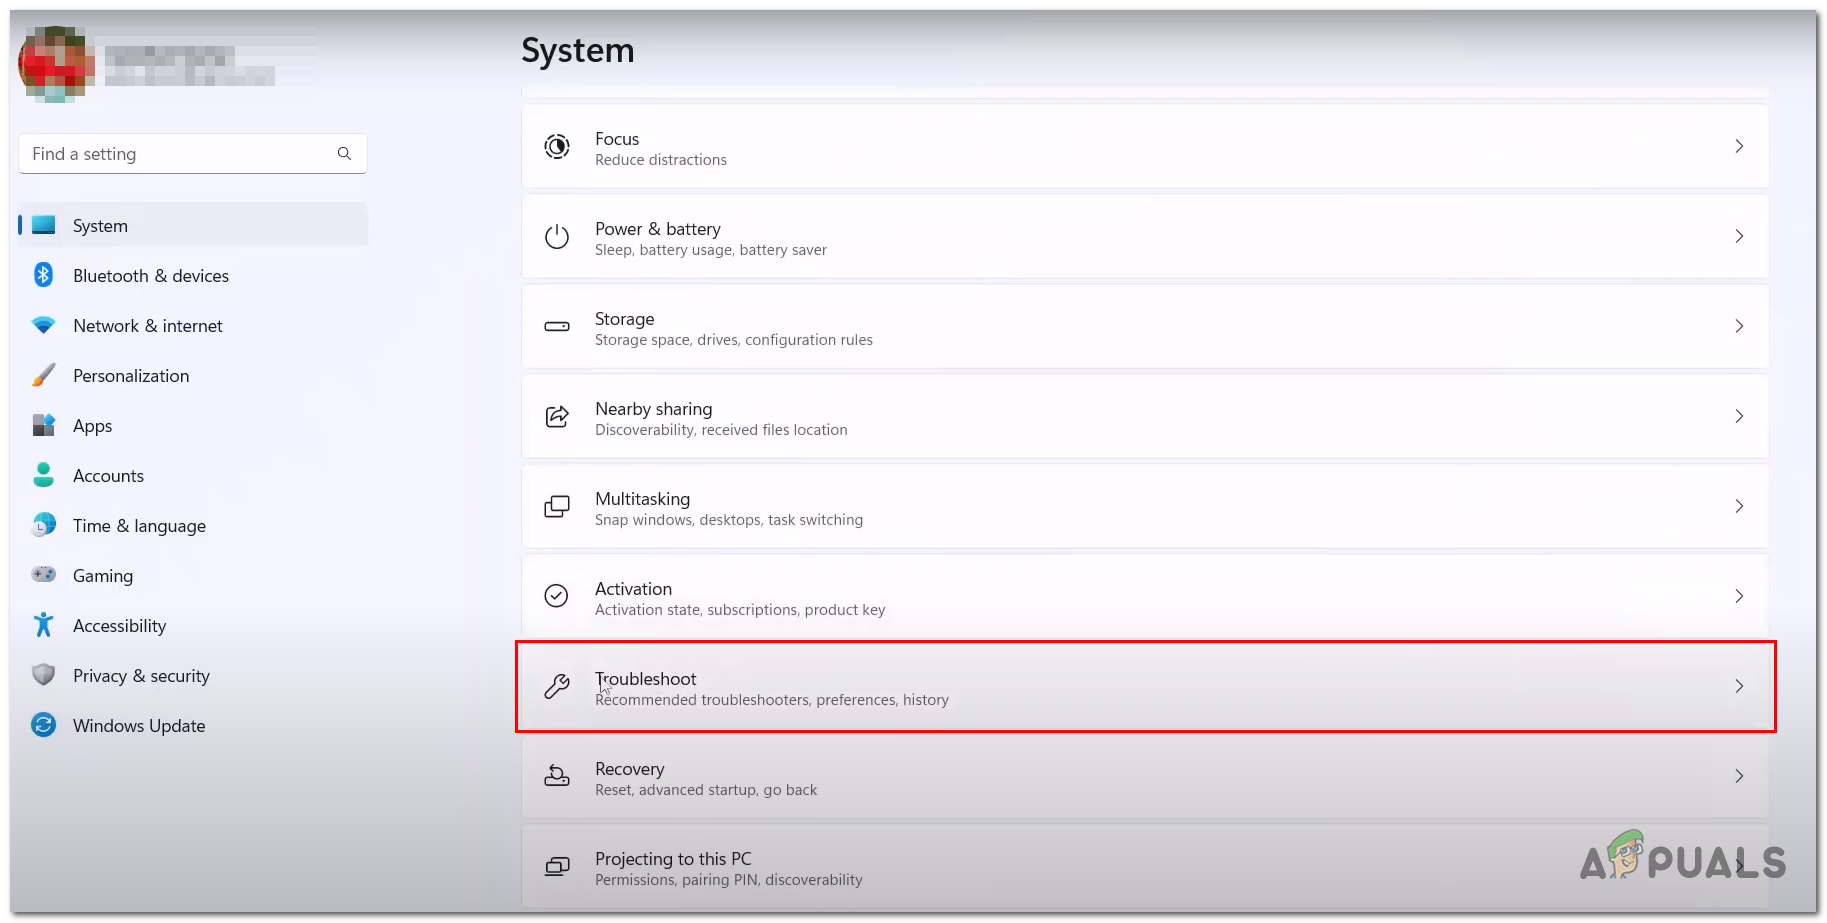
- Click on System situated on the left side of your screen. Scroll down, and Click on Troubleshoot.
Opening troubleshoot options inside of the system settings - After that, Click on the Other troubleshooter box.
- Scroll down; click on the Run button beside the Network Adapter text, as shown in the image below.

Running the windows network troubleshooter. - Wait for a while until it finishes diagnosing any problems.
Once the troubleshooter has done troubleshooting, try launching the game.
8. Reconfigure connectivity settings
In this method, we’ll be reconfiguring/resetting the connectivity settings to default. Due to some issues, your settings may have been configured falsely, which might interfere with the smooth working of the game. Follow these straightforward steps to do so:
- Open the Run dialog box by pressing the Windows + R keys simultaneously.
- Type ‘CMD‘ to open the command prompt.
- Paste the following commands inside the command prompt to reset the connectivity settings.
1) ipconfig /flushdns
2) ipconfig /release
3) ipconfig /renew
4) netsh winsock reset
5) netsh int ip reset
6) netsh interface ipv4 reset
7) netsh interface ipv6 reset
8) netsh interface tcp reset
- Once you have successfully run all of the commands, Restart your computer.
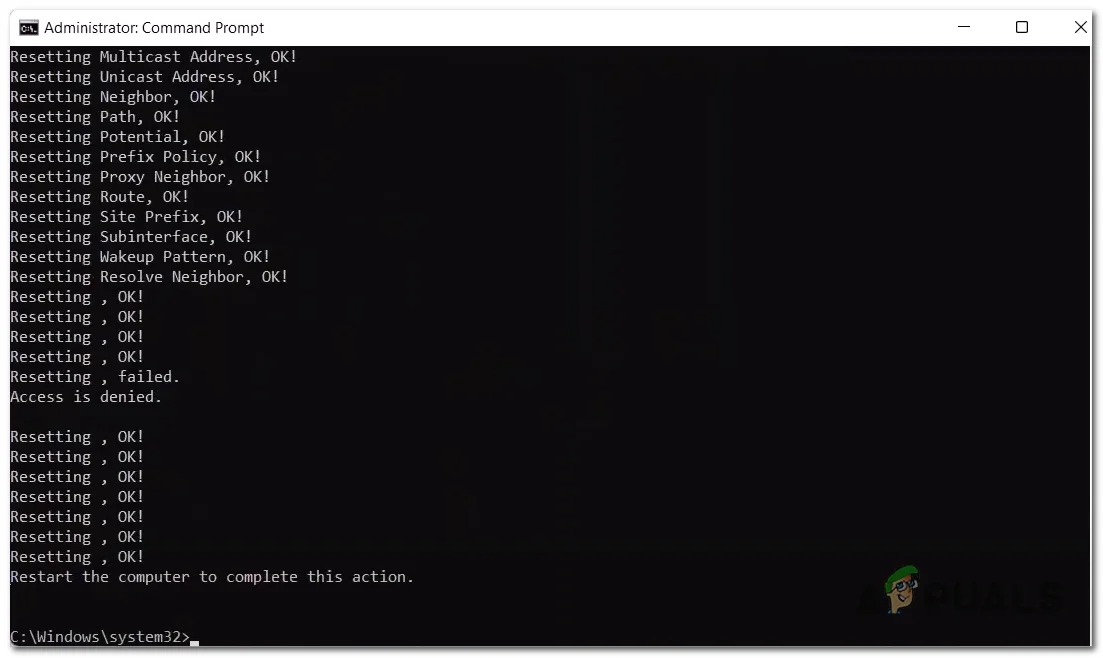
Reconfiguring the connectivity settings via cmd prompt
9. Perform Network Reset
Like the previous step, Windows has a built-in utility tool that automatically helps you reset network configurations. This will essentially reset the network configuration to factory settings. If you’re using WiFi, make sure you have the password to your internet connection. Follow these steps to reset the network:
- Open Settings by clicking on the settings icon inside the Windows start menu.
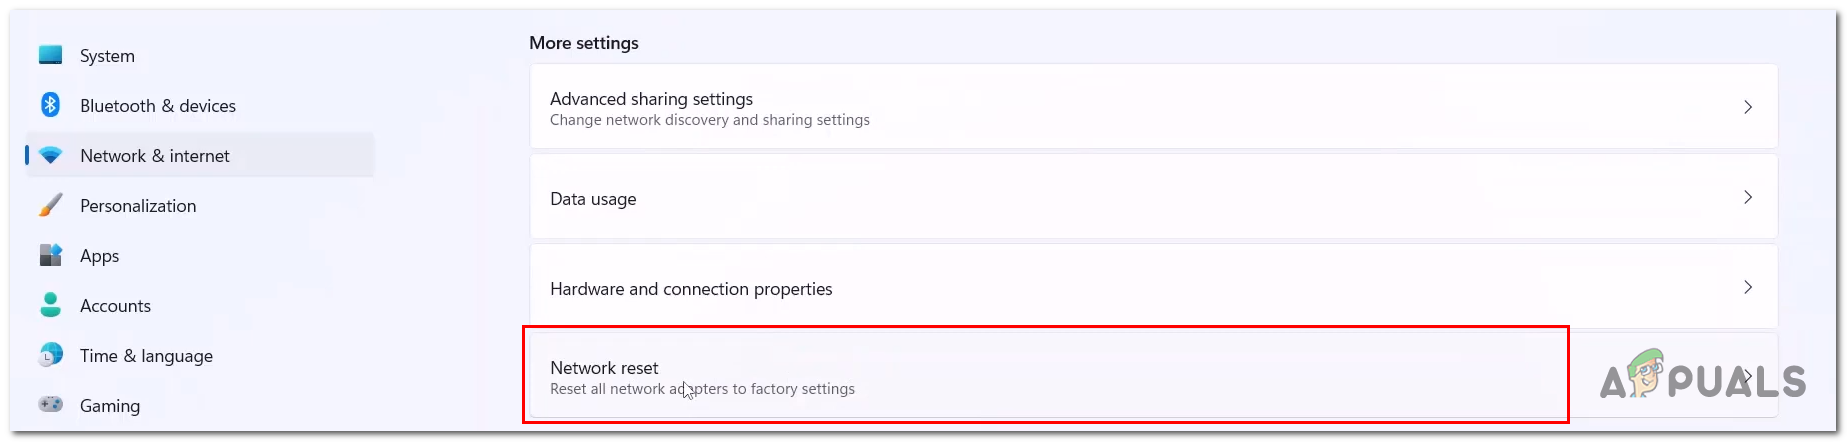
- Click on Network and Internet in the menu on the left side of your screen.
- Click on Network Reset.
Performing network reset from the network and reset settings - In the new window, Click on the Reset now button.

Performing network reset - Wait for a while; Your computer will restart after some time.
Once your computer has restarted, Try launching the game.
10. Scan and repair game files
Even though connectivity issues aren’t usually related to corrupt game files, it is advised to repair and scan games just to be sure. The Blizzard launcher comes built-in with a feature that allows users to scan and repair game files. Follow these steps to repair the Overwatch 2 game files:
- Open the Blizzard launcher.
- Open Overwatch 2 home page.
- Click on the Settings icon beside the play option, as shown in the image below.
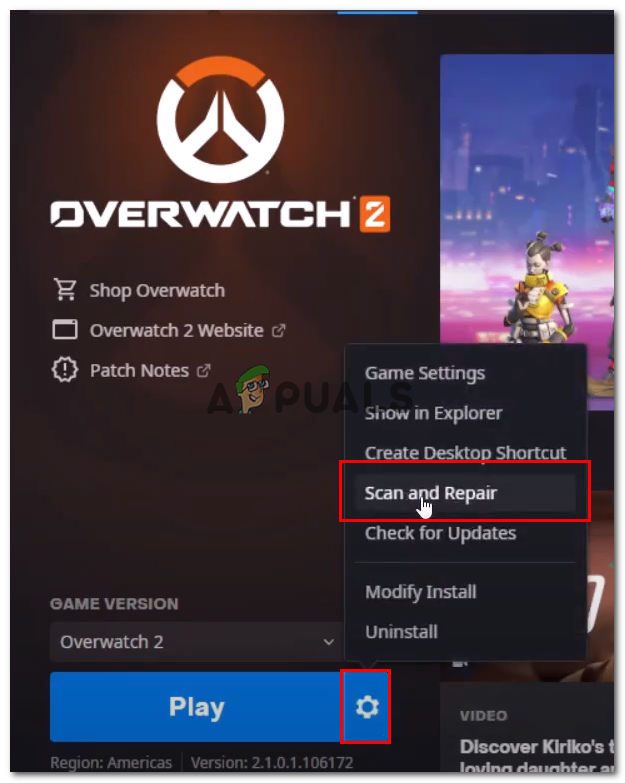
Scanning and repairing the overwatch game files via the built-in feature from the launcher - Once done, try launching the game.
12. Use an Ethernet connection.
Suppose you’re using WiFi to provide internet to your computer. Switching to an ethernet connection is highly advised as it is considerably more reliable and can provide a relatively faster connection. Users with ethernet connections tend to face fewer issues. Also, users will typically experience better latency on an ethernet connection.


