Origin Won’t Update? Try these fixes
Origin is a distribution platform that is used to play video games by a lot of people. Updating Origin is a pretty straightforward process, however, in some cases, the application does not simply update which can cause several issues. Origin not updating does not sound like a serious issue, however, to your surprise, it is because if your Origin client is not upto date, you won’t be able to play any games on Origin that you have installed on your PC and are present in your library. Thus, if you are not able to update your client, you won’t be able to spend your time playing video games either and that’s not something you would want with an application like Origin.

As it turns out, there are plenty of ways you can fix this as multiple users have faced this issue and were able to come up with or were provided a workaround. The issue in question is often caused by Origin cache which might be damaged or in some cases, the installation files might get corrupted in which case you will have to reinstall Origin. To understand this better, let us first have a look at the possible causes of the issue in more detail before we move onto the different solutions that will help you resolve the problem.
- Origin Services — As it turns out, the problem can sometimes be caused by the services that are responsible for running the Origin client. In such a case, you will have to disable them through the Windows Services app. That way, they will be forced to start again when you launch Origin and the problem should go away.
- Origin Installation Files — Another reason why you might be experiencing the issue in question is because of Origin installation files. If this is applicable, you will have to reinstall Origin on your system to resolve the issue.
- Cache Files — Finally, in some cases, the cache files of the Origin client can also be the root cause of the issue that you are dealing with. Deleting the cache files would be the way to go, in such a scenario. Once you do that, you will be able to update Origin without any issues.
Now that we have gone through the potential causes of the issue, we are going to list down the various workarounds that will help you in resolving the problem in question. So, without further ado, let us get started.
Clear Origin Cache Files
As it turns out, the first thing that you should do when you face the mentioned problem is to clear your cache files. Cache is basically temporary files that are stored on your system that helps applications in making the experience faster for you and more. However, in some cases, these files can get corrupted or damaged in which case you will have to delete them. Since these files are temporary anyway, it is completely fine to delete them as they will be generated automatically upon the next launch and you won’t lose any settings. To do this, follow the instructions given down below:
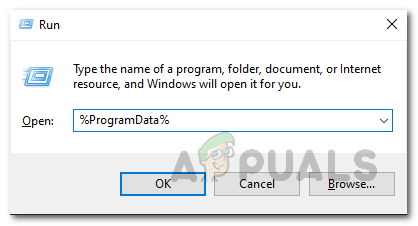
- First of all, open up the Run dialog box by pressing the Windows key + R keys.
- Once it is open, type in %ProgramData% and hit the Enter key.
Opening Program Data Folder - This will take you to the Program Data folder. Here, from the list of folders, locate Origin and open it up.
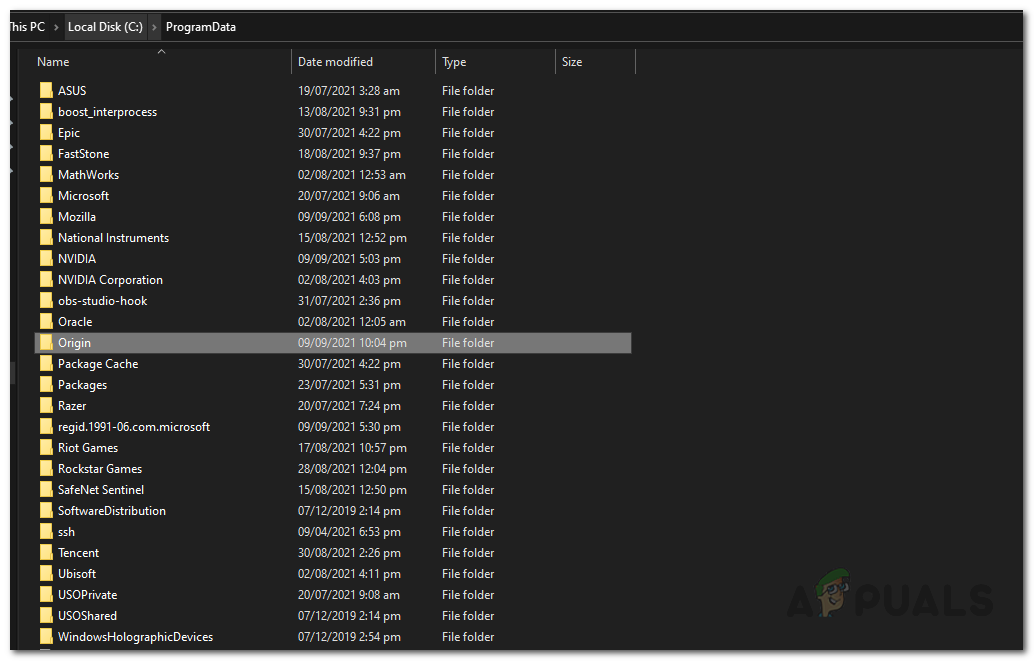
Opening up Origin Folder - Inside the Origin folder, delete all the files and folders except LocalContent. Do not delete the LocalContent folder.
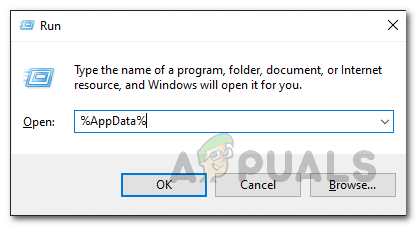
- Once you have done that, open up the Run dialog box again as shown above.
- Then, inside the Run dialog box, type in %AppData% and hit Enter.
Opening AppData Folder - This shall take you to the Roaming folder inside AppData directory. There, locate the Origin folder from the list of folders and then delete it.
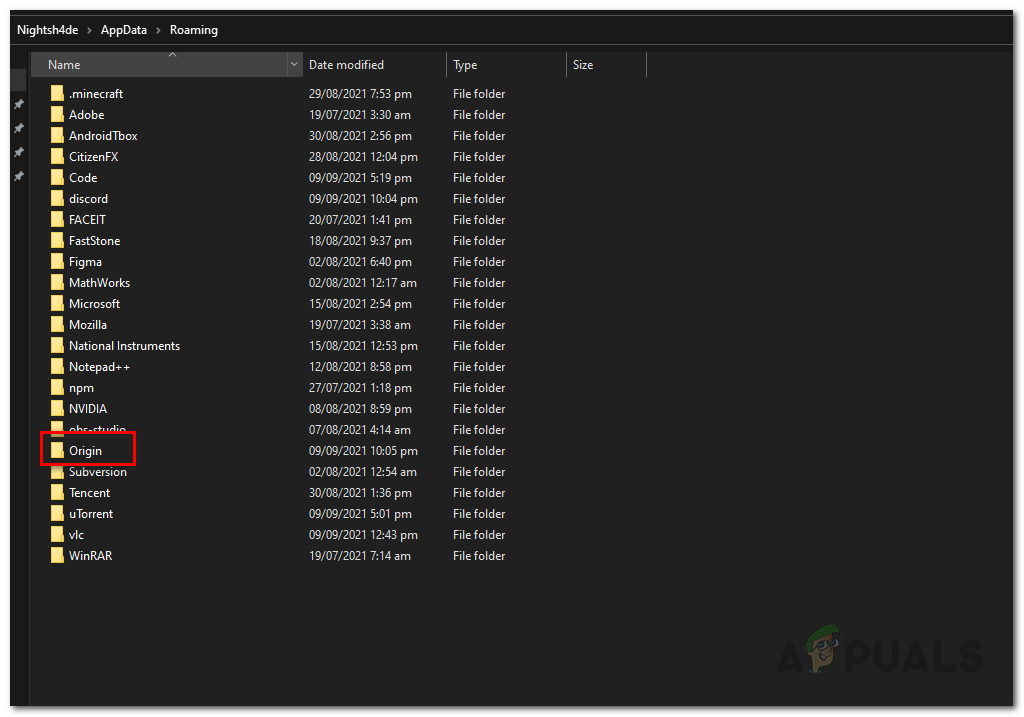
Deleting Origin Folder in Roaming Folder - After that, click on AppData in the address bar and open up the Local folder.

Changing to AppData Directory - Inside the Local folder, look for the Origin folder again and delete it from there as well.
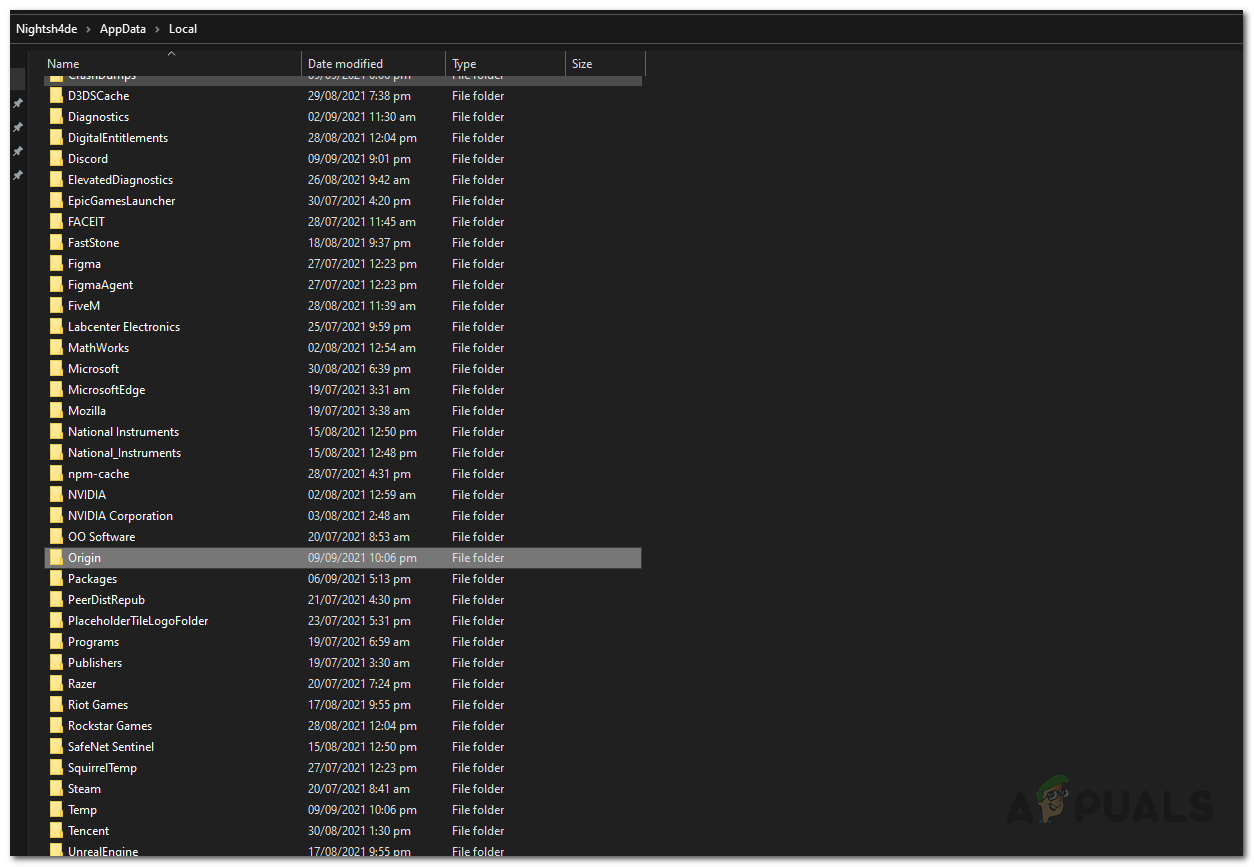
Deleting Origin Folder in Local - Once you have done that, go ahead and restart your PC.
- After your system boots up, open up the Origin client and log in.
- See if the issue is still there.
Stop Origin Client Service on Startup
Another thing that might work for you is disabling the Origin Client Service so that it does not startup when your computer boots up. This will be done through the System Configuration utility that lets you control, among other things like how to clean boot, the services that run on startup. This has been reported by other users who were facing an issue and this helped them resolve it. With that said, follow the below instructions to do disable the Origin Client Service on startup:
- First of all, open up the Start Menu and search for msconfig. You should System Configuration under Best match, open it up.
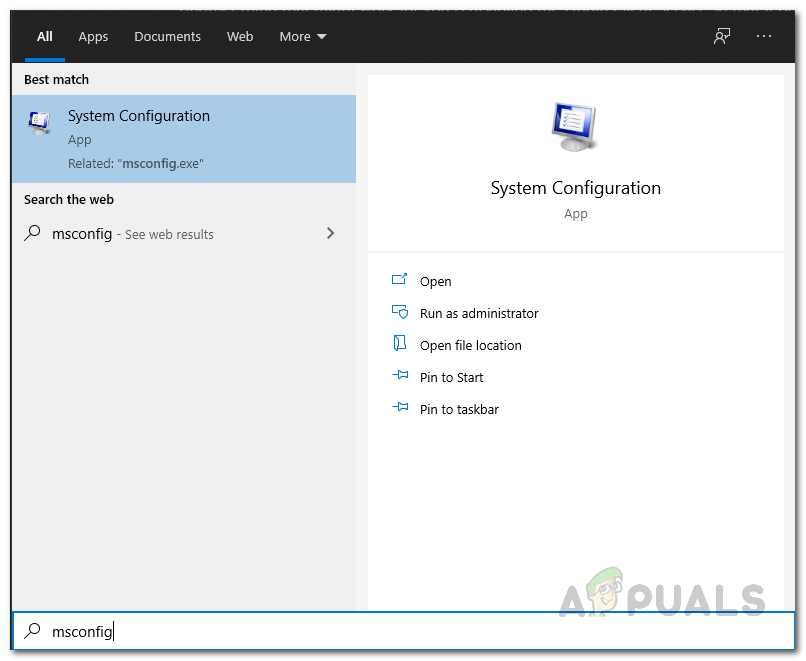
Opening System Configuration Utility - Once the System Configuration window is up, switch to the Services tab.
- There, click the Hide all Microsoft services checkbox.
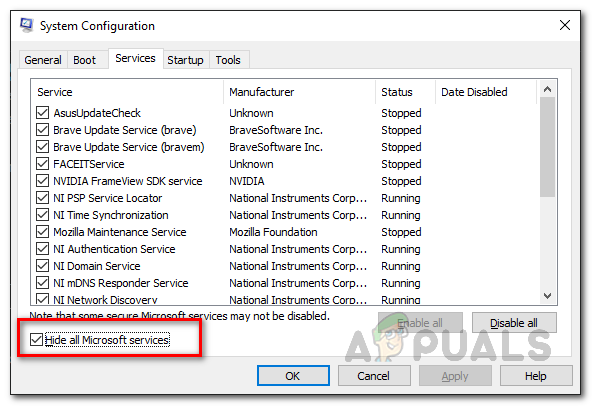
Hiding all Microsoft Services - Once you have done that, look for the Origin Client Service from the list of the services and once found, uncheck it.
- Finally, click Apply and then hit OK.
- After you have done that, go ahead and reboot your system.
- Once your PC boots up, open up Origin and see if the problem persists.
Disable Origin Services
As it turns out, the services running in the background are basically what ensures the functionality of the Origin app. If one of them stops working properly or becomes unresponsive, the Origin client won’t be able to function properly and you will face issues which could be the case here. In such a scenario, you will have to disable the services and then try opening the Origin client which will force them to start up again. To do this, follow the instructions given down below:
- First of all, make sure Origin is closed. Then, open up the Run dialog box by pressing Windows key + R combination.
- Then, in the Run dialog box, type in services.msc and hit Enter. This shall open up the Windows Services window.
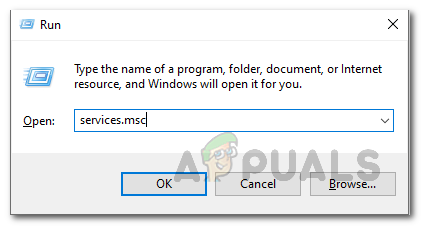
Opening Windows Services - Alternatively, you can also just search for services in the Start Menu and then open it up from there.
- In the Services window, look for Origin Client Service and Origin Web Helper Service.
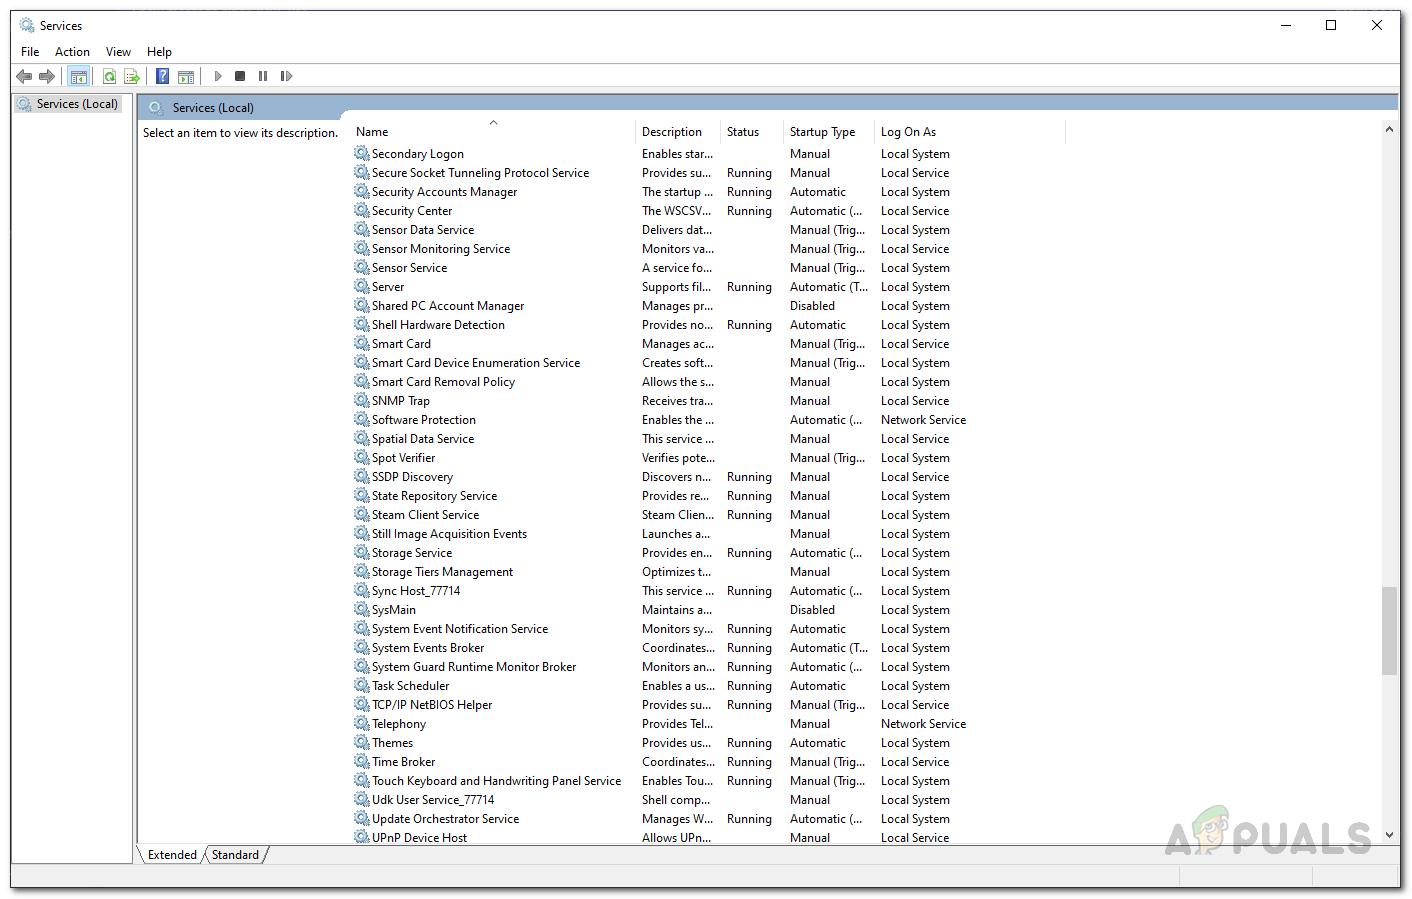
Windows Services - Once you have located them, double-click on each service one by one and then set the Startup type to Disabled.
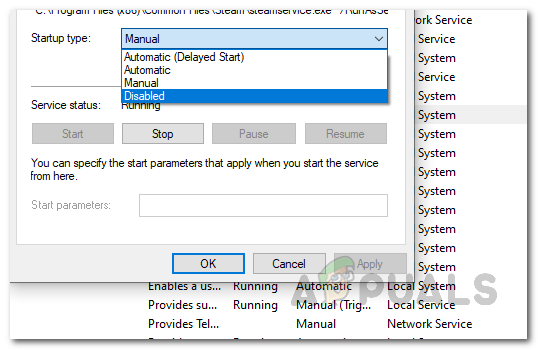
Changing Service Startup Type - After doing that, click Apply and hit OK. Do this for the other service as well.
- Once done, go ahead and launch the Origin client and see if the problem is still there. In case it is, then the issue is probably with the installation files so move down to the next method.
Uninstall and Reinstall Origin
Finally, if none of the above solutions worked out for you, then, it is probably because your Origin installation files are corrupted and damaged. If this scenario is applicable, you will have to uninstall Origin from your system and then reinstall by downloading the installer from the Origin website. To uninstall Origin from your system, follow the instructions given down below:
- First of all, open up the Control Panel by searching for it in the Start Menu.
- Once you have done that, click on the Uninstall a program option under Programs on the Control Panel window.
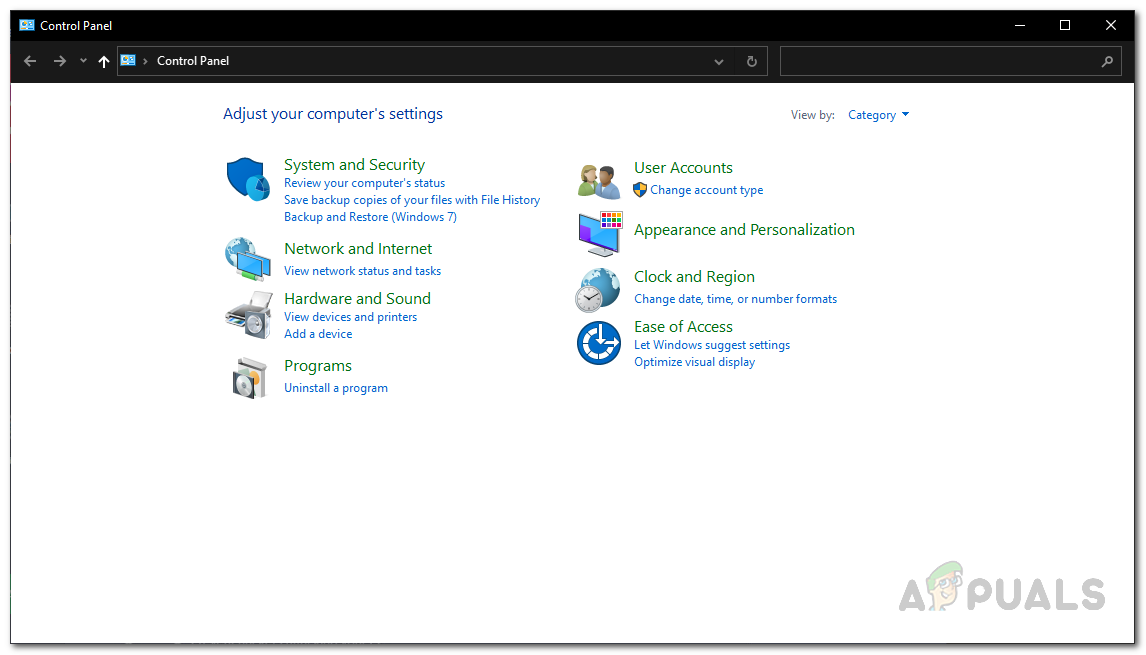
Control Panel - Then, from the list of programs shown, look for Origin and double-click on it to uninstall the client.
- In some cases, you may not be able to uninstall the client as well. In such a scenario, make your way to where Origin is installed, which by default is C:\Program Files (x86)\Origin.

Origin Default Installation Path - There, open up the OriginUninstall.exe file to uninstall Origin.
- After you have successfully uninstalled Origin, go ahead and download the installer from the website.
- Then, right-click on the downloaded installer and choose the Run as an administrator option from the drop-down menu.
- Follow the on-screen prompts to finish the installation of the Origin client. Once done, see if you still face the issue.


