How to Fix Operating System Did Not Shutdown Cleanly Stuck?
The operating system did not shut down cleanly error message appeared every time while booting the Windows PC. The error is commonly seen in the Intel Optane system. The error presents itself with a short message:
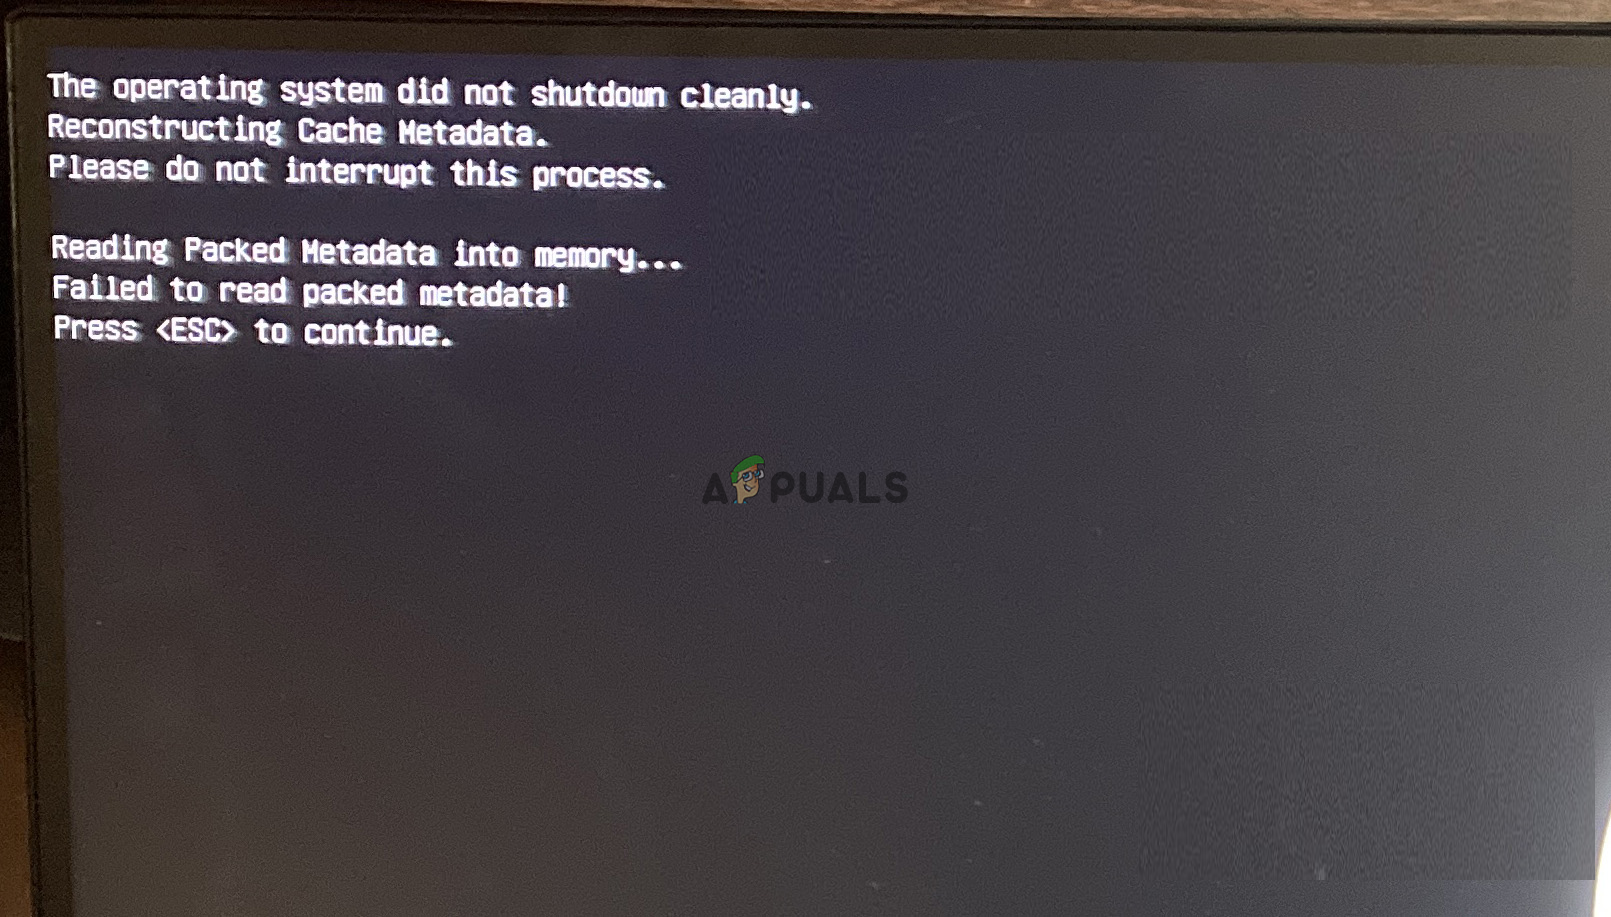
But as per the users, when they press the ESC key, they see another message stating Abnormal Status Reported by Rapid Storage Technologies UTFI driver. Post that, the process repeats. Therefore, we have done our research and found the problem points to the Intel Optane memory, and when the laptop doesn’t support this, the error message appears on the screen. So, here are the potential fixes that worked for several users to solve the error.
1. Disable the Intel Optane Memory
The Intel Optane Memory is a technology built by Intel for fast recovery of files without lagging, quickly launching the program and much more. And this supports PCIe or SATA drives. But there are cases when the laptops cannot support the Intel Optane Memory and cause problems. In this case, disabling the Intel Optane Memory may work to solve the issue. So, it is recommended to try it and check if it helps you solve the issue.
1.1 Intel Rapid Storage Application
If you have the Intel Rapid Storage applications follow the steps given, or else follow the BIOS one:
- Click on the Windows button on your keyboard and search for Intel Rapid Storage in the search bar.
- Now launch the Intel Rapid Storage application and click on the Intel Optane Memory tab.
- Then click on the disable option and press Yes to confirm your command.
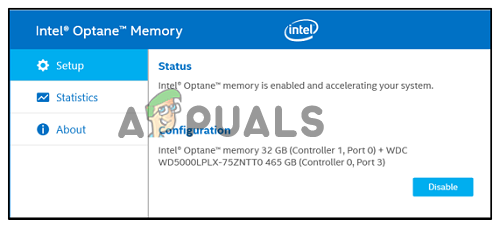
Click on the Intel Optane Memory tab to disable - Now restart your device and check if the issue is resolved or not.
1.2 BIOS
- Restart your computer and click on the F12 button or hold shift when the manufacturer’s logo appears to get into the boot menu.
- Now click on the Devices tab then click on the ATA drive setup option.
- Then click on the Intel Rapid Storage Technology option.
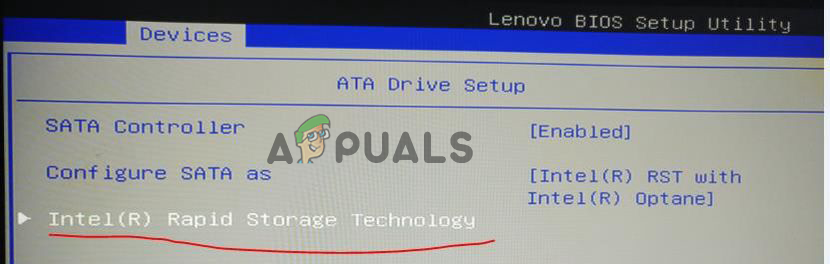
Click on the Intel Rapid Storage Technology - And click on the Deconcatenate option to disable it.
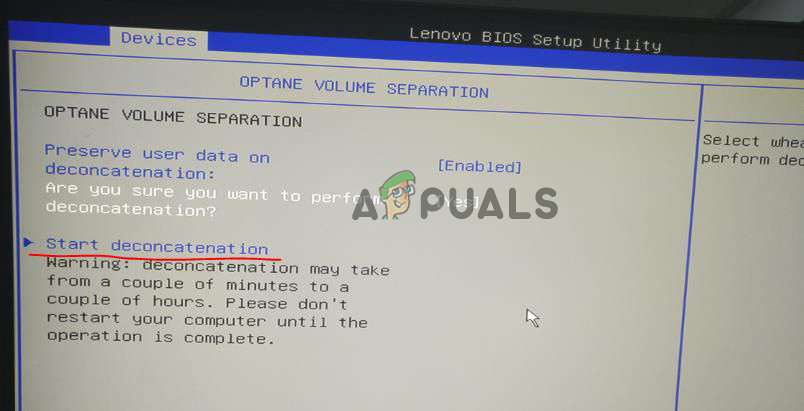
Click on the Deconcatenate option - You will be prompted to click on Yes to perform the deconcatenation.
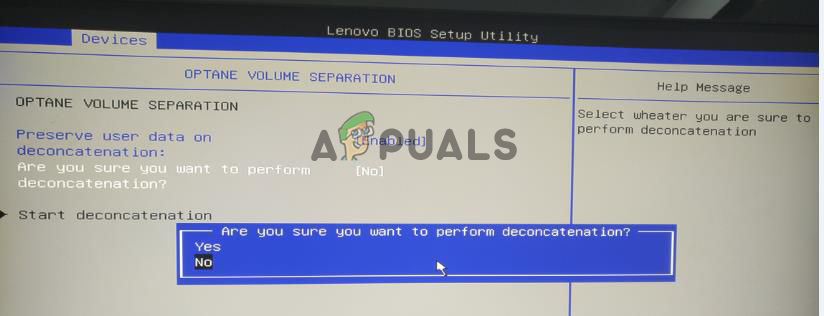
Click on yes to perform disable the intel Optane memory - Wait for the process to finish.
- Now save the change and exit the BIOS menu.
Relaunch your computer and check Operating System Did Not Shutdown Cleanly Stuck problem is resolved or else head to the next solution.
2. Restore UEFI Firmware Settings
Many users reported restoring the UEFI Firmware Settings worked for them to solve the error and problems caused by it. This will reset the entire firmware settings and set it to default. Try the steps given to do and fix the error.
- Press Windows + I to hop into the Windows Settings.
- Now click on the Windows update option available on the left side.
- Then click on the Recovery option and then click on the Restart Now option.

Click on Restart Now option under Recovery - Now your computer will boot up to a blue troubleshooting screen with many options.
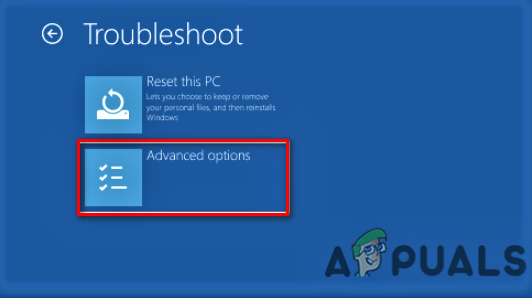
- Then click on the Troubleshoot option and then click on the Advanced Options.
- Now click on the UEFI Firmware Settings and click on the Restart button.
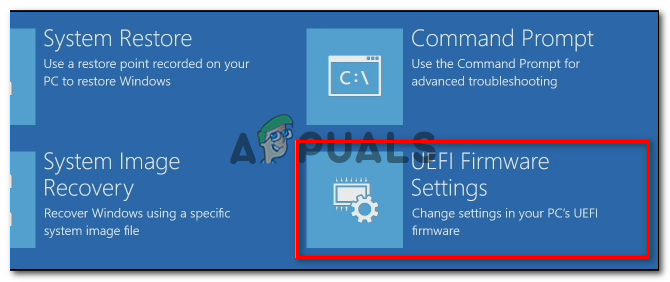
Access the UEFI firmware settings - Then press F9 on the BIOS screen to Load Default Options.
- Now click on Restore Settings to restore the settings to default.
Restart your computer to let the changes take effect and check if the error is resolved or not.
3. Perform Startup Repair
As it is a booting issue, you can always use Windows troubleshooters to diagnose and fix the issues. In this case, the Windows Startup Repair option may help you to fix the error.
To run Windows startup repair, follow the steps given:
- Press Windows + I to open the Windows Settings.
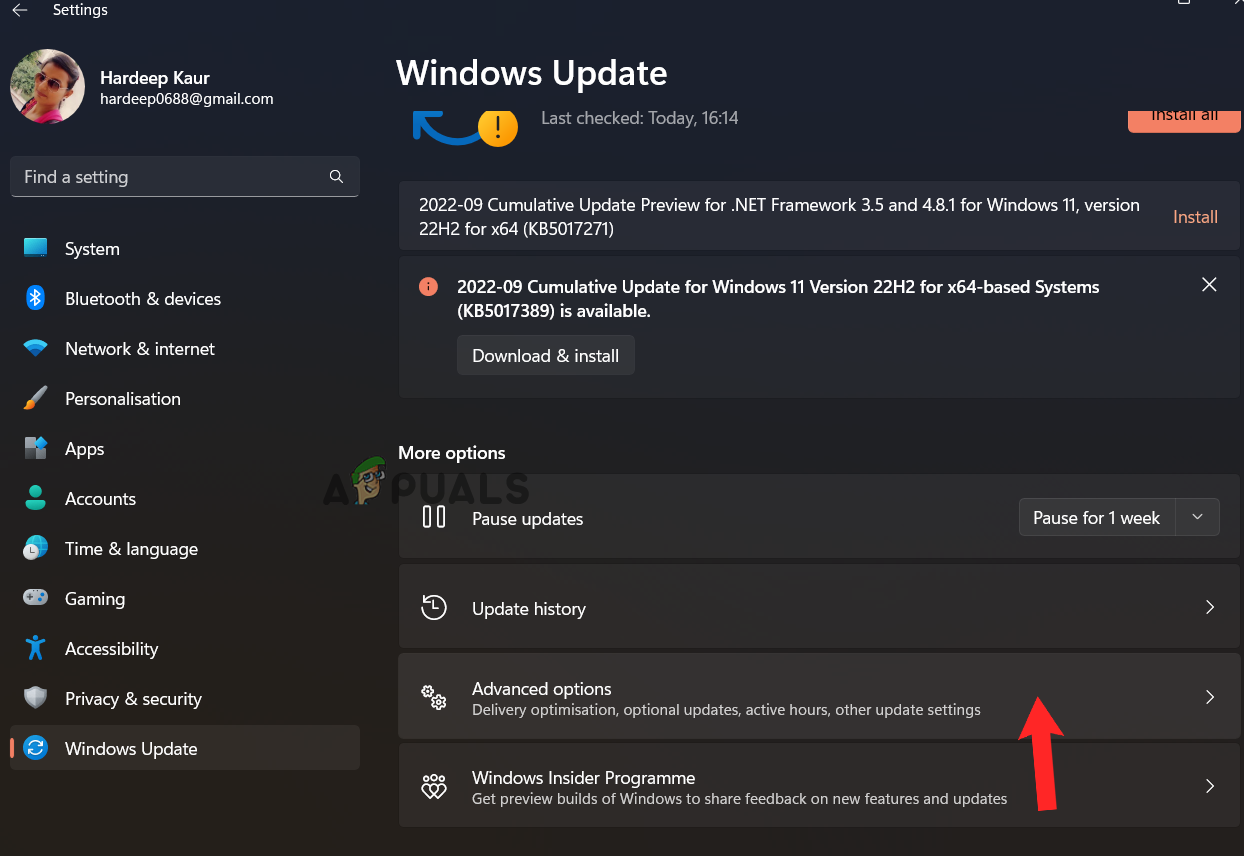
- Now click on the Windows Update option and click Advanced Options
Click on Advanced Option - Then click on the Recovery option and then click on the Restart Now
Click on Restart Now option under Recovery - Now your computer will boot up to a blue troubleshooting screen with many options.
- Then click on the Troubleshoot option and click on the Advanced options.
- Now click on the Startup Repair option, and Windows will restart and try to diagnose and fix the issue.
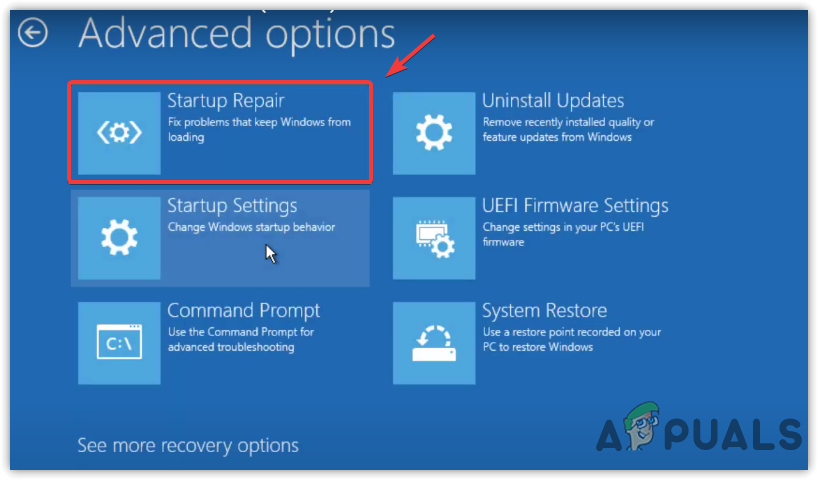
Running Startup Repair - Once the process is done, check if the error is fixed or not.
4. Run Hardware Diagnostic
If the above solutions don’t work for you, then the error can also be linked to any hardware issue. So, in this case, it is recommended to run the hardware diagnostics and check if there is any hardware issue or the culprit hardware components in your device. To run the hardware diagnostics, follow the steps:
- Press the Windows + R to open the Run dialogue box.
- Now type mdsched.exe and press Ok.
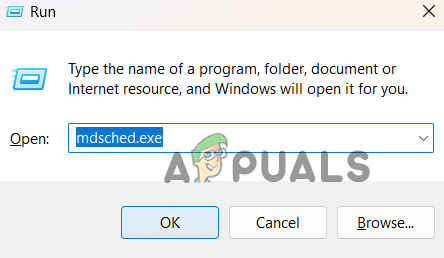
Type mdsched.exe in the Run box - Then a prompt will come up stating Restart now & check for Problems
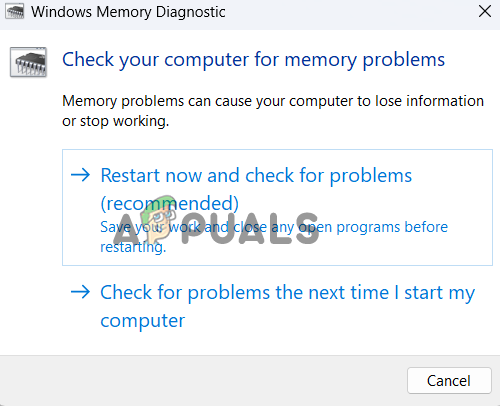
Click on Restart now & check for Problems - Click on it to restart your computer, and Windows will start diagnosing your computer for any hardware issue.
Once the scanning process is completed, you will be informed about the flaws on your screen. If you are a technical person, replace the corrupted or faulty hardware. You can also consult a technician to get the job done and fix the problem.
5. Perform System Restore
If none of the above fixes worked for you, we recommend you perform the System Restore to the point when you were not facing the error. This will restore your PC to the earlier states and may work for you to solve the error.
To perform the Windows System Restore, follow the steps given:
- Click on the Start icon and search for Control Panel in the search bar.
- Now launch the Control Panel from the list of results.
- And click on View By and choose Small Icon
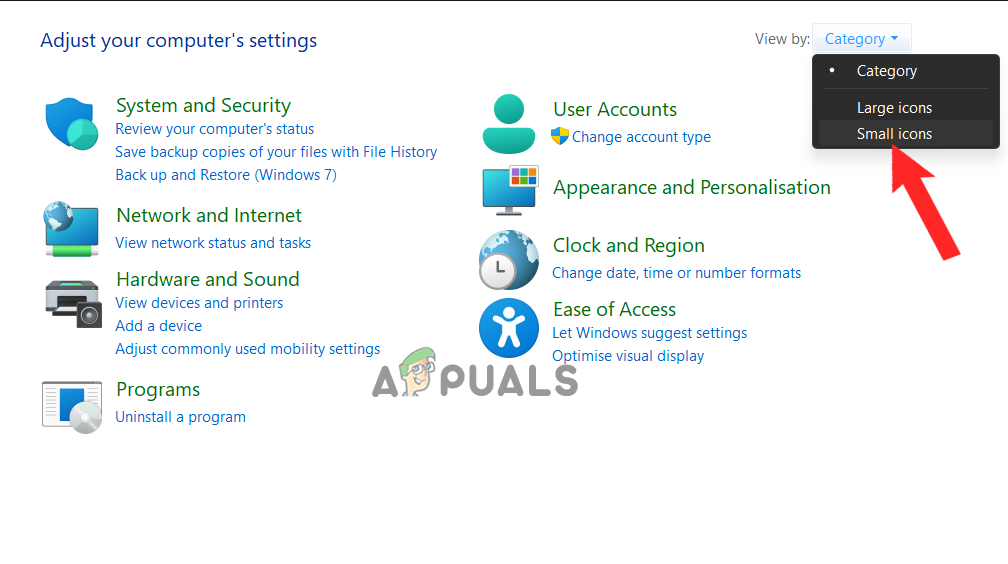
Click on View By and choose Small Icon in Control Panel - Now search for the Recovery option and click on the Open System Restore
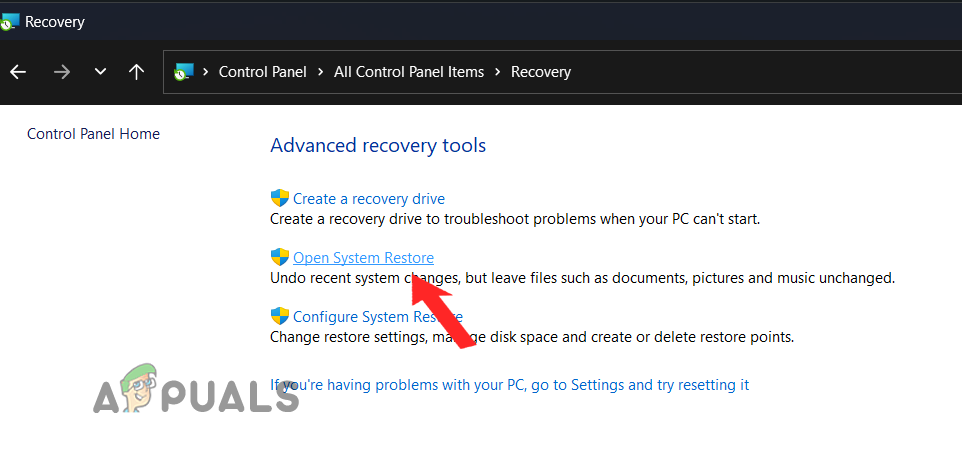
Click on Open System Restore - Choose the restore point earlier to the error to restore your device.
- Wait for the process to complete.
This will take some time to complete the restoration process. Once the restoration process is finished, restart your system and check if the error is fixed.
6. Reset PC
If you are still seeing the error, then the last option we recommend is resetting the PC. This will reinstall the Windows OS without deleting personal files like photos, videos, music, etc. But this deletes the apps and the drivers you installed, and the changes were done to the settings. To reset your PC, follow the steps mentioned below:
- Press Windows + I to open the Windows settings.
- Now search for Reset this PC in the search bar.
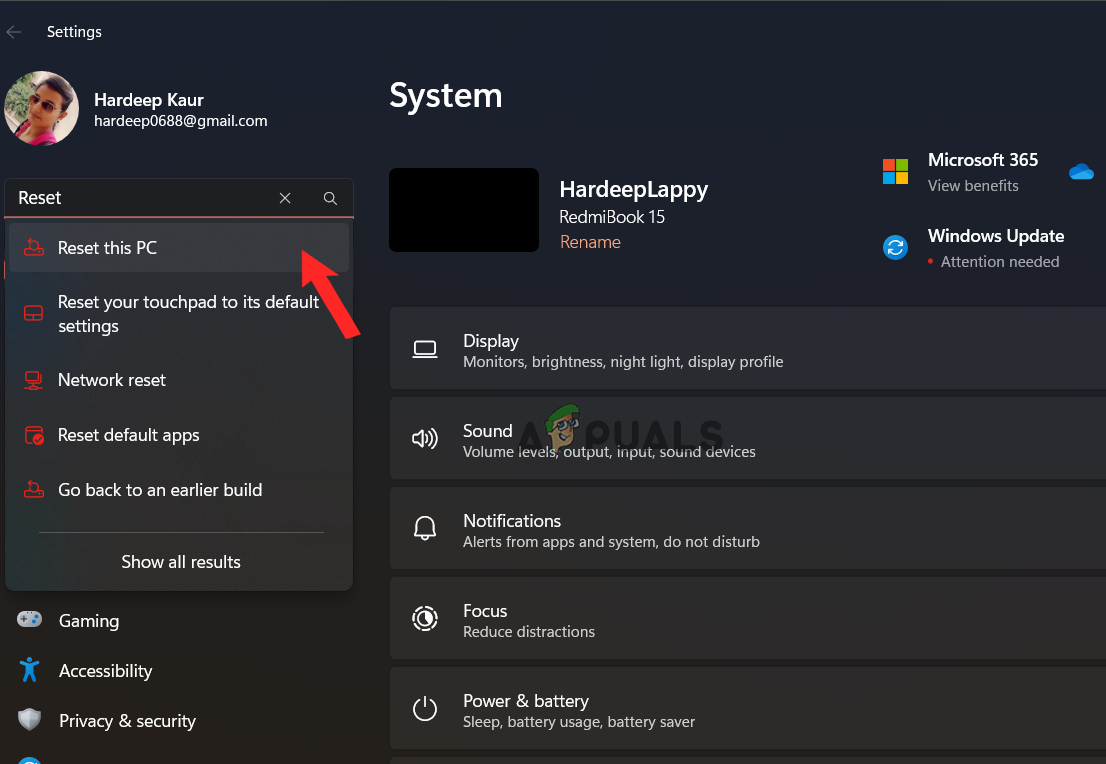
Search for Reset This PC - Then click on the Reset this PC button to start the process.
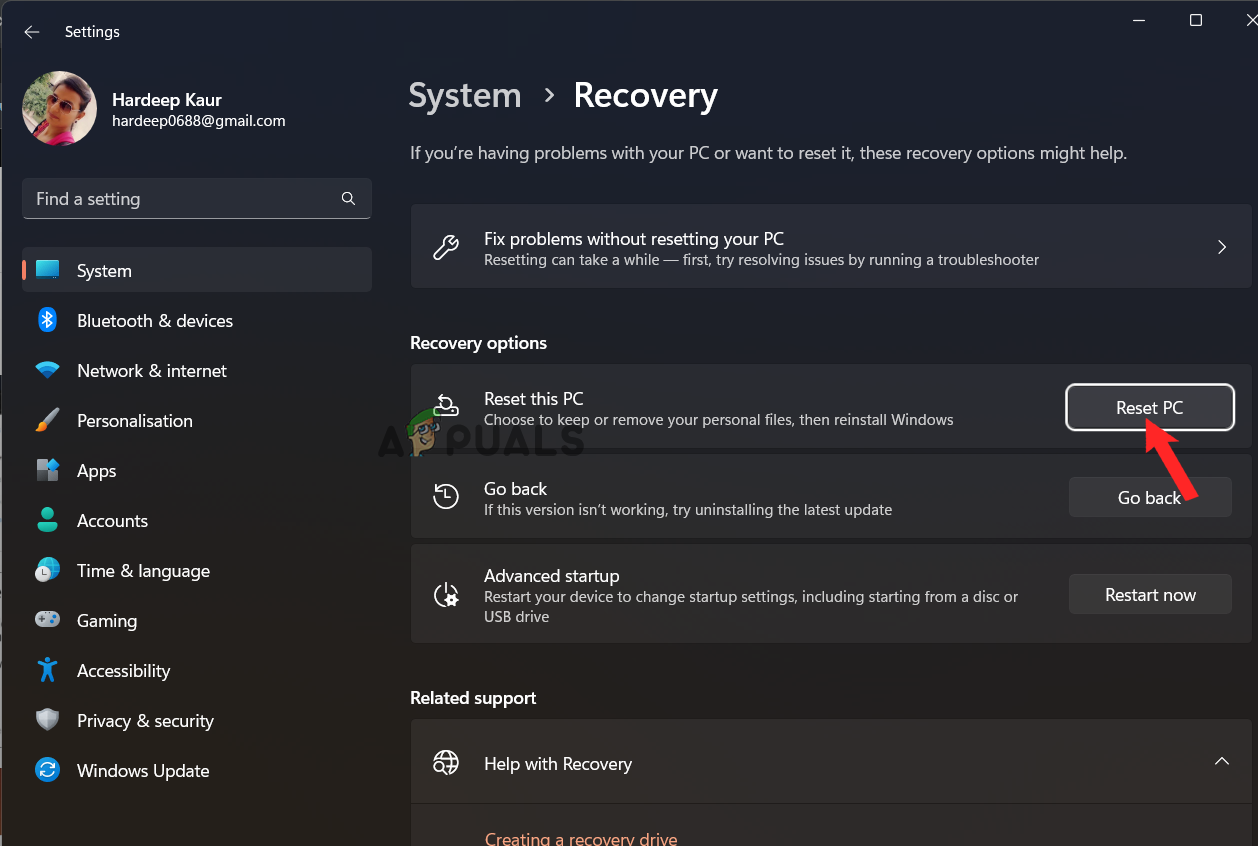
Click on the Reset PC option - Now choose your preferences and complete the process.
- Once the process is done, restart your PC.
Check whether the operating system did not shut down cleanly stuck error is fixed. It is estimated the solutions given in the article work for you to solve the error.


