Fix: Oops, there was a Problem with Dictation in Office
Many people like to use the dictate feature available in Microsoft Office. This feature is available for Microsoft Outlook, PowerPoint, and Word. Sometimes, the dictate feature picks up some bugs and you may get the “Oops there was a Problem with Dictation in Office” error. However, the main causes range from issues with the microphone to issues with some corrupt files within the Office itself.

This problem is usually software related as compared to hardware problems of the microphone. The first thing that you should check is whether any rogue mute option is selected. Once you are absolutely sure that the microphone is working properly, should you move forward with the mentioned solutions.
Method 1: Running Speech Troubleshooter
The first thing to do in issues like these is to rule out hardware failure. Running the built-in speech troubleshooter will tell you if there is a problem with your microphone or with its configuration settings. If there is, it will automatically attempt at fixing the problem and notify you accordingly.
- Ensure that your microphone is plugged in properly and press Windows key + I. This will open the Settings.
- Now, click on Update and Security and then Troubleshoot.

Settings App 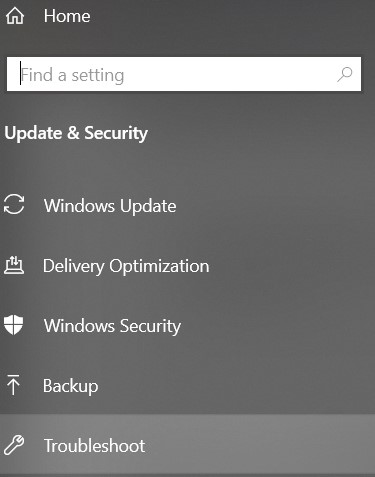
Troubleshoot - Scroll down till you find Speech.
- Click and run ‘Run the troubleshooter’.
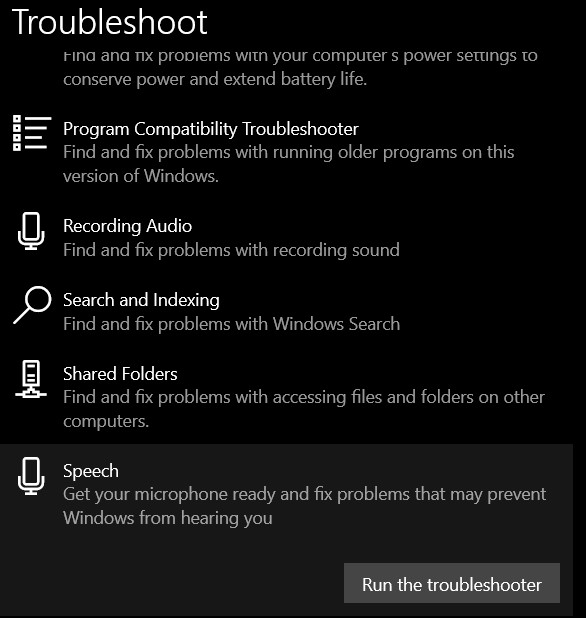
Speech troubleshooter
Method 2: Refreshing Office Credentials
Microsoft Office keeps your account credentials stored in the application. These credentials are sometimes required by Office if you use the Dictation feature. We came across numerous instances where corrupt or bad credentials were causing problems with the Dictation module. Here, we can refresh/remove the credentials and see if this works.
- In Word, go to File and then Account. Now, click Sign Out.
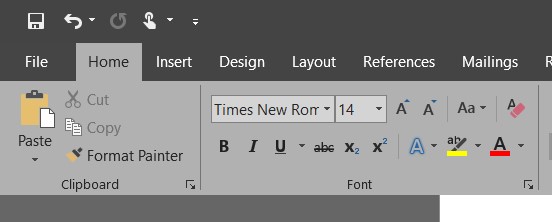
Click on File - Close all Office Applications.
- Open the Control Panel by clicking your Start Button->Type Control and hit Enter.
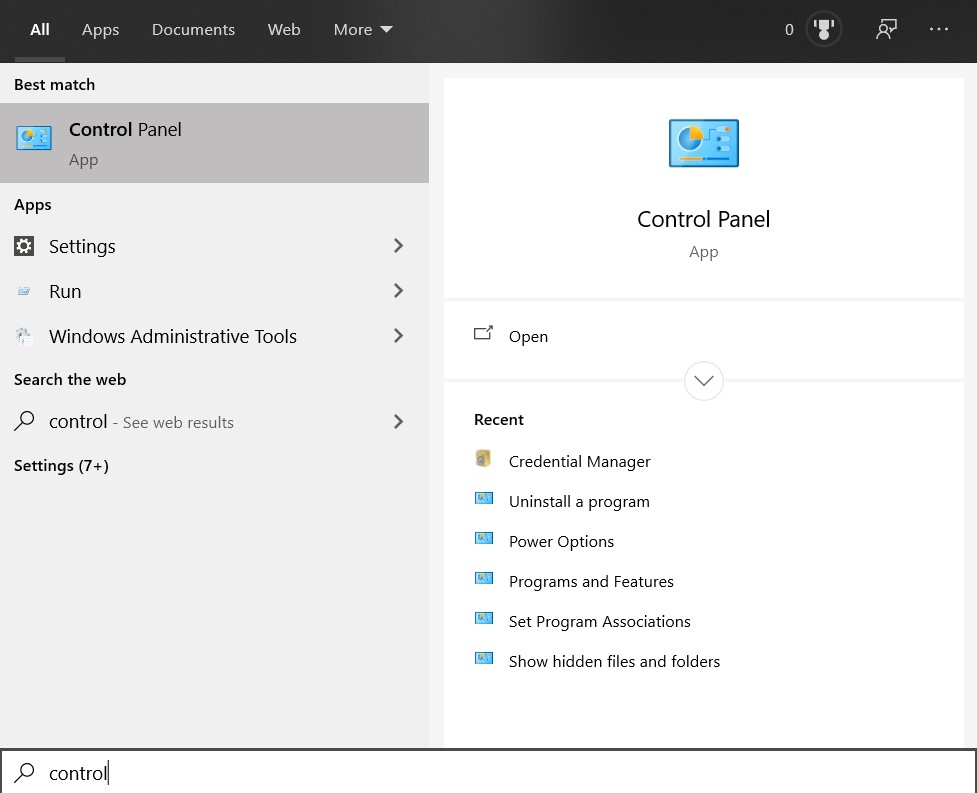
Open Control Panel - Go to Control Panel -> User Accounts -> Credential Manager -> Windows Credentials.
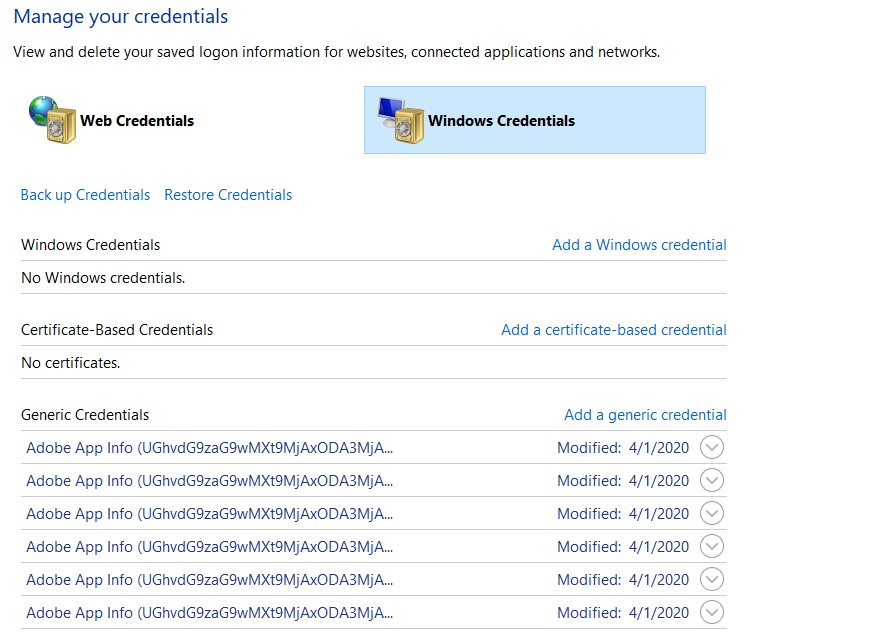
Windows Credentials - Remove all Office 365 credentials that look like MicrosoftOfficeXXData .
- Restart your computer, open Word, and sign back into your Office 365 account. Now try using Dictation and see if the issue is resolved.
Method 3: Save and Restart Document
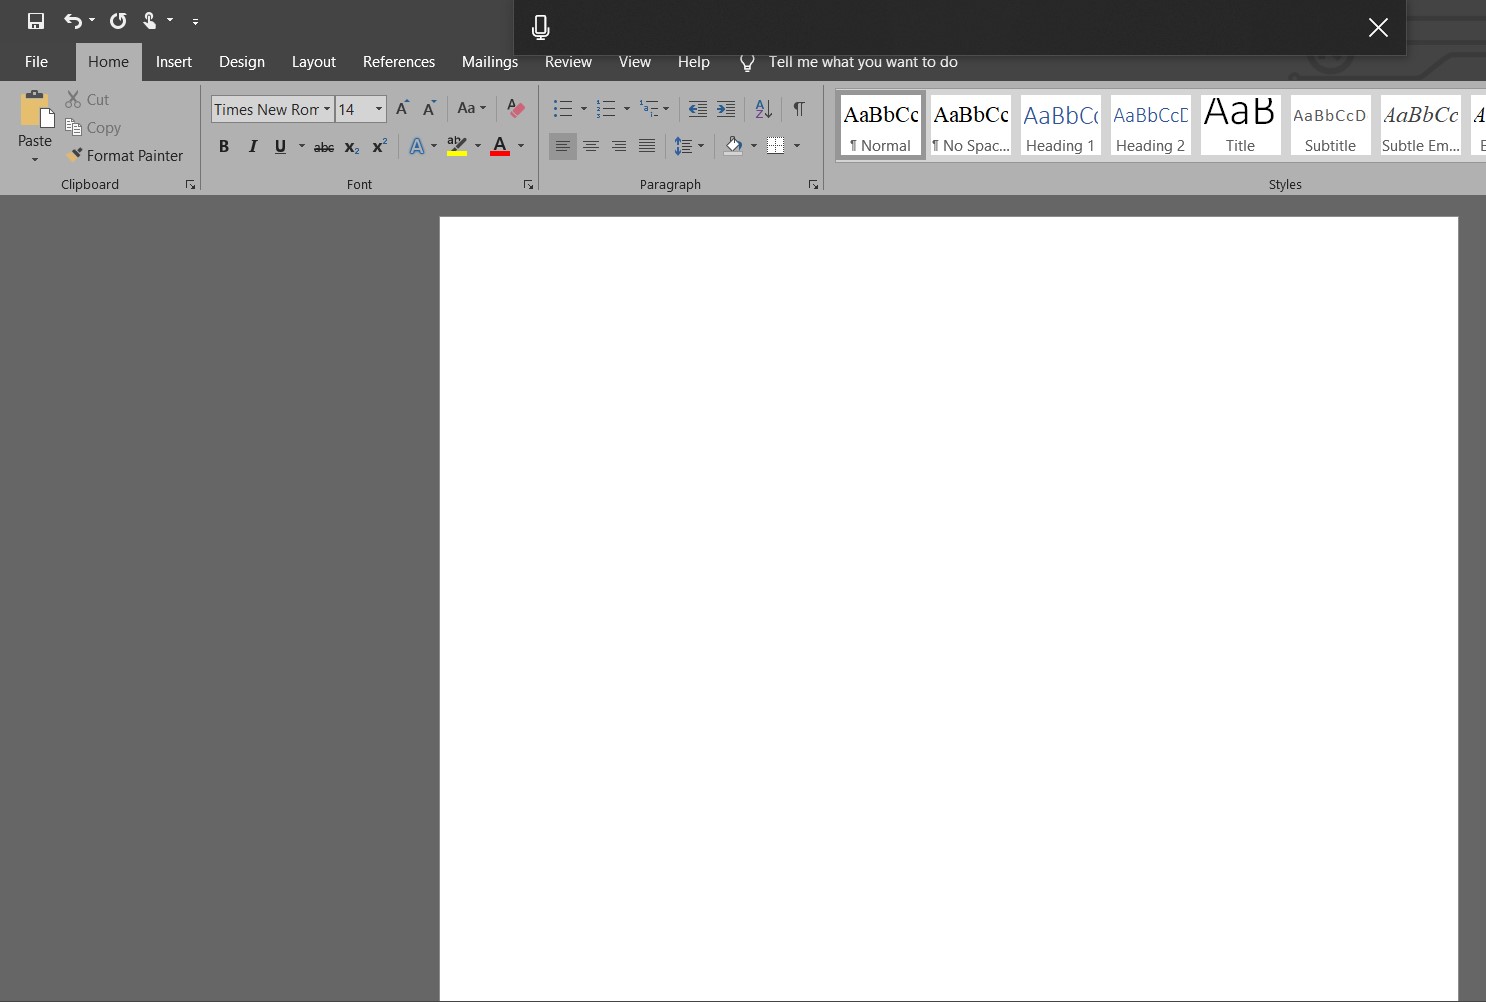
There was a bug in the dictate feature in older versions of Word in which if you didn’t say ‘Stop Dictation‘ and pressed backspace for editing, the dictation did not work again. A quick workaround to fix the issue is to re-open the Word document again and start dictating from there
- Save your work and close your Word file.
- Now open the Word file again and after a few seconds, press Ctrl + H to enable Dictation again. See if the issue is resolved.
Method 4: Using Legacy Dictation
Legacy dictation is Microsoft Window’s own speech-to-text feature. If dictation is causing issues in your document, then you can use this feature. Do note that this might not contain all the features of Dictation but will still work nonetheless. You might also need to train this module from scratch but it is an easy job.
- First, check that your regional and speech language is selected. Click the Start button, then the gear-shaped icon and from Settings, click Time and Language.
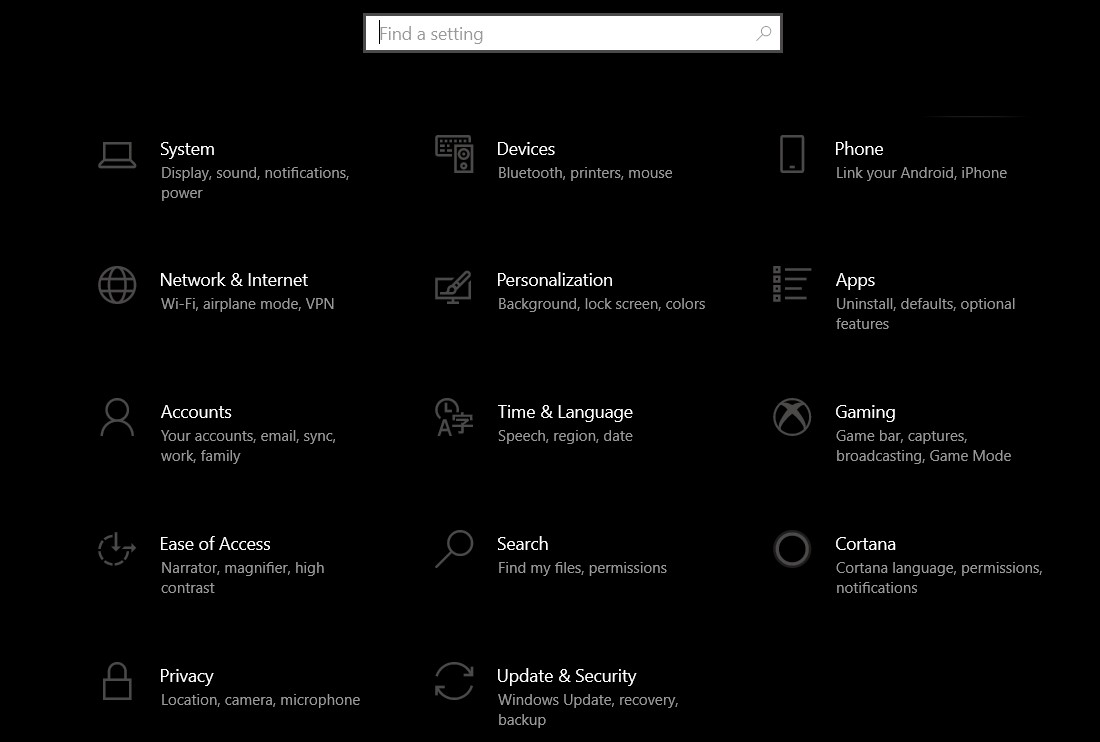
Time and Language - Then go to Region & Language. Check if your preferred language is selected.
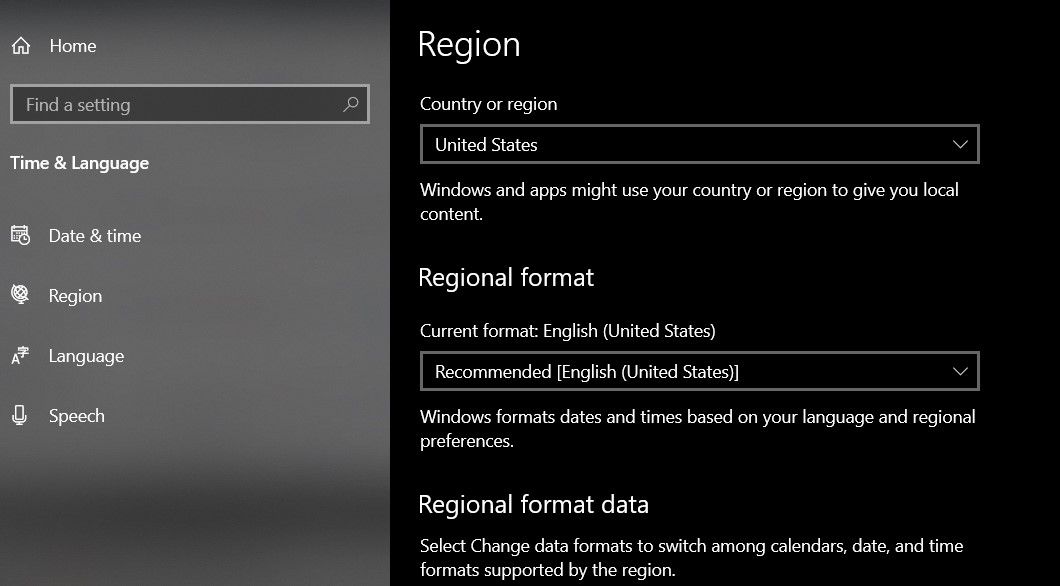
Regional Language - Check in Speech that your preferred language is selected.
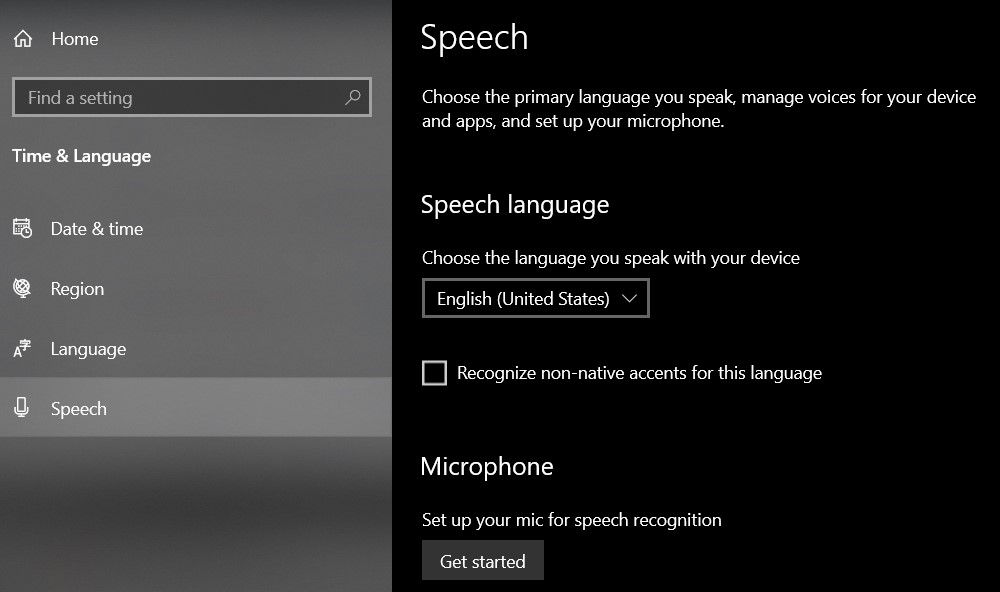
Speech-to-Text Language - To access Windows Speech-to-Text simply press Windows key +H.
Microsoft Speech-to-Text - This should open a dictation box at the top of the screen and will ask for you to select the area where you want to write if you haven’t already selected it.
Method 5: Changing ‘EnableADAL’ Registry Key
If none of the above solutions seem to work primarily because of login issues in Office, we can try to fix the problem by removing the key of EnableADAL from the Registry Editor. After this, we will sign out from Office and try to login again. Do note that any changes made other than the one mentioned may affect your computer. It is also wise to do a backup of the registry before proceeding.
- Go to the registry editor. Press Windows key + R.
- Type regedit.exe in the Run box and press Enter.
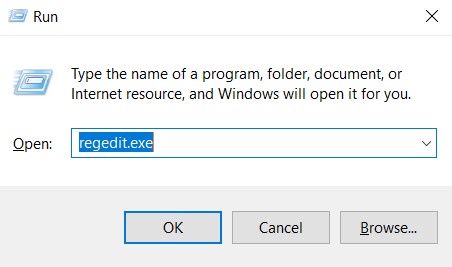
regedit.exe - Go to HKEY_CURRENT_USER and then Software.
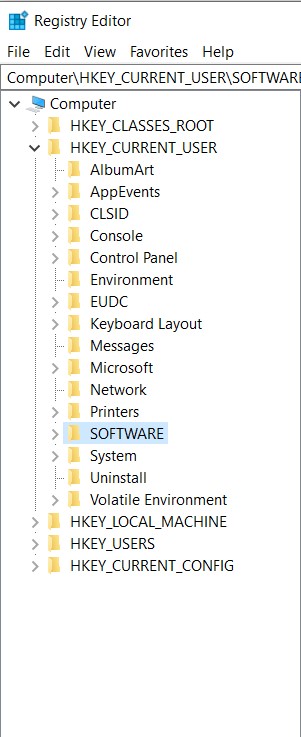
Expand Software - Now, expand Microsoft ->Office -> 16.0 ->Common -> Identity.

Look for the value in Identity - Inside “Identity”, a REG_DWORD value called “EnableADAL” value at 0.
- Delete this entry.
- Sign out of Office and then Sign in.
If none of the above solutions work, you can consider reinstalling Office from scratch. This will fetch fresh files from the servers and if the issue was because of installation files, it will be solved.


