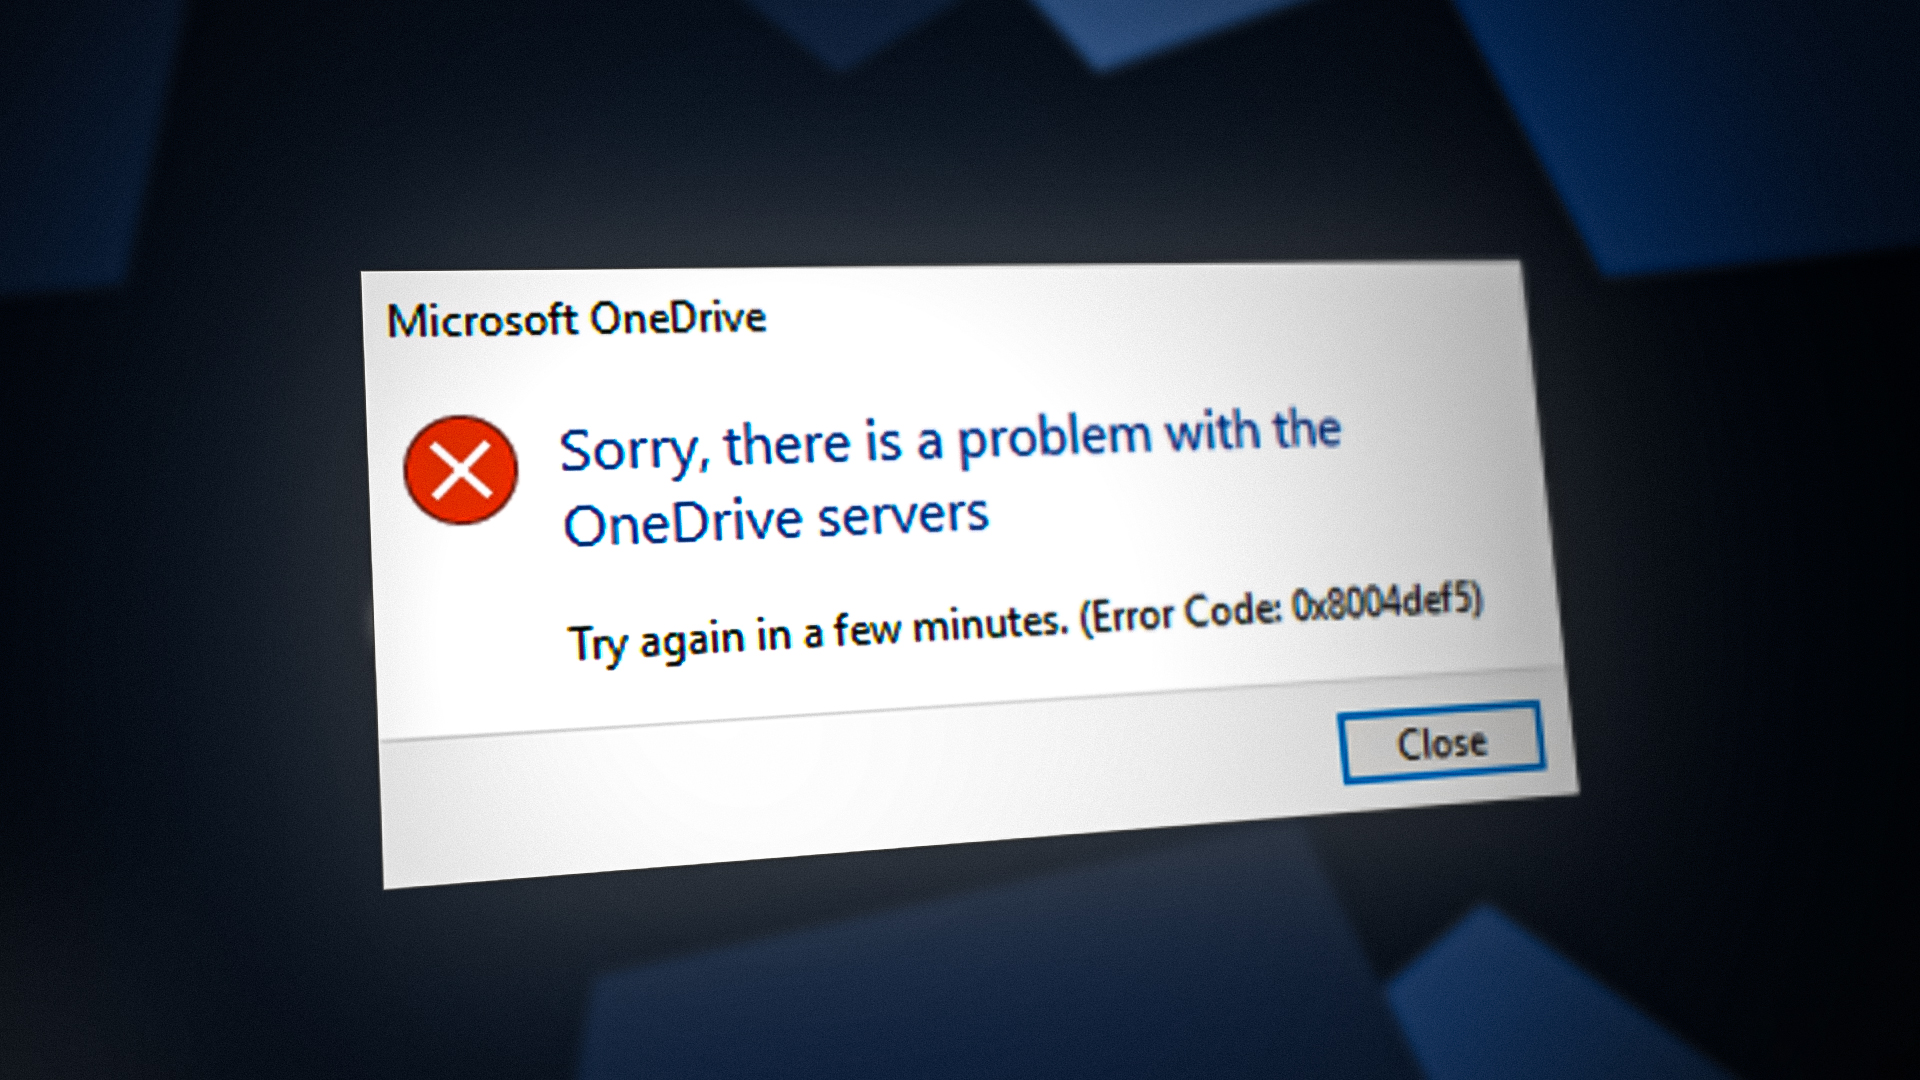
How to Fix OneDrive Error “there is a problem with servers”
After installing OneDrive to your system, an error occurs where OneDrive fails to synchronize. This is why you are experiencing sign-in issues with no error message indicating the problem. This error occurs because OneDrive has been disabled from the system. This prevents the system from recognizing OneDrive; thus, it fails to sync and you face sign-in issues.
In this guide, we will be showing you the methods to fix OneDrive not working on Windows:
1. Check the Servers
Before you perform another method, you must verify that your OneDrive servers are active. Most of the time, it is not the fault of your system as the server is down for a brief period of time. Therefore, you must first check the servers in your region with the instructions listed below:
- Open the Down Detector Website.
- Click on the problems you are facing with OneDrive under “I have a problem with OneDrive.”

Reporting problems with OneDrive - Check the most reported problems sections.
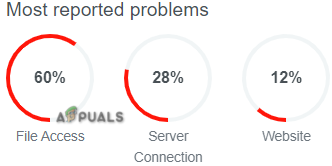
Total reported problems - Click on the “Newest” option to view the recent complaints from OneDrive users.

Confirming the Server error - When the majority of the comments indicate that the server is down, wait till it is active again.
2. Force Restart your OneDrive
An improper start will cause OneDrive to face temporary glitches. Therefore, you must entirely shut down your OneDrive and restart it before performing other methods. This will start the OneDrive properly and prevent it from facing any temporary faults.
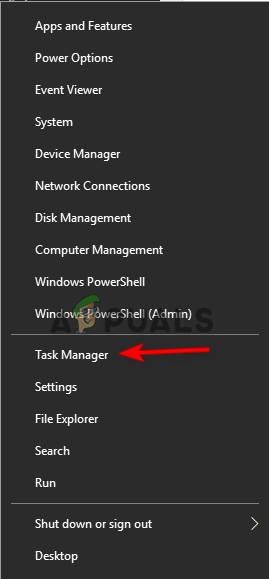
- Right-click on the Windows Start button and select the “Task Manager” option.
Opening the Task Manager - On the process tab, click on the OneDrive running in the background.
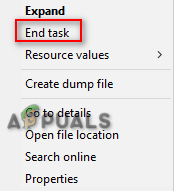
- Close the OneDrive application by right-clicking on it and selecting the “End Task” option.
Ending the Task - Now, open the Windows Start Menu by pressing the Win key.
- Restart your computer by clicking on the Power option and selecting “Restart”
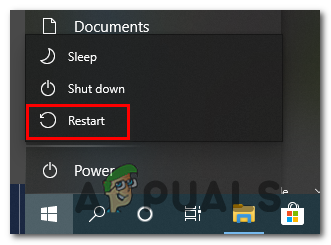
Restarting the Windows computer
3. Perform a OneDrive Reset
Resetting OneDrive will reset all of its settings without deleting your data. Performing a OneDrive reset is known to fix sync issues. Therefore, you must occasionally reset your OneDrive to fix the sync issues. With the instructions below, you can reset your OneDrive:
- Open the Run command by pressing the Win + R keys together.

Opening the Run Command - Reset the OneDrive application by copying and pasting the following command into the search box and clicking OK:
%localappdata%\Microsoft\OneDrive\onedrive.exe /reset
- If you receive a “Windows cannot find” message, then you must paste the following command into the search box and click OK:
C:\Program Files (x86)\Microsoft OneDrive\onedrive.exe /reset
- After running these commands, you will reset OneDrive and will fix the Sync issues.
Manually restart OneDrive
- Open the Windows Start Menu by pressing the Win key.
- Type “One Drive” in the search box and click on the OneDrive desktop app.
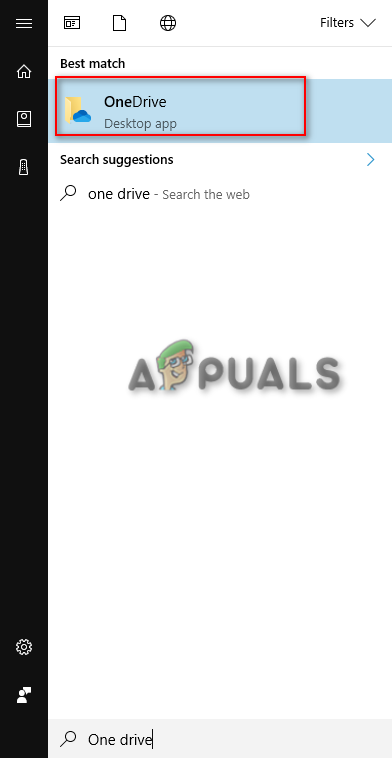
Opening the OneDrive desktop app
4. Enable OneDrive from the group policy
OneDrive fails to sync when it has been disabled from the group policy. Therefore, you must Enable OneDrive through the Group Policy Editor by disabling the”Prevent the usage of OneDrive for file storage” policy. You can perform the steps below to do so:
- Open the Run Command by pressing the Win + R keys together.
- Type “gpedit.msc” in the search box and click OK.
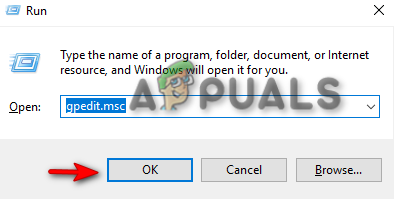
Opening the Group Policy Editor - Navigate to Local Computer Policy > Computer Configuration > Administrative Templates > Windows Components > OneDrive.
- Right-Click on the “Prevent the usage of OneDrive for file storage” policy and click on the “Edit” option.
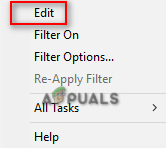
Editing the Prevent the usage of OneDrive for the file storage policy - Disable the policy by selecting the “Disable” option.
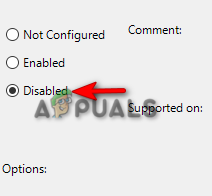
Disabling the Prevent the usage of OneDrive for the file storage policy - Lastly, you must restart your computer and relaunch the OneDrive app.
5. Enable OneDrive through the Registry Editor
Having OneDrive disabled from the Registry Editor will also lead to such issues. Therefore, make sure that it has been enabled by setting the value of DisableFileSyncNGSC from 1 to 0. Doing so will automatically enable OneDrive from the Registry Editor. You can do that with the instructions given below:
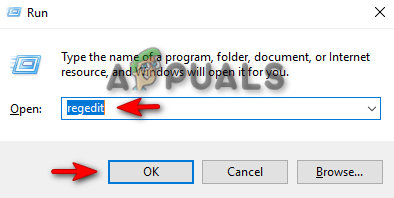
- Open the Run Command by pressing the Win + R keys together.
- Type “regedit” in the search box and click OK.
Opening the Registry Editor - Confirm the action by clicking “YES” on the User Account Control prompt.
- Copy and paste the following path into the search bar:
HKEY_LOCAL_MACHINE\Software\Policies\Microsoft\Windows\OneDrive
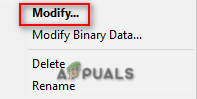
- Modify the REG-WORD by right-clicking on the “DisableFileSyncNGSC” and clicking on the “Modify” option.
Modifying DisableFileSyncNGSC - Enable OneDrive by setting the value under “Value data” to 0.
- Confirm the changes by clicking OK.
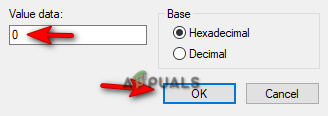
Enabling OneDrive from Registry Editor - Now, Restart your computer to make the necessary changes and relaunch OneDrive.
6. Reinstall OneDrive
If the error still persists, then you must completely reinstall the OneDrive app on your system. Reinstalling OneDrive will allow it to perform a full sync. Below are instructions for reinstalling OneDrive on your system
Uninstalling from the command prompt
- Open the Windows Start Menu by pressing the Win key.
- Type “cmd” in the Windows Search bar.
- Right-click on it and select the “Run as administrator” option.
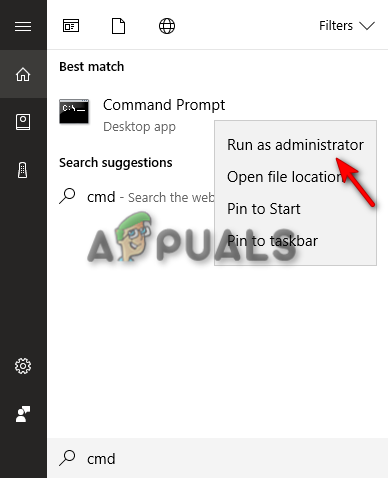
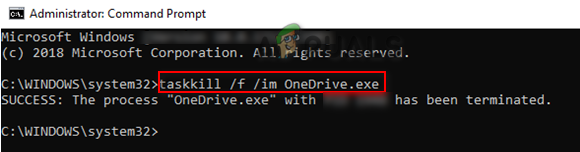
Running the Command Prompt as an administrator. - Now, close OneDrive by typing the following commands into the Command Prompt and pressing the Enter key:
taskkill /f /im OneDrive.exe
Closing OneDrive - Now, uninstall OneDrive by copying and pasting the following command into the Command Prompt and pressing the Enter key:
%Systemroot%\SysWOW64\OneDriveSetup.exe /uninstall (64-bit OS)
%Systemroot%\System32\OneDriveSetup.exe /uninstall (32-bit OS)
Uninstalling through the control panel
- After OneDrive has been closed, open the Run Command by pressing the Win + R keys together.
- Type “Control Panel” into the search box and click OK.
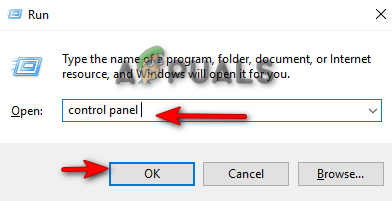
Opening the Control Panel - Click on the “Uninstall a program” option under the “Programs” category.

Opening Uninstall a program - Right-Click on the OneDrive program and select the “Uninstall” option.
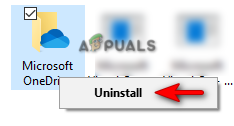
Uninstalling OneDrive
Reinstalling OneDrive
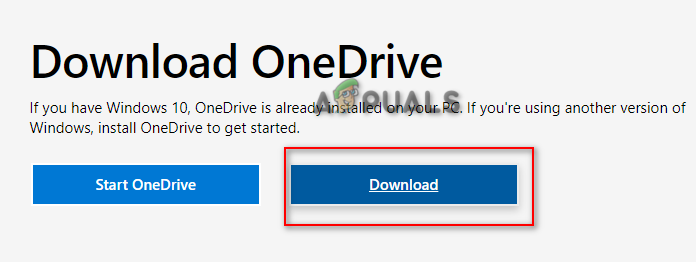
- Go to the Official Microsoft Website.
- Download OneDrive for your system by clicking on the “Download” option.
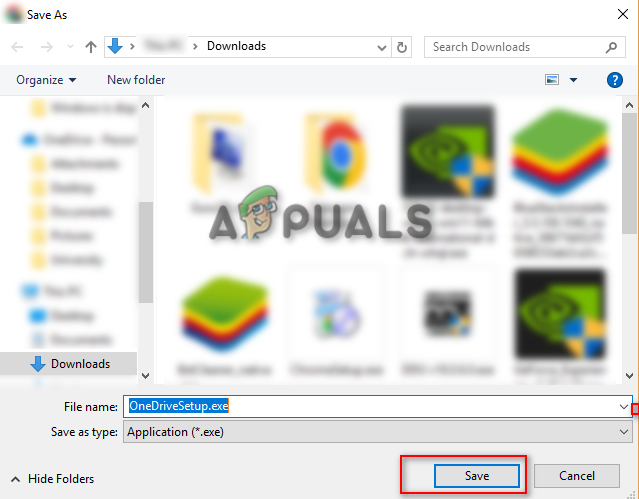
Downloading OneDrive - Select the folder you want to download the file in and click the “Save” option.
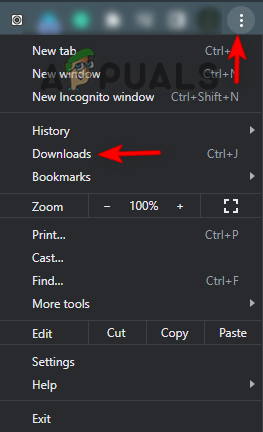
Saving the file on the system - Click on the three dots on the browser and open the “Downloads” page.
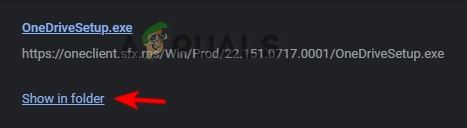
Opening the Downloads tab - Locate the file by clicking on the “Show in folder” option.
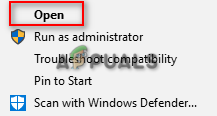
Showing file in the folder - Install the Exe file by right-clicking on it and selecting the “Open” option.
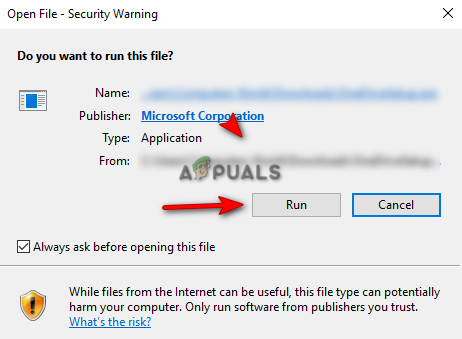
Opening the EXE File - Initiate the Installation by clicking on the “Run” option.
Initiating Installation process - After installing OneDrive, sign in to your account.les.


