[FIX] Norton VPN Failing to Connect
Norton VPN may not connect on Windows 10 if the DNS settings of your system are not optimal. Moreover, corrupt WAN drivers or conflicting applications (like Cisco Any Connect) may also cause the error under discussion.
The VPN issue arises (usually, after a Norton update) when the user tries to connect the VPN but fails to do so with the following type of message:
“Connection Error: Secure VPN has experienced a connection failure. Please try again later.”

Before moving on to fix the Norton VPN, check if your internet connection is working. If you are using a home server, check if the expired certificates of the server are not causing the issue. Also, it will be a good idea to make sure if the Norton Services are up and working. Moreover, make sure to update the Windows & Norton VPN to the latest builds. Last but not least, check if changing the region (or setting it to Automatic) in the VPN settings solves the connection problem.
Solution 1: Delete the Temp Files and Old Norton Installers
Norton VPN may fail to connect if any of the temporary files on your system or old Norton installers are interfering with the VPN modules. In this case, deleting the temp files of your system & older Norton installers may solve the problem.
- Right-click on the Window/Start menu button & choose Run.
- Now navigate to the following:
temp
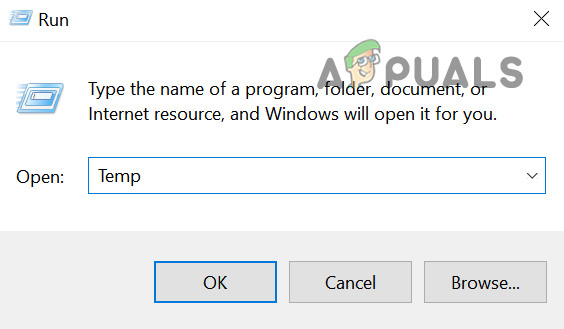
Open the Temp Folder - Then delete all the contents of the folder & open the Run command box.
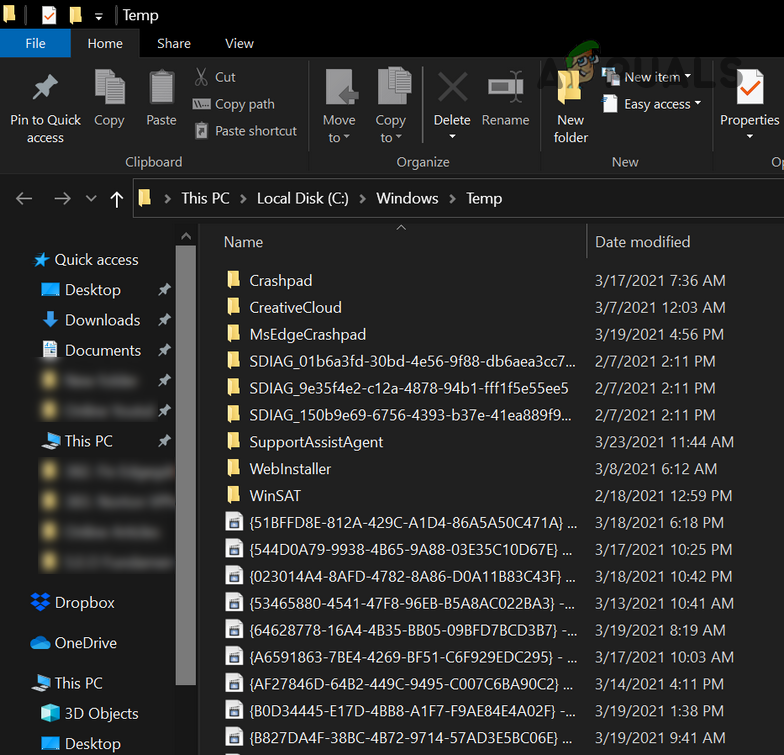
Delete the files in the Temp Folder - Now navigate to the following:
%temp%
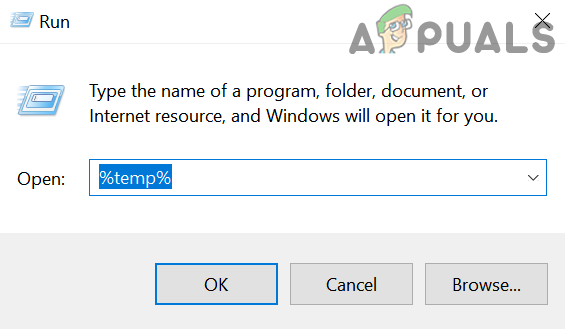
Open the %temp% Folder - Then delete all the contents of the folder & open the Run command box.
- Now navigate to the following:
\users\
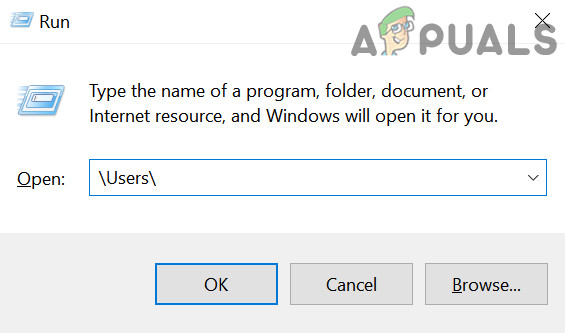
Open Users’ Folder Through the Run Box - Then double-click on the Public user & open the Public Downloads folder.
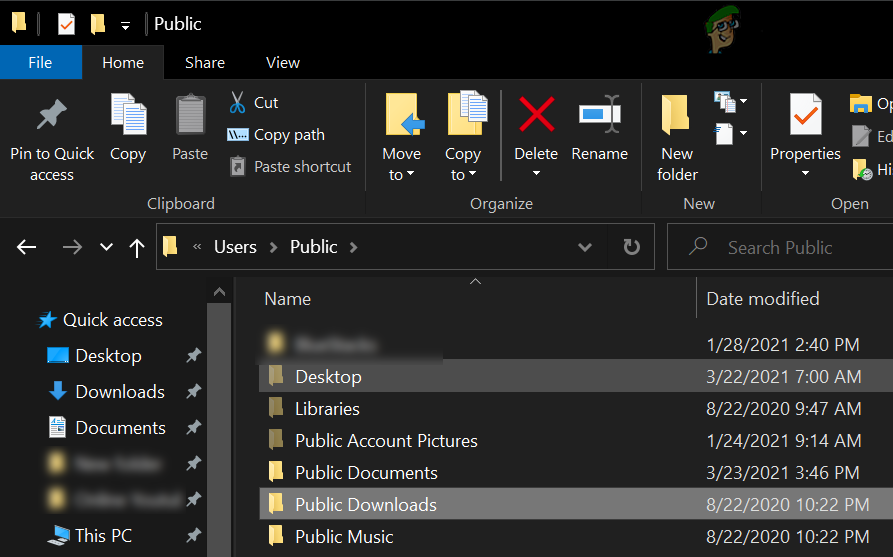
Open the Public Downloads Folder and Delete its Contents - Now delete the contents of the folder (if you need the folder, then place it on a USB/external drive & detach that drive from the system) & reboot your PC.
- Upon reboot, check if the Norton VPN is working fine.
- If not, navigate to the following path:
%USERPROFILE%\

Open the Current User Profile Through the Run Box - Now open the Downloads folder & delete the old Norton Installer (you may have to open the Programs folder). If you have placed an old installer on some other place, delete the installers from there as well e.g., the desktop of your system. You can also search for the installer and delete them as well.
- Once the system is clear of old installers, reboot your PC & check if the Norton VPN can successfully connect.
Solution 2: Change the DNS Settings of Your System
The Norton VPN may fail to connect if the DNS settings of your system are not properly configured. In this scenario, changing the DNS settings of your system may solve the problem.
- Press the Windows key & open Settings.
- Now select Network & Internet and in the right pane, open Change Adapter Options.
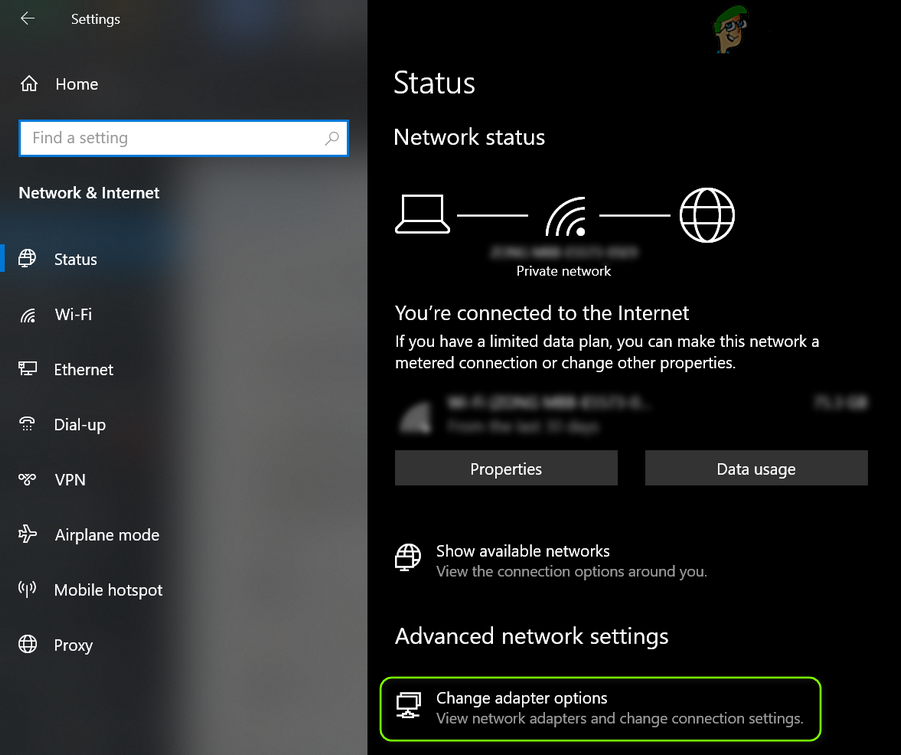
Open Change Adapter Options - Then right-click on the network adapter & in the context menu, choose Properties.
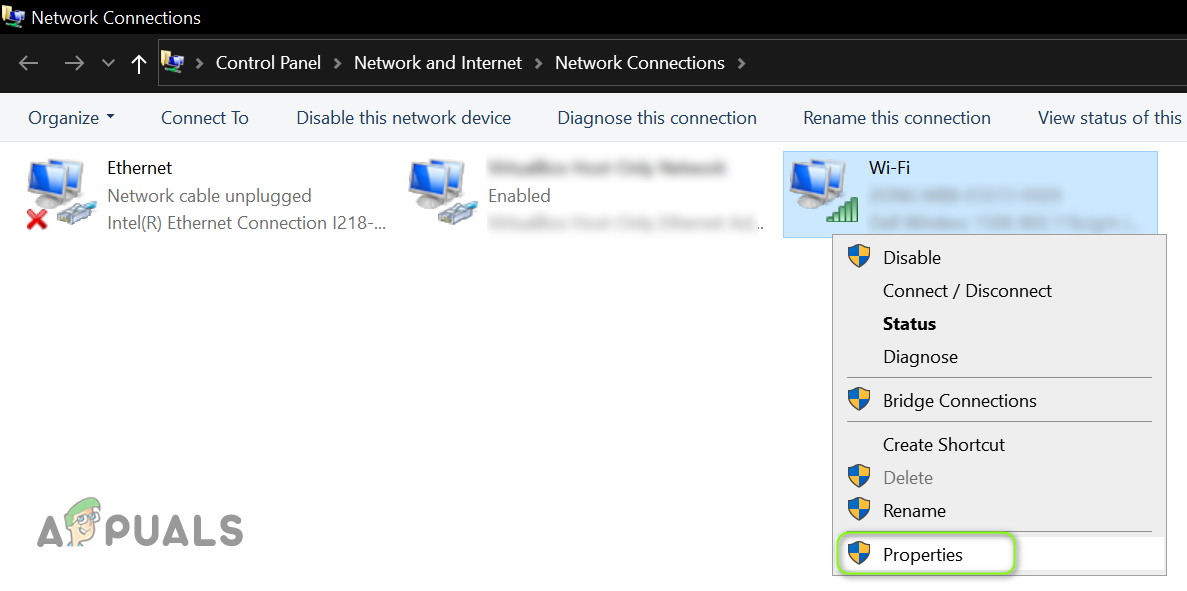
Open Properties of the Network Adapter - Now choose Internet Protocol Version 4 (TCP/IPv4) & near the bottom of the window, click on the Properties button.
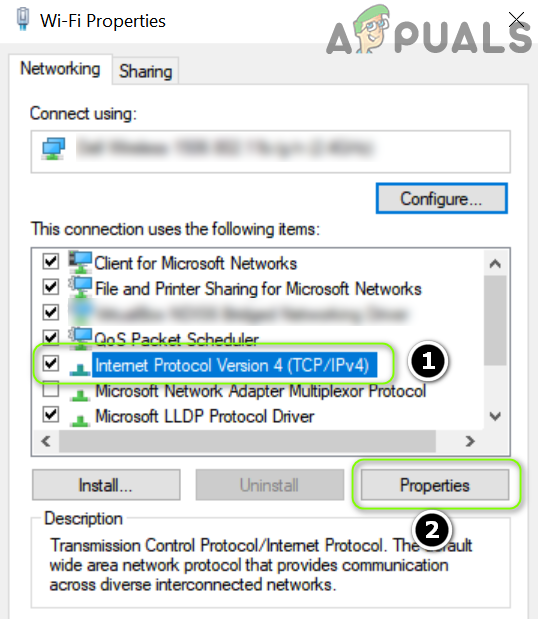
Open Properties of Internet Protocol Version 4 (TCP/IPv4) - Now select Use the Following DNS Servers Addresses & in the Preferred DNS Server, enter:
1.1.1.1
- Then, in the Alternate DNS Address, enter:
8.8.8.8
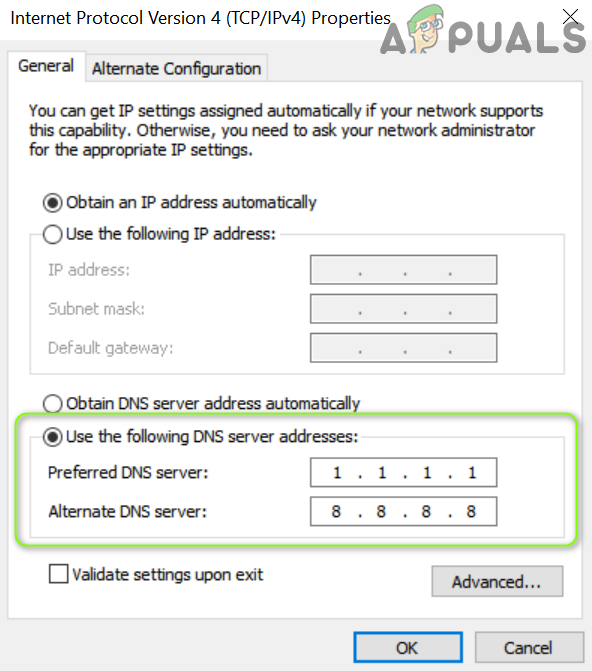
Enter the DNS Server Addresses - Now apply your changes & reboot your PC to check if the Norton VPN is working fine.
Solution 3: Clear the Network Caches and Reset Winsock
Norton VPN issue may arise if the network caches or Winsock Catalog of your system is corrupt. In this case, clearing the network cache & Winsock may solve the problem.
- Hit the Windows key & in the search, type: CMD. Now, right-click on Command Prompt, & in the context menu, choose Run as Administrator.

Open Command Prompt as Administrator - Now execute the following one by one (make sure to press the Enter key after each cmdlet):
netsh int ip reset

netsh int ipv6 reset

netsh winsock reset
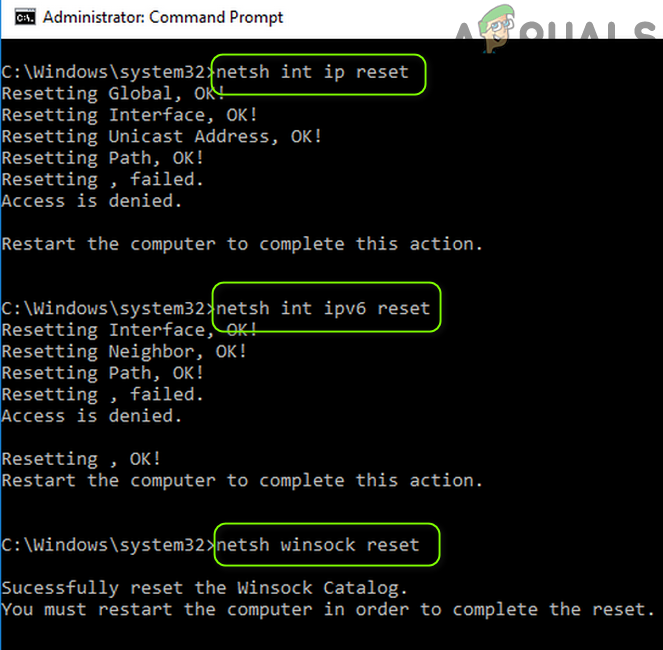
Reset the Network Caches - Then reboot your PC & check if the Norton VPN can successfully make the connection.
Moreover, check if installing the Surf Easy VPN (as it is part of the Norton Lifelock) & then repeating the above solution resolves the issue.
Solution 4: Reinstall the WAN Drivers/Adapters
The Norton VPN might fail to connect if the WAN network drivers are corrupt. In this scenario, reinstalling the WAN drivers/adapters may solve the problem.
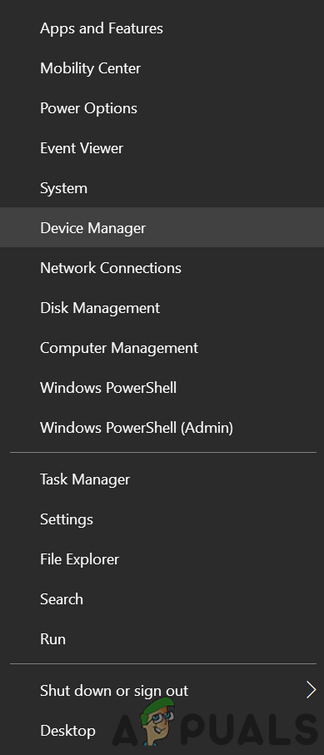
- Launch the Power User menu by simultaneously pressing Windows + X keys & then open the Device Manager.
Open Device Manager - Then expand Network Adapters & right-click on the first adapter that starts with WAN e.g., WAN Miniport (IKEv2).
- Now select Uninstall Device & then confirm to uninstall the WAN device.
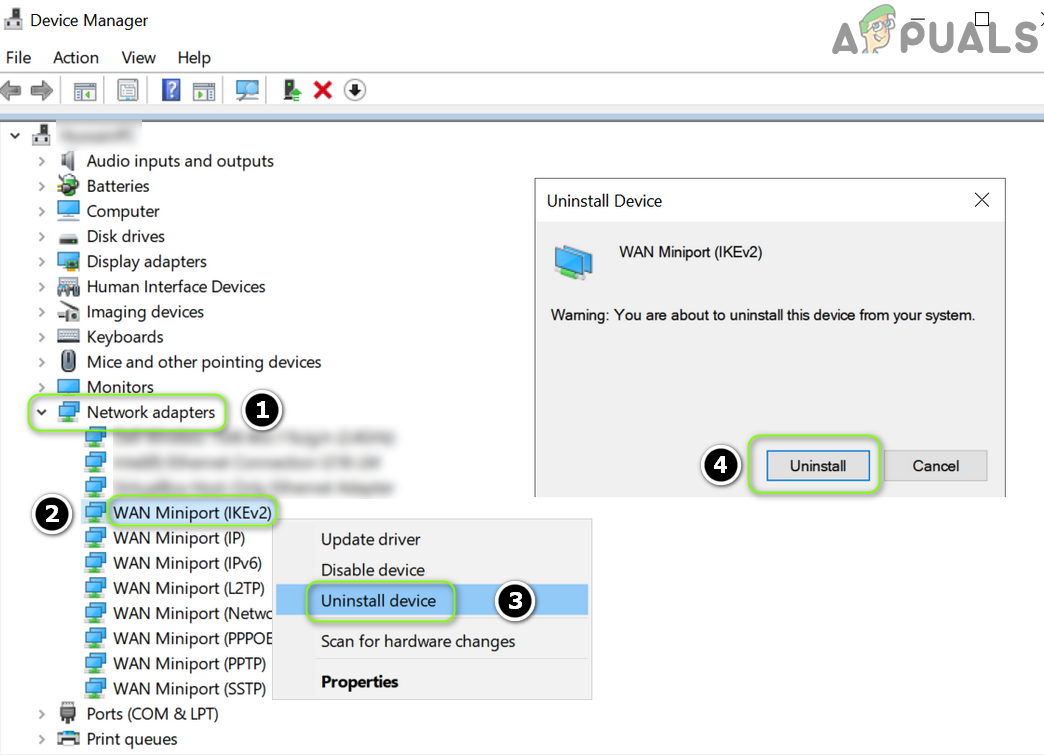
Uninstall WAN Miniport - Then repeat the same to remove all the WAN devices & then right-click on Network Adapters.
- Now choose ‘Scan for Hardware Changes’ and the WAN devices will re-appear.
- Then restart your PC & check if the Norton VPN is working fine.
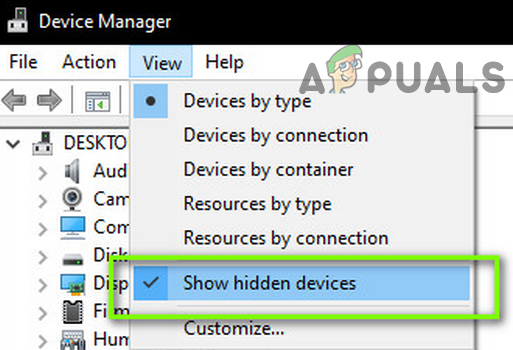
If the issue persists, then enable Show Hidden Devices in the Device Manager and retry the above solution.
Solution 5: Disable the Fast Startup of Your System
The Fast Startup feature is quite useful as it tremendously decreases the boot time of your system. But during this process, an essential source for the operation of the Norton VPN may get into an error state & thus cause the issue at hand. In this context, disabling the Fast Startup of your system may solve the problem.
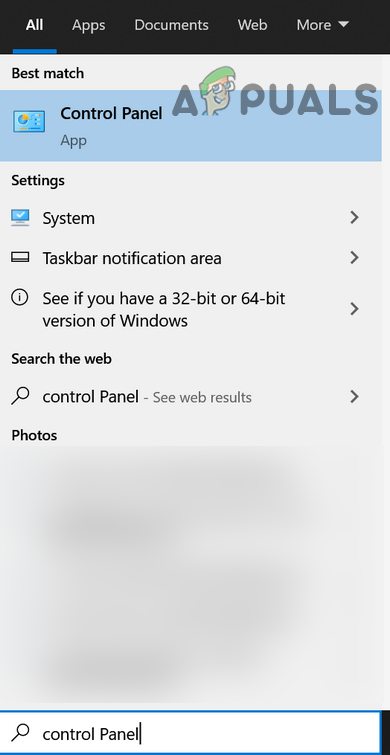
- Press the Windows key & in the Windows search box, type: Control Panel. Then select Control Panel.
Open Control Panel - Now select Hardware & Sound & open Power Options.

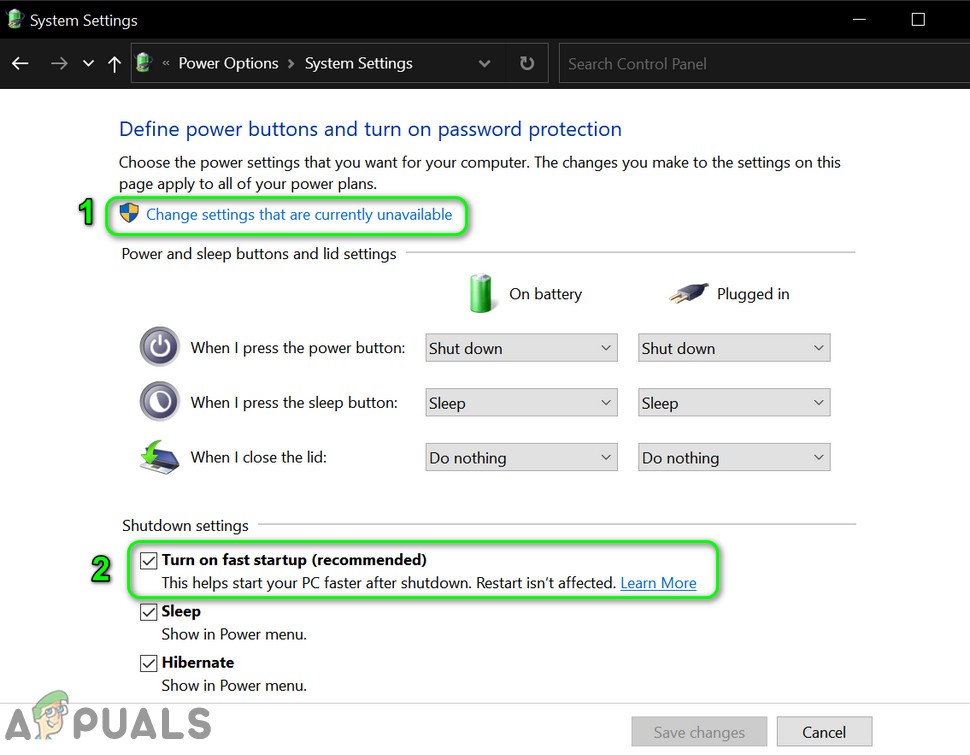
Open Power Options - Then, in the left pane, open Choose What the Power Buttons Do and click on Change Settings That Are Currently Unavailable.

Choose What the Power Buttons Do - Now, remove the checkmark of the Turn on Fast Startup and click on Save Changes.
Disable Fast Startup - Then reboot your PC & check if the Norton VPN is working fine.
Solution 6: Remove/Disable Conflicting Applications
Norton VPN might not work if an application or its service (especially, other VPN clients) is hindering the operation of the Norton VPN. In this case, removing/disabling the conflicting applications (or services) may solve the problem.
- Clean boot your system (but make sure Norton-related processes/services are allowed to function) and check if the issue is resolved.
- If so, then enable the processes/services/applications (that were disabled during the clean boot process) one by one till you find the problematic one.
- Once the problematic process/application is found, either keep it disabled at the system’s startup or uninstall it.
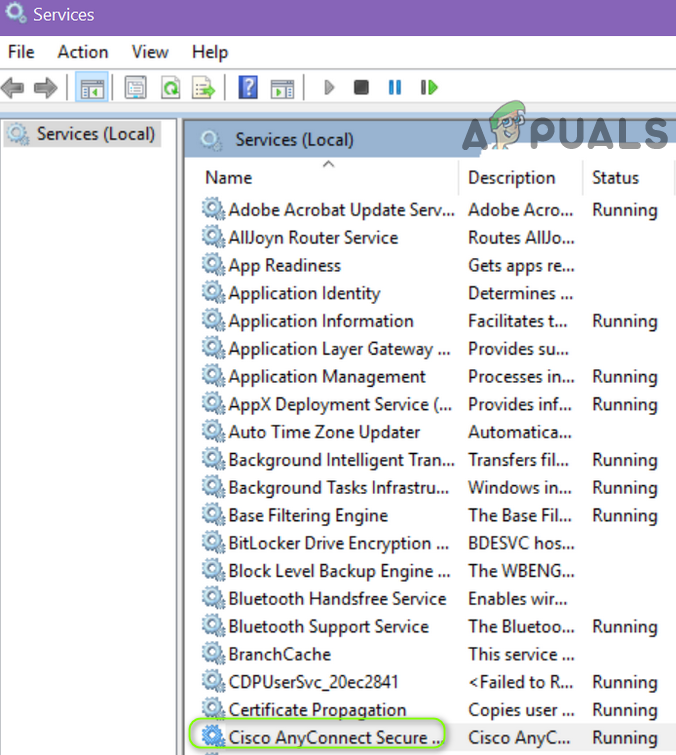
Cisco Any Connect is reported by some users to create the issue, so, disabling its service or reinstalling it may solve the problem.
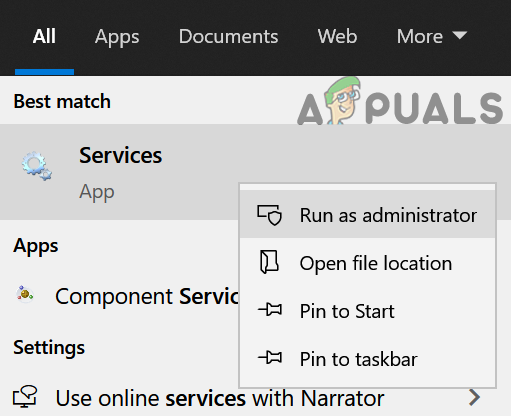
- Press the Windows key & in the search bar, type: Services. Now, right-click on the Services, & in the mini-menu, choose Run as Administrator.
Open Services as Administrator - Now, double-click on the CiscoAnyConnect VPN service & change the startup type to Manual.
Open the Properties of the Cisco AnyConnect Service - Then click on the Stop button & apply your changes.
- Now check if the Norton VPN issue is resolved. If not, then check if rebooting the system resolves the VPN issue.
- If not, press the Windows key & open Settings.
- Then select Apps & expand CiscoAnyConnect.
- Now click on Uninstall & then confirm to uninstall the CiscoAnyConnect application.
- Then follow the prompts to complete the uninstall process & reboot your PC.
- Upon reboot, check if the Norton VPN issue is resolved.
- If so, then check if reinstalling the CiscoAnyConnect application does not bring back the issue.
Solution 7: Edit the Essential Services’ Settings
The Norton VPN may keep failing to connect if the Services essential (e.g., IPsec Policy Agent Service) for the operation of the VPN are not properly configured. In this case, editing the relevant Services’ settings may solve the problem.
- Click on the Windows/Start menu button & type: Services. Then, right-click on the result, & in the context menu, choose Run as Administrator.
- Now, double-click on the Network Location Service & set its Startup type to Automatic.
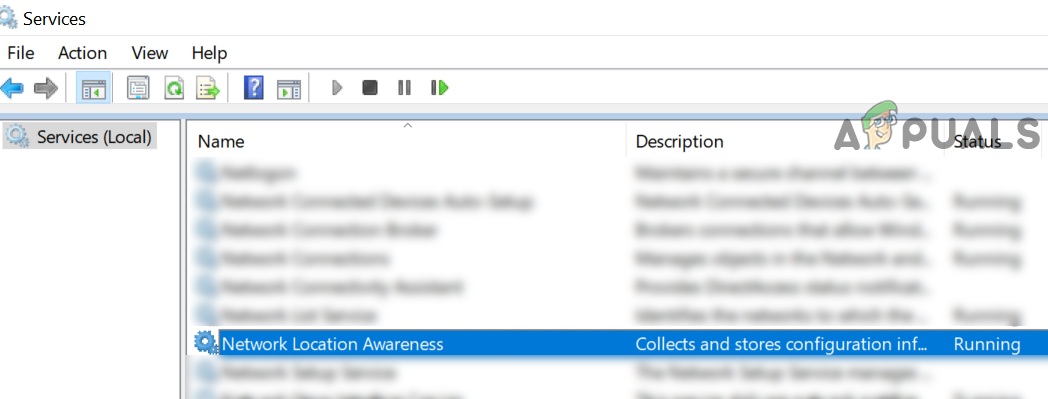
Open Properties of the Network Location Awareness - Then click on the Start button (if the Start button is greyed out, then click on Stop and then Start).
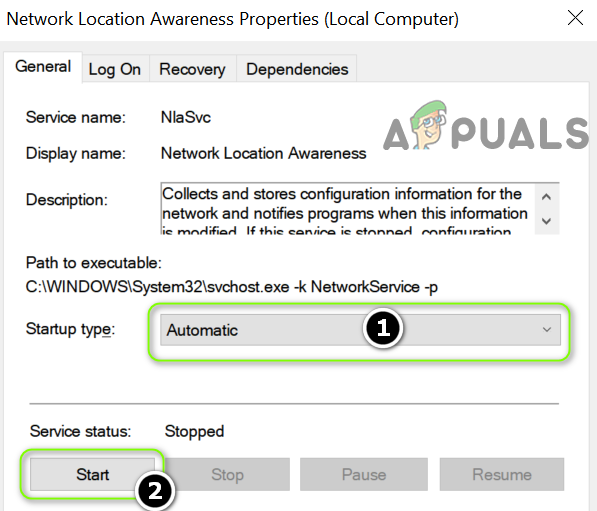
Set the Startup Type of the Network Location Service as Automatic and Start it - Now repeat the same to the following Services:
Remote Access Connection Manager

Norton Security

Norton WSC Service

IP Helper

IKE and AuthIP IPsec Keying Modules
- Then repeat the same to the Secure Socket Tunnelling Protocol Service but set its Startup type to Manual.
- Now repeat the same to the IPsec Policy Agent but set its Startup type to Manual (Triggered) & then check if the Norton VPN has started to work fine.
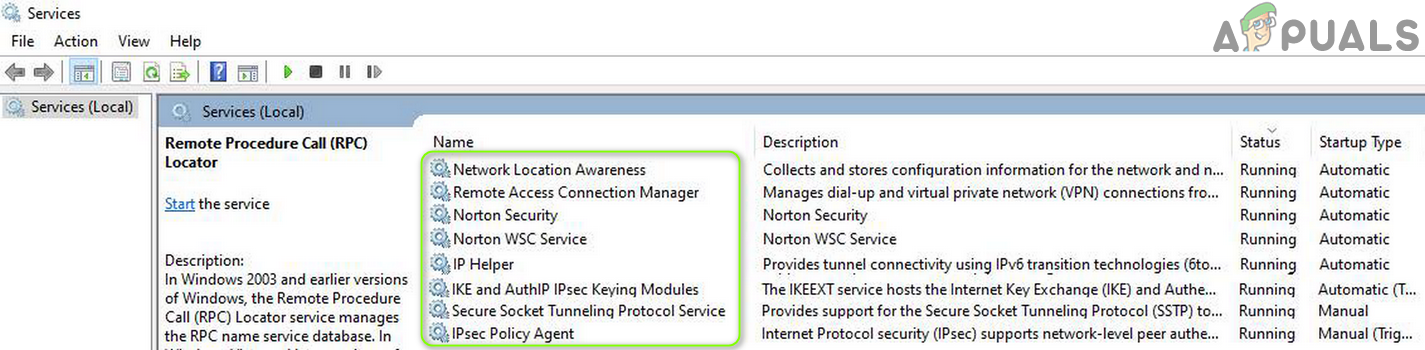
Change the Properties of Services
Solution 8: Edit the Router Settings
Norton VPN may show the current behavior if the settings of your router (e.g., Firewall of your router) are blocking access to a resource essential for the operation of the Norton VPN. In this case, editing the settings of your router may solve the problem. But keep in mind that some of these settings may not be available to all users or may be available with some other name.
Enable IPSec/VPN PassThrough
- Launch a web browser & steer to the admin portal/IP address of your router (e.g., 10.0.0.1).
- Now log in using your credentials & steer to the Security tab.
- Now select VPN PassThrough & make sure the following options are enabled
IPSec Passthrough

PPTP Passthrough

L2TP Passthrough
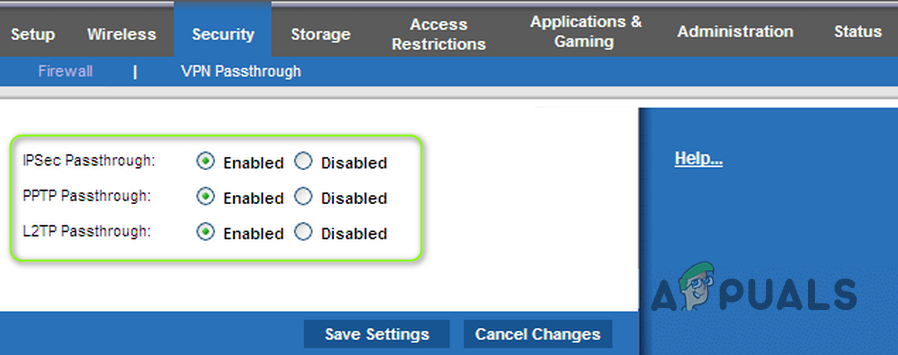
Enable IPSec PassThrough - Then apply your changes & check if the Norton VPN is working fine.
Change Firewall Settings to Typical Security
- Steer to the admin portal of the router & open the Firewall settings (you may have to open Gateway).
- Now open IPV4 or IPV6 and select Typical Security (Medium).
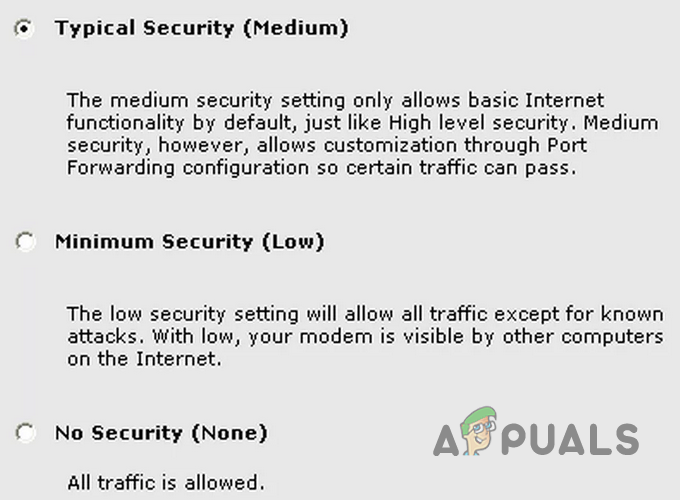
Set the Firewall to Typical Security - Then save your settings & check if the Norton VPN is working fine.
Disable Parental Control/KidSafe/ Content Controls Profile Feature
- In the web portal of the router or the service provider, open My Services & open View HomeSafe Settings.
- Then click on the button of Turn KidSafe Off & exit the portal after applying the changes.
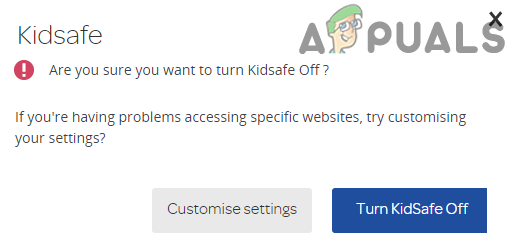
Turn Off KidSafe - Now reboot your PC & router to check if the Norton VPN is clear of the connection error.
Disable Broadband Shield (Sky Users Only)
- Steer and sign-in to the Broadband Shield portal with your Sky credentials.
- Now, scroll down till the option of switch-off is found.
- Then select Switch Off & apply changes.
Disable Sky Broadband Shield - Now, check if the Norton VPN has started to operate fine. If not, then wait for 15 minutes (so, the changes could be propagated) & try again.
Solution 9: Reinstall the Norton Suite
The Norton VPN issue may arise if its installation is corrupt. In this case, reinstalling the Norton product may solve the problem.
- Launch a web browser & download the Norton R&R (Remove & Reinstall) tool.
- Then launch the downloaded file & Agree to the license terms by Norton.
- Now click on Remove and Reinstall & click on Continue (or Remove).
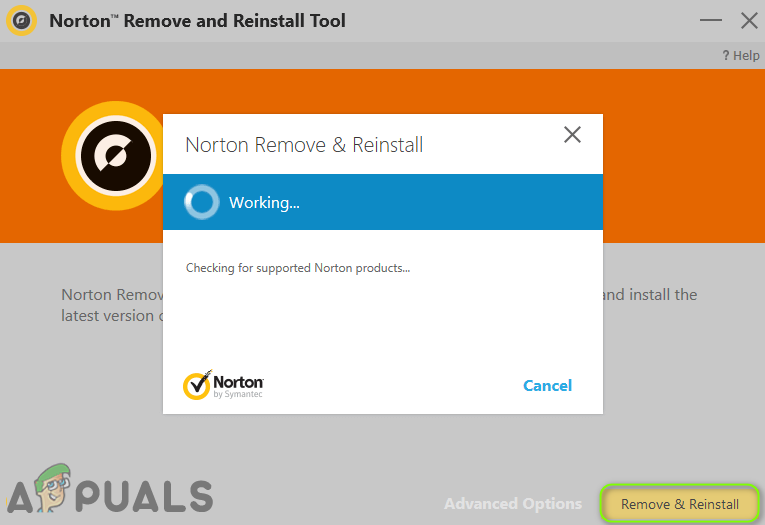
Remove & Reinstall the Norton Product - When prompted, click on Restart Now and upon restart, check if the VPN is working fine.
- If not, launch the Norton R&R tool & just use Remove.
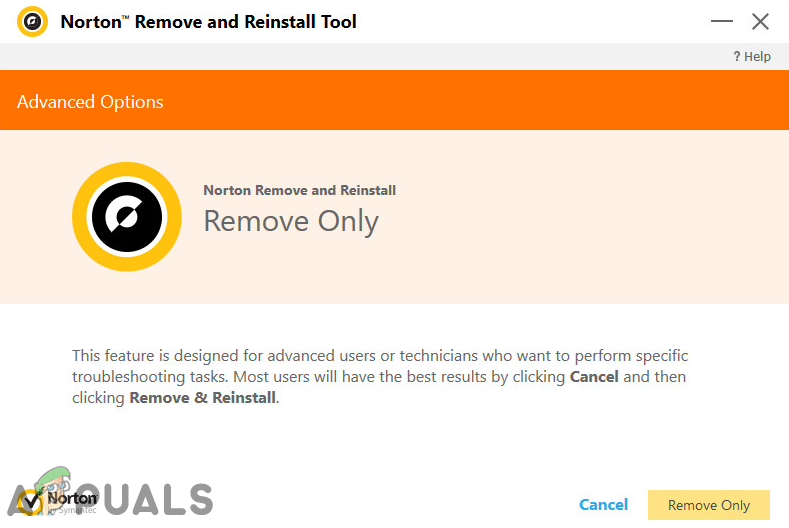
Click on Remove Only in the Norton R&R Tool - Now reboot your PC & download/install the latest version of your Norton product.
- Then apply the Norton LiveUpdate (without running the VPN) & hopefully, the Norton VPN is working fine.
If the issue persists, check if it is caused by the blockage of a resource essential for the operation of the Norton VPN is blocked by your ISP (e.g., UDP protocol).


