No Video Output on Your Raspberry Pi? Try these Solutions
If you just tried connecting your Raspberry Pi device to an HDMI display and you get no Video Output, you’re not the only one. This issue is confirmed to occur on every Pi model starting with Zero and ending with 400.
As it turns out, this problem is almost always rooted in the config.txt file that your Raspberry Pi installation maintains. If it’s not a temporary glitch produced by the cached folder, it’s probably a setting that the OS maintains in the config file.
With older displays, this issue might also occur due to a resolution mismatch, due to insufficient power, or due to insufficient HDMI signal that needs to be boosted manually.
Before you enforce any of the other potential fixes featured in this article, start with the following quick fixes:
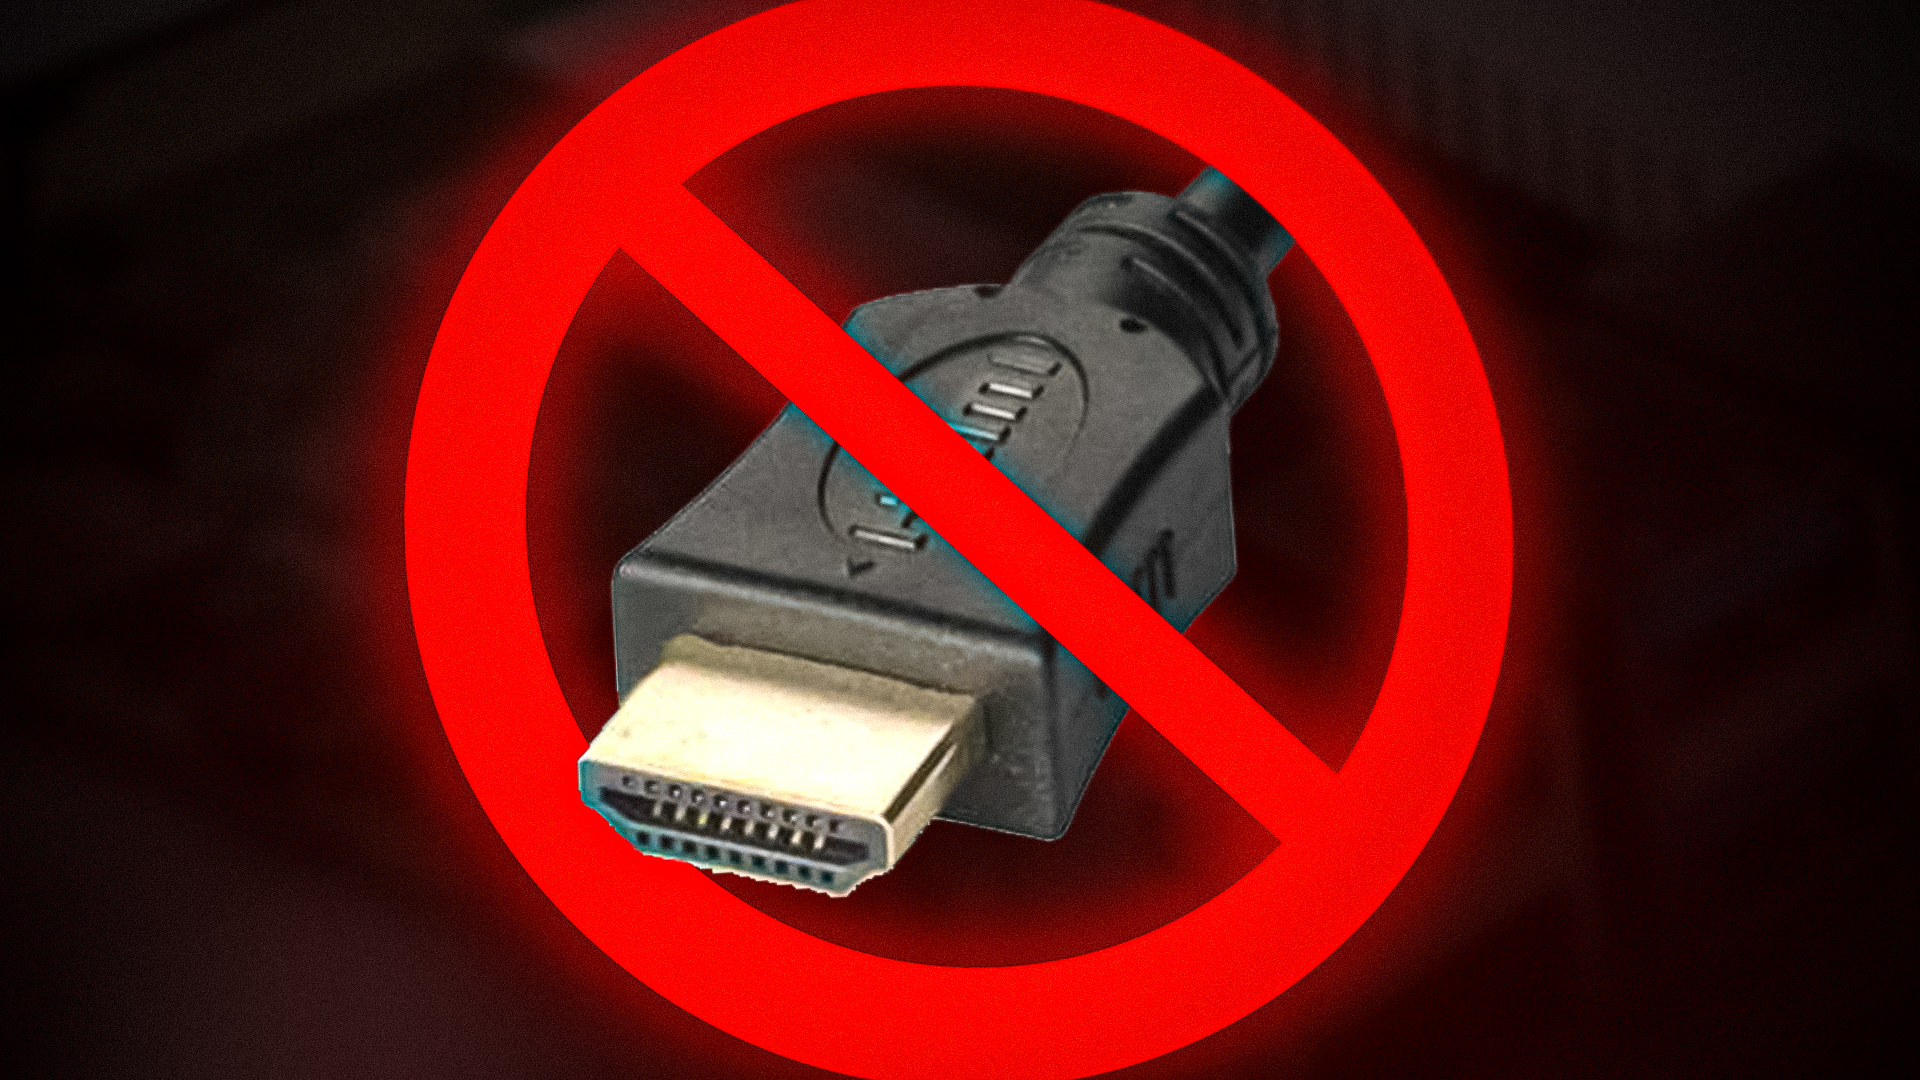
- Check that the HDMI cable is correctly connected at both ends. Just disconnect the cable, blow air into the port, then reattach it.
- Check that the SD card is properly attached. Even if the lights turn on, there may still be problems, which you must physically inspect.
- If you’re using an HDMI adaptor, try whether it works with other devices. Often, the problem is with the adaptor, and changing it appears to be the only possible option.
If none of these quick fixes worked, move down below and start troubleshooting with our collection of user-confirmed fixed.
1. Remove SD Card and Reboot
If you started getting this error after connecting your Raspberry Pi to a TV that was already on, the fix might be as simple as removing the SD card and rebooting the monitor that failed to acquire the signal.
Note: This fix is often effective due to the fact that the HDMI signal outputted by the Raspberry Pi is weak by default and a lot of older TVs might not have the ability to dynamically adjust the frequency to be able to pick up the signal.
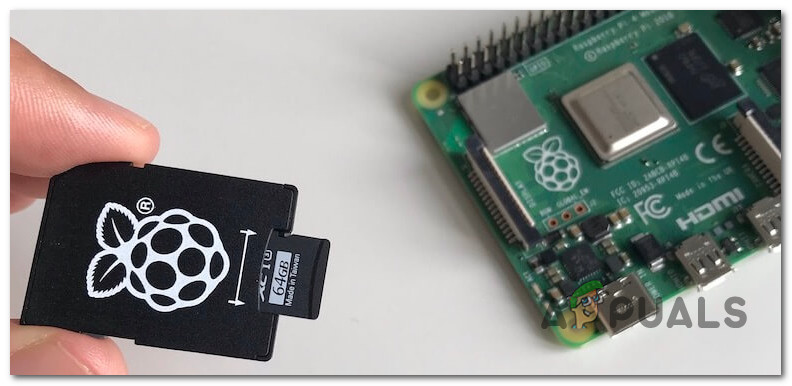
However, if you reconnect the SD card after the HDMI source is connected, the TV will have ample time to adjust the frequency to display the video output.
If you already tried this and there’s still no signal coming out from your HDMI source, the next step should be to check the config.txt file for any inconsistencies (follow the next method below).
2. Edit the config.txt file (if applicable)
If you experience this issue while connecting your Raspberry Pi to a TV monitor via HDMI and you installed the selected OS on an SD card, the problem is almost certainly appearing because the boot sector of the SD is normally accessible directly from Windows and not from an HDMI hotplug.
If this scenario is applicable, you can fix the issue by editing the config.txt file and adding a line that will force the signal to go through HDMI.
Note: This method is only applicable in scenarios where the RPI device is outputting no signal to older LCD TVs via HDMI.
In case this scenario is applicable, follow the instructions below to force the HDMI display on your device:
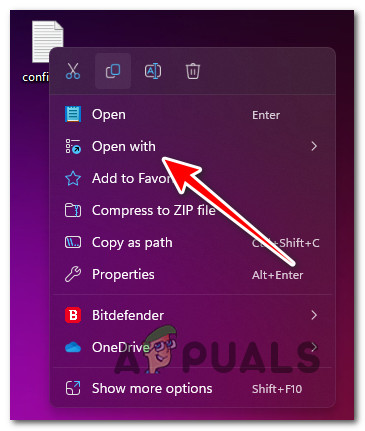
- Start by inserting the SD card into a different device. Preferably, use a Windows 10 / 11 PC.
Note: You’ll need a compatible reader (nano or vi are your best choices). - Explore the SD card and open up the config.txt file.
- Right-click on the config.txt file and click on Open With > Notepad++.
Open the config.txt file with Notepad++ Note: You can also edit with Notepad classic, but Notepad++ is a much better alternative since you’ll be able to quickly identify if the code line is missing or commented out. If you don’t have Notepad++ installed on your system yet, you can download and install the latest available version from the official download page.
- Next, inside the config.txt file, use the Find function (Ctrl + F) to locate the following lines:
hdmi_force_hotplug=1
hdmi_drive=2
Note: If the two code lines are missing, add them anywhere in the file. On the other hand, in case the two code lines are present but are commended out with the ‘#’ symbol, remove the symbol. In case you are using a classic PC monitor, you can leave out the hdmi_drive=2 code line.
- Once you’ve made sure that the two code HDMI-related code lines are correctly present, save the changes you’ve just performed to the config.txt file before closing it.
- Safely eject the SD files before removing them from your PC.
Safely eject SD files - Finally, mount the card back in the Rasberry Pi and see if video output is now restored.
Note: If the same problem is still occurring, try repeating the steps above and add the hdmi_safe=1 code line too at step 4. But keep in mind that doing this will force the HDMI connection into safe mode which will reduce the display quality.
3. Boost the HDMI Signal (if applicable)
As we discussed above, most Pi models will output weak HDMI signals. This is certainly not a problem with newer TV models that were released after 2012 when the industry standard changed, but older devices might not notice the Pi’s HDMI signal and the frequency negotiation might not happen.
In this case, you’ll need to do a series of adjustments inside the config.txt file to ensure that the Pi device believes the monitor or TV is really there and boost the HDMI signal in order to ensure that the data exchange is started.
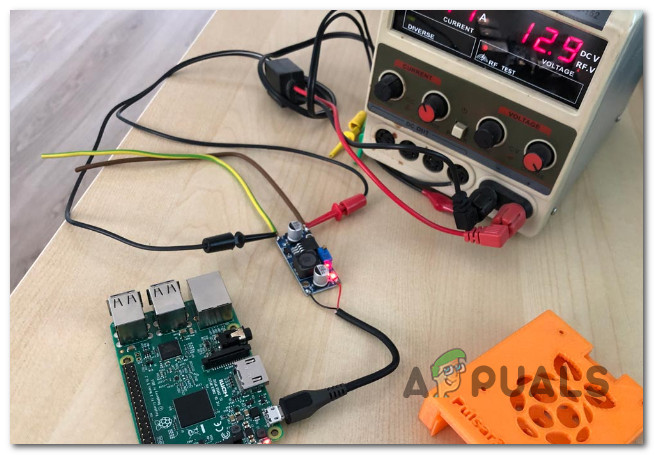
Note: If you’re using an unusually long HDMI cable, switching to a shorter, better-quality cable will certainly help. Also, it’s important to ensure that your Pi’s power delivers 1A and not 500mA.
Here’s a quick guide on the modifications that you need to enforce in order to boost the signal for HDMI connections:
- Insert the SD card into a different device. Preferably, use a Windows 10 / 11 PC.
Note: You’ll need a compatible reader – Nano or Vi readers are your best choices in this case. - Explore the SD card and open up the config.txt file.
- Right-click on the config.txt file and click on Open With > Notepad++.
Open the config.txt file with Notepad++ Note: You do all of these edits with the Notepad classic application that comes built-in, but Notepad++ is a much better alternative since you’ll be able to quickly identify if the code line is missing or commented out. If you don’t have Notepad++ installed on your system yet, you can download and install the latest available version from the official download page.
- Once you’re inside the config.txt file, make sure that the following command is present and not commented out with the ‘#’ symbol:
hdmi_force_hotplug=1
Note: This command will ensure that your Raspberry Pi device is actually aware that you’ve just connected it to an HDMI output.
- Next, make sure the following command is present and not commented out with the ‘#’ symbol:
config_hdmi_boost=4
Note: We choose to assign the 4 value because it’s the middle-ground solution. But feel free to go even higher (up to 9) in case the connected device needs a stronger signal in order to facilitate the HDMI data exchange.
- Next, make sure one of the following code lines is present while the other is commented out (using ‘#’_ depending on your current setup:
hdmi_group=2 (comment this out if you're using a computer monitor)
hdmi_group=1 (comment this out if you're using an older TV)
- Make sure that the following command is commented out (with the ‘#’) to prevent it from overriding all the previous code lines above:
hdmi_safe=1
- Once all of the above modifications have been enforced to the config.txt file, save the changes before safely reconnecting the SD to your Raspberry Pi and checking if the problem is now fixed.
4. Re-write Rasberry Pi Image
If you’ve come this far without a viable fix, it’s about time to investigate whether you’ve correctly written the Raspberry Pi Image to the card that you’re using when attempting to output to HDMI.
To carry on this verification, insert the card into a MAC or PC via a card reader and explore the root directory for the following files:
- bootcode.bin
- fixup.dat
- start.elf
- config.txt
If any of these files are missing, this video output issue is clearly caused for an image issue. In this case, the only solution available is to simply re-write the Raspberry Pi Image using Raspberry Pi Manager.
Note: You can carry on this operation either on a PC or on a Mac.
Here’s how to do this:
- First things first, make sure the SD card is already plugged into the computer that you’ll be going to use to create the RaspBerry Pi Image.
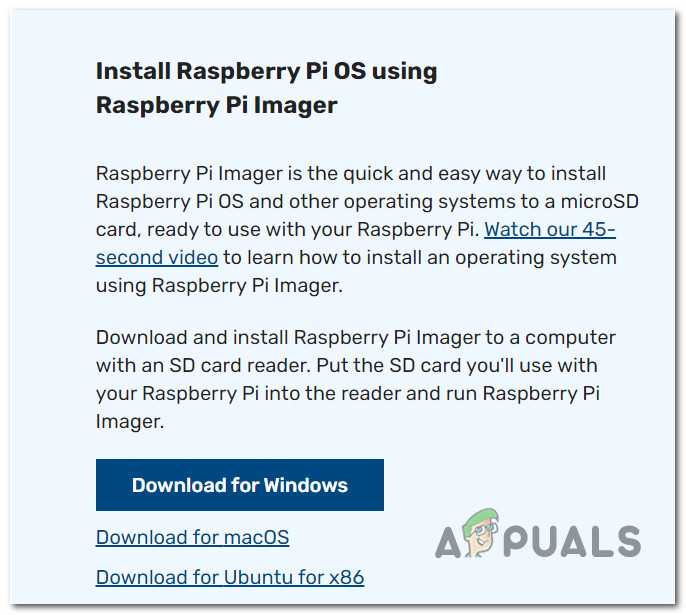
- On a macOS, Ubuntu or Windows PC, navigate to the download page of Raspberry Pi OS page.
- Once inside, scroll down to the Install Raspberry Pi OS using Raspberry Pi Imager section and click on the download button associated with the operating system that you’re using.
Download and install Raspberry PI - Wait until the download is complete, then open the imager executable (with admin access) and follow the on-screen prompts to complete the installation.
- Once the setup is complete, open the Raspberry Pi Imager tool, and let’s start the process of using it to write the image for the SD card you will be using for your Raspberry Pi.
- At the first screen of the Raspberry Pi Image utility, click on Choose Os from the 3 options available.
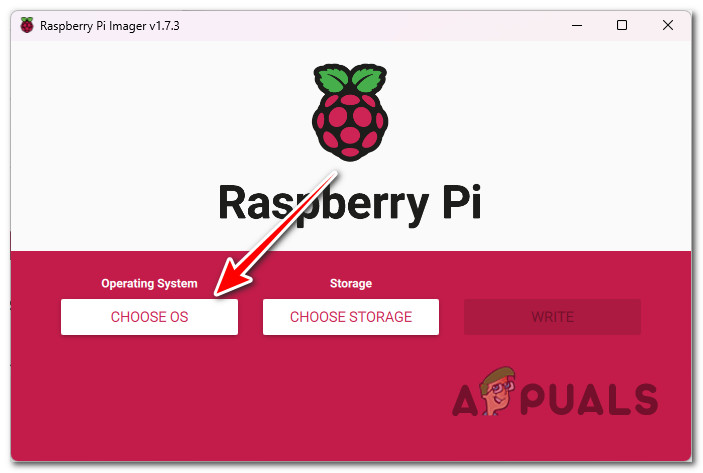
Choosing the correct OS Note: Keep in mind that this new interface is meant to replace the old NOOBS functionality – on top of a couple of new functions, it allows you to install all the entry-tier operating systems including Pi OS.
- From the next screen, select the OS you are trying to install.

Installing the Raspberry Pi OS Note: Unless you need to carry out a specific task that is not possible on the official Debian Bullseye port, our recommendation is to go for the Raspberry Pi OS (32-bit) OS.
- Next, select SD card you will install the Raspberry Pi OS on.
Note: If you have multiple ready drives to choose from, make sure the correct SD card is selected. - Click on Write to begin the process of writing the image.
- Once the operation is complete, repeat the output to HDMI action and see if the issue is now fixed.
5. Use a smaller HDMI screen (if applicable)
If you are experiencing this issue while using a microcomputer like Pi Zero, keep in mind that none of the fixed features in this article will allow you to successfully connect it to a large HDMI screen with a big diagonal.
Note: Micro computers like the Pi Zero are simply not powerful enough to support a connection that requires this much power. Although theoretically, Pi Zero is perfectly capable of doing 1920×1080 @ 60 Hz, it can only do so with displays that are very energy efficient and are not at all reliant on the outputted for power.
If this scenario is applicable, all you can do is lower your expectations and plug in your Pi Zero to a smaller HDMI screen. There is no definitive guide o the maximum HDMI screen size since this will vary a lot from manufacturer to manufacturer.
6. Upgrade power supply or lower display resolution
If you’ve come this far without a resolution, there’s a big chance you’ll need to use a more powerful supply and might even need to adjust the display output to a higher resolution.
It’s not uncommon to experience this NO Signal issue with your Raspberry Pi device because the current power supply has issues displaying the output at the current resolution.
Update: This is a lot more common in scenarios where you have your device connected to a 4K display.
If this scenario is applicable, you have two ways of fixing the issue:
- Upgrade your current power supply to a more competent equivalent.
- Change the resolution of the connected devices (by connecting it to a different device) to lower the burden on the power supply.
7. Use Noobs Lite to re-flash Raspberry Pi
If you used the newer Rasberry Pi Image tool or the regular NOOBS to create the image and you see 4 flashes in the ACT LED and no video output, there’s a big chance the installation is corrupt.
In case you already tried the method above with no success, one quick fix that was confirmed by a lot of users is using the Noobs Lite utility instead.
Note: You can avoid the instructions below altogether and go for the easy route; buying a NOOBS SD card. These things are available with a lot of retailers and will typically go for less than $20.
If you don’t want to spend the extra cash for a fix that might or might not work, follow the instructions below and use the NOOBS (New Out of Box Software) Lite tool to install and reinstall the OS before attempting to output to HDMI once again:
- Connect the problematic SD card to a computer with an SD card slot.
Note: It’s important to ensure that the SD (or microSD) card is at least 8 GB. - Open any browser and navigate to the download page of the latest version of the NOOBS utility.
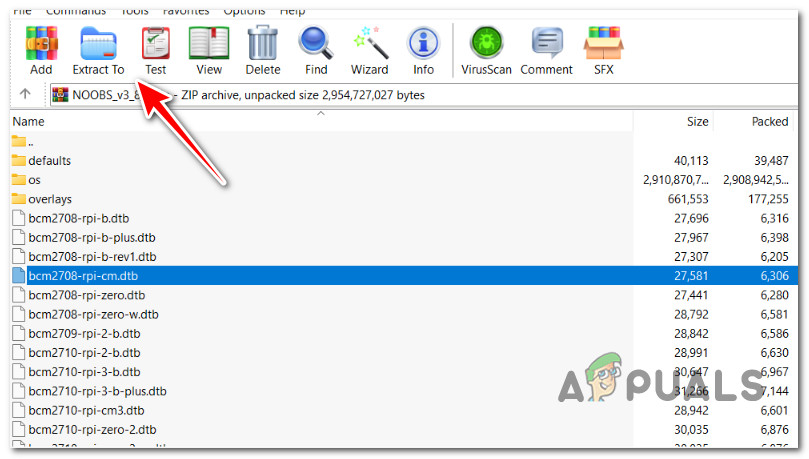
- Once the archive with the latest NOOBS utility has been downloaded locally, extract it in a save location with WinRar or WinZip.
Extract it in a Safe Location - Next, we’ll need to format the SD card to FAT. Although you can do this with the built-in tool from Windows or Mac, we recommend using the SD Asociaon’s Formatting Tool to ensure that you format it with the correct Format Size Adjustment.
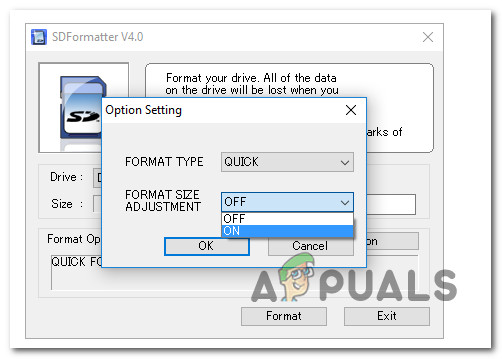
Formatting the SD card correctly Note: If you end up formatting via SD Formatter, you can use the Quick Format Type, but make sure that Format Size Adjustment is set to On.
- Once the SD card is formatted correctly, just drag and drop all the previously extracted NOOBS files on the newly formatted SD card.
IMPORTANT: You only need to copy over the files, not the .zip file you initially extracted. - Now that you have NOOBS lite on your SD card, insert it into your Raspberry Pi and start it up to see if it now outputs video via HDMI.
8. Use a different display to downgrade resolution (if applicable)
If you are experiencing this issue on a Raspberry Pi 4 while attempting to connect it to an older TV, there’s a big chance you are getting no signal (or a black screen) because the display does not support the resolution outputted by your PI.
In this case, the easiest way to fix your problem is to connect your PI4 device to a more modern device with a high screen resolution long enough to downgrade the outputted resolution on your microcomputer.
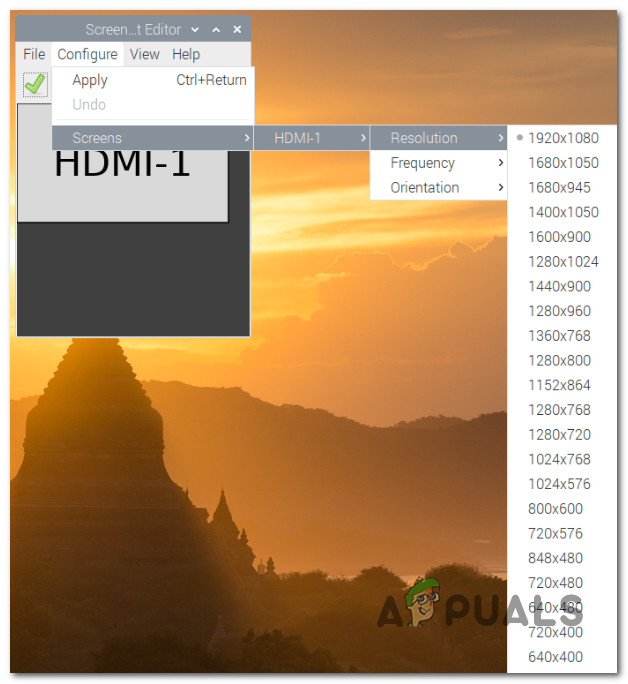
If you’re using Raspberry Pi OS, connect your Pi to a higher resolution display, then go to Preferences > System Configuration.
Next, go to Screens > HDMI > Resolution and select a lower resolution.
Once the resolution has been downgraded, re-connect your Pi to the older display and see if the HDMI output issue has been fixed.
9. Use the HDMI-0 port (only for Pi4)
If you’re using a Pi4 device, make sure you are using the HDMI-0 port – that’s the one closest to the USB-C power jack.
Unless you use this HDMI port, you’re bound to run into issues with a higher-screen display that requires more power.

After you’ve ensured that you are using the HDMI-0 port, ensure that you have the correct input selected on your GV or monitor before booting up your Pi once again.