Fix: Cellular Data Not Working After Updating iPhone
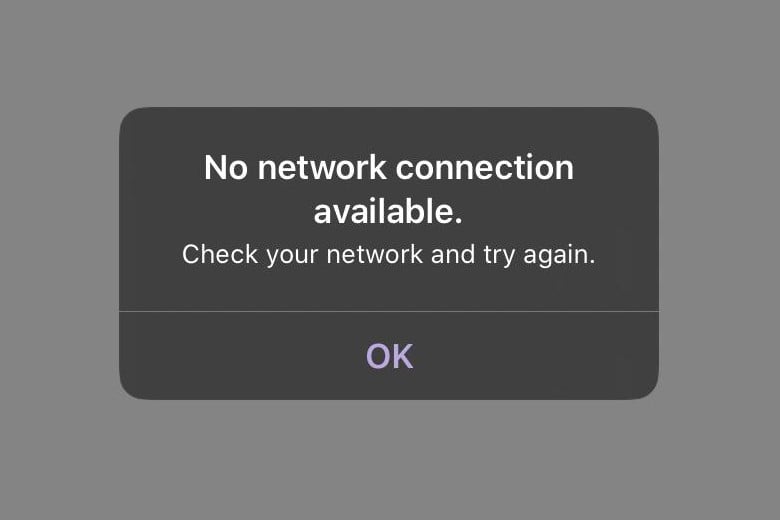
After updating your iPhone to the latest version of iOS, you may experience a loss of cellular connectivity. Fortunately, there are several steps you can take to troubleshoot and diagnose this issue. In this article, we will guide you on how to solve iPhone cellular connectivity issues after an update.
1. Turn Off The Cellular Data Button And Turn It On
The first step in troubleshooting cellular connectivity is to turn off the Cellular Data button in the Settings app and turning it back on. This will reset your network settings and may resolve any issues related to a poor connection. To turn off the Cellular Data button, just follow the steps:
- Go to Settings > Mobile Data.
- Toggle the Mobile Data button off.
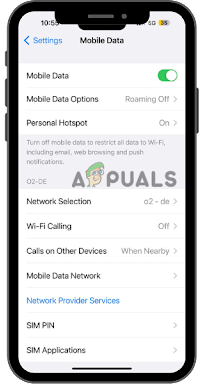
Toggle the Mobile Data button off - After doing this, wait for about a minute before turning the button back on.
2. Update Carrier Settings
Carrier settings updates are small files used to configure iOS devices. Your carrier also requires a specific update for your device to access its network or certain features, such as visual voicemail, etc. It’s important to keep these up-to-date so you can take advantage of new technologies and continue using the services that your carrier provides. To update your carrier settings, follow these steps:
- Go to Settings > General > About.
- Check for any available carrier settings updates.
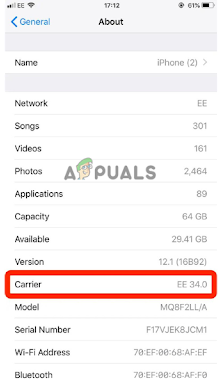
Check for available updates - If an update is available, select Install to install it on your device.
- Wait a few seconds and see if the issue is settled.
3. Reset Network Settings
By resetting the network settings, you’ll be able to delete all existing Wi-Fi networks and forget any previously connected Bluetooth devices from your device. This means that when you connect to a network or pair with a Bluetooth device in the future, it will be a completely fresh connection. To do this, follow these steps:
- Go to Settings > General > Transfer or Reset > Reset > Reset Network Settings.
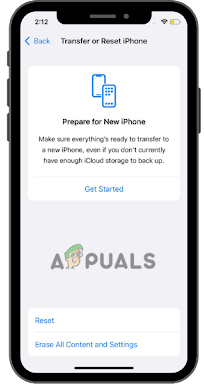
Tap the Reset options - Enter your device’s passcode to proceed.
- Wait a few seconds while the network settings are reset and then check if the issue is resolved.
4. Check Whether The Cellular Plan Is Active
To make sure your cellular plan is active, you should visit your mobile provider’s website or contact customer service. You can also check whether the plan is still valid by going through the terms and conditions of the contract. Once you have verified that the plan is still active, you will be able to use it without any problems.
Furthermore, it is important to double–check the terms and conditions for any changes that may have occurred since you last checked. This will help ensure that your plan remains active and can be used without any issues.
- Go to Settings > Mobile Data.
- Check that the Mobile Data or Cellular Data option is enabled.
- Once you’ve verified that your cellular plan is active, it will start working ultimately.
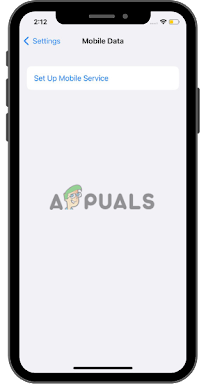
Ready to Connect! Your Cellular Plan is Active
5. Replace Your SIM Card with an eSIM (if applicable)
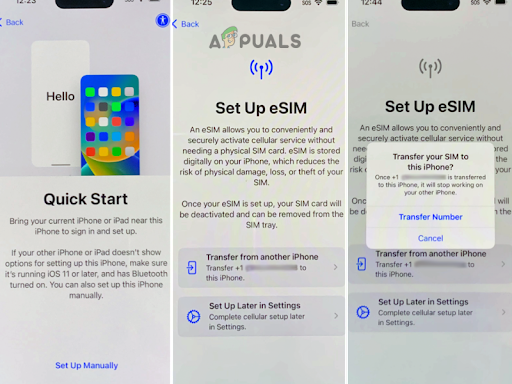
Replacing your SIM card with an eSIM is a great way to resolve the issue of lost or damaged physical SIM cards. An eSIM, also known as an embedded SIM card, is an electronic chip that can be programmed with a cellular network provider’s data for your device.
To replace your sim card with eSIM just follow these steps:
- Contact your cellular provider and ask them for a QR code or a download link that contains the eSIM profile.
- Download the eSIM profile onto your device using either the QR code or provided link.
Accept any terms of service agreements associated with the eSIM profile.
Your device should now be ready to use with your new eSIM card. The physical SIM card in your device will no longer be necessary, so you can discard it or save it for later if you ever need to switch back.
6. Downgrade back to the previous iOS version
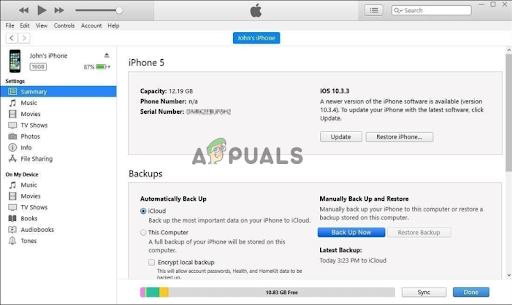
Downgrading to the previous iOS version is an effective solution for addressing various issues associated with iOS updates. However, this process requires you to back up your iPhone device to a computer beforehand to avoid losing any important data during the downgrade process. To initiate the downgrade process, follow these steps:
- Download the iOS installation package for the version of iOS you wish to downgrade to (such as iOS 15).
- Open iTunes on your computer, connect your iPhone via a USB cable, and click on it.
- Whilst holding down the ‘Shift’ key, click ‘Restore iPhone’.
Select the downloaded iOS package from your computer and initiate the installation process.
7. Contact the Carrier For Assistance
If all of these troubleshooting methods fail, contact your service provider for further assistance. Follow the steps below to do so:
- Contact your service provider and explain the issue you’re facing with no cellular connectivity after an iPhone update.
- Provide them with any additional information or details that may help them troubleshoot the issue.
- Ask for their advice and instructions on how to fix the problem, or if they can provide technical support over the phone.
- Follow their advice and instructions to see if it solves your issue.
If the issue persists, have them send a replacement SIM card if necessary. - Wait a few minutes and see if the issue is resolved.


