How to Make Background Transparent in MS Paint?
Microsoft Paint is a straightforward and minimalist editor that may not have all the advanced capabilities of comprehensive editors like Adobe Photoshop. However, the latest Windows updates have enriched Paint with additional features, enabling users to accomplish tasks previously out of reach.
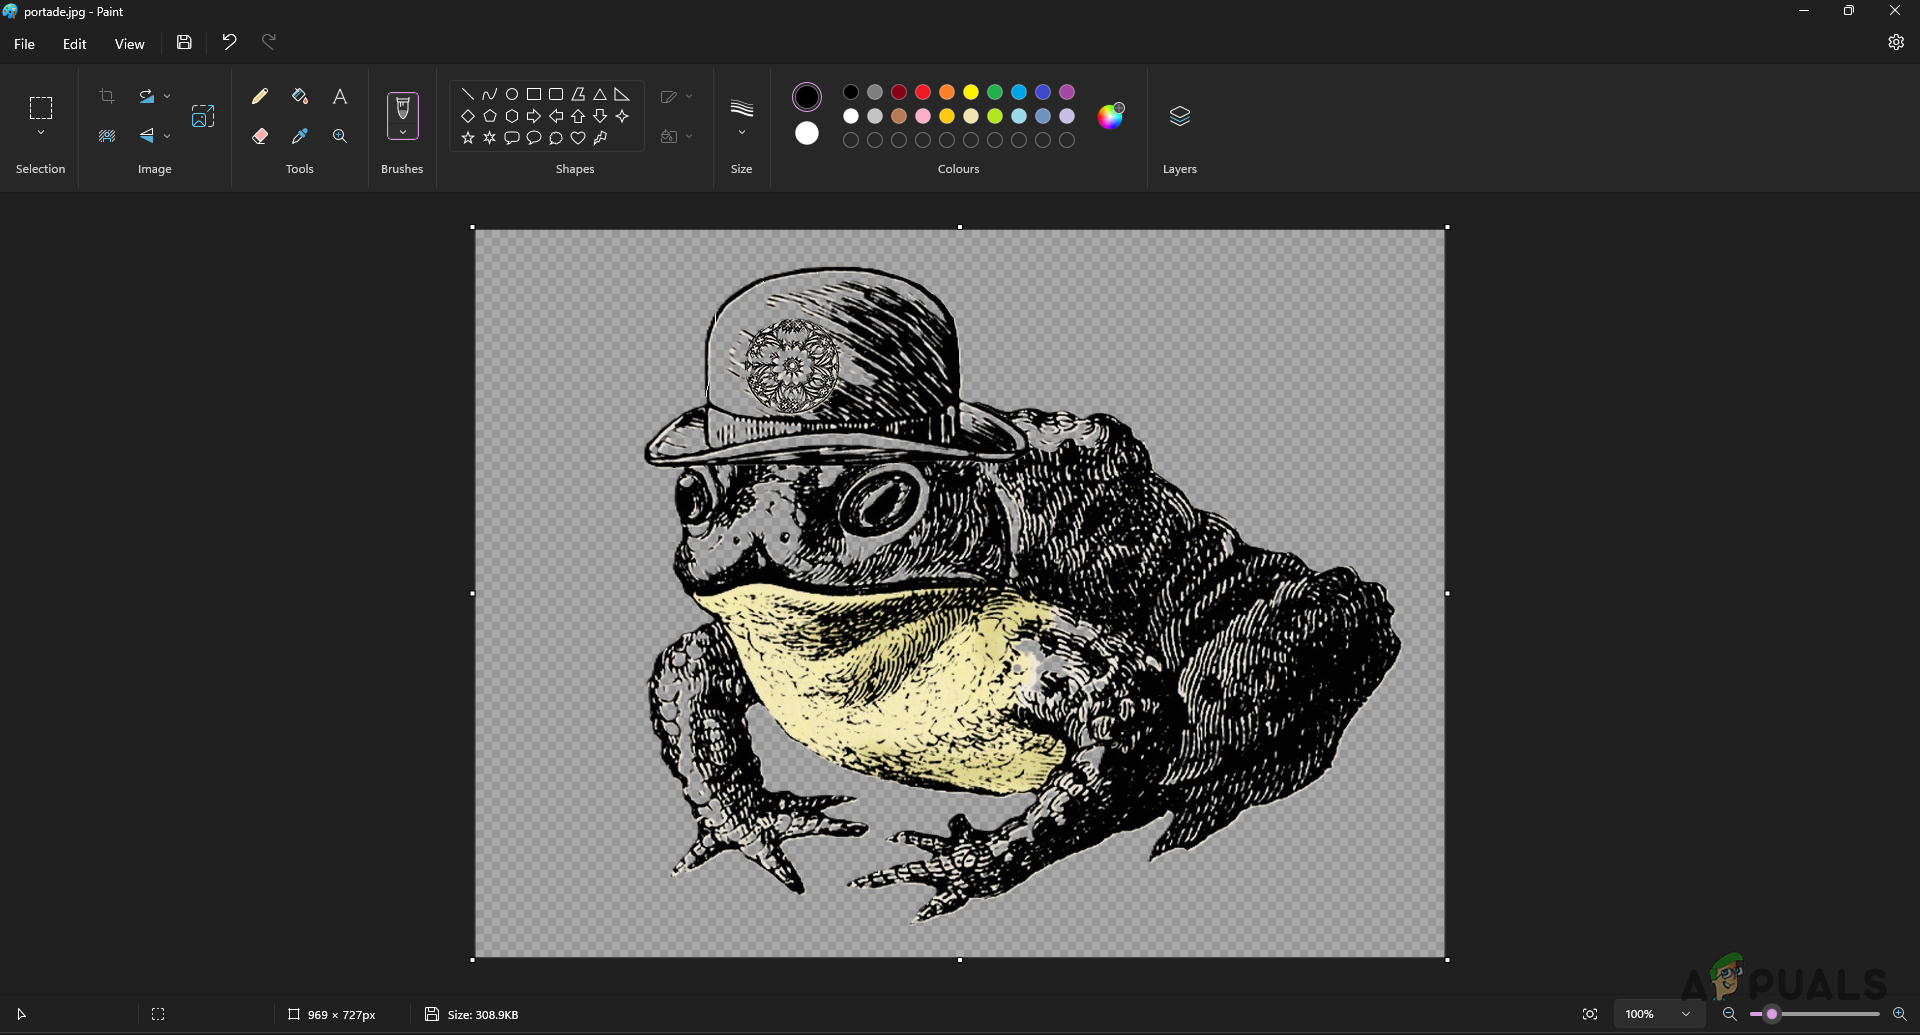
Beyond its basic functions, a particularly noteworthy feature of Paint is its ability to create transparent backgrounds in images—a capability formerly unavailable.
This tutorial will walk you through the process of using Microsoft Paint to render an image’s background transparent.
Install Windows Updates — IMPORTANT
Before we begin, it is essential to makes sure that your PC is running the latest version of Windows. The features we are going to discuss are included in recent updates, specifically the Windows 23H2 version.
Installing available Windows updates is important to access these new features:
- Press the Win key + I shortcut to open the Settings app.
- Go to the Windows Update section in the Settings app.
- Click the Check for updates button to search for any available Windows updates.
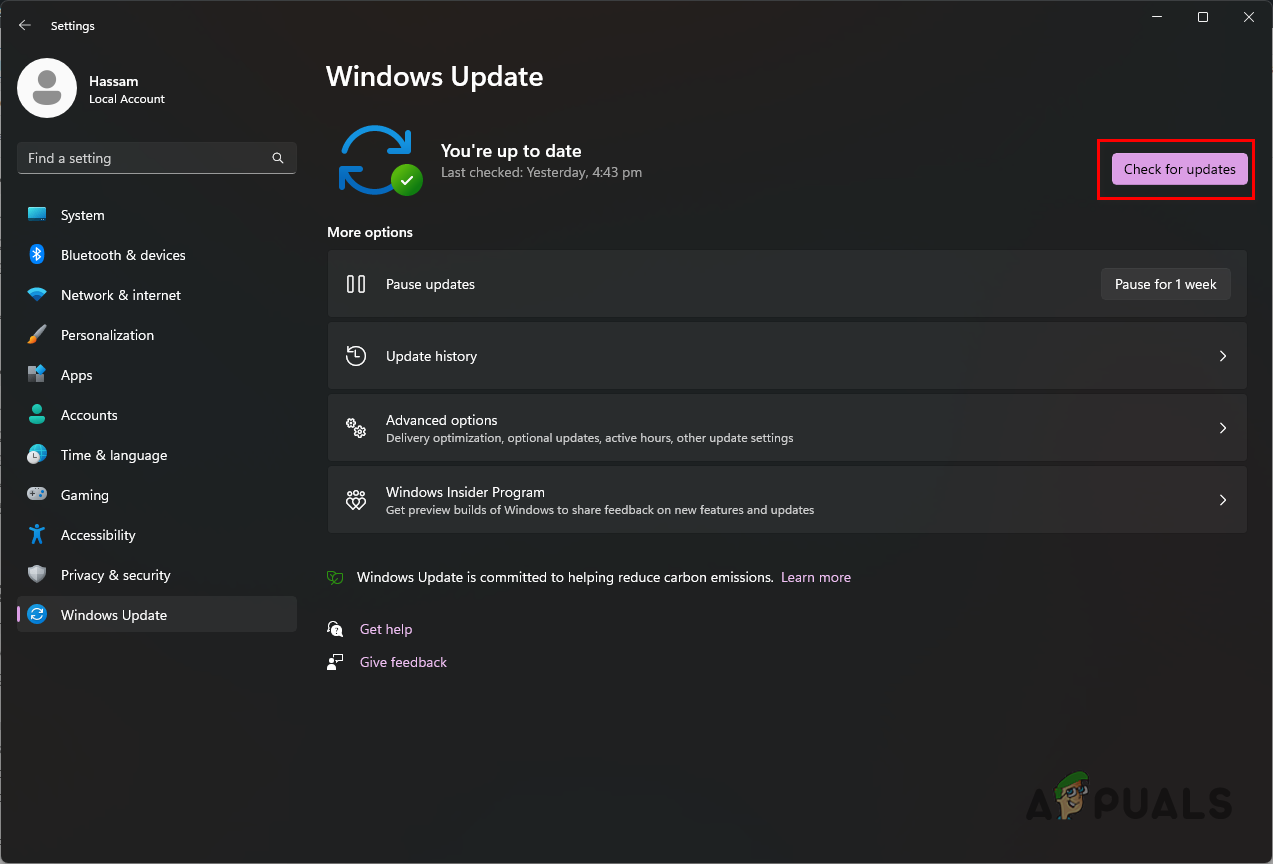
Checking for Windows Updates - Download and install any updates that are found.
1. Create Transparent Backgrounds in Microsoft Paint
Microsoft Paint offers two methods for removing backgrounds from an image. The first is the newly added Remove Background feature in Paint, which can automatically distinguish and exclude backgrounds in pictures.
The second method is the Transparent Selection option, which permits manual selection and removal of the desired background sections. Let’s delve into both methods.
1.1 Using Remove Background
- Open the Microsoft Paint app on your PC by searching for it in the Start Menu.
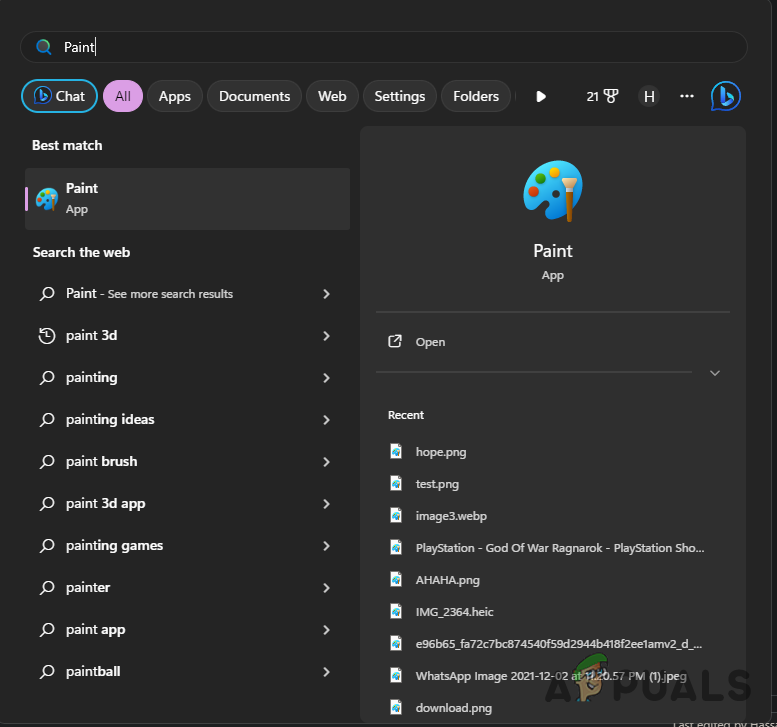
Opening Microsoft Paint - Load your image in the Paint window by using either the drag and drop method or via File > Open.
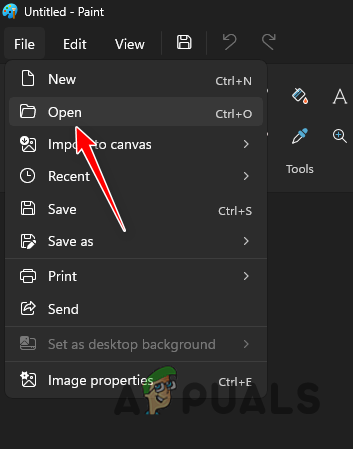
Opening File in Paint - With your image open in Paint, access the Remove Background tool from the Image toolbox, consulting the image below for guidance.
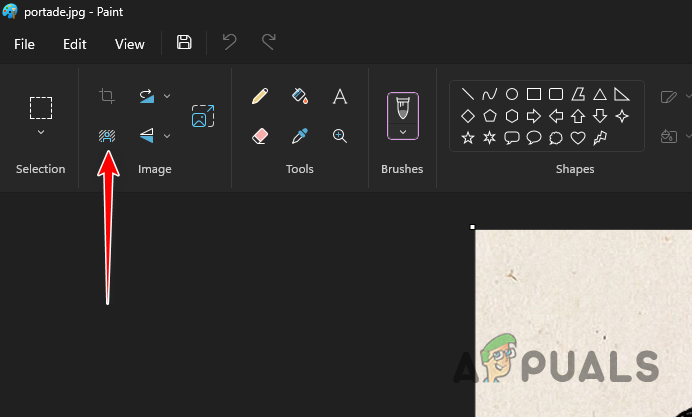
Removing Background in Paint - Paint will process the image and automatically remove the background.

Creating Transparent Backgrounds in Microsoft Paint - Save your edited image using the CTRL + S shortcut or select the File > Save as option.
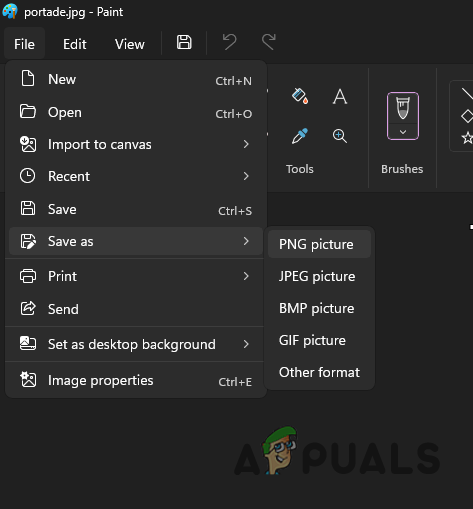
Saving Output Image - Note: The CTRL + S shortcut will overwrite the original image with the new version that has a transparent background.
1.2 Using Transparent Selection
- Start the Paint app by searching for it in the Start Menu.

Opening Microsoft Paint - Upload your image into Paint by choosing File > Open or drag and dropping the file.

Opening File in Paint - Once your image is open, select the Transparent Selection option from the Selection menu.
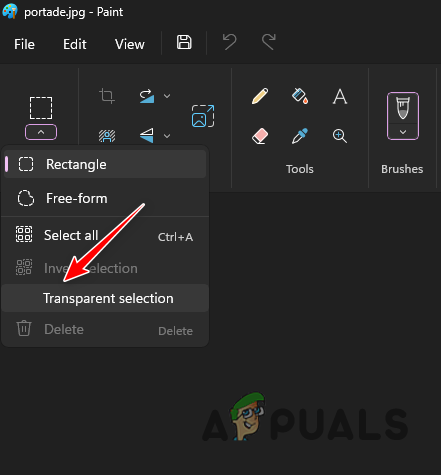
Enabling Transparent Selection - Return to the Selection menu and pick the Free-form selection tool.
- Outline the section of the image you wish to keep.
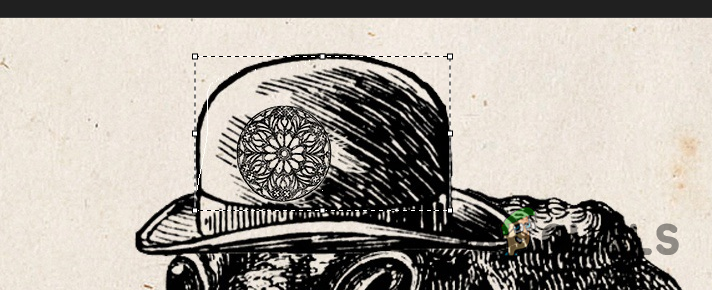
Tracing Image for Selection - Copy the traced selection by pressing CTRL + C.
- Access the Layers menu afterward.
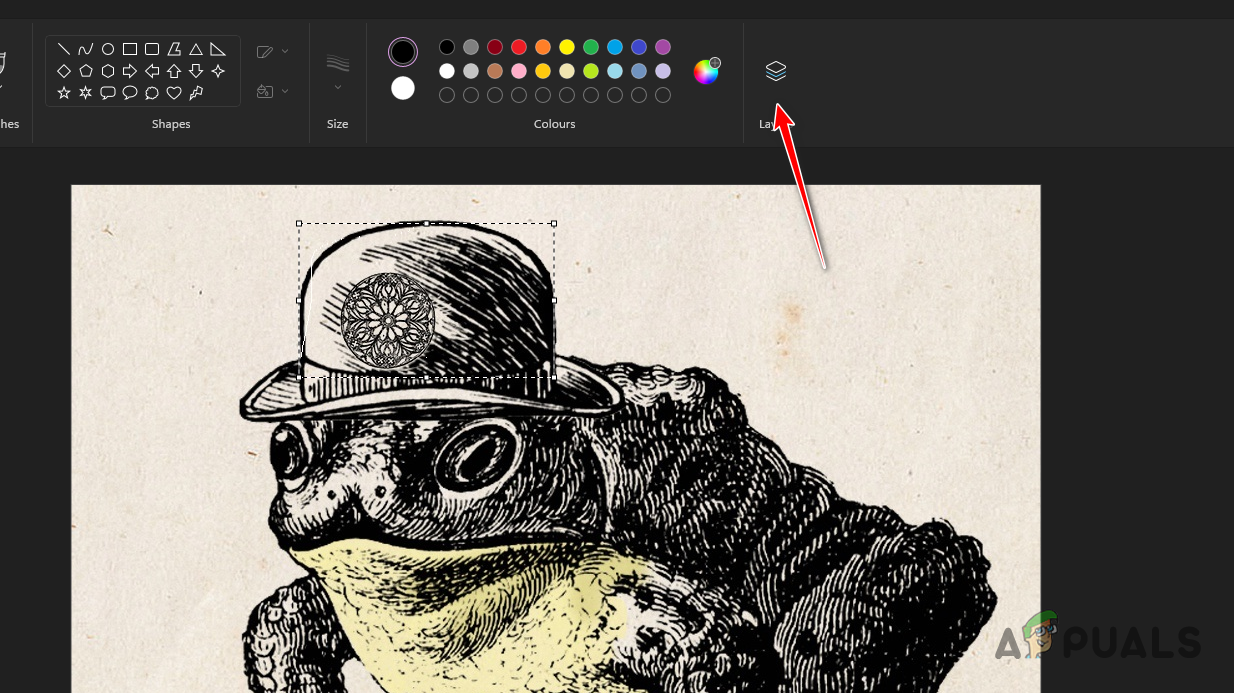
Enabling Layers in Paint - Initiate a new layer by clicking the + icon.
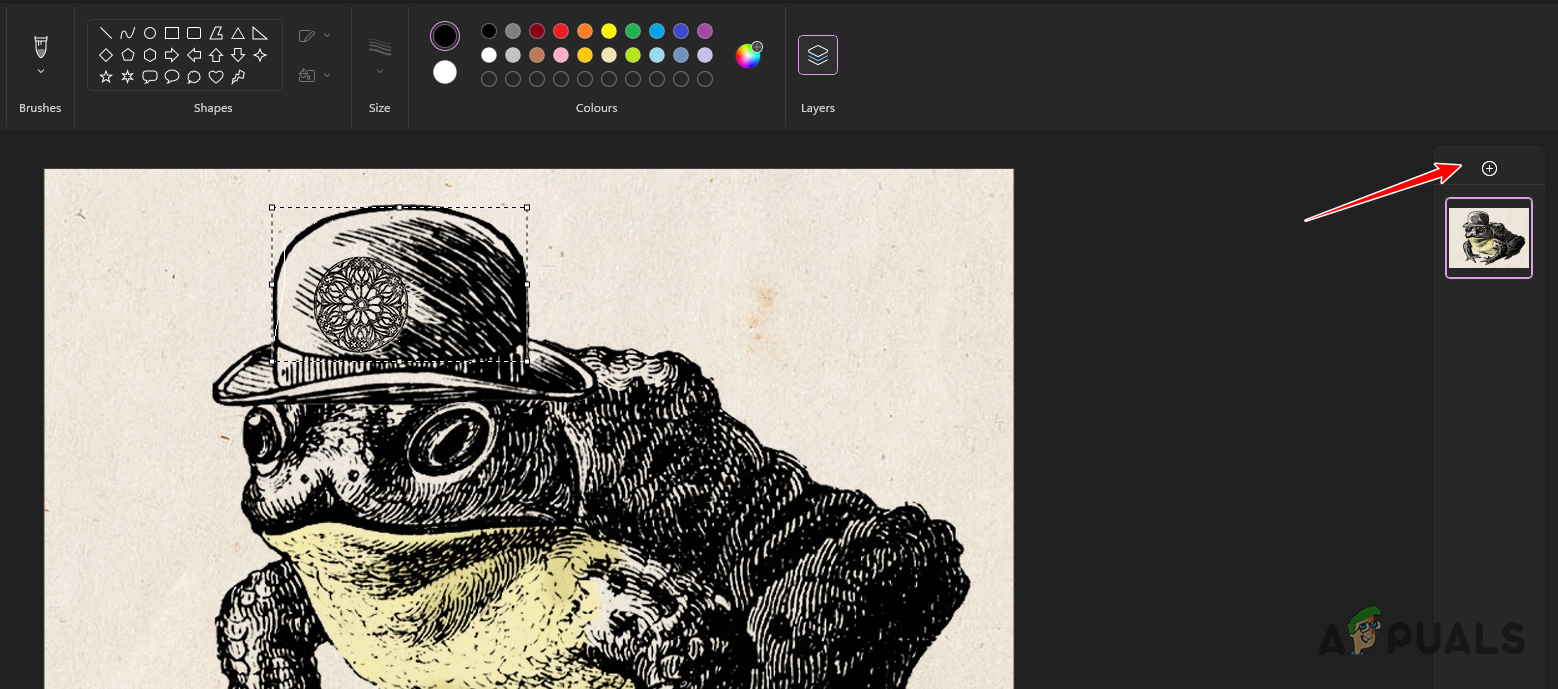
Adding a New Layer - Select the new layer and paste your selection with CTRL + V.
- Delete the original layer by right-clicking it and choosing Delete layer.
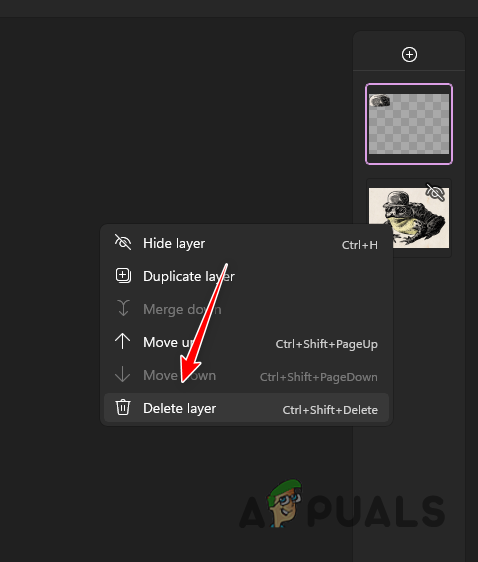
Deleting Layer in Paint - Finally, save your image to the computer through File > Save as.

Saving Output Image
2. Other Services and Tools
In addition to Microsoft Paint, there are various online services that allow you to remove backgrounds from images to create transparent versions. There’s an abundance of options for this purpose.
More advanced image editors like GIMP or Adobe Photoshop can also be used for picture editing. These applications provide an extended range of features and functionality for intricate image manipulation.
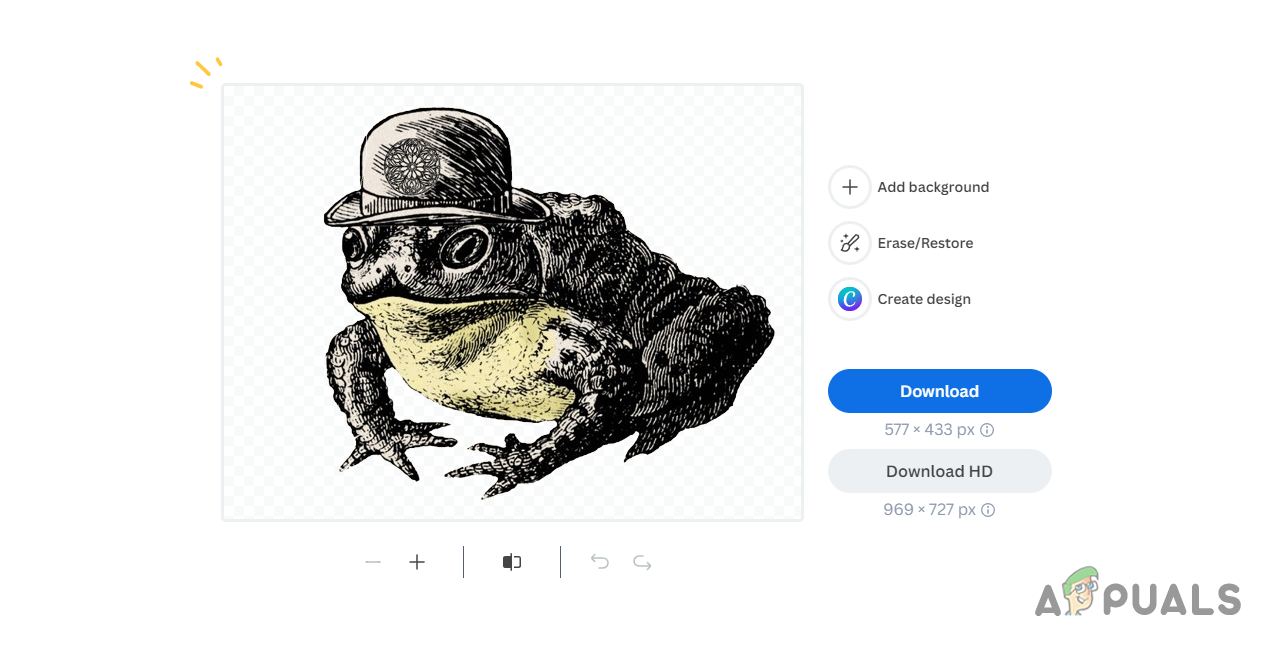
A prominent online service for background removal is RemoveBG. Simply upload your image and it will process the background deletion automatically. You can then download the image with the transparent background using the provided download button.