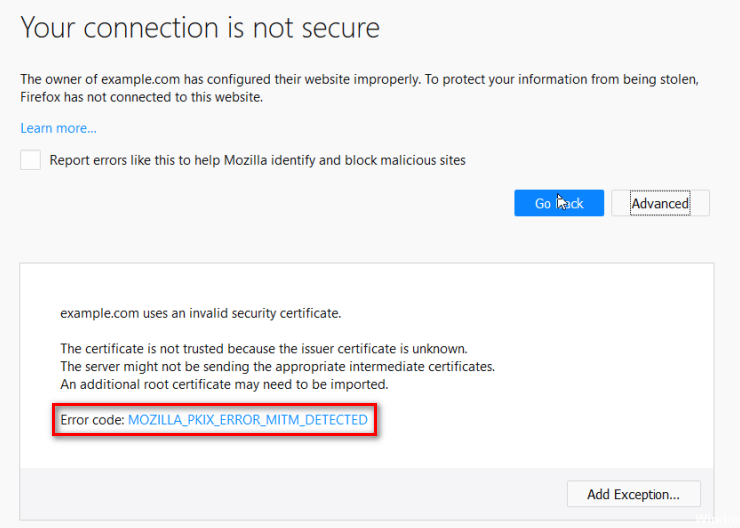
Fix: MOZILLA_PKIX_ERROR_MITM_DETECTED Error on Firefox
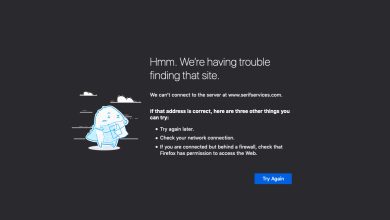
The MOZILLA_PKIX_ERROR_MITM_DETECTED error occurs when affected users attempt to access one or more nameservers. This is typically reported with duckduckgo.com, reddit.com and a few other HTTPS websites. For most affected users, the issue only occurs on Mozilla Firefox – the website is accessible from other browsers.
Most commonly this issue is caused by a 3rd party AV interference caused by HTTPS scanning or filtering. You can fix this either by disabling the security feature or by uninstalling the security suite altogether.
Although it’s not recommended, you can also avoid this error by disabling the HTTPS certificate check from your Mozilla Firefox browser. This is dangerous, mainly because this error can also be occurred by a malware app (Legendas) that is known to mine cryptocurrencies and extract behavioral data.
In rare circumstances, a VPN network or a Proxy server can also trigger this error in your Firefox browser.
How to Fix the MOZILLA_PKIX_ERROR_MITM_DETECTED Error?
1. Enabling HTTPS Scanning/ filtering
As it turns out, one of the most common causes with the potential of triggering this issue is a security option that’s typically enforced by 3rd party AV suite. Avast, Kaspersky, ESET and a few other security suites all use HTTPS scanning/filtering functionality.
In most cases, this issue will occur due to a false positive that convinces your browser that a MITM (man in the middle) is underway on your computer. In most cases, this happens because a 3rd party AV is sending details about your connections (IIRC).
Of course, depending on the 3rd suite that you’re using, you might find it under different names in the settings menu:
Scan SSL
Enable SSL / TLS filtering
Enable HTTPS scanning
Show Safe Results Only
If this scenario is applicable and you’re using a 3rd party suite that you suspect might be using HTTPS scanning or filtering, you’ll need to access your AV settings and disable the option that might be causing the issue.
If you don’t know how to do this yourself, search online for specific steps.
Note: Here’s how to fix the SSL_ERROR_BAD_CERT_DOMAIN in Mozilla.
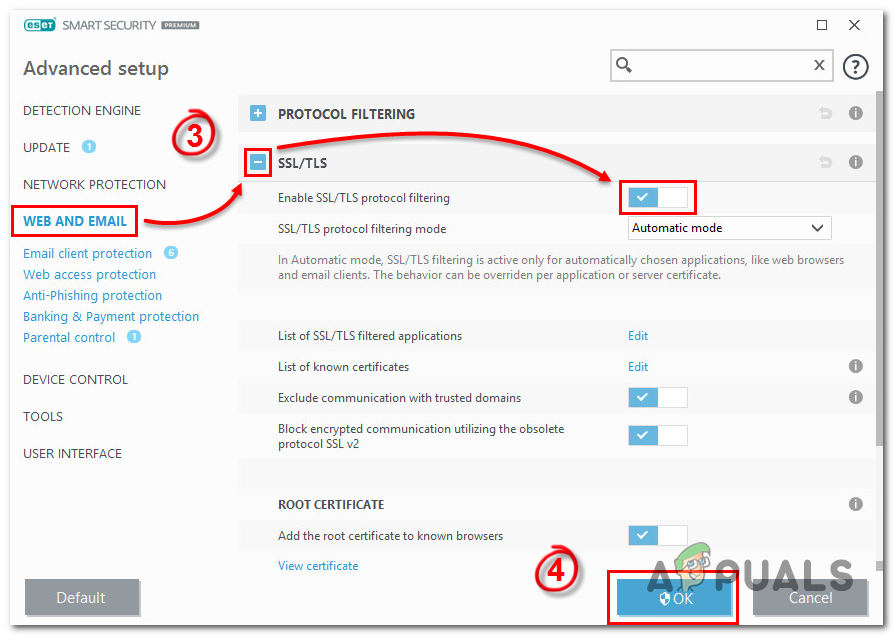
For example, in ESET Smart Security, you can do this by going to Web and Email > SSL / TLS and disabling the toggle associated with Enable SSL / TLS protocol filtering. After you do this, click Ok to save the changes, then click Yes at the UAC (User Account Control) to grant administrative privileges.
After you do this, restart your machine and see if the issue is resolved at the next system startup. In case you’re still encountering the same MOZILLA_PKIX_ERROR_MITM_DETECTED error even after you disabled HTTPS filtering, move down to the next potential fix below.
2. Disabling HTTPS certificate check (not recommended)
If you want to expedite the MOZILLA_PKIX_ERROR_MITM_DETECTED error without to much hassle, disabling HTTPS certificate checks is about your quickest option. But I would not recommend going this route unless you really know what you are doing.
Doing this will certainly stop the error from occurring, but it will also leave your system vulnerable to security threats that originate from your web surfing.
However, if you’re still determined to disable HTTPS certificate check, here’s how to do this from the hidden ‘about:config‘ advanced configuration preferences menu of Mozilla Firefox:
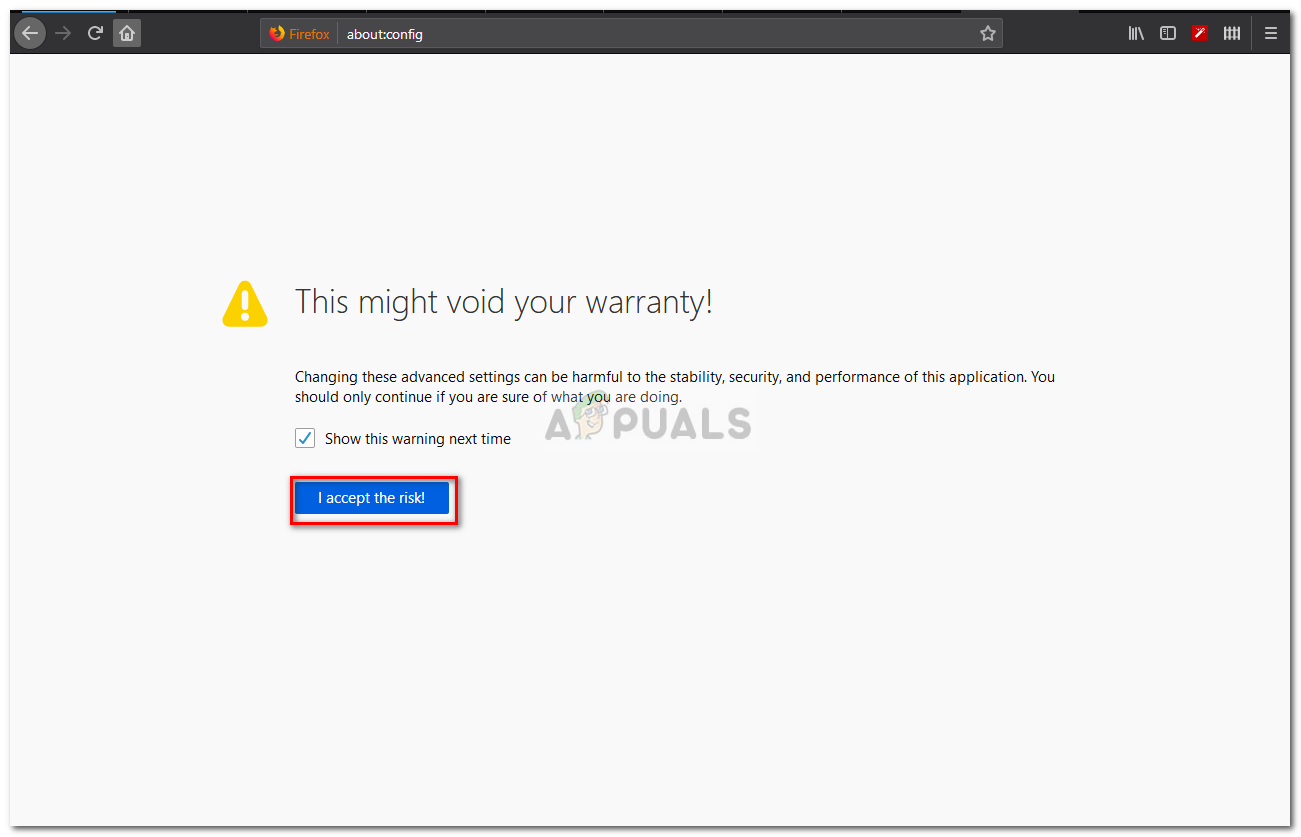
- Open Mozilla Firefox, paste ‘about:config‘ inside the navigation bar and press Enter to open up the Advanced Settings menu of this browser.

about:config in Firefox - Once you see the Proceed with Caution prompt, click on Accept the Risk and Continue button to make the advanced settings menus visible.
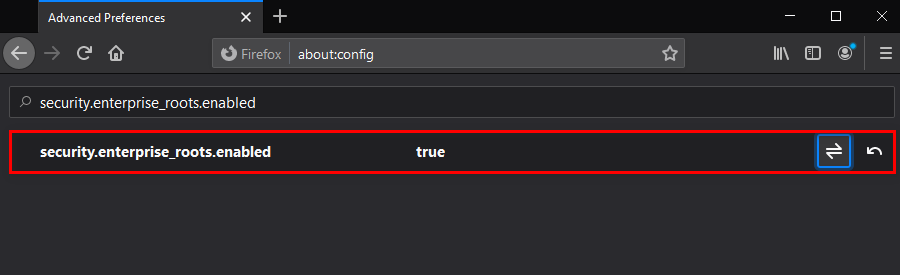
Mozilla Firefox about:config - After you manage to get inside the Advanced Preferences menu, use the search bar to find the following preference:
security.enterprise_roots.enabled
- Once you manage to find the correct settings, change it’s value from false to true by clicking on the switch icon.
Changing the value of security.enterprise_roots.enabled - Once the modification has been enforced, restart your computer and see if the issue is resolved at the next startup.
In case the same MOZILLA_PKIX_ERROR_MITM_DETECTED issue is still occurring, move down to the next potential fix below.
3. Uninstall Legendas and disable the Com+ Leg Service (if applicable)
As it turns out, this particular issue can also occur due to a process belonging to a subtitle program Legendas. Apparently, this application is most likely taking advantage of it’s permissions to mine cripto-croins using the RAM that’s made available to them. Even more, there are security concerns that the application is also after personal user information and behavior.
Firefox and a few other browsers will detect that it’s sending data against regulations so it will trigger the MOZILLA_PKIX_ERROR_MITM_DETECTED as a result.
If you got this Legendas application installed on your computer (especially windows 3.7), you need to uninstall it ASAP. Even more, it’s known to leave behind a process that continues to mine data, so you need to remove that also.
And as an extra security precaution, you should also enforce a security scan, just to make sure you are completely saved.
Here’s a quick on getting rid of Legendas and it’s associated process:
- Press Windows key + R to open up a Run dialog box. Next, type ‘appwiz.cpl’ and press Enter to open up the Programs and Features menu.

Type appwiz.cpl and Press Enter to Open Installed Programs List - Once you’re inside the Programs and Features menu, scroll down through the list of installed applications and locate the entry associated with Legendas.
- When you see it, right-click on it and choose Uninstall from the newly appeared context menu.

Uninstalling Legendas - Inside the uninstallation prompt, follow the steps to get rid of it for good. Once the uninstallation is complete, restart your computer and wait for the next startup to complete.
- Press Windows key + R to open up a Run dialog box again. Next, type ‘services.msc’ and press Enter to open up the services screen.
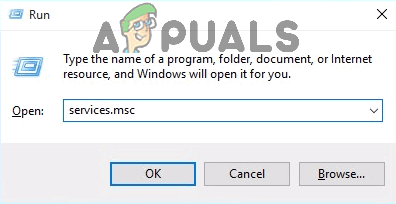
Type “services.msc” into the Run dialog and press Enter Note: If you see the UAC (User Account Control) prompt, click Yes to grant admin access.
- Inside the Services screen, move over to the right section of the screen and identify the service called COM+ Leg Service. When you see it, double-click on it, then select the General tab and change the Startup type to Disabled and click Apply to save the changes.
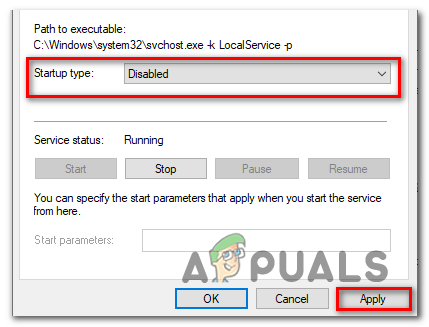
Disabling the COM+ Leg Service via the Services screen - After the service is restarted, restart your computer and, once the next startup is complete, initiate a scan with Malwarebytes in order to make sure that the malware infection is dealt with.
In case this scenario wasn’t applicable or you’re still encountering this issue even after removing the malware, move down to the next potential fix below.
4. Disable VPN or Proxy server
If we were to analyze the error code, it’s essentially saying that some kind of the third party is intercepting the HTTPS connection to the website that your browser is attempting to load.
Well, another possible culprit that might cause this problem is a VPN or Proxy server that is filtering the connection. Several affected users have confirmed that they managed to fix the issue after they uninstalled their VPN client or disabled the Proxy server (depending on the service that they used).
To accommodate both potential scenarios, we created two different guides that will help you resolve the MOZILLA_PKIX_ERROR_MITM_DETECTED:
Disable Proxy Server
- Open up a Run dialog box by pressing Windows key + R. Next, from the text box, type ‘ms-settings:network-proxy’ and press Enter to open up the Proxy tab of the native Settings app.
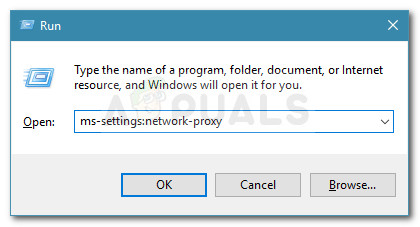
Run dialog: ms-settings:network-proxy - Once you manage to arrive inside the Proxy tab, scroll all the way down to the Manual proxy setup section, then disable the toggle associated with ‘Use a proxy server‘.
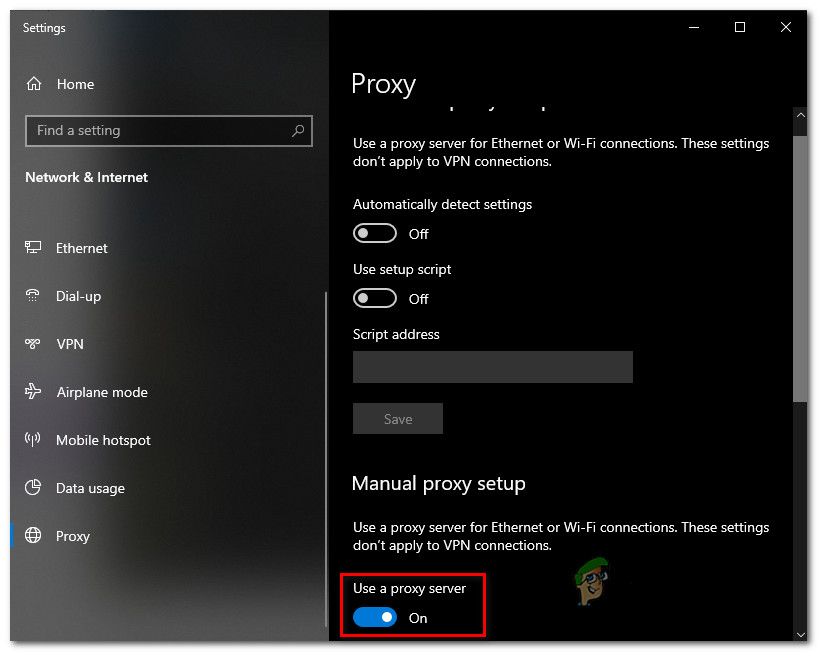
Disabling the use of a proxy server - After you enforce this modification, restart your computer and see if the problem is fixed at the next system startup.
Disable VPN Connection
- Open up a Run dialog box by pressing Windows key + R. Next, once you’re inside the text box, type ‘appwiz.cpl’ and press Enter to open up the Programs and Features menu.
Type appwiz.cpl and Press Enter to Open Installed Programs List - Inside the Programs and Features screen, scroll down through the list of installed applications and locate the 3rd party VPN that you suspect might be causing the issue. When you see it, right-click on it and choose Uninstall from the newly appeared context menu.

Uninstalling a VPN tool - Inside the uninstallation screen, follow the instructions to get rid of the application. Once the process is complete, restart your machine and see if the problem is resolved at the next startup.
In case this scenario wasn’t applicable, move down to the final fixing method below.
5. Uninstall 3rd party firewall
We already established that this issue can be easily be caused by actual malware that is after data & crypto mining. However, it turns out that this problem can also occur due to an antivirus that is coincidentally acting like malware.
In most cases, an AV will end up causing this issue in Firefox because it’s acting like a MITM (man in the middle) is underway on your computer. In most cases, this happens because a 3rd party AV is sending details about your connections (IIRC).
Several affected users that we’re also encountering this issue have reported that they only managed to fix the issue after they uninstalled the 3rd party suite from their computer and ensured that they didn’t leave behind any remnant files that might still cause this problem.
Here’s a quick guide on doing this:
- Press Windows key + R to open up a Run dialog box. Next, type ‘appwiz.cpl’, then press Enter to open up the Programs and Features menu.

Type “appwiz.cpl” into the Run dialog and press Enter - Once you see the list of applications, look for the entry associated with your AV, then right-click on it and choose Uninstall to initiate the uninstallation procedure.
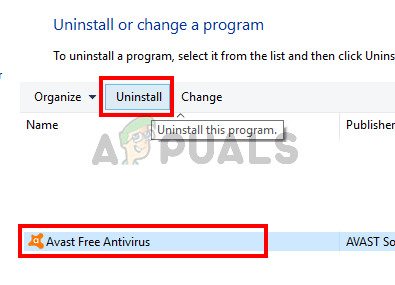
Select Avast and Click Uninstall - Inside the uninstallation prompt, follow the on-screen instructions to complete the procedure, then restart your computer.
Note: As an extra step, you can follow this guide to ensure that you’re not leaving behind any 3rd Party AV files.