How to Play Minecraft With Friends? 3 Easy Methods
 Reviewed by Huzaifa Haroon
It isn’t much fun to build your Minecraft world alone, but with some friends to accompany you, that experience gets much more exciting. Whether you’re a beginner or an experienced player trying to figure out ways to play Minecraft with your friends, Look no further! In this guide, we will provide step-by-step instructions and tips to make the process of playing with friends as seamless as possible.
Setting up a Minecraft Server
In case you are not familiar with Minecraft’s servers, consider it as a central hub for all connected players, allowing them to interact with each other and play the game together. It is also necessary in this case as without it, you would not be able to play together with your friends.
Now to play Minecraft with your friends, you can either create your server and ask them to join, or become a part of their server through its IP address.
This video demonstrates how you can create your server in Minecraft Java Edition to play with your friends:
When setting up a server, common issues may arise such as not allocating enough memory, not forwarding the proper ports, the server not starting or crashing during startup, and players being unable to connect. To troubleshoot these issues, check the server’s log files for error messages, make sure the server software is up to date, check firewall settings, ensure the server has enough resources, and check if the IP address or domain name being used is correct.
Playing on PC
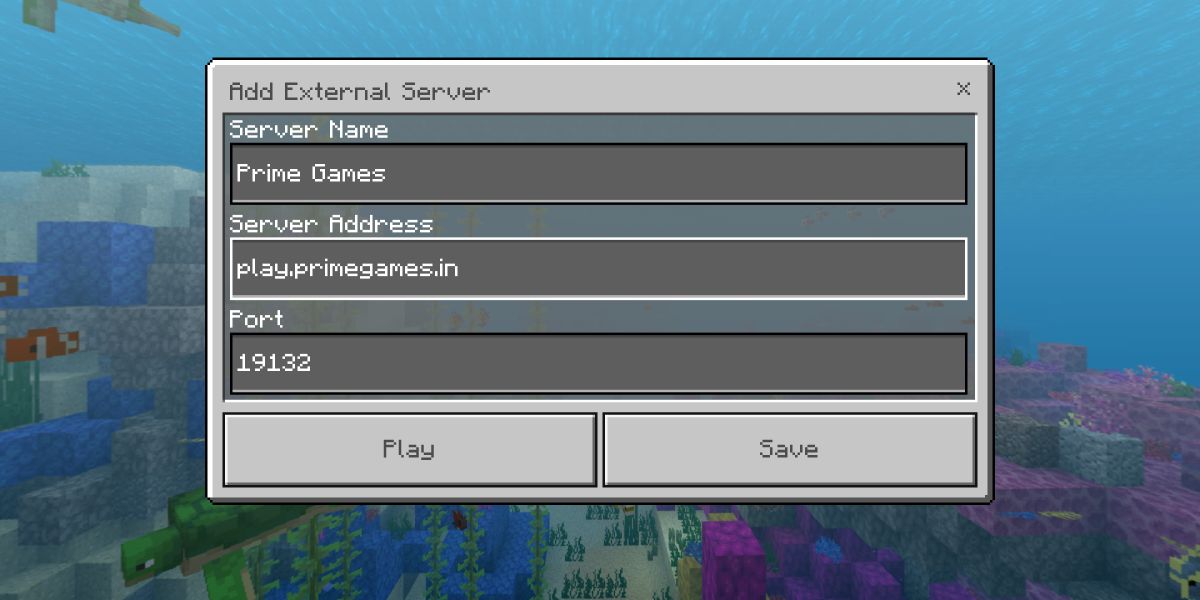
If you are using a PC to play Minecraft, chances are high of it being a Java Edition instead of Bedrock. Although both editions can be played on your PC, players prefer Java on such a setup. Firstly, browse through the internet to find a list of public servers with their IP addresses. Whatever service you choose, make sure your friends use the same IP address and name so that you can play together.
To join public servers on the Java Edition:
- Start the Minecraft Java Edition game on your computer.
- Click on the Multiplayer button from the main menu.
- Click the Add Server button.
- Enter the server’s name and its IP address in the appropriate fields.
- Click Done to add the server to your server list.
- Select the server from the server list and click Join Server to connect to it.
- Wait for the game to connect to the server, and once connected, you will be prompted to log in.
- Enter your Minecraft account credentials and click Play to join the server.
That’s it! You can now begin to play Minecraft with your friends on a PC.
Playing on Console/Mobile
Using consoles such as Xbox, PlayStation, and Nintendo Switch or mobile operating systems, allows you to only play with the Bedrock Edition of Minecraft. You can follow the process, which is very similar to the Java Edition, to play Minecraft with your friends on the Bedrock Edition as well.
Note: The steps to join a public server can be used to join a private server as well.
Minecraft Realms
An alternative to Minecraft’s private server is Minecraft Realm. It is a subscription-based service that allows you to create an online world where you can play along with your friends. The number of players that can join your Realm server depends upon the subscription model.
Realms provides a simple and easy way to create and manage a server, without the need for technical knowledge or server hosting. Additionally, it offers features such as backups, player and world management, and the ability to upload custom skins and resource packs.

How to create a Minecraft Realm
So now that you’re familiar with the use of Minecraft Realms, you can consider creating one to avail the experience of playing side by side with your friends in the same world.
Here is how you can create one:
- Launch the Minecraft game on your device.
- Go to the Play menu, then tap on Worlds > Create New World and then select Realms.
- If you don’t already have a Realms account, the game will prompt you to create one.
- Once you have logged in to your Realms account, select Create New Realm.
- Choose a plan that fits your needs. (You can either choose a one-time plan or a subscription plan)
- Select a world to use as the basis for your Realm. You can either use an existing world or create a new one.
- Customize the Realm settings to your liking, including the name, game mode, and difficulty level.
- Invite players to your Realm by sharing the Realm’s unique link or by adding them directly via their Minecraft account.
- Once your Realm is created, you can access it from the Realms menu in the game and manage it by adding players, editing settings, making backups, and more.
Note: The same method is applicable for the Java Edition with slight changes to the menu sections.
If your friend chooses to create a realm, you can join it on the Java Edition through the invitation link by visiting the Minecraft Realms section and checking for any open invites in the envelope icon. If you’re using the Bedrock Edition, you can ask them for an invitation link directly to access the Realm.
Minecraft LAN
Playing Minecraft over a local area network (LAN) allows multiple players to play together in a single world easily. However, you and your friends must connect under the same IP address to join a LAN game
You can host a LAN server on the Java Edition by enabling the Open to LAN option available under the pause menu. Once done, you can click on the Start LAN World to receive a message with the server’s port number. If the option to join the game does not appear in the Multiplayer menu, you may require this port number to join a world over LAN. To do so on the Bedrock Edition, you can by default check any available games nearby you on the Worlds menu.
Following the steps outlined in this article, you will be able to easily set up and join a Minecraft game with friends. Whether you are playing on a dedicated server, using a public server, or playing on Minecraft Realms, this guide provides all the information you need to get started and have a fun experience playing Minecraft with good company by your side.
Reviewed by Huzaifa Haroon


