Fix: “Skin Images Must Be 64×64 or 64×32 PNG Files” Error in Minecraft
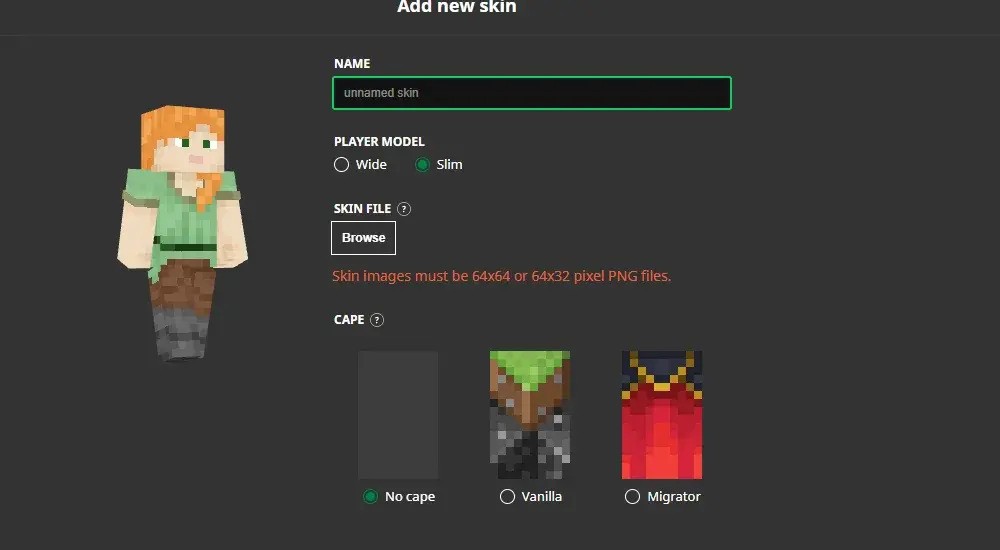
Uploading a custom skin in Minecraft may sometimes trigger the error message: “Skin images must be 64×64 or 64×32 pixel PNG files”. This error appears when the uploaded skin does not meet Minecraft’s technical requirements. The game only accepts skin files that are either 64×64 or 64×32 pixels in size, and they must be in PNG format. If these conditions are not met, the skin cannot be uploaded or used.
Several factors can cause failed skin uploads. These include downloading skins from unofficial sources, using incorrect file formats or dimensions, or issues related to different skin types. For example, certain Minecraft versions or launchers may not support the slim (Alex) model. Additionally, temporary server issues can also prevent skin uploads.
Before troubleshooting:
Check Minecraft’s Service Status page to ensure there are no ongoing issues with skin uploads.
In this guide, we will walk you through step-by-step solutions to resolve this issue.
1. Convert the Image to PNG Format
Minecraft only supports PNG files for skins because this format preserves transparency and avoids compression artifacts. Converting your skin from JPG or other formats to PNG ensures compatibility with Minecraft’s rendering system.
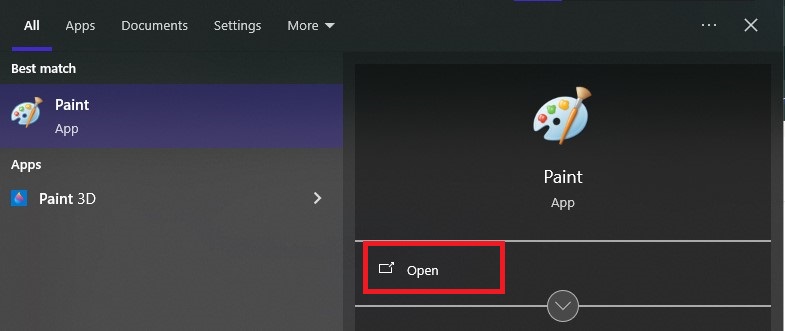
- Press the Windows key, type “Paint”, and open it.
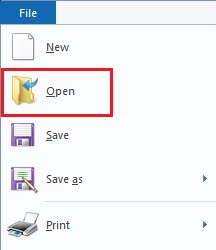
- Click File in the top-left corner, then select Open.
- Browse and select your JPG or non-PNG skin file.
- Once opened, click File again and choose Save as → PNG picture.
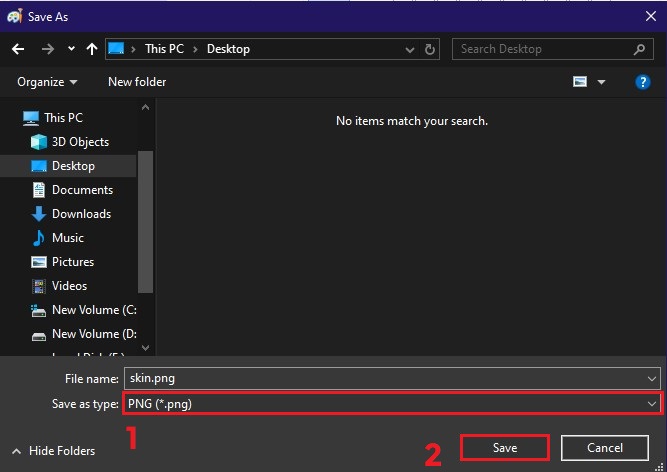
- Try reuploading the converted file in the Minecraft Launcher.
2. Change Skin Dimensions
Minecraft requires skins to be exactly 64×64 or 64×32 pixels. Resizing the image with a skin editor tool ensures it meets these dimensions and resolves upload errors caused by incorrect sizing.
- Right-click your skin file → Properties → Details (on Windows) to check its current dimensions. If they aren’t 64×64 or 64×32, continue with the steps below.
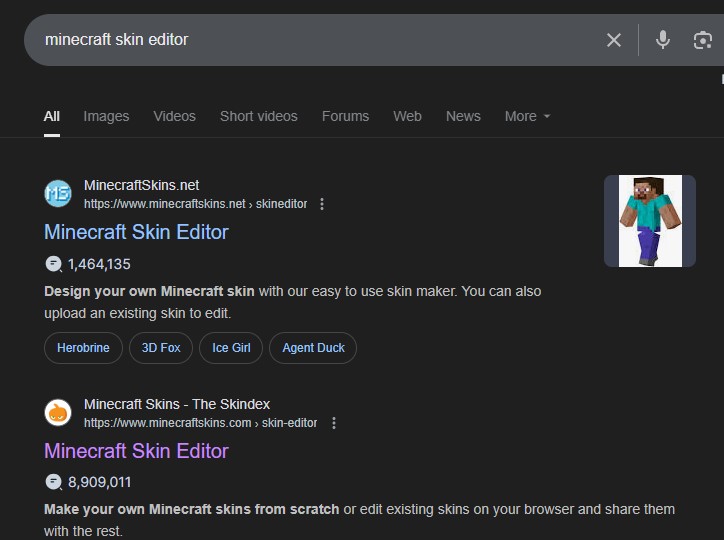
- Open your web browser.
- Search for a Minecraft skin editor and visit a reputable website like Skindex or NovaSkin.
- Upload the skin file from your computer.
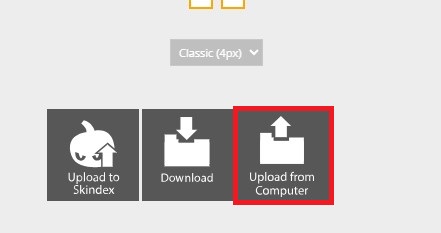
- Edit the skin and set the layout to 64×64 or 64×32.
- Download the updated file in PNG format.
- Import the new skin into the Minecraft Launcher.
3. Disable “Only Trusted Skins” in Minecraft
Disabling the “Only Trusted Skins” setting allows you to use custom skins from non-official sources. By default, Minecraft blocks these skins, so turning this option off removes that restriction while still enforcing the required file format and dimensions.
Note: This option is available only in Minecraft Bedrock Edition (1.20.2 and later). Java Edition does not include this feature.
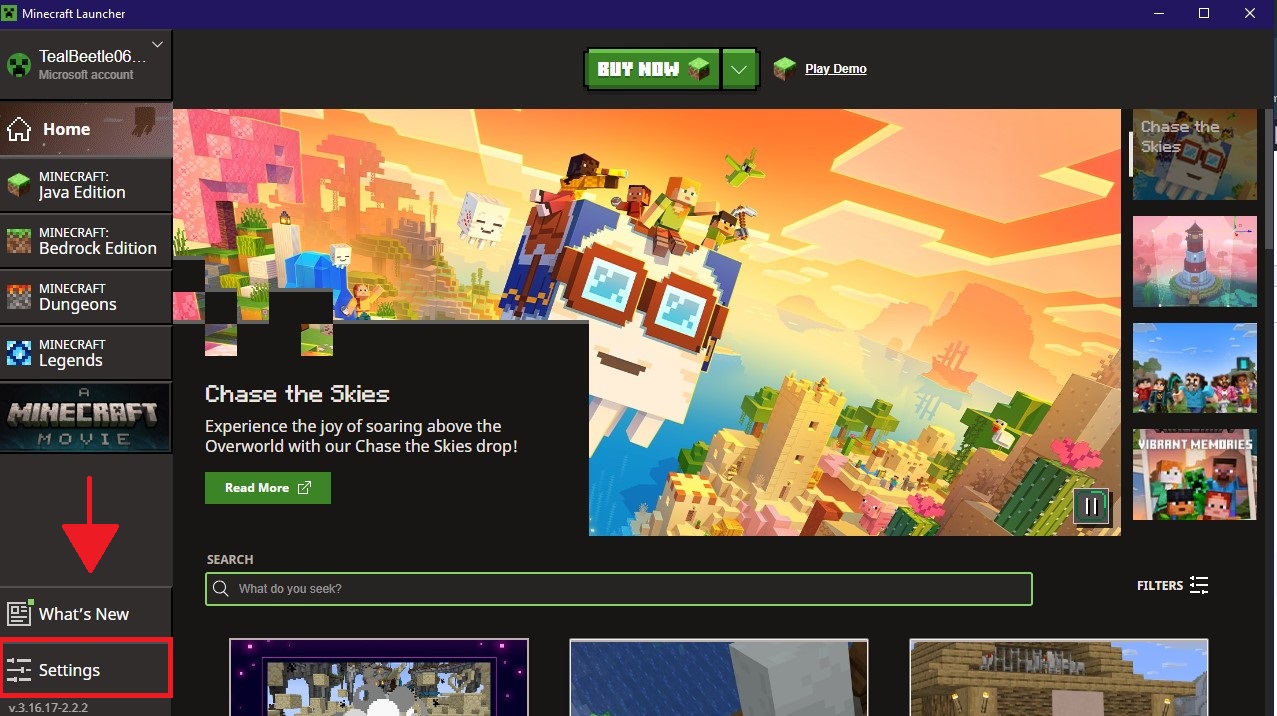
- Open the official Minecraft Launcher.
- Click the “Settings” icon.
- Go to the “General” tab.
- Toggle off “Only allow trusted skins” or “Only show trusted skins”.
- Close and reopen Minecraft to apply the changes.
4. Convert It into a Skin Pack
Packaging your custom skin into a skin pack uses Minecraft’s official resource format, making it easier for the game to recognize your skin as valid content. This often helps bypass upload restrictions.
Note: This method works only for Bedrock Edition.
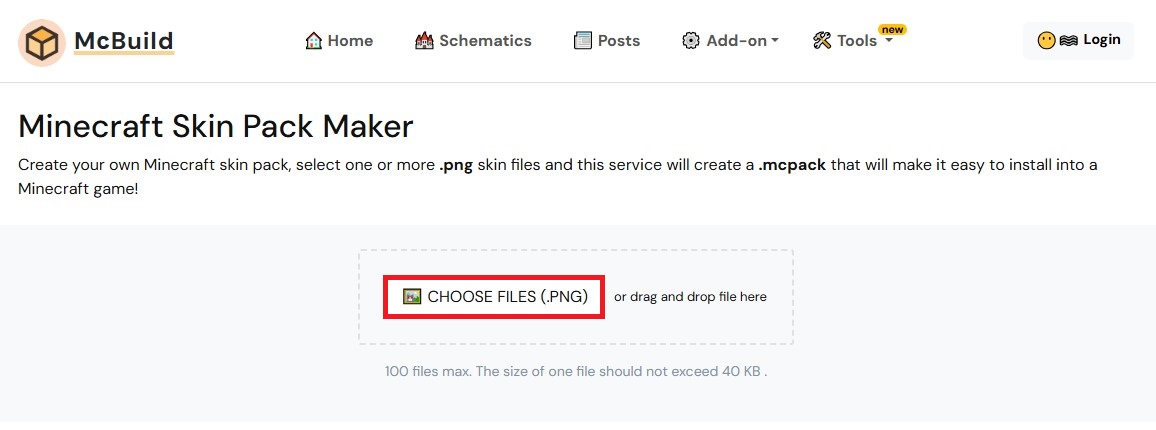
- Open your browser.
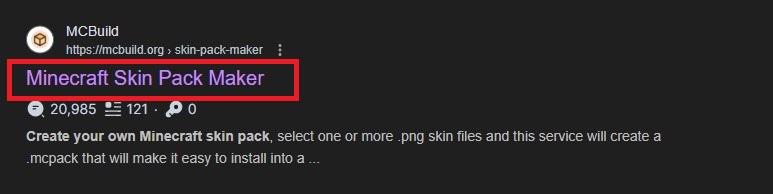
- Go to MCBuild Skin Pack Generator.
- Upload your skin file (ensure it is in PNG format and under 40KB in size).
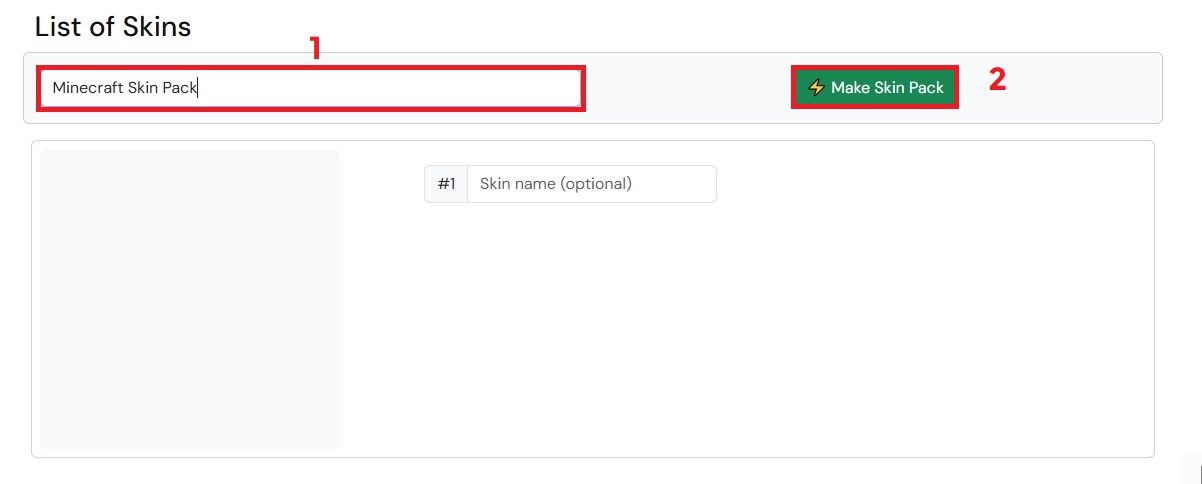
- Name your skin pack and click “Make Skin Pack”.
- Download the generated file and upload it through the Minecraft Launcher.
If none of these steps resolve the issue, consider reaching out to Mojang Support or visiting the official Minecraft bug tracker to check for any ongoing issues related to skin uploads.