How to Fix Minecraft GLFW Error 65542 (Driver Does Not Support OpenGL)?
When launching Minecraft after the 1.17 update, many users with older integrated GPUs, like Intel HD Graphics 3000, encounter an error stating OpenGL isn’t supported. This error prevents the game from loading and shows GLFW Error 65542, indicating your graphics driver doesn’t support OpenGL, which Minecraft needs.
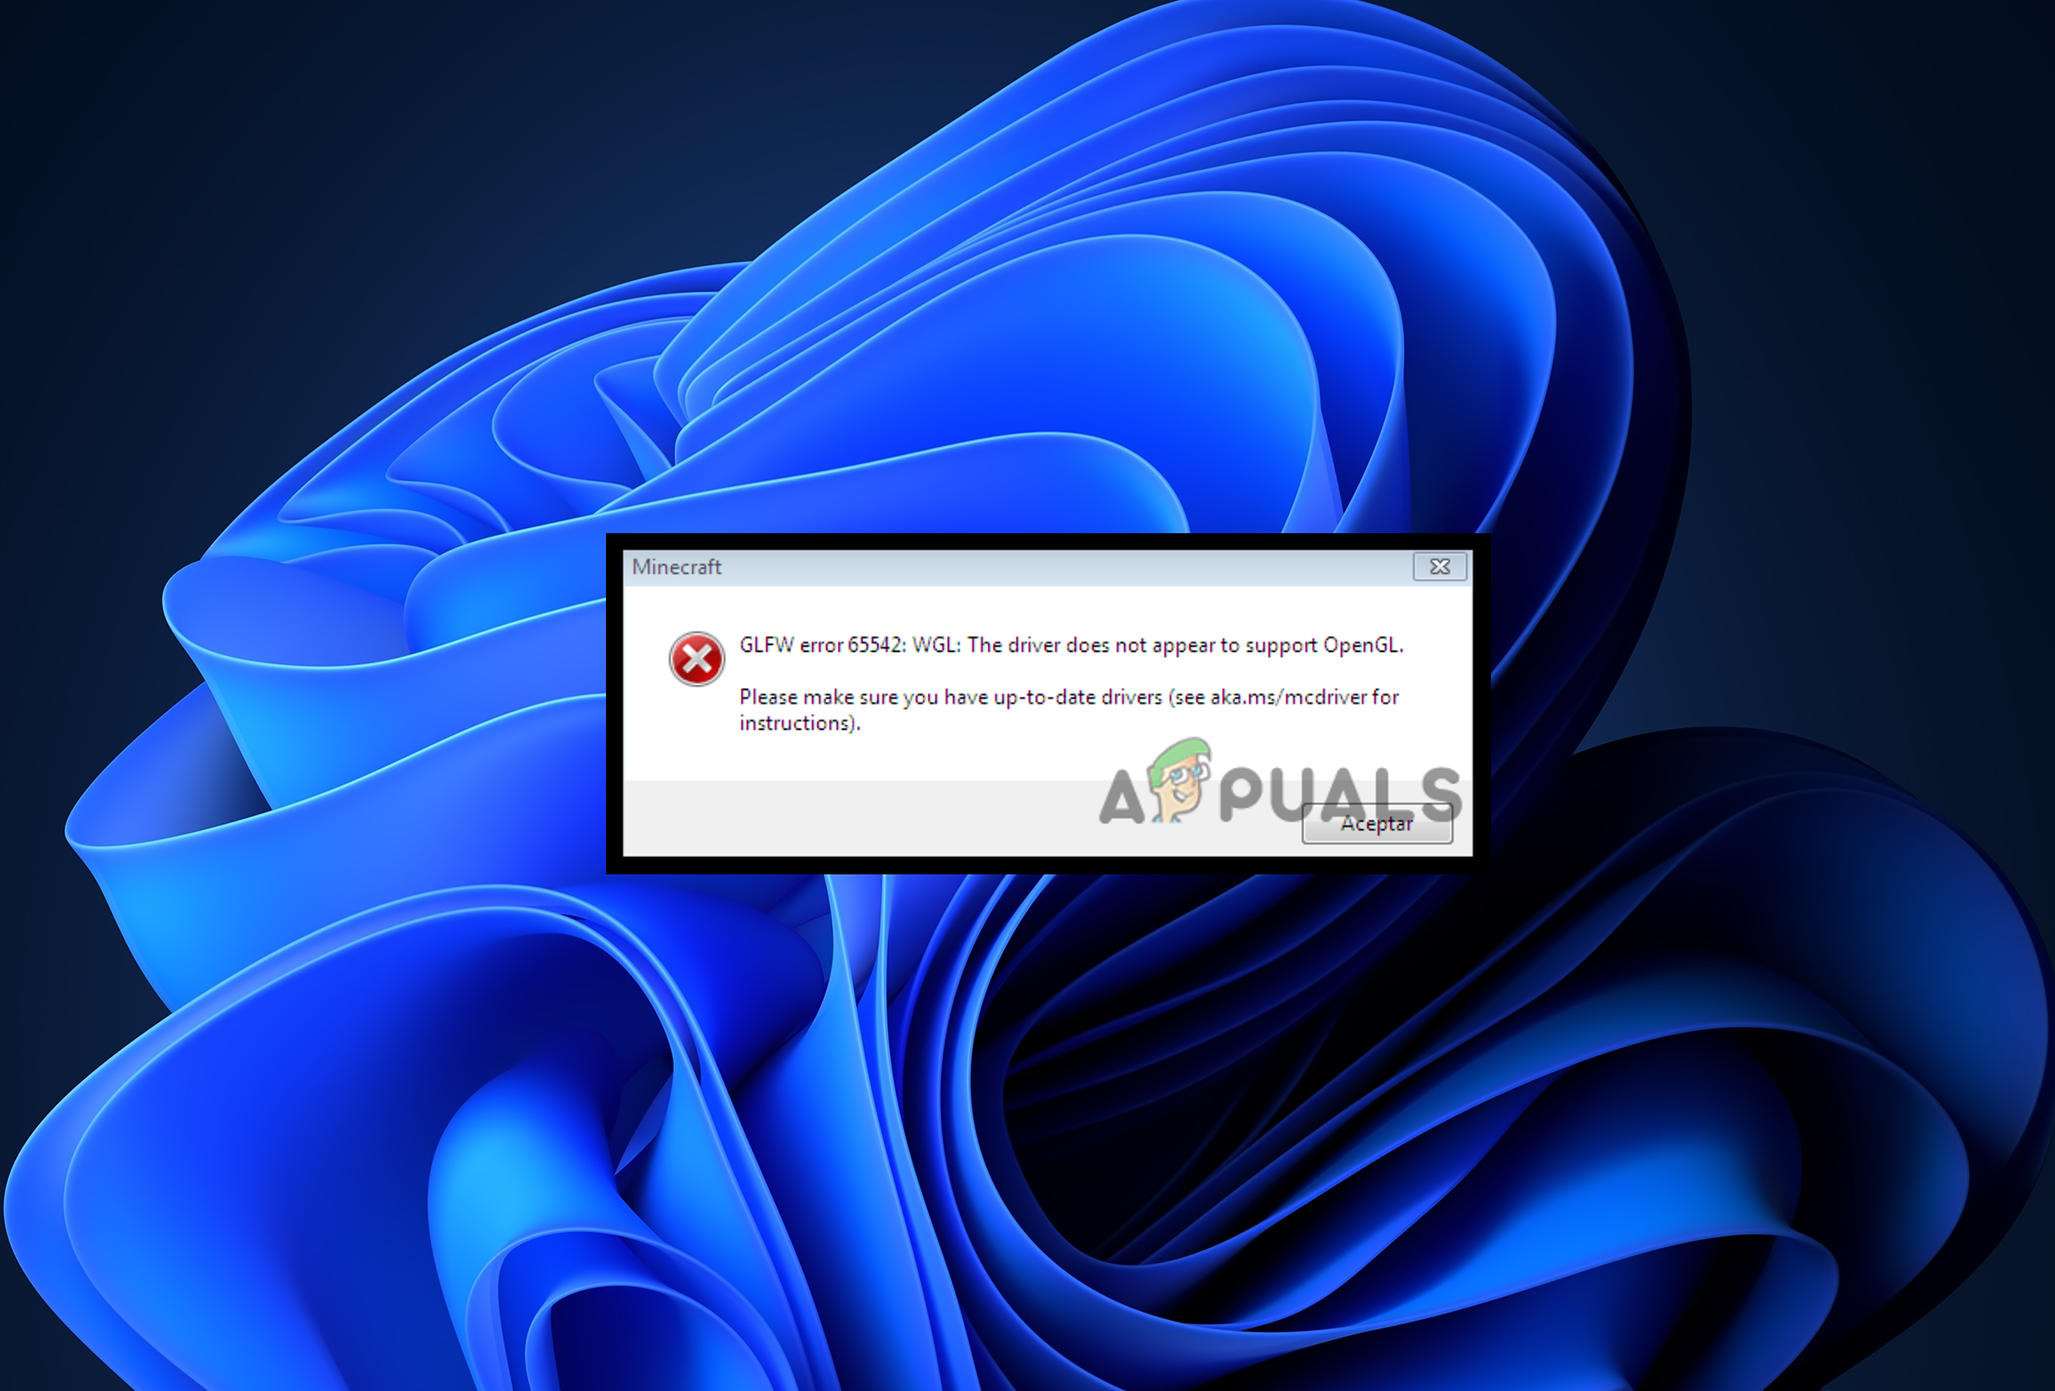
This error occurs because the game now uses OpenGL 3.2, which older GPUs don’t support. Previous versions of Minecraft worked with older OpenGL, but the new update demands the latest version. Using old or broken drivers can also cause this error, worsening the issue for those with outdated hardware and drivers.
For systems with integrated GPUs that can’t support newer OpenGL, the main options are to upgrade to a dedicated graphics card or wait for possible updates or workarounds. However, we have some solutions for users facing this issue with a dedicated graphics card.
1. Replace OpenGL32.dll Manually
OpenGL32.dll is a file that refers to OpenGL and is used by standard processes for rendering 2D and 3D graphics. If it’s damaged or missing, you might get errors like GLFW Error 65542. Replacing the file with a new, safe copy can fix these issues by giving the game a fresh start.
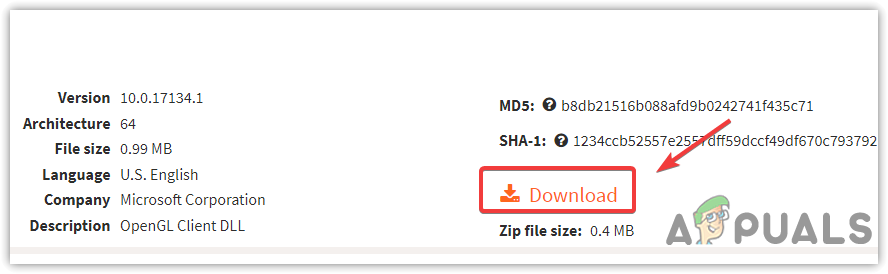
- Download the OpenGL32.dll file from this page.
- Click Download and choose the version that matches your system (32-bit or 64-bit).
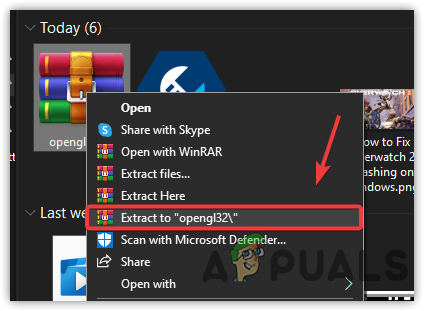
- Once downloaded, go to your downloads folder to find the ZIP file.
- Extract the ZIP file using a program like WinRar or similar.
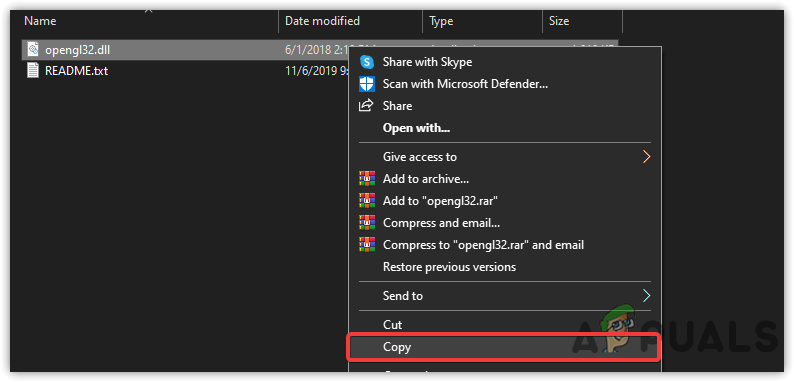
- Open the extracted folder and copy the OpenGL32.dll file by selecting it and pressing Ctrl + C.
- Go to the folder where Java is installed on your computer. The default path is usually:
C:\Program Files\Java\jdk-16.0.2\bin
- Paste the OpenGL32.dll file into this folder by pressing Ctrl + V. If prompted, allow the action with admin permissions.
- Once done, start Minecraft to see if the issue is fixed.
2. Update your Integrated Graphics Driver
When Minecraft updates, it may require more from your graphics card, and outdated drivers might not support these new requirements, leading to compatibility issues.
By installing the latest drivers, you ensure your GPU can handle Minecraft’s updated graphics and features, potentially fixing the error and improving gaming performance.
- Go to the Intel Driver & Support Assistant page and download the software.
- Run the installer by double-clicking on it.
- Agree to the license terms.
- Click on Install and complete the installation process.
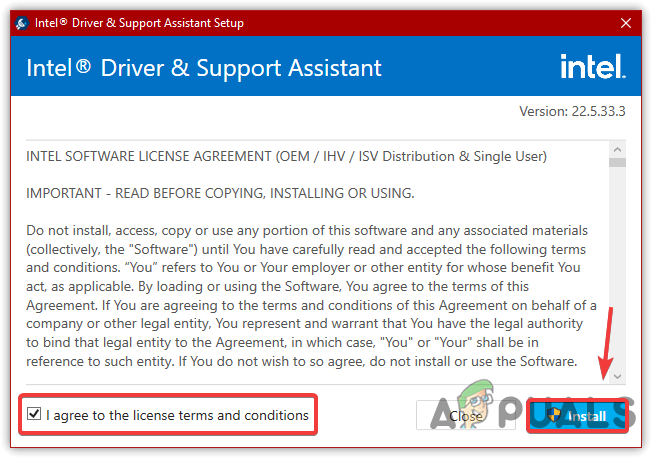
- Accept the prompt and start the installation.
- Restart your computer as needed to complete the setup.
3. Try a Different Version of Minecraft
If the issue persists after trying all methods, your last option is to downgrade the Minecraft version that ran well on your computer.
- To install an older version, open the TL Launcher and select the desired Minecraft version.
- Click Install and wait for the installation to finish.
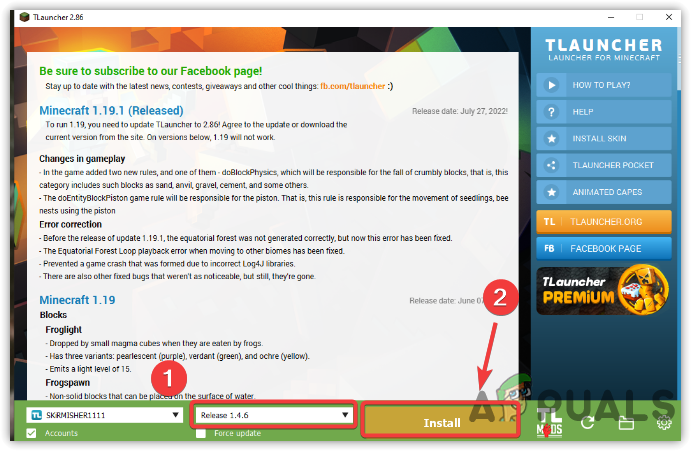
Installing Previous Version Of Minecraft - Launch the game to see if the error is resolved.


Thank you!!