How to Fix Microsoft Store Error Code 0x87E10BCF?
Some users have been experiencing 0x87E10BCF error code while trying to use the Microsoft Store. As it turns out, upon trying to install a new application or update an existing one, users are prompted the 0x87E10BCF error code that prevents them from doing so. The problem in question can usually surface when the update components on your system are not working or Microsoft Store itself is running into issues due to the cache files or whatever. In this article, we are going to take you through the process and show you how to resolve the error code in question so just follow through.

As it turns out, Microsoft Store may not be used by the larger community due to obvious reasons, there are still some cases where we have to rely on it for something. If you have upgraded to Windows 11, you will have noticed that Microsoft Store has received a visual overhaul and now welcomes a lot more apps than it previously did. Like we have mentioned previously as well, the primary reasons that the error code in the question may appear is when Microsoft Store has damaged cache files or the updated components on your system, responsible for downloading and installing updates, are not functioning properly. With that said, let us get started and show you the different methods that you can use to resolve the issue in question without any further ado.
Reset Microsoft Store
The first thing that you should do when you encounter the problem in question is to reset the Microsoft Store on your computer. As it turns out, Microsoft Stores comes preinstalled with the Windows operating system and like most of the other preinstalled apps, there is no actual way of completely uninstalling it from your system. However, Windows gives you the option of resetting the application when you run into any issues with it.
Resetting Microsoft Store will get rid of its cache files and essentially reinstall the application on your system. To reset Microsoft Store, follow the instructions that are given down below:
- First of all, press Windows key + I on your keyboard to bring up the Windows Settings app.
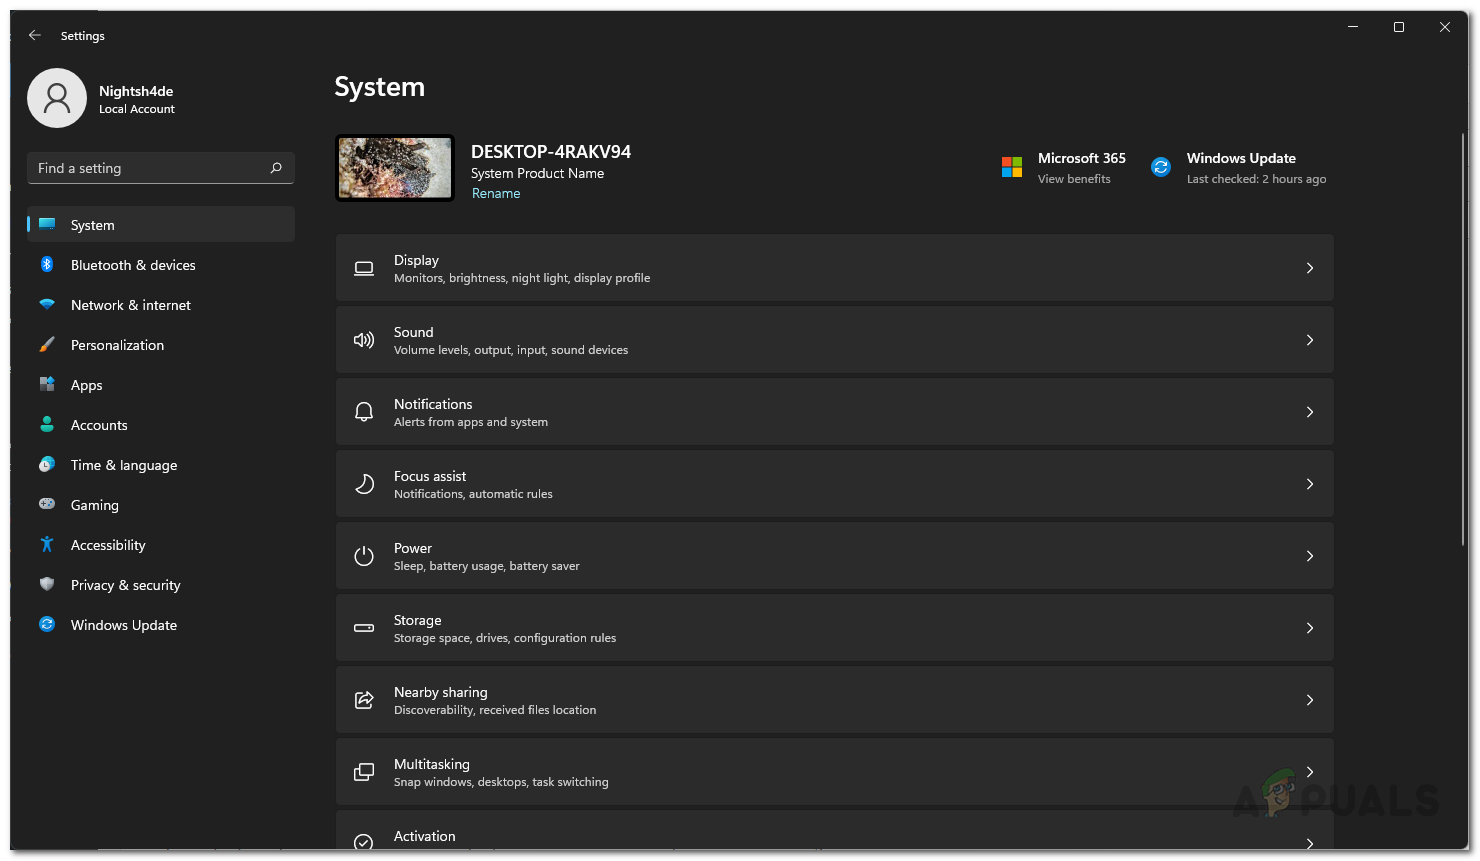
Windows Settings - Then, on the Settings window, make your way to Apps.
- There, navigate to the Apps and features option provided.
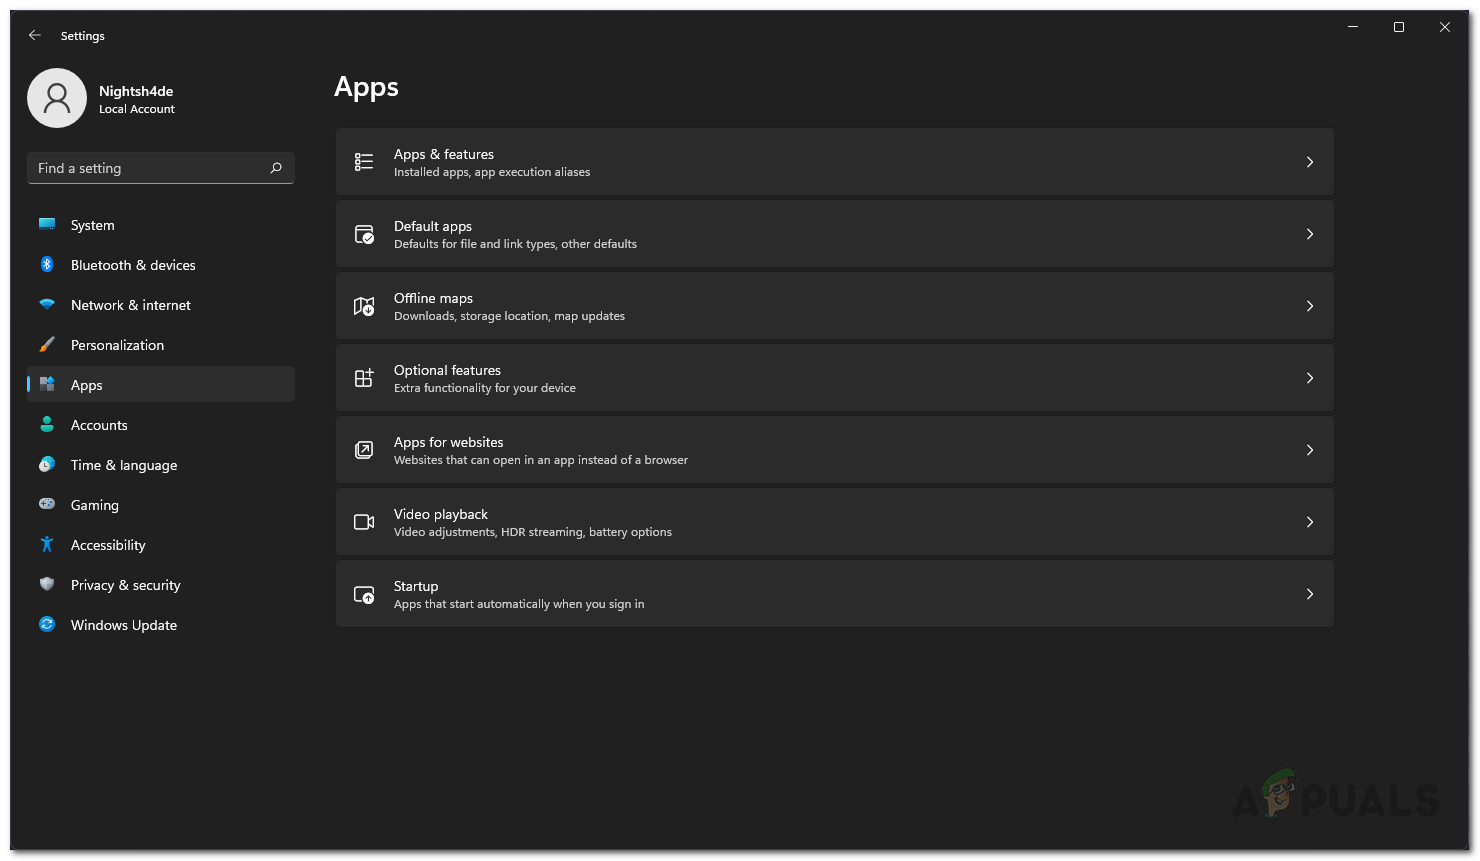
Apps Settings - After that, from the list of installed apps shown, search for Microsoft Store.
- Select it and then click on the Advanced options option provided.

Navigating to Microsoft Store Advanced Options - On the Advanced settings screen, scroll down and click the Reset button provided.
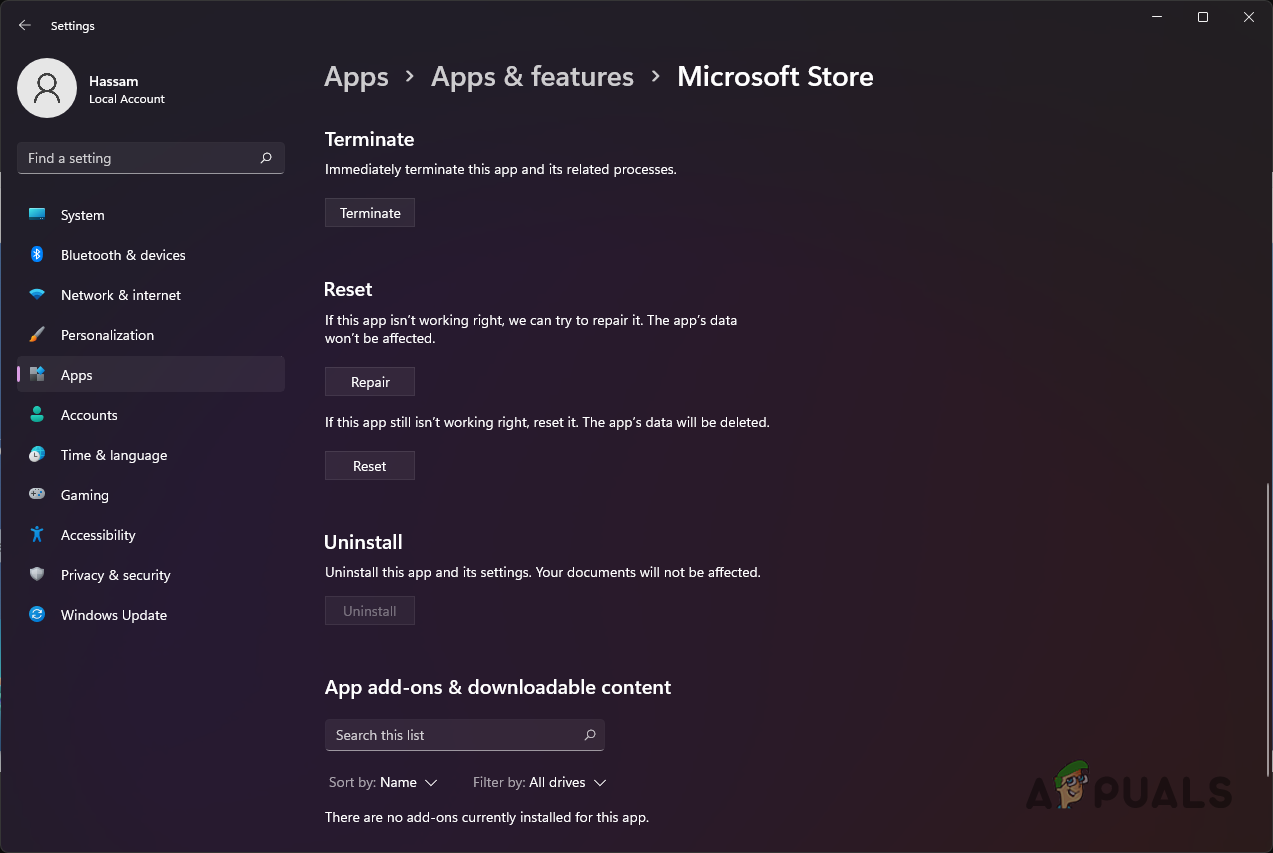
Resetting Microsoft Store - Once you have done that, go ahead and see if that resolves the problem for you.
Reset Windows Update Components
As it turns out, Windows has a number of services that are used by the operating system to download and install updates on your computer. In some cases, when these update components are not working properly or have malfunctioned, you will not be able to update the installed apps on your system or even install newer applications.
In such a scenario, to fix the problem, you will have to reset the Windows update components. To do this, follow the instructions that are given down below:
- First of all, open up the Start Menu and search for cmd. Right-click on the result shown and from the drop-down menu, choose the Run as administrator option.
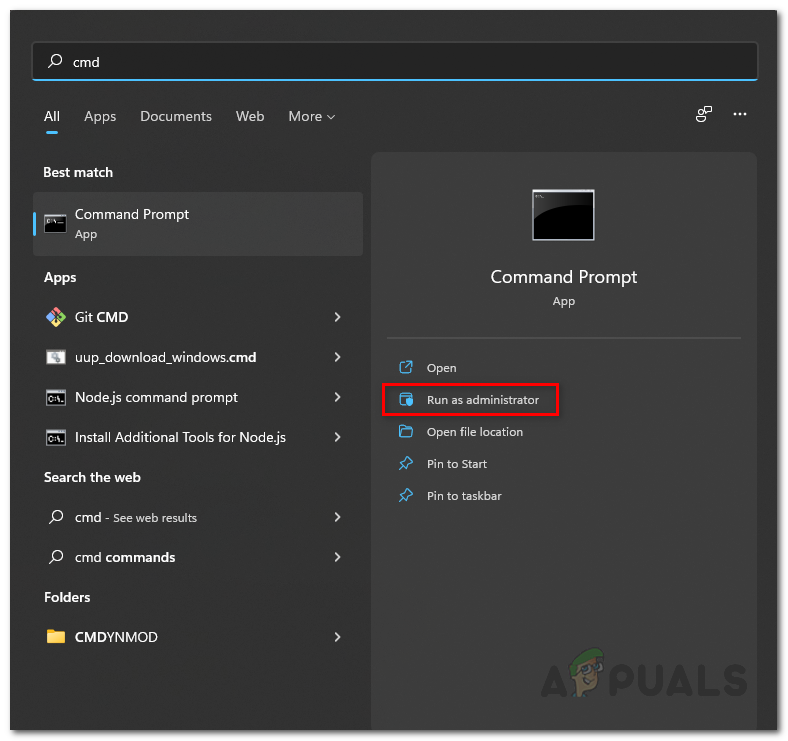
Opening up Command Prompt as an Admin - Once the command prompt window is open, enter the following commands one by one to stop the update services:
net stop wuauserv
net stop bits
net stop msiserver
net stop cryptsvc
Stopping Update Services - After you have done that, enter the following commands one by one in the command prompt:
Ren C:\Windows\SoftwareDistribution SoftwareDistribution.old
Ren C:\Windows\System32\catroot2 Catroot2.old
- With that done, go ahead and start the update services again by entering the following commands one by one:
net start wuauserv
net start bits
net start msiserver
net start cryptsvc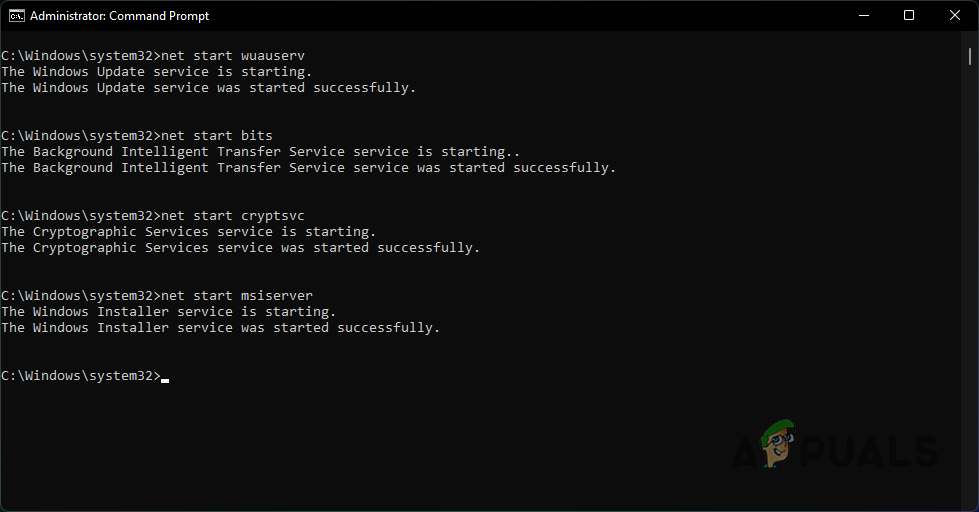
Starting Update Services - After doing that, open up the Start Menu again and search for Powershell. Right-click on it and choose the Run as administrator option.
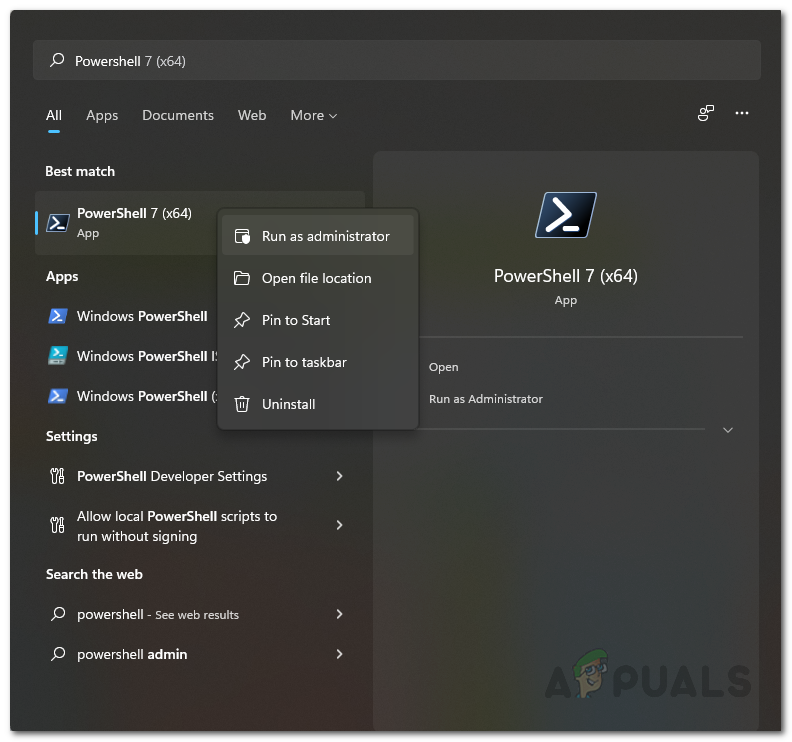
Opening up Powershell as an Admin - In the Powershell window, type in the following command and then hit Enter:
wuauclt.exe /updatenow - Once you have done that, go ahead and open up Microsoft Store and see if the problem is still there.
Change Update Services Startup Type
In some cases, the problem can also occur when the update services are not running in the background as you are trying to update or install a new application via Microsoft Store. This can happen when the startup type of the said services is not set to automatic. Therefore, in order to resolve the issue, you will have to configure the services by changing their startup type to automatic. To do this, follow the instructions that have been given down below:
- To start off, open up an elevated command prompt window by searching for cmd in the Start Menu. On the result shown, right-click and choose the Run as administrator option.
Opening up Command Prompt as an Admin - In the command prompt window, type in the following commands one by one:
SC config wuauserv start=auto
SC config bits start=auto
SC config cryptsvc start=auto
SC config trustedinstaller start=auto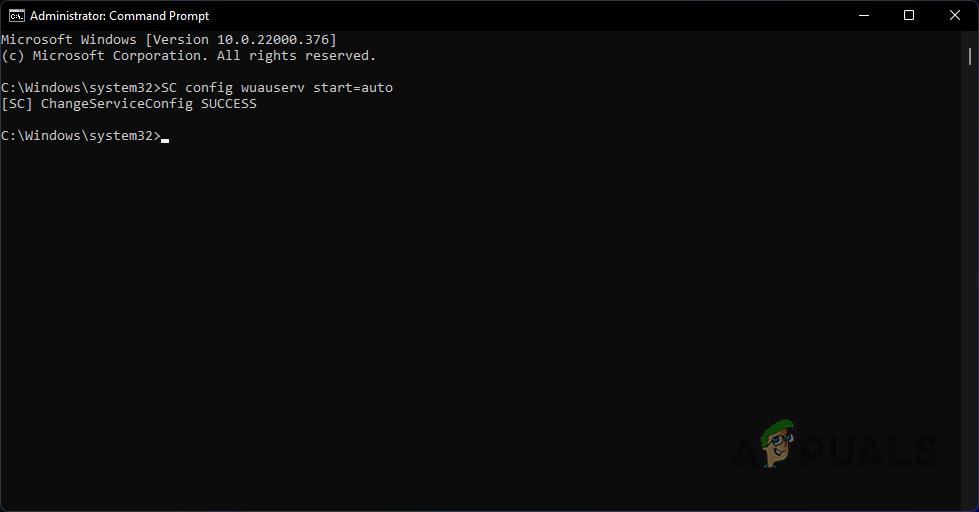
Changing Service Startup Type - Once you have done that, go ahead and restart your computer.
- After your PC boots up, see if the error code still appears.
Reset your PC
Finally, if none of the above solutions have worked out for you, and you are still facing error 0x87E10BCF, then you will have to reset your operating system. Resetting your system is essentially like reinstalling Windows on your computer. However, doing this instead of a clean Windows install gives you the choice of keeping what files and programs to remove and keep on your system drive. Follow the instructions that are given down below to reset your PC:
- First of all, open up the Windows Settings app by pressing Windows key + I on your keyboard.
Windows Settings - Then, on the System tab of the Settings apps, click on the Recovery option. Alternatively, you can also simply search for Recovery via the search bar provided.
- Once you are there, click on the Reset PC button.
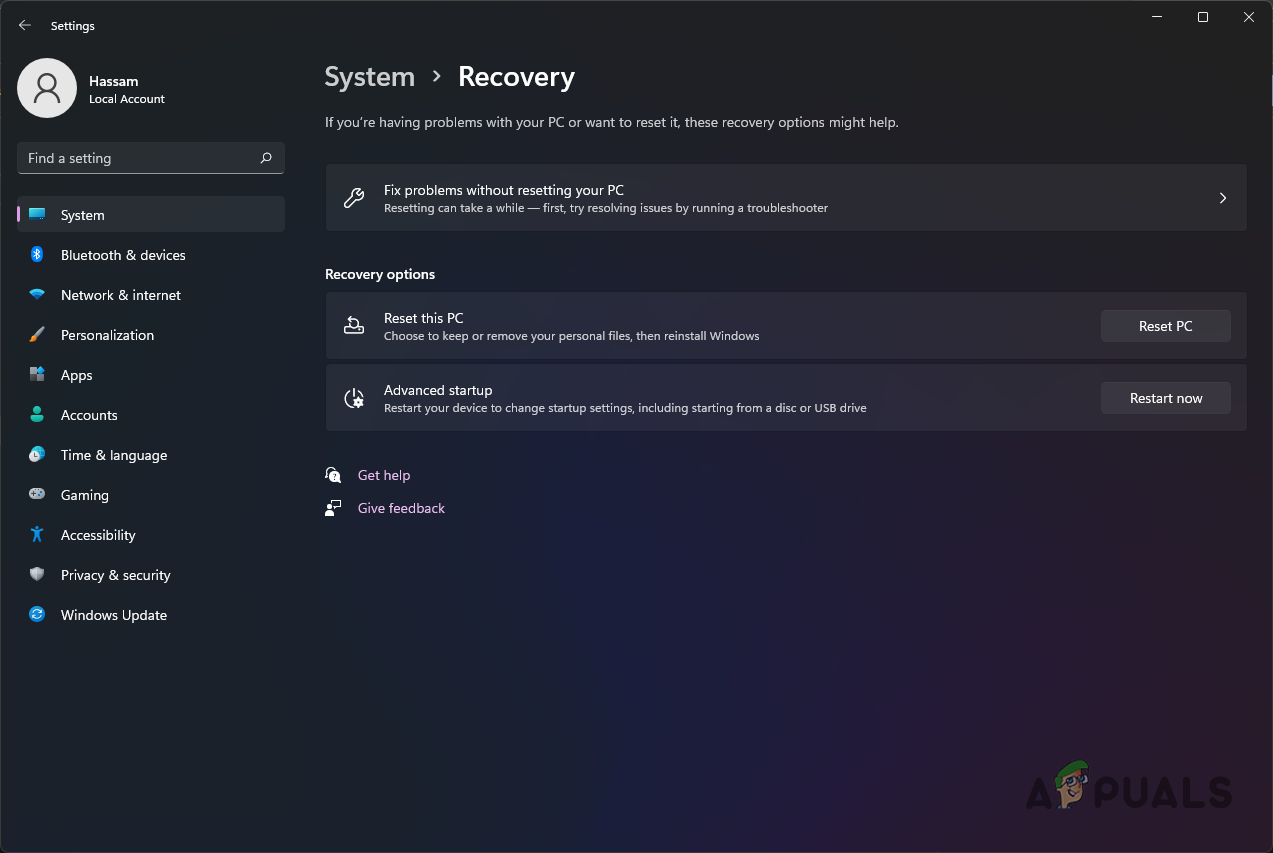
Recovery Settings - After that, simply follow the on-screen prompts to go through the process of resetting your PC.


