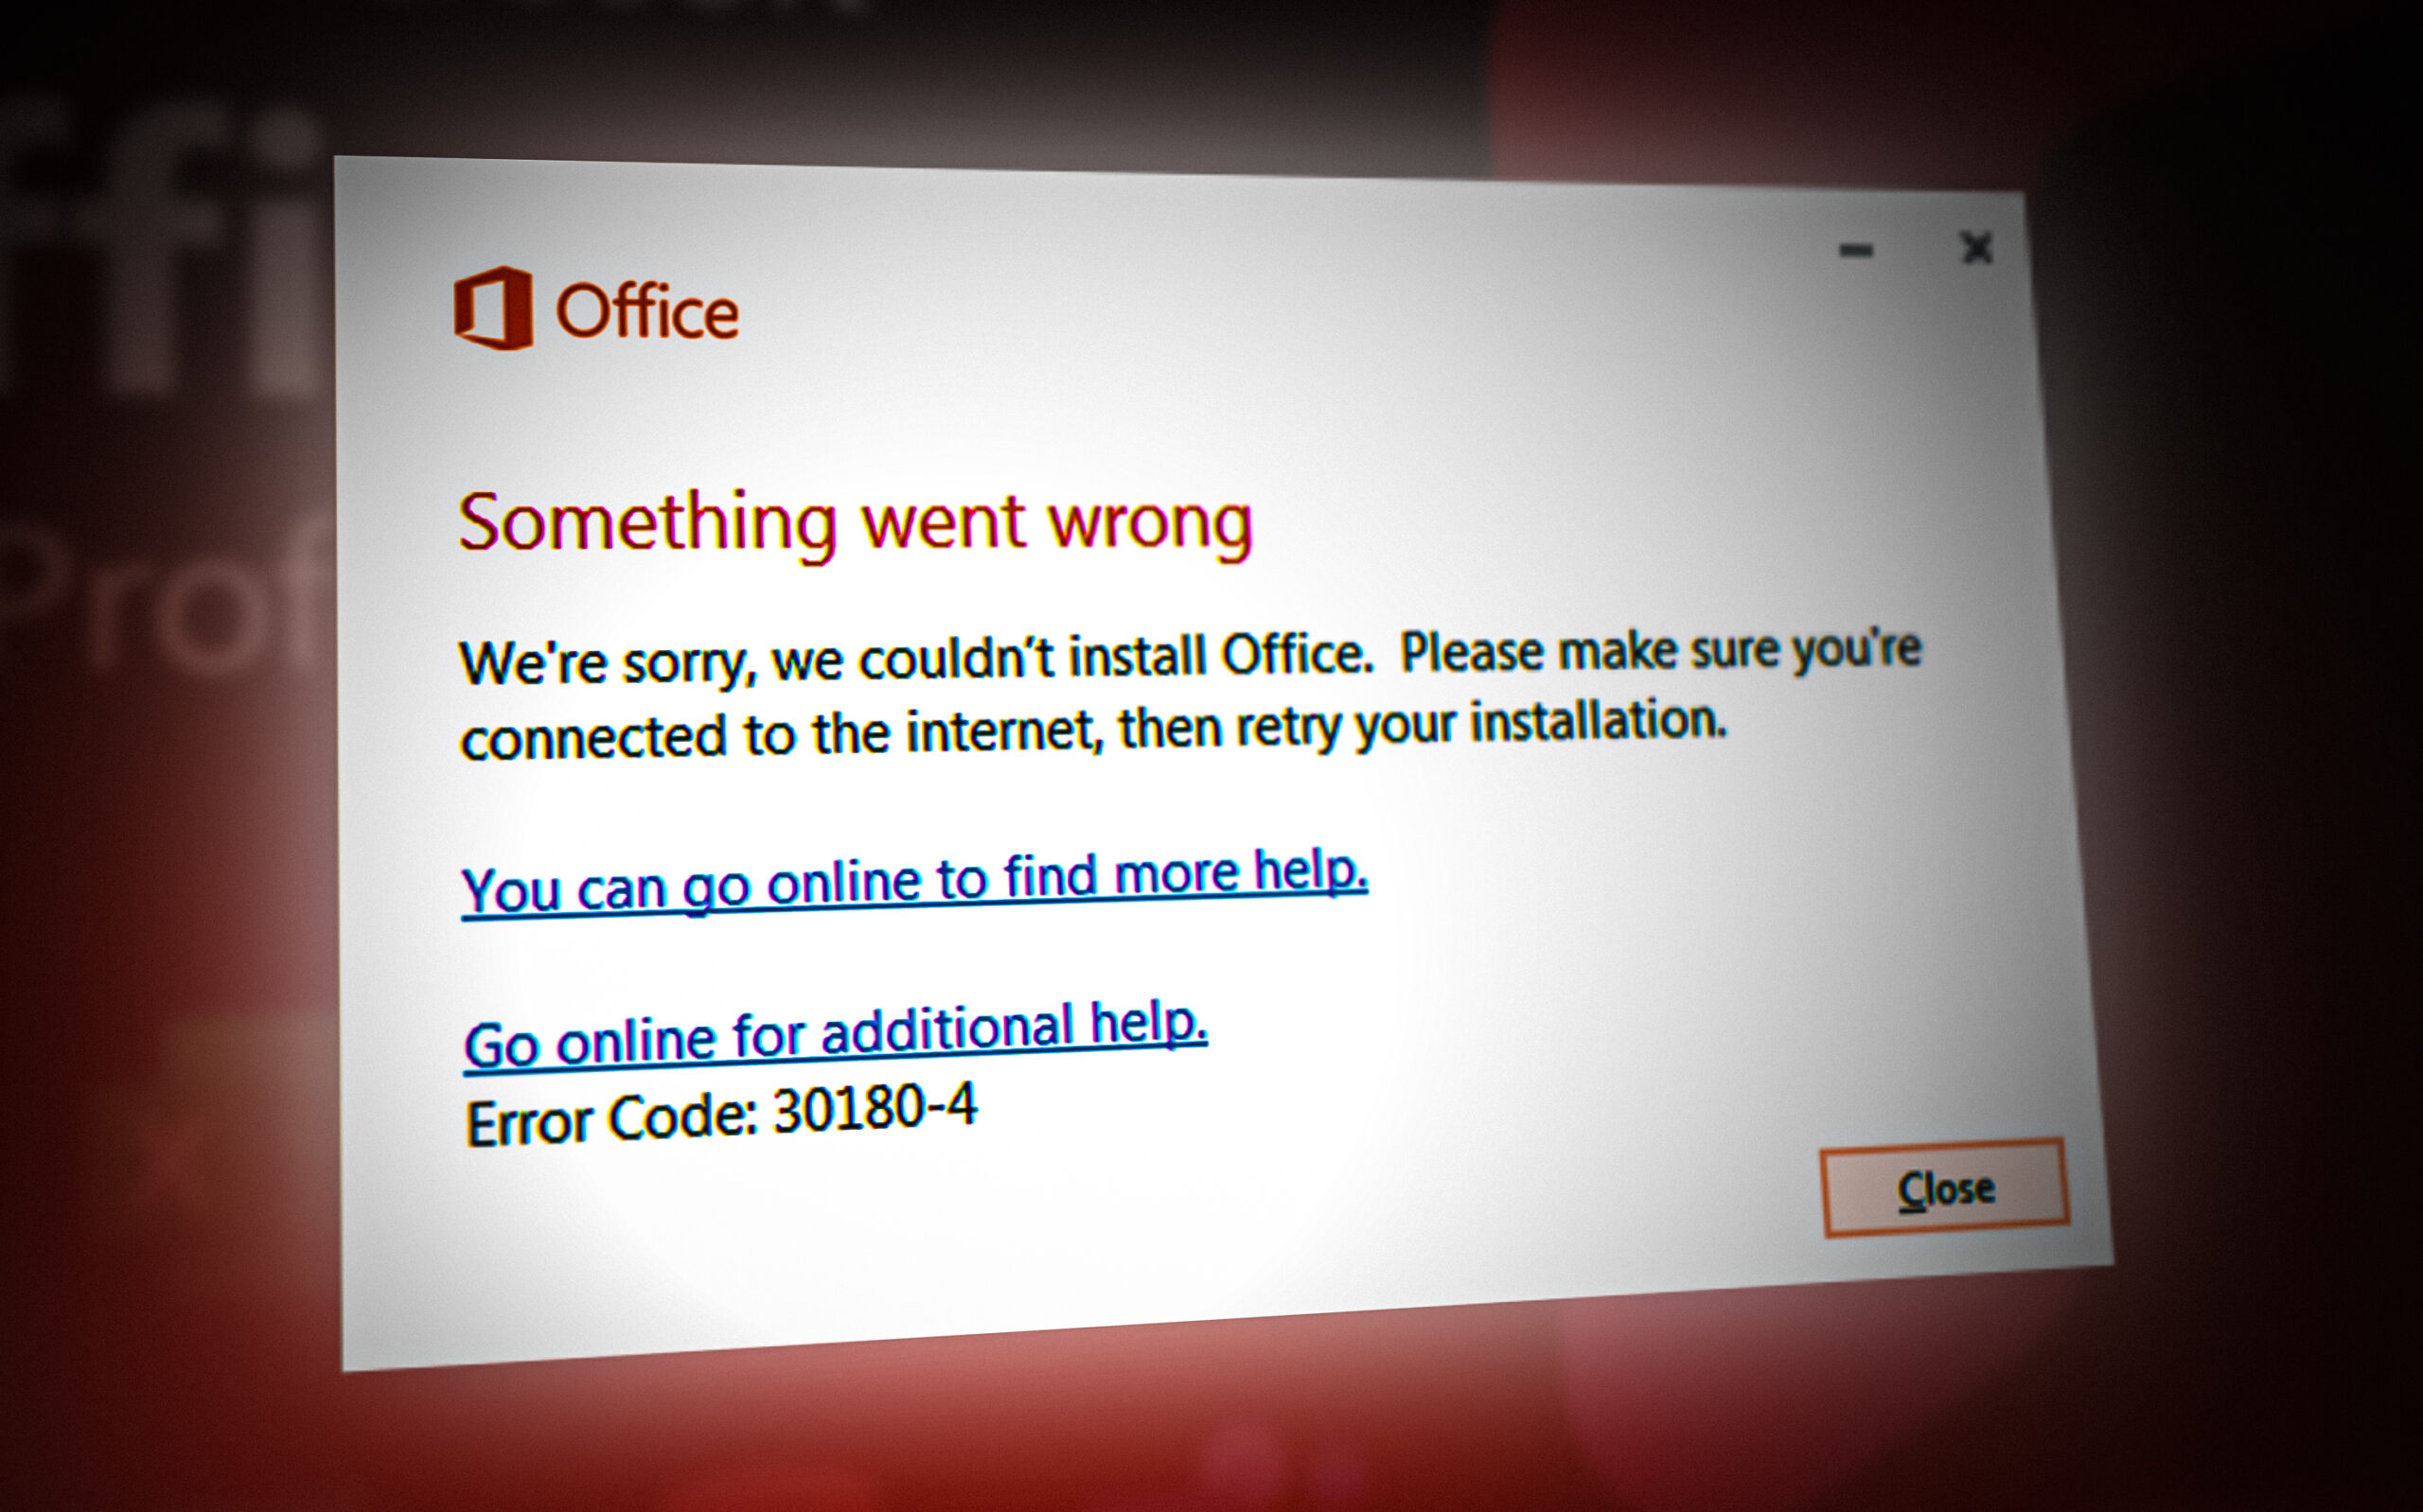
Troubleshoot Microsoft Office Setup Error Code: 30180-4
The error 30180-4 error occurs when users attempt to install or uninstall a Microsoft Office version. This problem is confirmed to occur with every recent Office version including Office 2016 and Office 365.
This error code can occur due to proxy interference, due to anti-virus interference, or it’s caused by an overprotective firewall. However, there are also a few other common inconsistencies that might indirectly cause this error and prevent you from uninstalling or installing Microsoft Office.
To make the 30180-4 error easy to troubleshoot for you, we’ve compiled a list of confirmed fixes that other users have successfully used to get to the bottom of this issue.
1. Run the Uninstall tool (if applicable)
If you experience the 30180-4 error when attempting to uninstall an Office program or the entire suite, you are likely dealing with some type of system corruption that prevents the uninstallation.
Fortunately, Microsoft has developed a solution specifically for this scenario – You can use the Microsoft Support and Recovery assistant to bypass the vast majority of instances that will prevent you from uninstalling an existing Office Suite.
Note: If you get this error while attempting to install on Office suite. In this case, skip this method and move directly to the next method below.
Here’s a quick guide on running the Microsoft Support and Recovery assistant to uninstall the problematic Office Suite that’s triggering the 30180-4:
- Access the official download link of Microsoft Support and Recovery Assistant. The download should start automatically.
- At the next security warning, click on Install to prompt the installation of the Microsoft Support and Recovery Assistant.
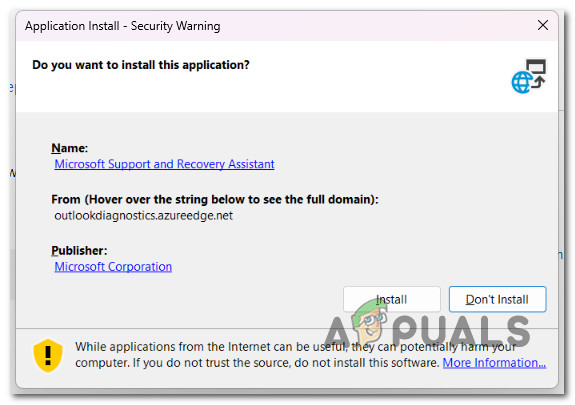
Install the utility - If you are prompted by the User Account Control (UAC), click Yes to grant admin access.
- On the first agreement page of the Microsoft Support and Recovery Assistant, click on I agree.
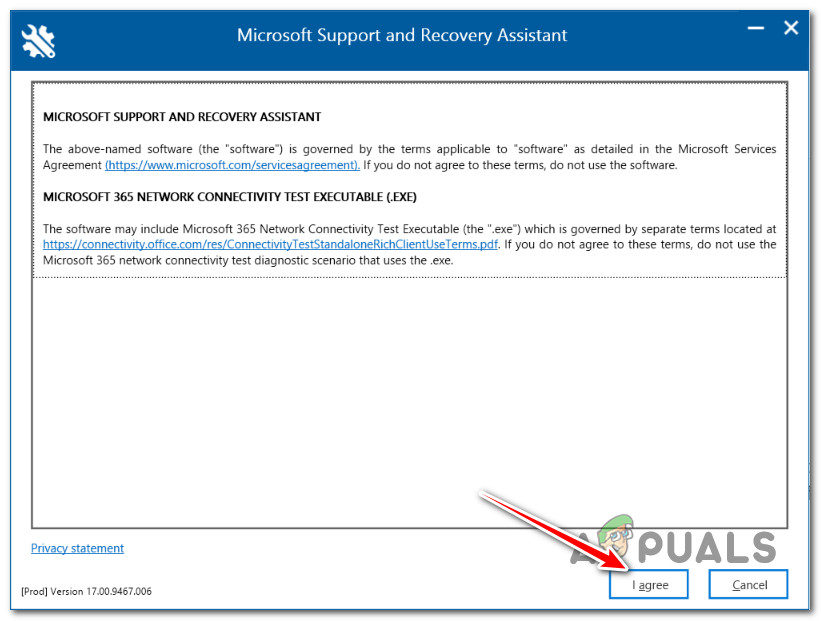
Agreeing with the license agreement - Wait until the utility is fully loaded, then click Yes at the next UAC (User Account Control).
- Next, the tool will detect any current Office installation. Once the scan is complete, check the Office suite that you want to uninstall, then click on Next from the next menu.
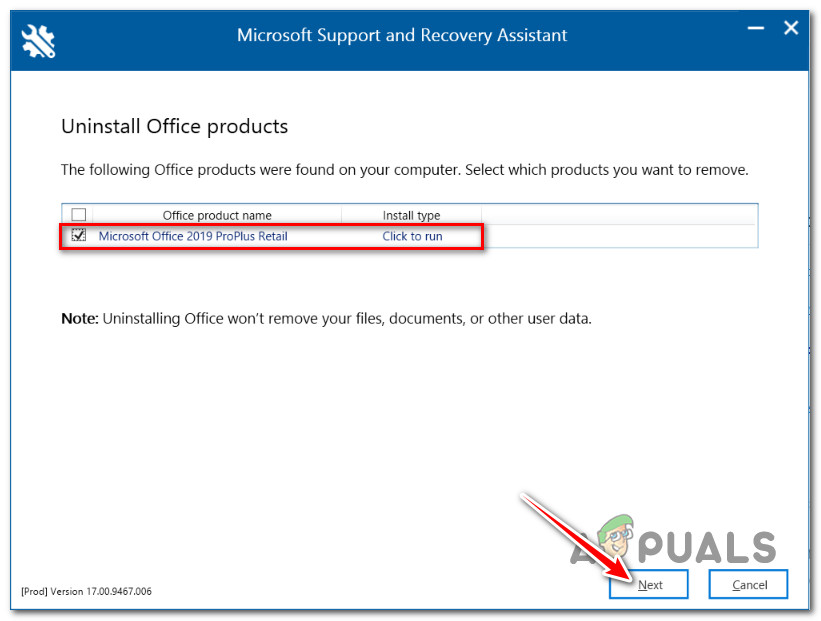
Uninstall Office via the Recovery Tool - At the final prompt, check the box under Confirm Install, then click on Next to start the uninstallation.
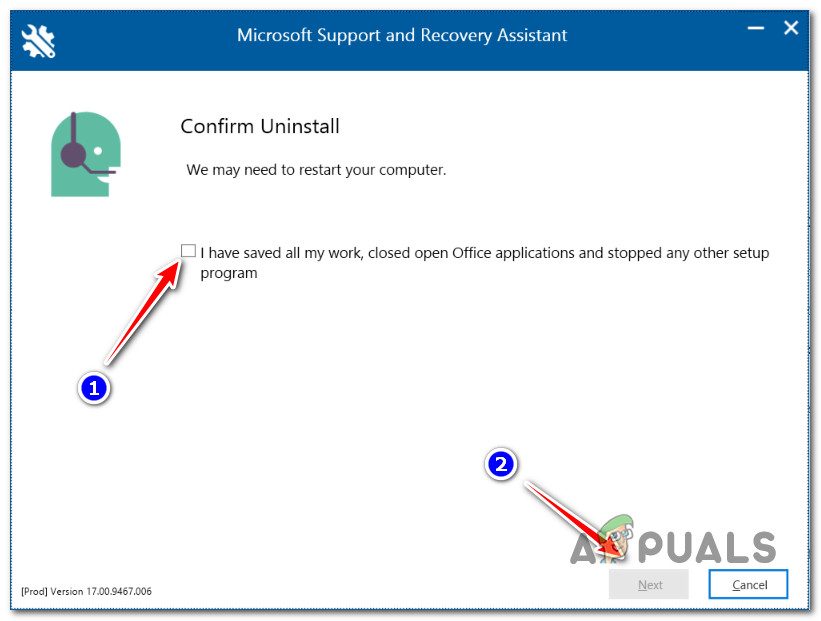
Confirm the uninstallation - Follow the remaining prompts to complete the uninstallation. You should be able to do so without experiencing the same 30180-4.
2. Use the offline installer
If the 30180-4 error occurs due to an overprotective antivirus, or firewall, due to inconsistency caused by a VPN or proxy server, or due to a generic connection issue, you should be able to bypass all these roadblocks by installing the failing Office suite via the Offline installer.
Note: When following this method, it’s key to ensure that you are selecting the correct tab for your particular version of Office.
Here’s a quick guide on using the offline office installer to bypass the 30180-4 error:
- First, we’ll need to download the offline installer from the applicable account portal. To do this, go to www.office.com.
- If you are not already logged in with the Microsoft account associated with your Microsoft 365 or Microsoft 365 installation, sign in at this step. Sign out of the incorrect account and sign back in with the right Microsoft account if you are already logged in.

Sign in with your Microsoft account Note: If you are attempting to install Microsoft 365 that you received through your company or school and you have already logged in with your work or school account, you should not follow these steps. Choose the Office for business tab from the menu above. - From the next menu, click on Install Office.

Installing Office Note: In case you have an active Office 365 subscription, you’ll also need to go to Install office on the dedicated install page. - Select Other other options from the Download and install menu.
- Enable the box Download an offline installer and choose the language in which you wish to install Microsoft 365 applications.
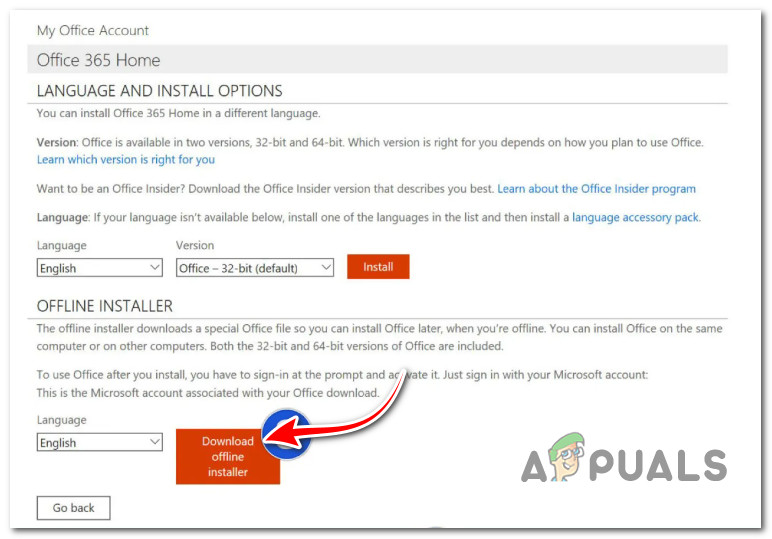
Download the offline installer - Click on Download from the next menu.
- When asked, click save the file locally by accepting the browser prompt. Once you do this, the file will begin downloading.
- Once the download is complete, use File Explorer and locate a new virtual drive, such as the one you just created (D:).
Note: This disk contains the installation files for Microsoft 365. If the new drive is not visible, find the downloaded image file and double-click it. The new disk should now be visible in the directory. Microsoft 365 creates a virtual drive with the next available letter, which would be (E:) if you already have a disk designated (D:). - Select the Microsoft 365 folder from the virtual disk, and then double-click Setup32.exe or Setup64.exe to install the 32-bit or 64-bit version of Microsoft 365 offline.
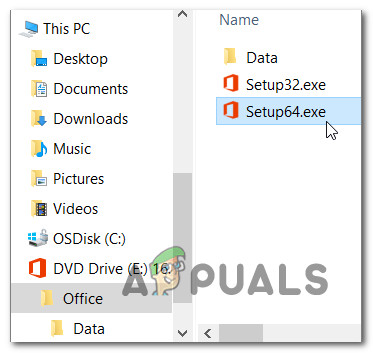
Accessing the offline installation folder Note: Choose the 64-bit or 32-bit version of Office if you’re uncertain which version is suitable for you. - Once the installation is complete, you need to activate Microsoft 365. To do this, open any Office application, such as Word or Excel, after ensuring your Internet connection is active.
- In most situations, Office is enabled whenever you launch a program and after you click Accept to agree to the License terms.
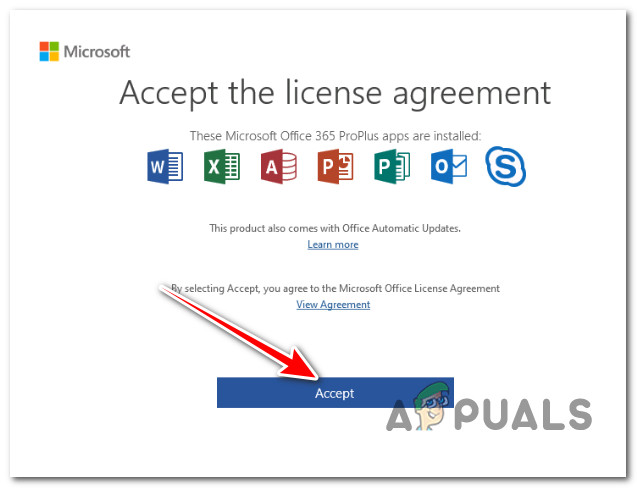
Accepting the license terms - After launching Office and prior to using it, ensure that you have the most recent update.
- Open a new or existing document in any Microsoft 365 product, such as Word, then click File > Account.
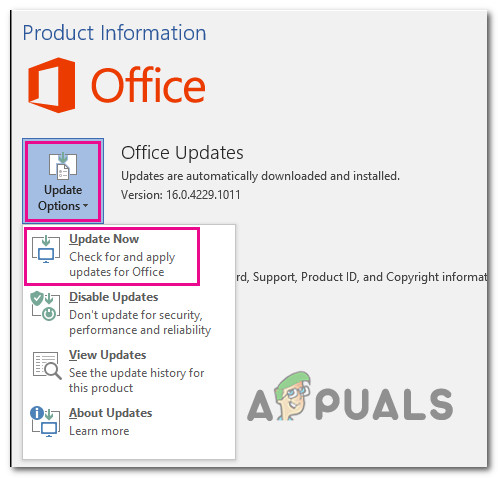
Updating Office to the latest version - Select Update Now from the drop-down menu Update Options.
3. Perform an Online Repair
If the 30180-4 error began to emerge after your PC turned out unexpectedly or after an Antivirus scan quarantined Office installation files, you likely have a corruption problem.
Fortunately, you should be able to fix this issue by repairing the Office installation. After you do this, you should be able to uninstall the Office tool without issues or upgrade it.
Note: None of your Office files will be harmed by this process. This procedure will only affect Office installation files and all your documents and presentations will be untouched.
Here’s how to fix Office installation issues:
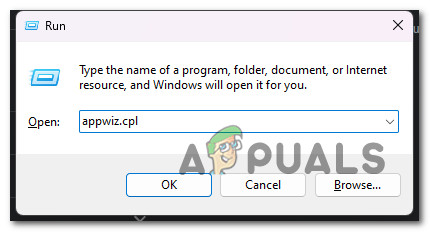
- To open the Run dialog box, press the Windows key + R.
- Enter ‘appwiz.cpl’ followed by Enter to launch the Programs and Features menu.
Open up the Programs and Features menu - Navigate through the list of installed applications inside the Programs and Features menu to locate the Office installation.
- Select Change from the context menu when you right-click the listing associated with Microsoft Office.

Change the Office installation - Select Online Repair from the list of available options within the repair box, then click Repair and wait for the procedure to complete.
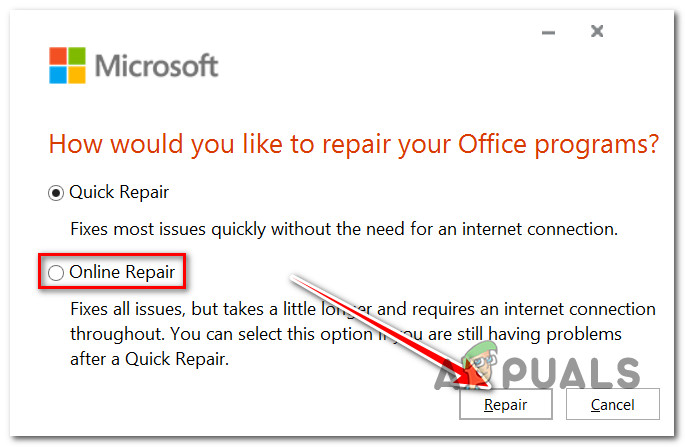
Perform an online repair Important: A connection to the Internet is necessary to carry out this repair operation. Make sure you have a stable ethernet or Wi-Fi connection before clicking on Repair. - Reboot your computer and reopen Office to determine if the 30180-4 error has been resolved.
4. Switch to a wired connection (if applicable)
If you are not currently utilizing a wired Internet connection, connect your device to the Internet and try installing Office again.
This procedure is applicable in situations where you are connected to a Wi-Fi network with internet access provided by an ISP that is using Level 3 nodes.
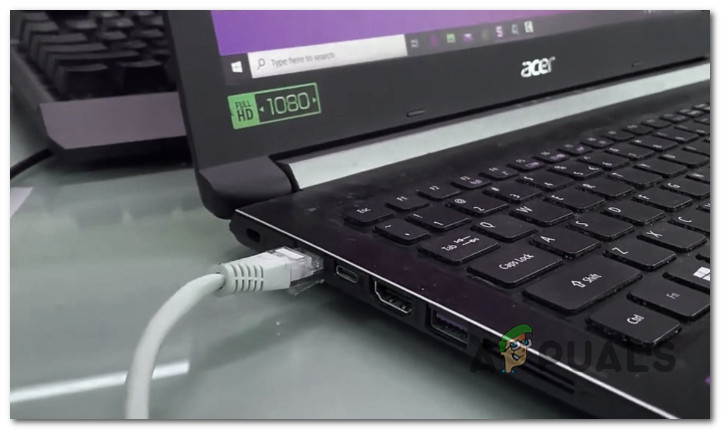
In this case, connecting your PC via ethernet cable before restarting the installation or uninstallation of the Office suite should help you fix the issue entirely.
5. Install or Uninstall in a different location
If you are attempting to install Office at work or school, the network may have restrictions that prevent installation. If this is the case, try installing Office again from your home, a friend’s home, or a wifi hotspot.
Most commonly, organizations will restrict the installation of software that is not whitelisted, so that’s probably the reason why you are experiencing the 30180-4.
Note: If you must install Office at work or school, your IT department may be able to assist you in overcoming any network restrictions. Contact the network administrator and ask him for a way to temporarily lift the descriptions so you can install or uninstall the Office suite.
6. Disable or uninstall proxy or VPN settings (if applicable)
If a proxy or VPN application interferes with the server authentication module of Microsoft Office, the installation or removal of the Office Suite will fail with error 30180-4.
If you use your device at both home and work, disable the proxy settings or uninstall the VPN module before opening the setup again.
Depending on whether you are utilizing a proxy or a VPN, the necessary procedures may vary.
We’ve created two sub-guides that will help you disable both a VPN and proxy connection.
Follow the connection that’s applicable to your particular scenario:
Disable VPN Connection
If your VPN connection was established from the VPN connection tab, you can only disable it via the Network & Internet Connections menu.
Here are the steps required to disable a native VPN connection:
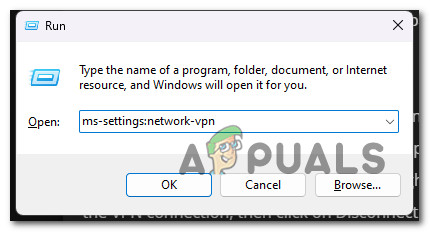
- Enter ‘ms-settings:network-vpn’ in the search field and PRESS the Enter key to access the VPN tab in Windows Settings.
Open the VPN tab - Once in the VPN tab, look to the right of the screen and click on the VPN connections.
- Next, click the arrow related to the active VPN and click on Disconnect.
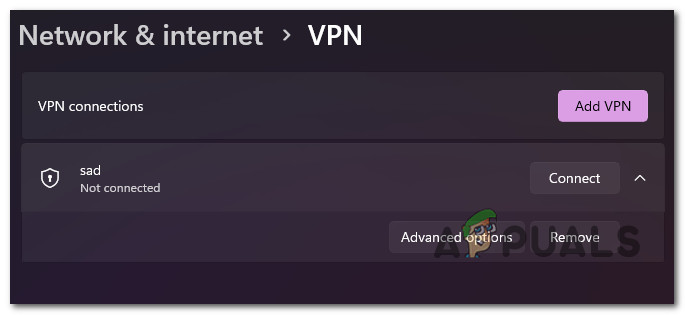
Disconnect the VPN network - Next, confirm your choice to terminate the connection. If you don’t want to use the VPN again, you can just click on Remove to confirm your choice.
- Reboot your PC and retry the office installation (or uninstallation)
Disable Proxy Connection
To disable the proxy connection and prevent the interference with the installation or uninstallation of the Office Suite, you must navigate to the Settings menu and disable the active proxy from the Proxy tab.
Inside, you will be able to verify if the proxy server is active and disable it if necessary.
Here’s how to do this:
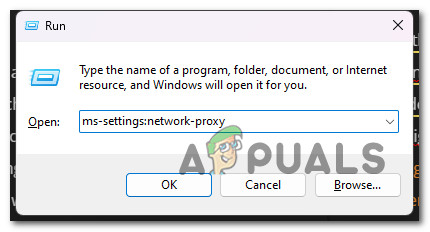
- Press the Windows key + R to open the Run dialog box.
- Next, type “ms-settings:network-proxy” in the search bar and press the Enter key. This shortcut will take you directly to the Windows Settings Proxy section.
Accessing the proxy server - Upon entering the Proxy settings, you will see two sections titled Automatic proxy setup and Manual proxy setup. Make sure to disable both.
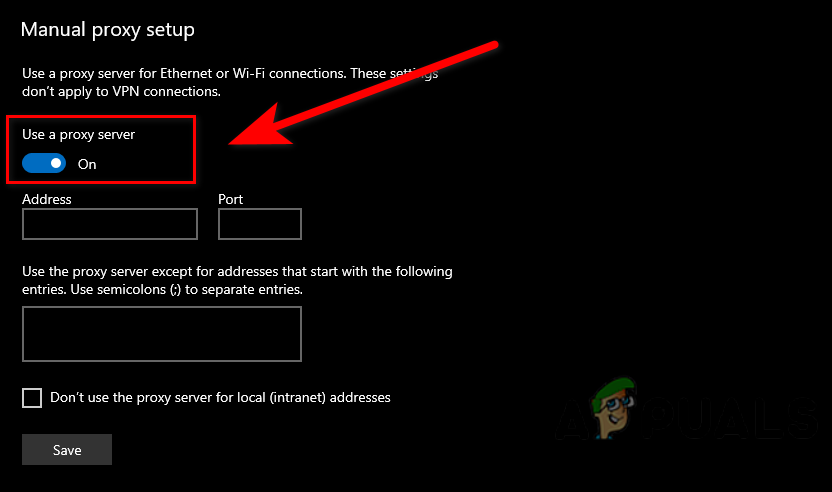
Disable both proxy servers - When you are finished, just dismiss the Settings window and restart your computer.
7. Disable Windows Defender or firewall
If you are trying to install or uninstall an older Office suite, certain AV or firewall suites might see flag the operation as potentially dangerous.
Before retrying the operation, take the time to disable any third-party anti-virus software or firewall.
Test this hypothesis by accessing your AV or firewall settings and disabling it temporarily before retrying the Office operation.
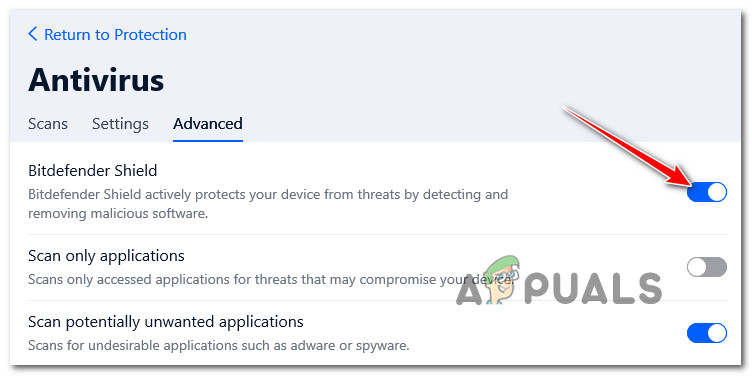
Note: Keep in mind that while some AV suites will allow you to disable the real-time protection via the taskbar icon, most won’t. In most cases, you’ll need to access the settings menu and disable it from them. The same goes for a standalone 3rd party firewall.
You should also consider removing the third-party suite completely, particularly if you’re using an antivirus package that includes a firewall. If you choose this path, utilize this removal procedure to ensure that you leave no leftover files behind before retrying the Office installation.


