How to Fix Microsoft Account Log In Window Crashing?
This issue often occurs after migrating a Windows 7 profile to Windows 10 or upgrading to a Windows 10 version from Windows 7. This is not yet confirmed; what is the root cause of this issue? However, it may be due to a Windows 7 profile you migrated that does not support the Microsoft App Store on Windows 10.

Before trying the following methods, try sign-in in with the Microsoft account from the settings. If the issue persists, apply the following methods listed in this article.
1. Reinstall Microsoft Store
A migrated Windows 7 profile is a leading cause of this issue, which might not support the Microsoft store on Windows 10. Hence, the first method to fix this issue is reinstalling the Microsoft Store, which will resolve all your issues while signing in to the Microsoft account. Follow the steps to reinstall the Microsoft store on your Windows.
- Click Start Menu and type Windows PowerShell.
- Right-click on it and select Run as administrator.
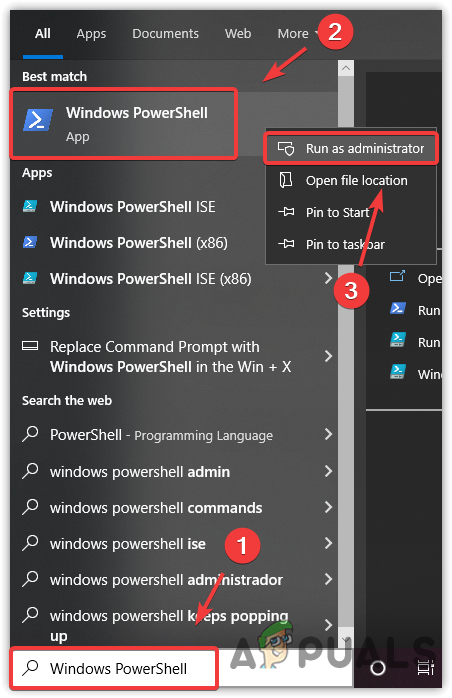
Opening Windows PowerShell in administrator mode - Once the Windows PowerShell is opened, enter the following command and press Enter.
Get-AppXPackage -AllUsers | Foreach {Add-AppxPackage -DisableDevelopmentMode -Register "$($_.InstallLocation)\AppXManifest.xml"}
Reinstalling Microsoft Store - Once done, close the PowerShell and try sign-in to the Microsoft account to check if the issue persists.
2. Create a new User account
You can also fix this issue by creating a new user account which will remove all the previous data of your Windows 7 profile causing this issue. Remember, you will lose all the data if you create a new user account, and because the previous profile is for Windows 7, you might not be able to transfer the data to the Windows 10 account. In case you have managed to transfer the data, such as configuration etc, through the third-party software, you might reencounter this issue. So it is recommended to create a new account as follows.
- Press the Windows key and type Settings.
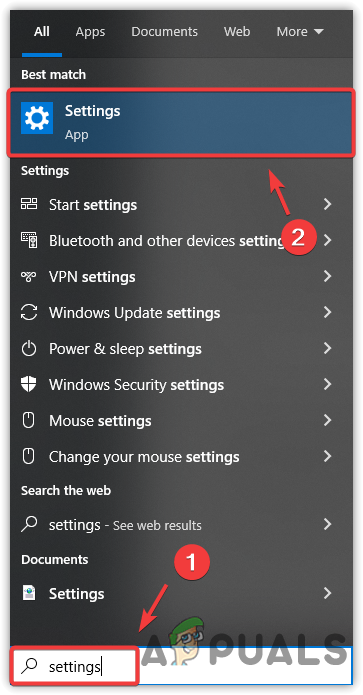
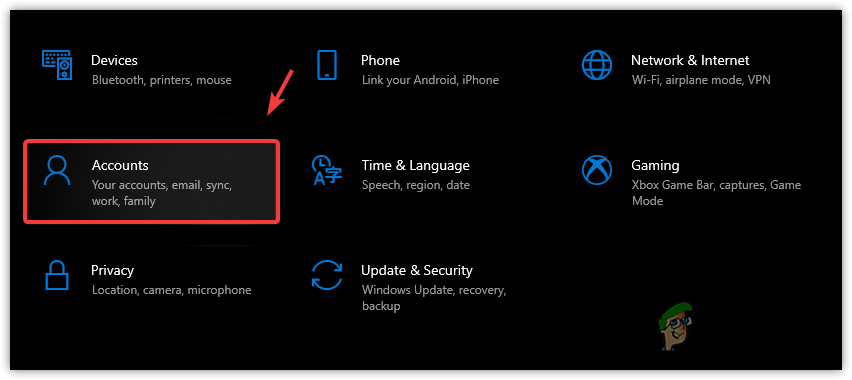
Opening Windows Settings - Open Settings and go to Accounts.
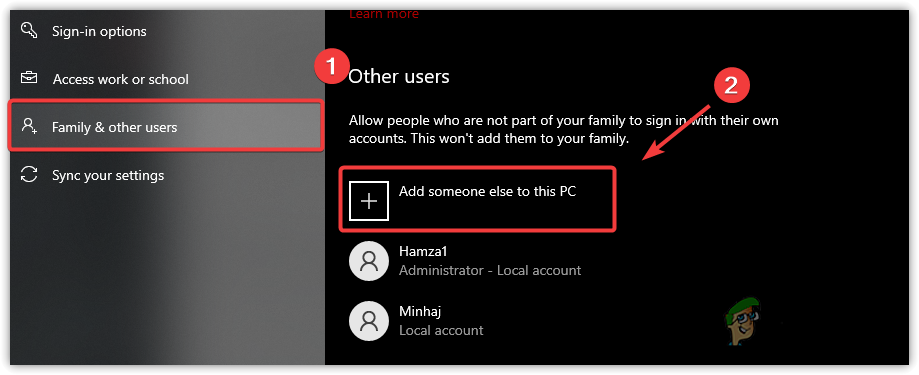
Navigating to Windows Settings - Select Family & other users from the left pane.
- Click Add someone else to this PC
Adding a local Account - A short Microsoft Account Window will popup; click I don’t have this person’s sign-in information.
- Then, click Add a user without a Microsoft account.
- Now enter the details and click Next to create an account.
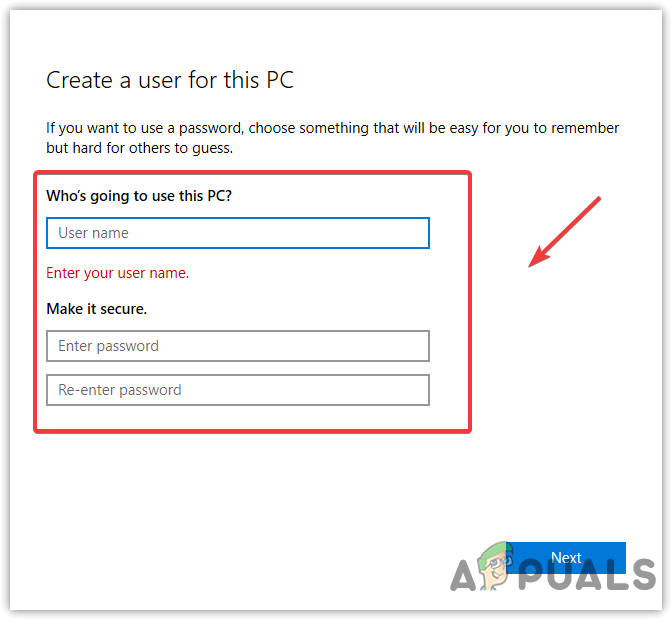
Entering username and password
2.1 Create an account using the command prompt
If you are getting the same issue or an error while creating an account, follow the steps to create a local account with the command prompt.
- Click Start Menu and type Command Prompt.
- Right-click on a command prompt and select Run as administrator to open with administrator privileges.
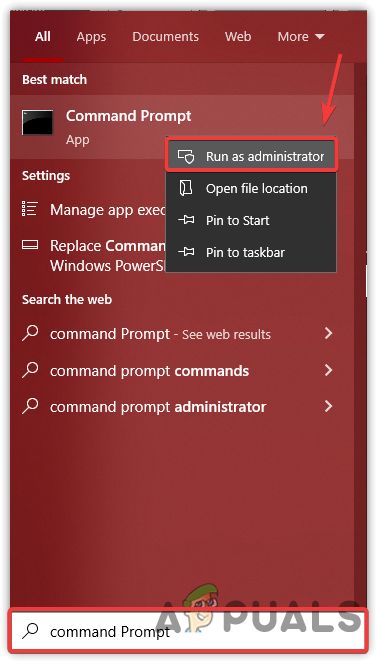
Launching command prompt with administrator rights - Once it is opened, enter the following command.
net user username password /add
Note: Replace username with your name and replace password with a password you want to use for your account. Password is optional.
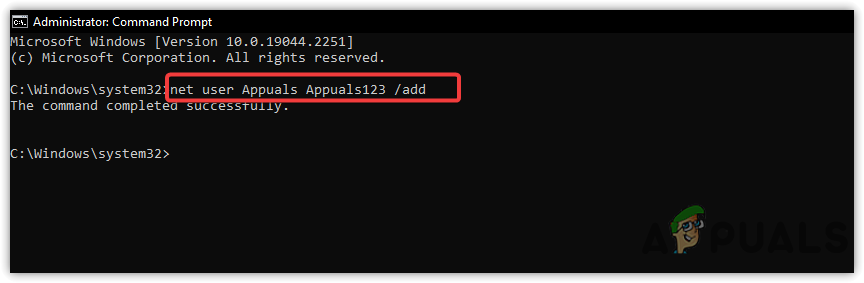
Creating a local account using the command prompt - Once you have successfully created a local account, sign in with the local account and then try to sign in Microsoft account.
3. Reset your Windows
The final fix for this issue is to reset your Windows because it will permanently remove all the data, including your account. If you choose the Keep my files option while resetting the Windows, your data, such as images and documents, won’t be deleted. However, if you choose to Remove Everything, all the data in the system driver will be removed. Remember, you will need to download the apps and drivers after resetting the Windows.
Follow the instructions to reset your Windows:
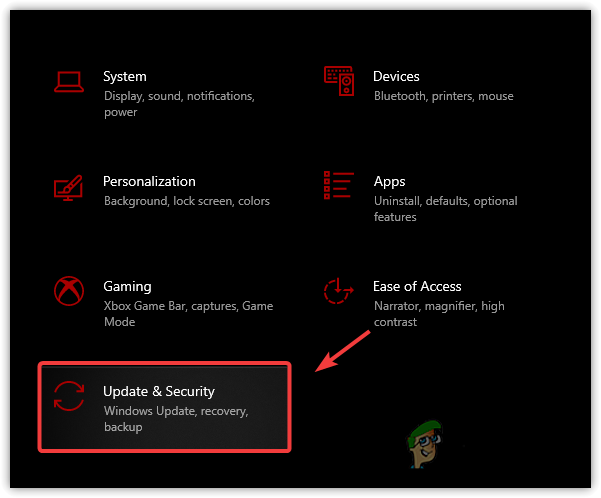
- Click Start Menu and type Settings.

Navigating to Windows Settings - Open the settings and go to Update & Security.
Heading to the Windows Update Security settings - Select Recovery from the left pane.
- Click Get Started.
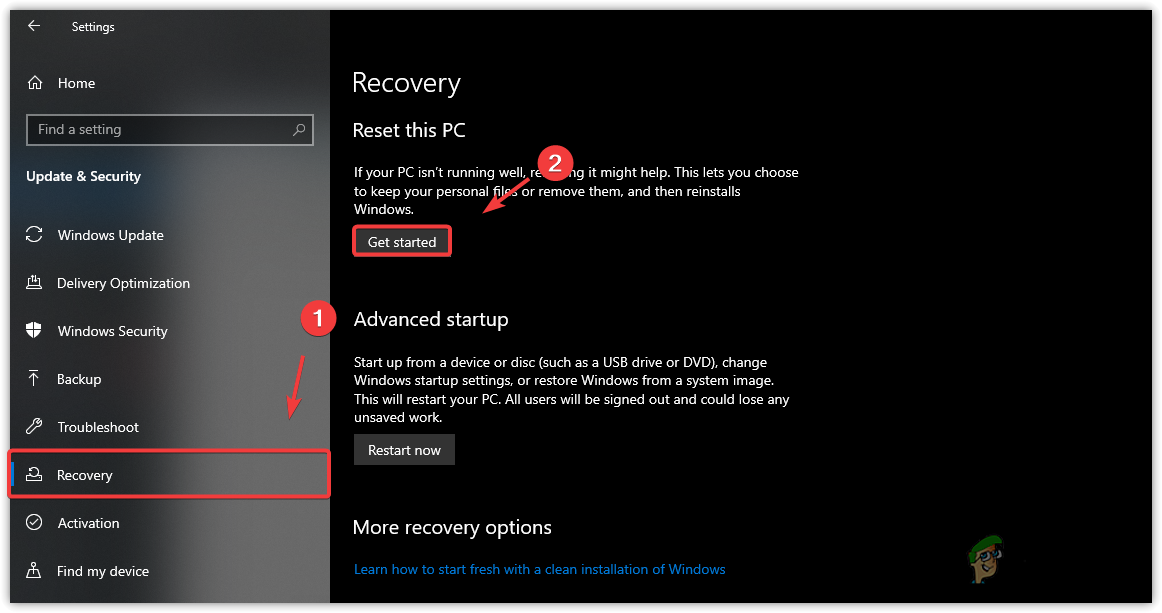
Starting Windows resetting process - Select Keep my files.
- Select Local Reinstall.
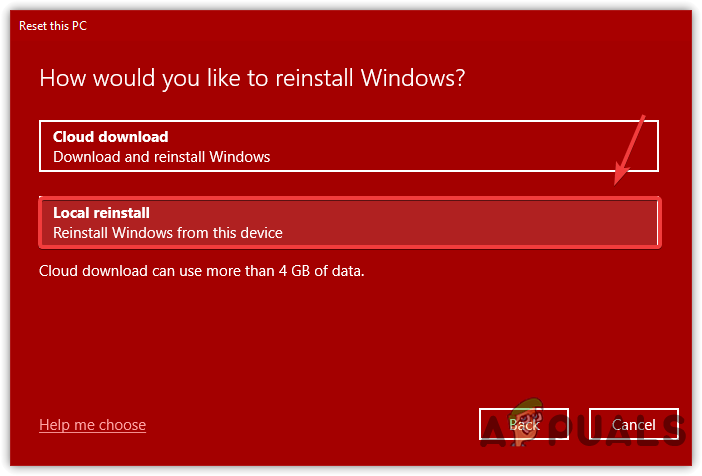
Selecting Local Reinstall - Click Next and then click Reset.
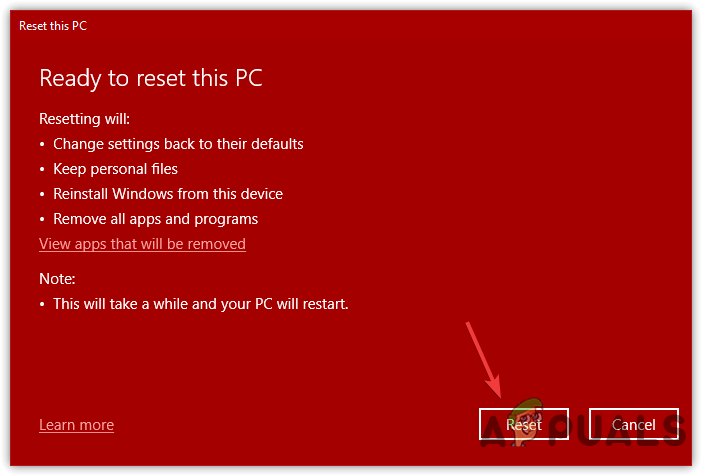
Resetting Windows - Once your Windows is reset, your issue should be fixed.


