MBR VS GPT? Which One is Better? and How to Convert GPT to MBR or MBR to GPT?
You may have experienced MBR or GPT-related errors while installing the operating system or asked what type of partition schema you want for your hard disk. There are two types of partition schemas: MBR and GPT. Both schemas function similarly, but there are a couple of vast differences between them, which you should know while installing OS or even buying a new PC. This guide will cover all the topics related to MBR and GPT.
1. What is MBR?
MBR is a short form of Master Boot Record; it is an old schema for an outdated computer system. MBR was introduced in 1983 and is fully compatible with older Motherboards and CPUs. It contains all the information related to the disk, such as partitions, disk space, etc. Moreover, it provides details about OS as it can be required for booting the system.
1.1. Limitations of MBR
There are some limitations to using the MBR Partition Style. We have mentioned some major of them below:
- You can create up to 4 primary partitions. However, if some space is left after creating a primary partition, you can use the remaining space by creating the extended partition.
- You cannot assign more than 2TB on an MBR disk. You will need to convert it to GPT, as MBR does not support more than 2TB. However, it requires UEFI bios to be enabled, which we will describe later.
1.2. When to Use MBR?
If you have an older CPU, then you should definitely stick with MBR, as MBR was created for earlier CPUs and is fully compatible with the older CPUs. However, MBR does not support the Cyclic Redundancy Check (CRC) function, which is why old data, such as images and files, often gets corrupted.
2. What is GPT?
GPT is an abbreviation of GUID Partition Table. It is an advanced version of MBR and is used with the more up-to-date CPUs. Overall it is better than MBR in many situations as it does support Cyclic Redundancy Check (CRC), a function that scans old data from time to time so that the data will not get corrupted. We will discuss more major differences below as this isn’t one of them.
2.1 Limitations Of GPT
Below are the limitations of GPT:
- The GPT can have up to 9.4 Zettabytes. If we convert it to terabytes, the answer we will get is nine billion four hundred million TB. That means you can use any size of hard disk, and the GPT partition style will support it.
- If you have a GPT partition style assigned to your disk, you can create up to 128 primary partitions on a single disk, which is more than enough.
- The GPT contains primary and backup partition tables for data integrity.
2.2. When to use GPT?
The GPT is replacing MBR, as many users recommend, and use GPT over MBR due to its fast booting. Despite this, if your system is not too old and you have more than a 2TB hard drive, you will need to go for GPT, as MBR does not support more than 2TB.
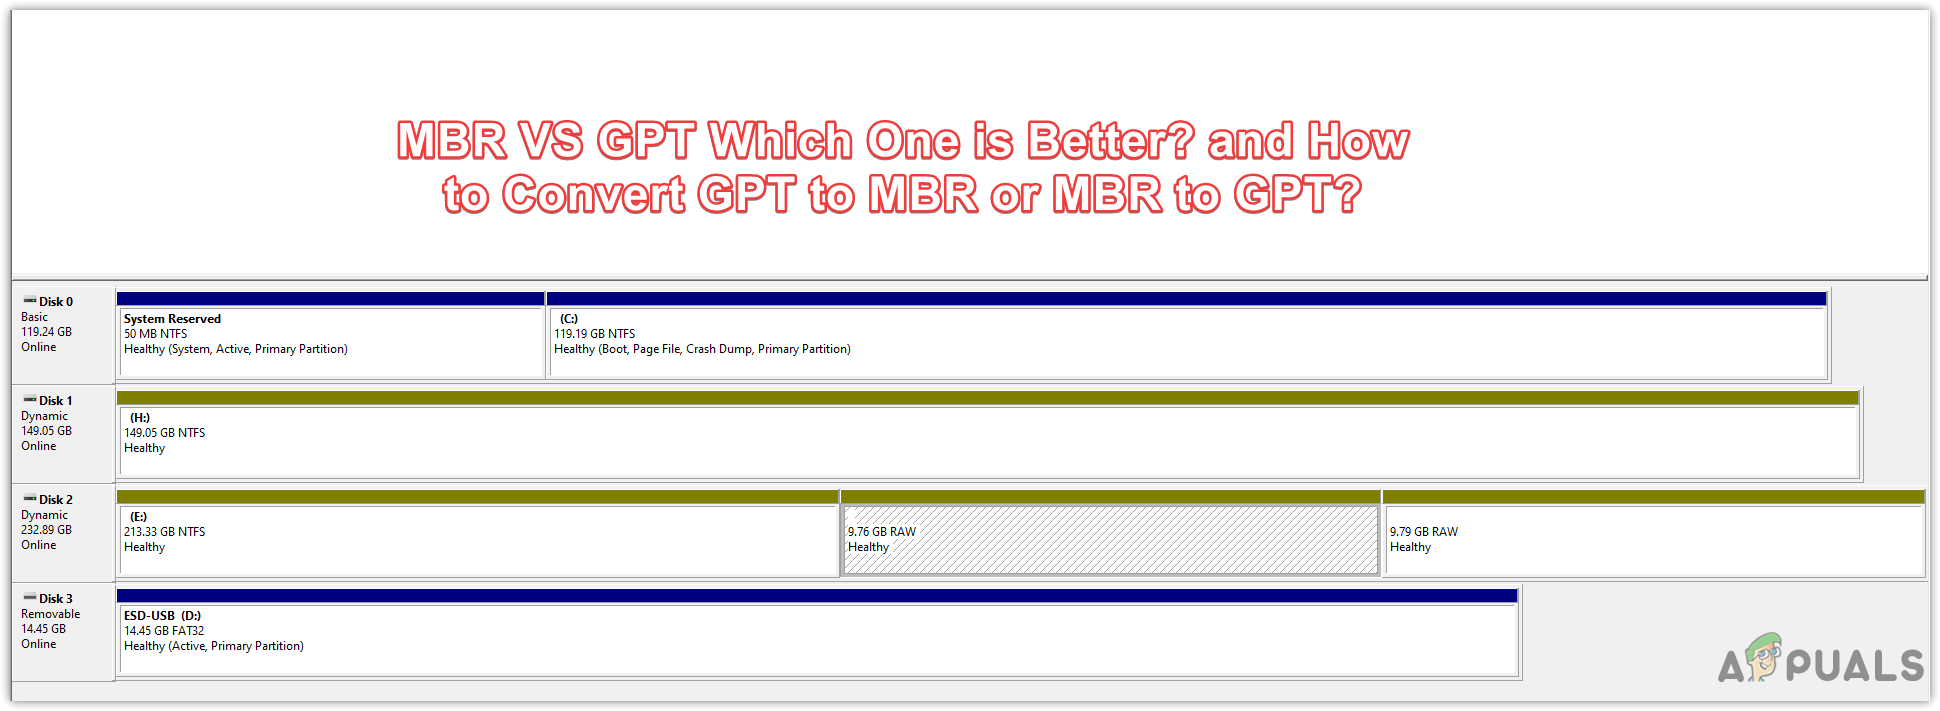
3. MBR VS GPT (Full Comparison)
Here is a full comparison of MBR VS GPT. MBR does not support more than 2TB, while GPT can have up to unlimited disk space as it supports up to 9.4 Zettabytes. MBR can have up to 4 primary partitions, while the GPT can have up to 128 primary partitions. GPT supports Cyclic Redundancy Check (CRC) for the integrity of data, while MBR does not support it. So far, GPT is better than MBR, but as we said earlier, you should have the latest computer system to use the GPT partition style, and the motherboard should support UEFI boot mode. So keep in mind that before converting MBR to GPT, check that your system supports UEFI boot mode.
4. Why MBR or GPT Is Related To UEFI or Legacy?
The Legacy mode supports MBR, and the GPT mode supports UEFI. Remember, you cannot assign GPT unless you have UEFI boot mode enabled. The same thing will apply to MBR as well. If you want MBR partition style for your hard drive, the legacy boot mode should be enabled from your motherboard’s bios settings.
Moreover, if you have a bootable Windows drive with an MBR schema but you have UEFI mode enabled, the two situations will likely appear. First, the USB may not boot up until you change your BIOS from UEFI to Legacy, and the second scenario is that you might get an error message that Windows Cannot Be Installed on Drive.
Now let’s look at another scenario. Suppose you are trying to install Windows from a bootable USB drive, but the disc image has a GPT partition, and the hard disk has an MBR partition. In this case, either download the Windows disc image with the MBR schema or convert MBR to GPT to fix the disk errors when installing Windows. Therefore, it is important to confirm before installing Windows what type of partition style and bios mode will be compatible with your system.
5. How to Convert MBR to GPT Without Losing Data?
There are a couple of ways to convert MBR to GPT or GPT to MBR. If you have important data and want to convert partition style without losing the data, then follow the steps.
5.1 Convert MBR to GPT Via MBR2GPT
MBR2GPT is an inbuilt Windows utility that converts MBR to GPT without losing data and creating a full backup of a system hard disk. To execute this utility, you will need to boot Windows in a Preinstallation Environment. To do So:
- Press the Windows key and click the Power button. While holding the Shift key, click Restart
- After restarting, you will be navigated to the options screen
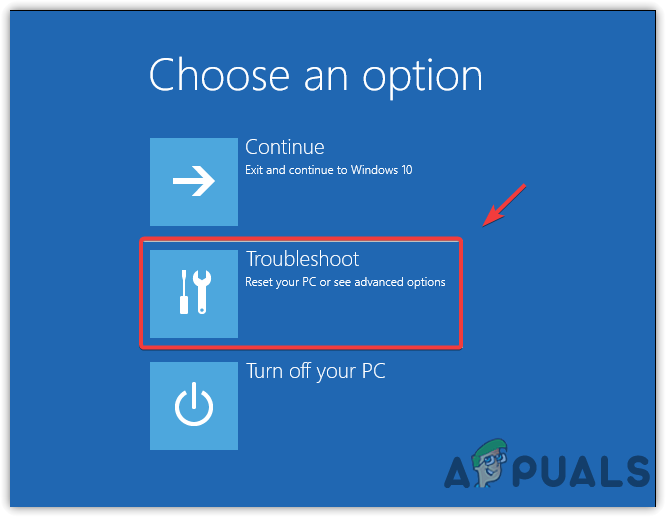
Navigating to Advance Troubleshoot - Go to Troubleshoot > Advance System Settings > Command Prompt
- This will restart your computer. Open the command prompt in Preinstallation Environment
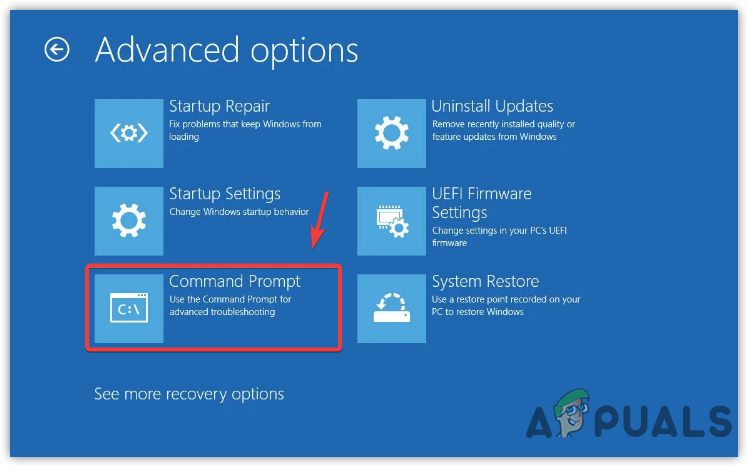
Opening Command Prompt - Now type the following command to validate all the disks
mbr2gpt /validate
- Now to convert the system disk, type the following command
mbr2gpt /convert
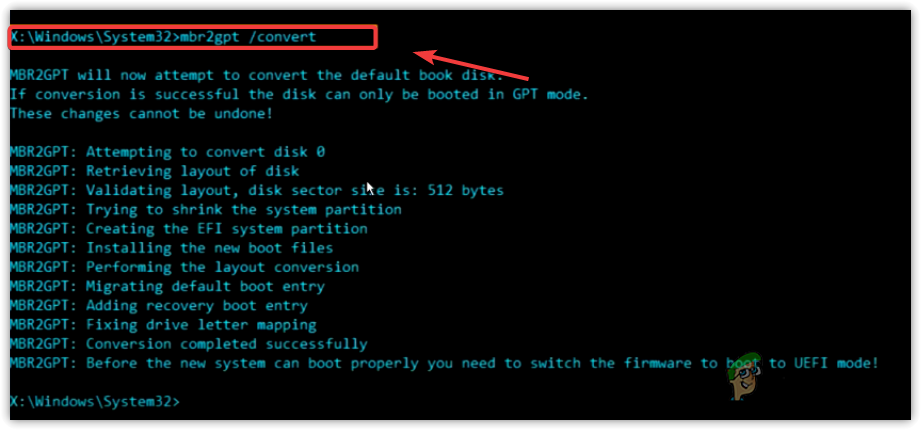
Converting MBR to GPT Note: You don’t need to mention the disk number, but in case you don’t want to convert the system disk, then type the following command with the disk number
mbr2gpt /convert /disk:[enter your disk number here] /allowFullOS
- If the above commands return error messages, check the disk number or ensure that the disk you want to convert has an MBR partition style. Otherwise, you will receive error messages.
- Now, after converting the system disk from MBR to GPT, you will need to enable the UEFI mode and the secure boot from the Motherboard’s Bios. Follow the steps:
- Restart your computer and wait for the manufacturer’s logo to appear
- Once you see the logo, press one of the following keys according to your system to enter the motherboard’s bios settings
F2, F8, F12, and Delete
- Now find the boot options tab and enable the UEFI Mode
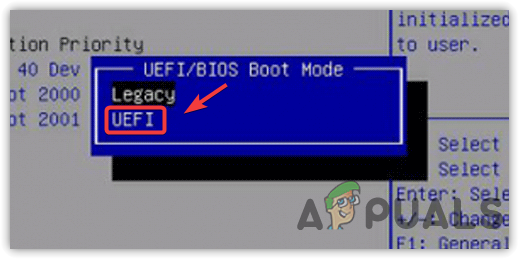
Enabling UEFI Mode - Then, go to Security to enable the Secure Boot

Enabling Secure Boot - Once done, save the changes and exit from bios settings to boot from the GPT disk
- If all works properly, the system disk has been converted to GPT.
5.2. Convert GPT to MBR Via Third-Party Software
Another way to convert GPT to MBR or MBR to GPT without losing the data is to download and install software such as AOMEI Partition Assistant and EaseUS to convert the disk partition style. However, it will cost you around 39 dollars. We are not recommending buying them as some other methods might help.
6. Convert MBR to GPT or GPT to MBR Via Disk Management
- To apply this method, you will need to delete all your data from the hard drive. To do so:
- Press the Windows key and type Create And Format Hard Disk Partitions
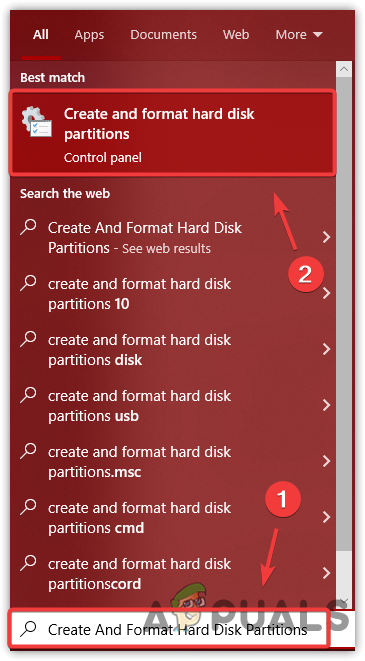
Opening Disk Management - Open Disk Management settings and right-click the disk you want to convert
- Click Delete Volume and wait for it to be deleted
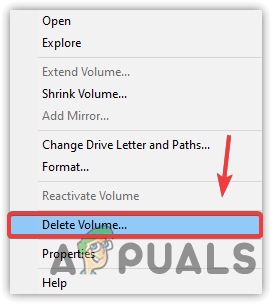
Deleting Volume - Once it shows Unallocated, right-click on it and click Covert to GPT Disk or Convert to MBR Disk
- Once done, the disk should be successfully converted.
7. Convert MBR to GPT or GPT to MBR Via Diskpart
Diskpart is also a command line utility to convert disk partition style. However, you will no longer have access to your data after changing the disk partition style. Therefore, create a backup of all your data before executing these commands. Below are the instructions:
- Click Start Menu and type command prompt
- Right-click the Command Prompt and choose Run As Administrator

Opening Command Prompt With Administrator Mode - Now to start the process, type the Diskpart and hit Enter
- Type list disk and press Enter
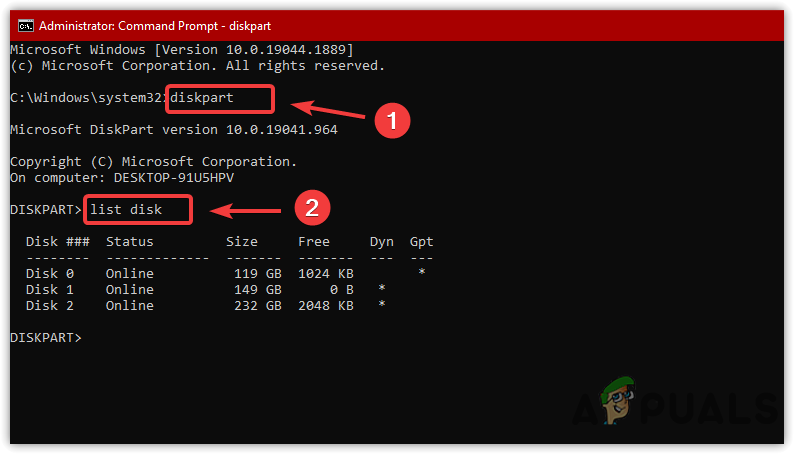
Executing Diskpart Commands - Now, if you want to convert your system disk, you need to boot a Windows USB drive and type select disk 0 in the terminal. Otherwise, type the select disk 1
- After selecting the disk, type the following commands one by one
clean
list disk
select disk 1
convert gpt
Note: To convert a system disk replace 1 with the system disk number, which may be 0
- Once done, disk 1 has been converted to GPT.


