How to Use Cubic to Make Your Own Linux Distro?
If you’re thinking about creating your own Linux distribution, it can be a really exciting project, especially if you want an OS that’s perfectly tailored to your needs.
One tool that can help you achieve this is Cubic, which offers a range of features designed to simplify and enhance the process of customizing your Ubuntu distribution and other Debian-based systems.
Let’s take a closer look at what Cubic is, how it works, and why it’s become the go-to modern tool for customizing Ubuntu and other Debian-based distributions.
Table of Contents
- ↪ System Requirements
- Step 1: Install Cubic
- Step 2: Launch Cubic
- Step 3: Set Up Your Project
- Step 4: Choose the ISO File
- Step 5: Customize Volume Information
- Step 6: Decompress the ISO
- Step 7: Customize the Filesystem
- Step 8: Customize Desktop Environment and Settings
- Step 9: Finalize Your Custom ISO
- Step 10: Test Your Custom Distro
- Step 11: Finalization and Distribution
- ↪ The Bottom Line
Cubic, or Custom Ubuntu ISO Creator, provides a user-friendly graphical interface that allows you to create a bootable ISO image of your customized Ubuntu system with ease. It simplifies the entire process, making it more accessible for users of all skill levels by offering a more streamlined and efficient approach to customizing Ubuntu, compared to older, more manual methods.
With Cubic, you can easily add or remove packages, modify system settings, and even include your own scripts—all within a single environment.
This guide will take you through the entire process, from installation to customization.
↪ System Requirements
Before you begin, ensure your system meets the following requirements:
- Operating System: Ubuntu 20.04 LTS or later, or Linux Mint based on Ubuntu.
- RAM: At least 2 GB (4 GB or more recommended).
- Disk Space: A minimum of 5 GB of free space for the project directory and ISO files.
If your system meets the minimum requirements, you’re all set to follow the guide below.
Step 1: Install Cubic
Before you can start creating your custom ISO, you need to install Cubic on your system. Here’s how:
- Open the terminal by finding it in your applications menu or by pressing Ctrl + Alt + T.
Open a New Terminal - You need to enable the Universe Repository, as this is necessary for installing Cubic.
sudo add-apt-repository universe
Enabling the Universe Repository to install Cubic - Add the Cubic PPA by using the command that adds the repository containing Cubic.
sudo add-apt-repository ppa:cubic-wizard/release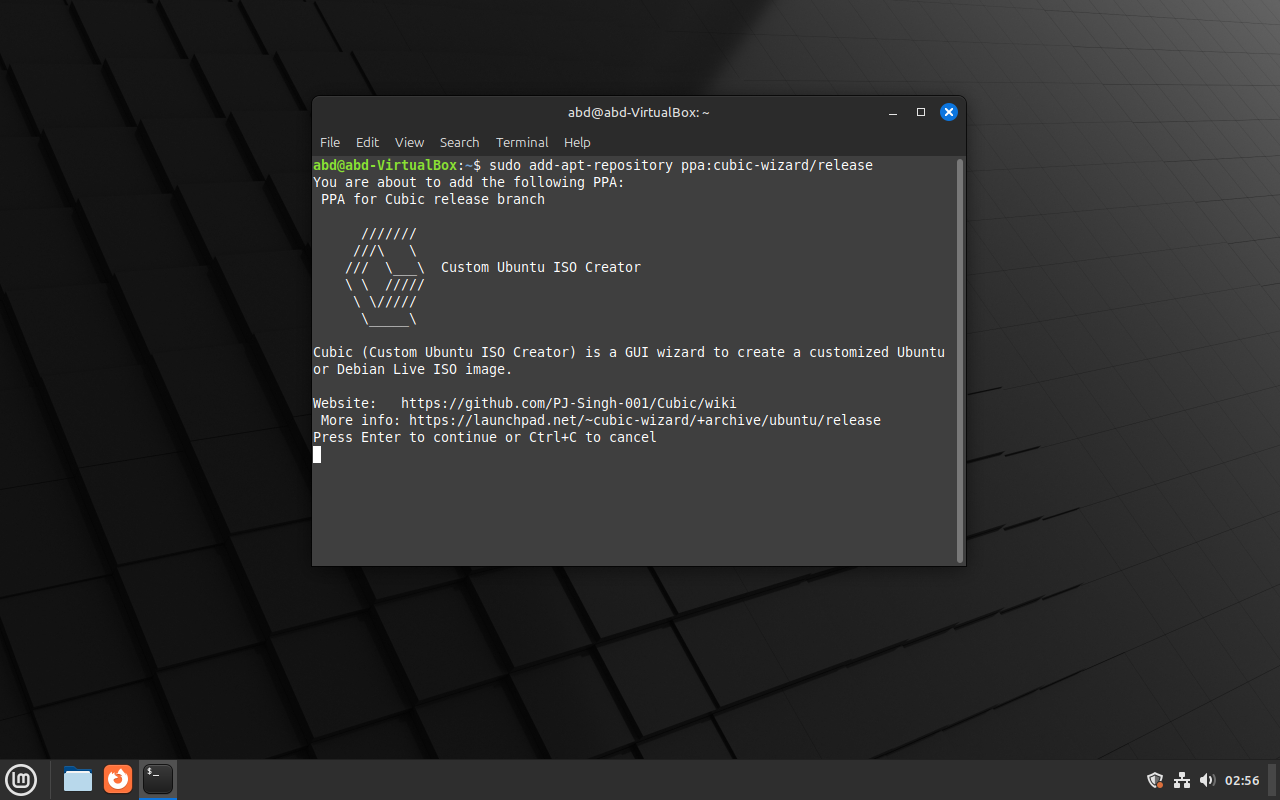
Adding the Cubic PPA for installation - Refresh your package list to include the new PPA.
sudo apt update
Updating the package list to include the new Cubic PPA - Now, install Cubic using the following command.
sudo apt install --no-install-recommends cubic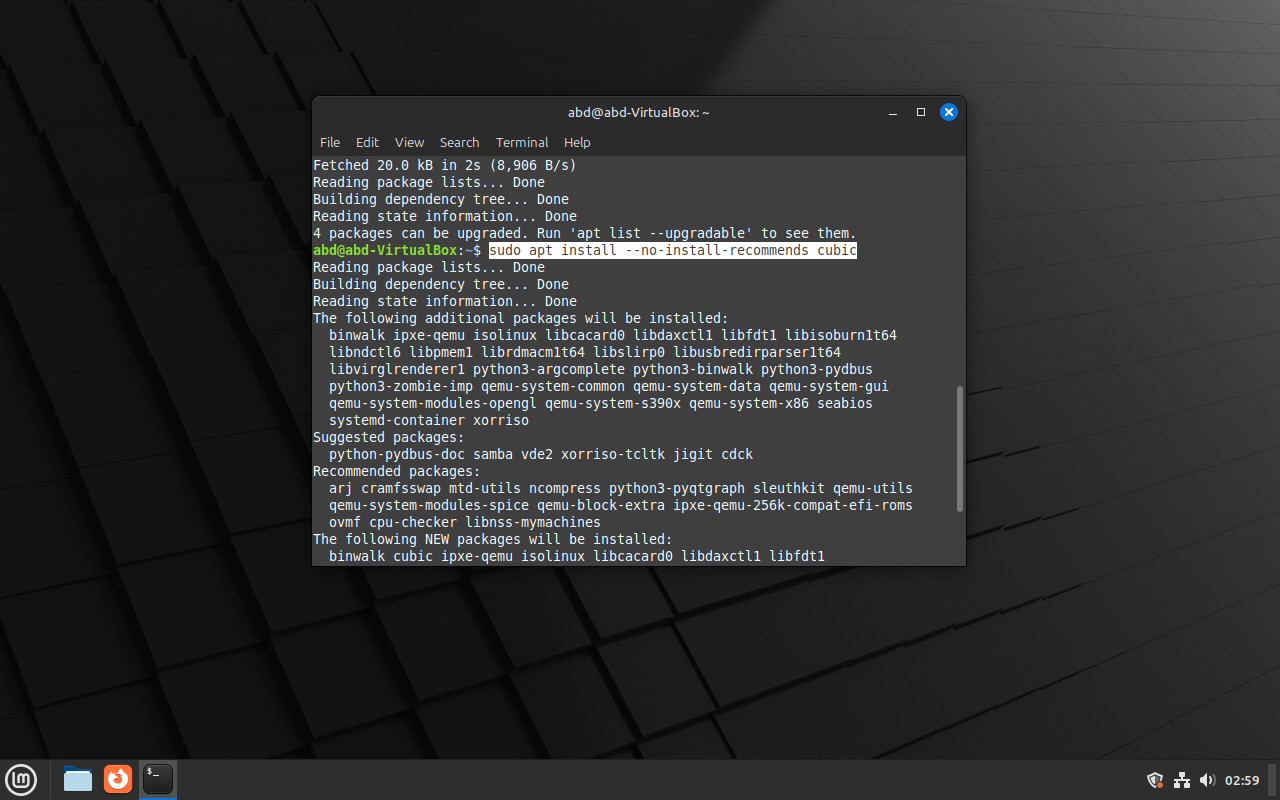
Installing Cubic from the newly added repository
Note: The –no-install-recommends option keeps the installation lightweight by not including extra packages.
Step 2: Launch Cubic
Once installed, you can launch Cubic by finding it in your applications menu and clicking to open it, or by typing cubic into the terminal.

Step 3: Set Up Your Project
When you launch Cubic, you will be guided through several steps to create your custom ISO.
- Choose a folder where Cubic will store your project files, and it’s best to create a new folder for this purpose.
Example: Create a folder named CubicProject on your Desktop.
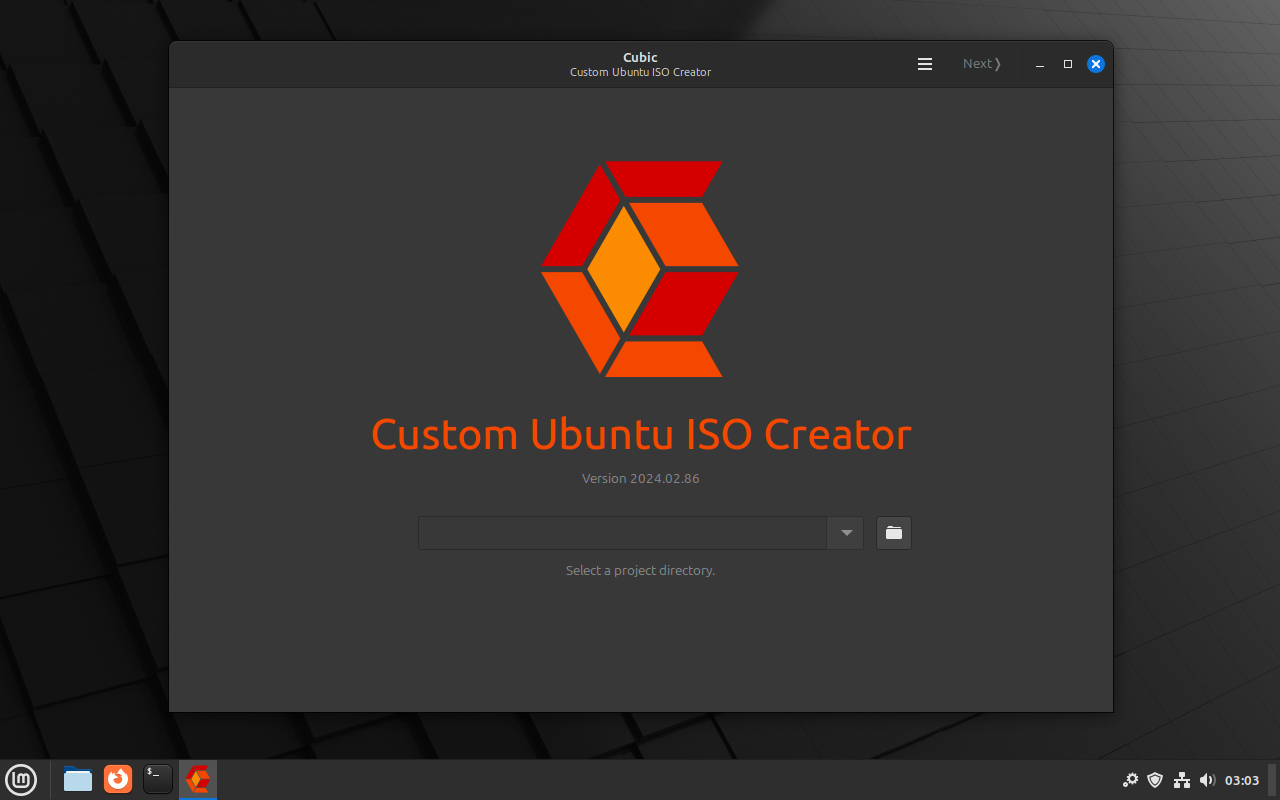
Cubic Interface - Click on the folder icon in Cubic and navigate to your newly created folder, then select it.
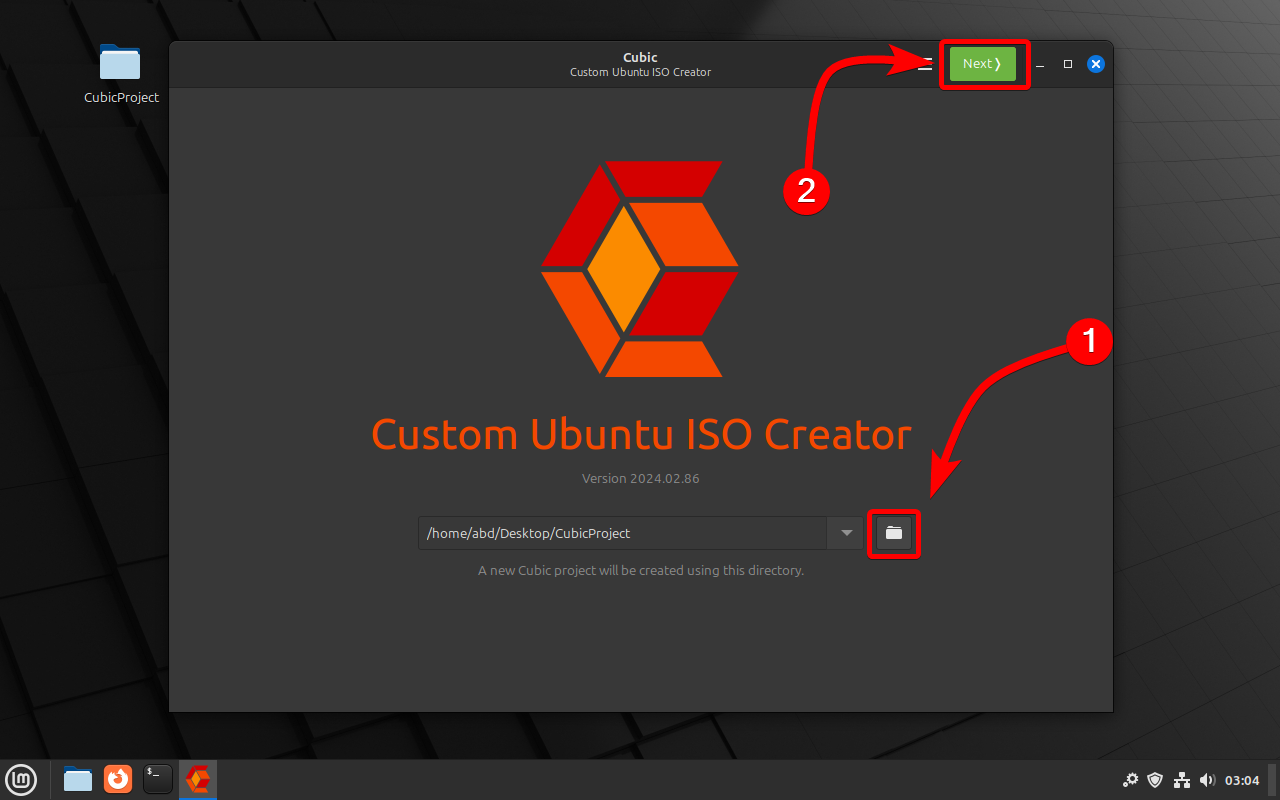
Browsing to and selecting your newly created folder in Cubic
Step 4: Choose the ISO File
- Start by providing an Ubuntu ISO file. In Cubic, you can use the Ubuntu ISO or any of its derivatives. For this guide, we’ve chosen to work with the Linux Mint ISO, but the process for customizing an Ubuntu ISO is exactly the same. You can download the latest Ubuntu ISO from the official Ubuntu website. If you’re using the Linux Mint ISO, download the latest Cinnamon Edition from its official site.

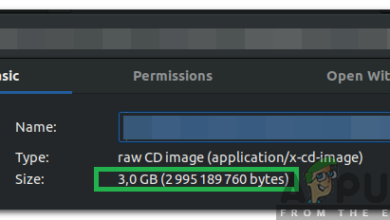
Downloading the Linux Mint Cinnamon ISO from the official site for customization - After downloading, click on the Browse button in Cubic and locate your downloaded ISO file.

Locating and selecting your downloaded ISO file in Cubic
Step 5: Customize Volume Information
Customize the Volume ID, Name, and Version of your ISO.
Example:
- Volume ID: MyCustomDistro
- Name: My Custom Distro
- Version: 1.00
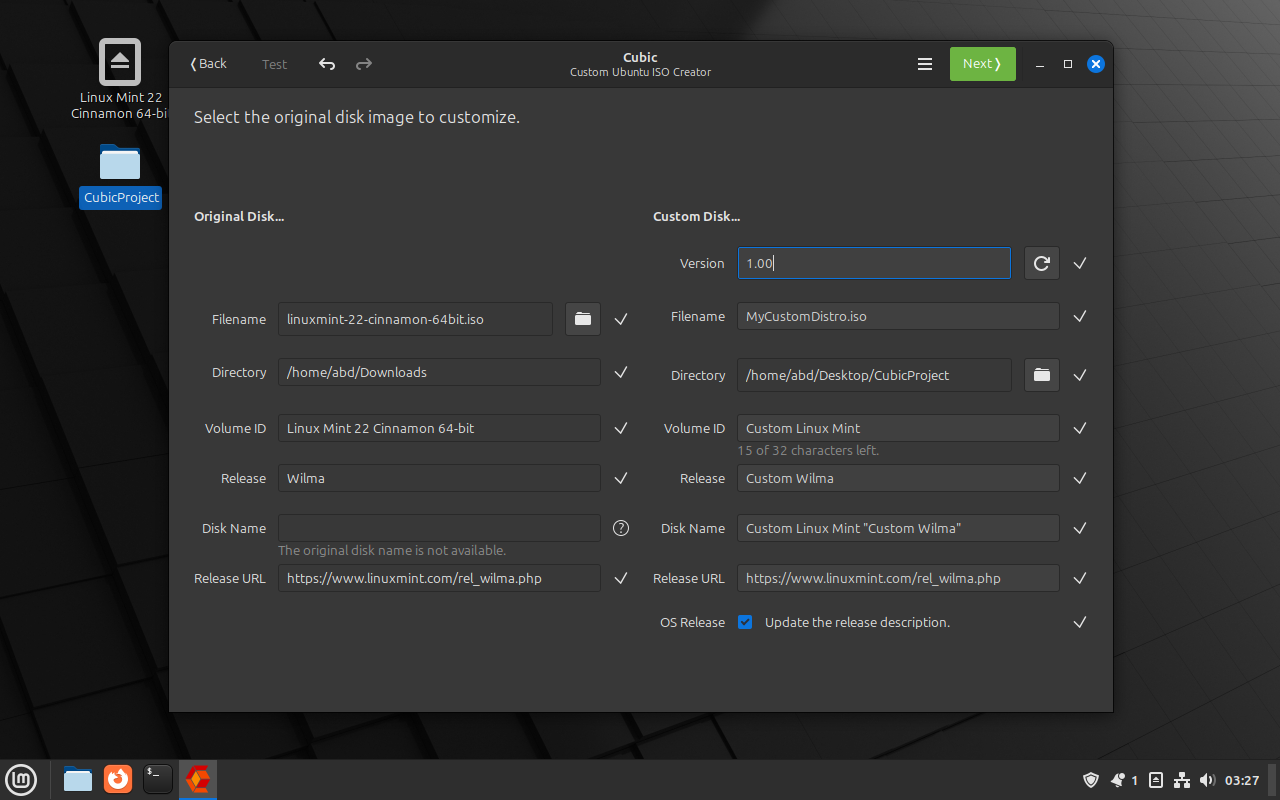
Explanation: This information will be displayed when you install or boot from your custom ISO.
Step 6: Decompress the ISO
Click Next to start the process of decompressing the ISO. This may take a few moments, depending on your system’s speed.
 Starting the decompression process of the ISO

Step 7: Customize the Filesystem
Once the ISO is decompressed, you will enter a chroot environment where you can customize the filesystem.
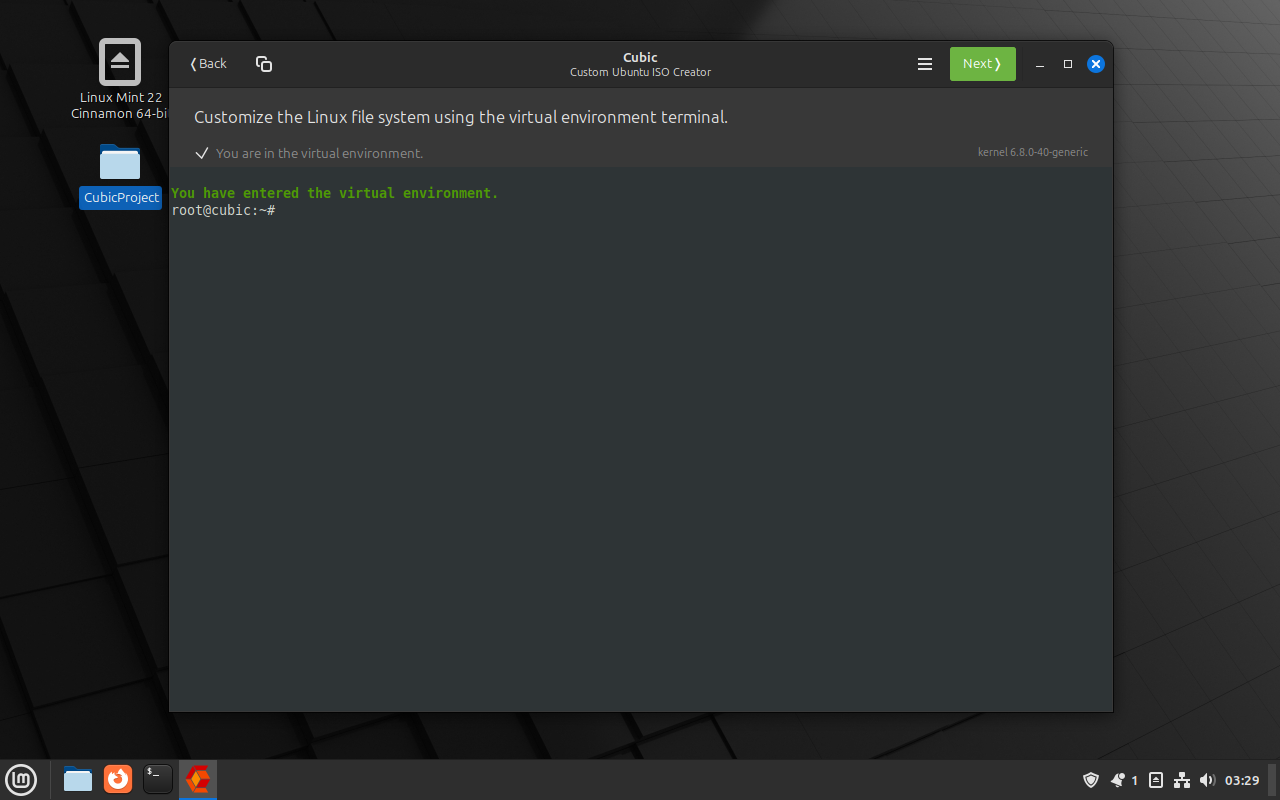
- If you want your custom ISO to include the latest software, start by running the following command in the terminal:
sudo apt update && sudo apt upgrade
Using the terminal to update and upgrade software in your custom ISO You can run commands to install software, remove packages, or make other changes.
Example to Install a Package:
sudo apt install package-name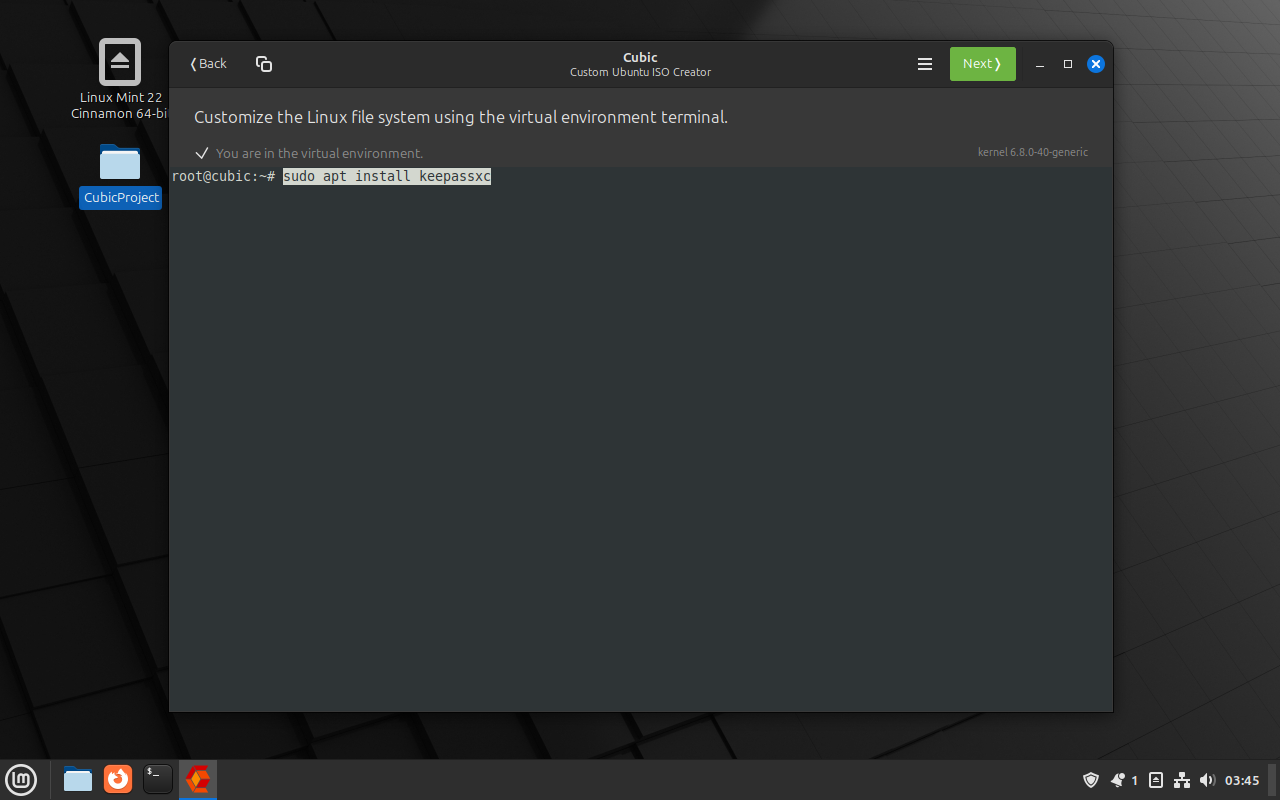
Installing a package in your custom ISO: Example with keepassxc Replace package-name with the name of the software you want to install.
- To remove packages you don’t want in your custom distro, use the following command:
sudo apt purge package-name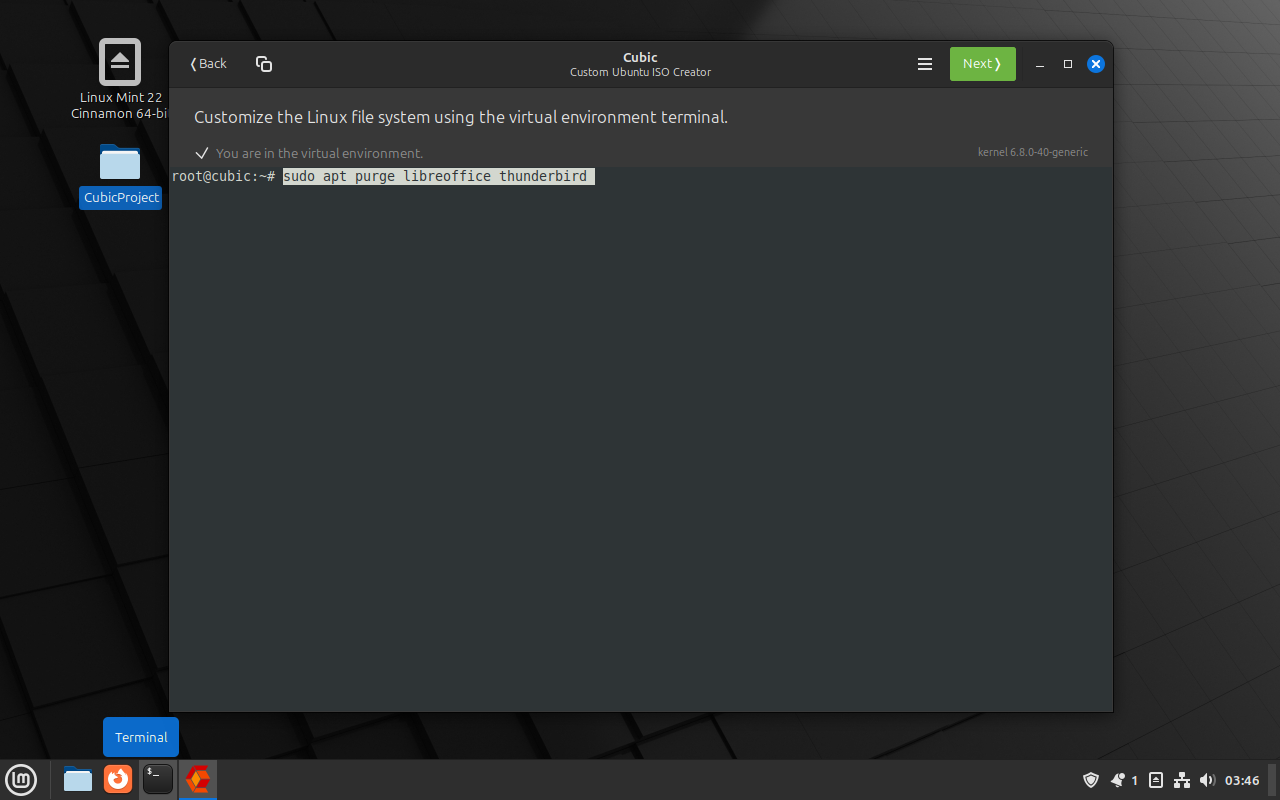
Removing unwanted packages from your custom ISO: Example with libreoffice and thunderbird - You can edit configuration files to change system settings; for example, to modify the sources.list file:
sudo nano /etc/apt/sources.listExplanation: nano is a text editor that runs in the terminal. Use it to make changes and save with Ctrl + O, then exit with Ctrl + X.
Step 8: Customize Desktop Environment and Settings
- You can modify the desktop environment settings, such as changing the theme or icons.
Example: To install a new theme, you might run:
sudo apt install gnome-themes-standard - To add files or wallpapers, you can copy them directly into the filesystem. For example, to add a wallpaper:
cp /path/to/your/wallpaper.jpg /usr/share/backgrounds/ - Set the wallpaper you want by typing:
gsettings set org.gnome.desktop.background picture-uri file:///usr/share/backgrounds/custom_wallpaper.jpg
Adjust the command for other desktop environments as needed.
Step 9: Finalize Your Custom ISO
- After making all your desired changes, click Next to exit the chroot environment.

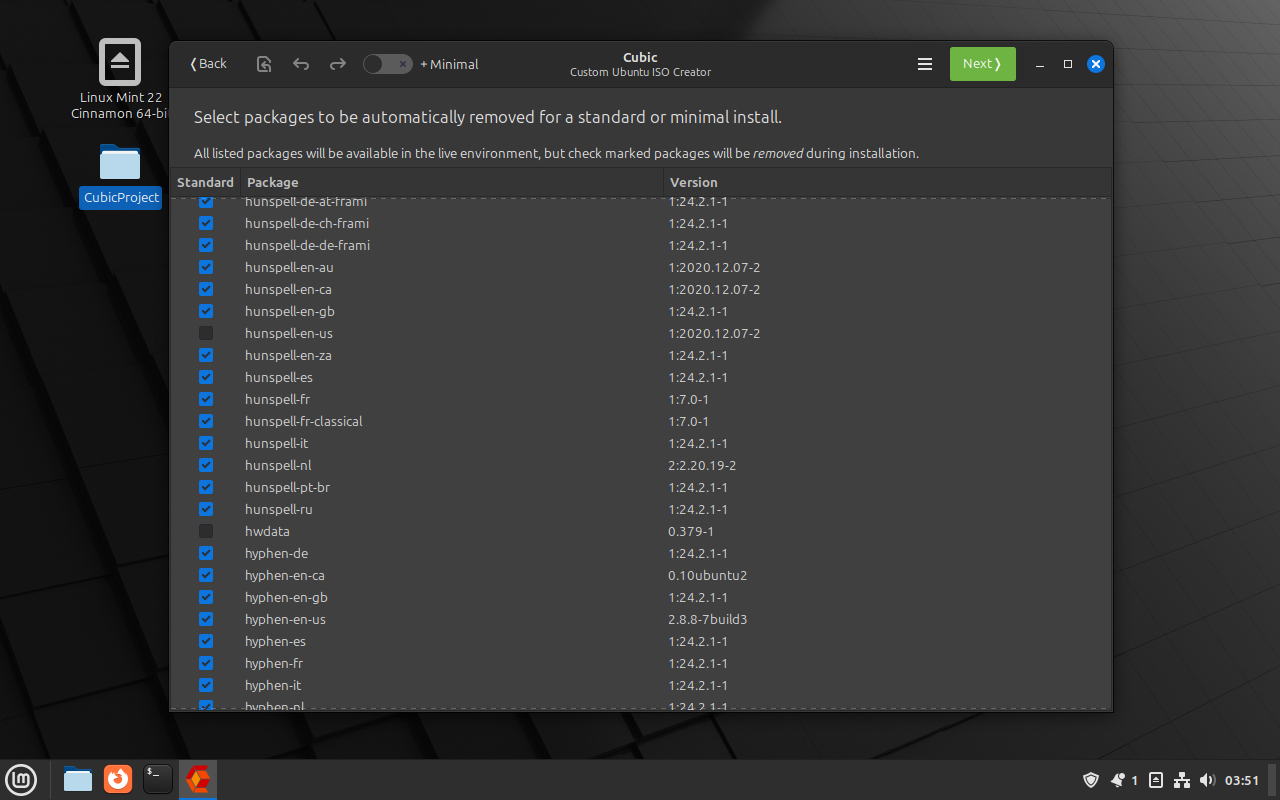
Completing the customization and exiting the chroot environment - You will now see a list of all the packages included in the live ISO. You can check or uncheck packages to include or exclude and choose between a minimal and standard installation (the selected packages will be removed).
Reviewing and adjusting package selections for your live ISO - After customizing the filesystem and reviewing the package selections, you will have the option to choose which kernel to use for booting the live ISO. Select the kernel that best fits your needs (the latest kernel will be selected by default).
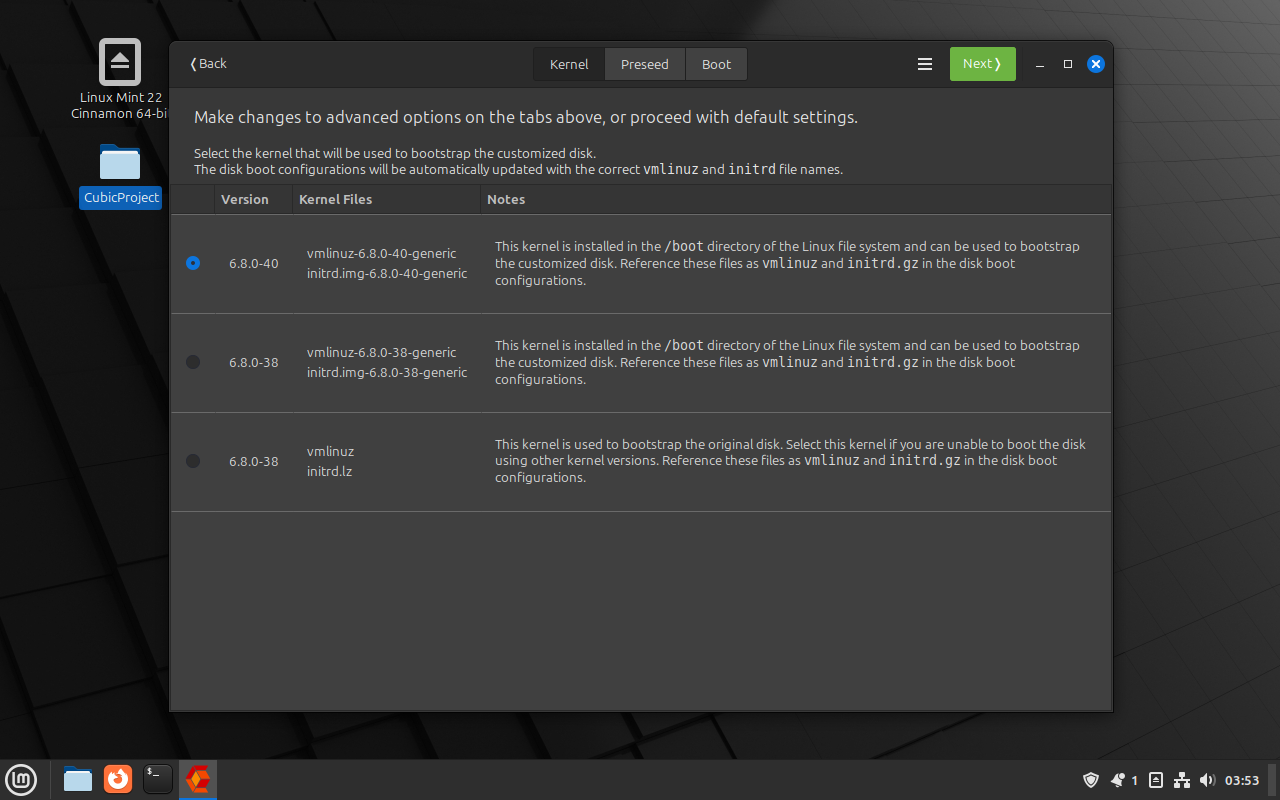
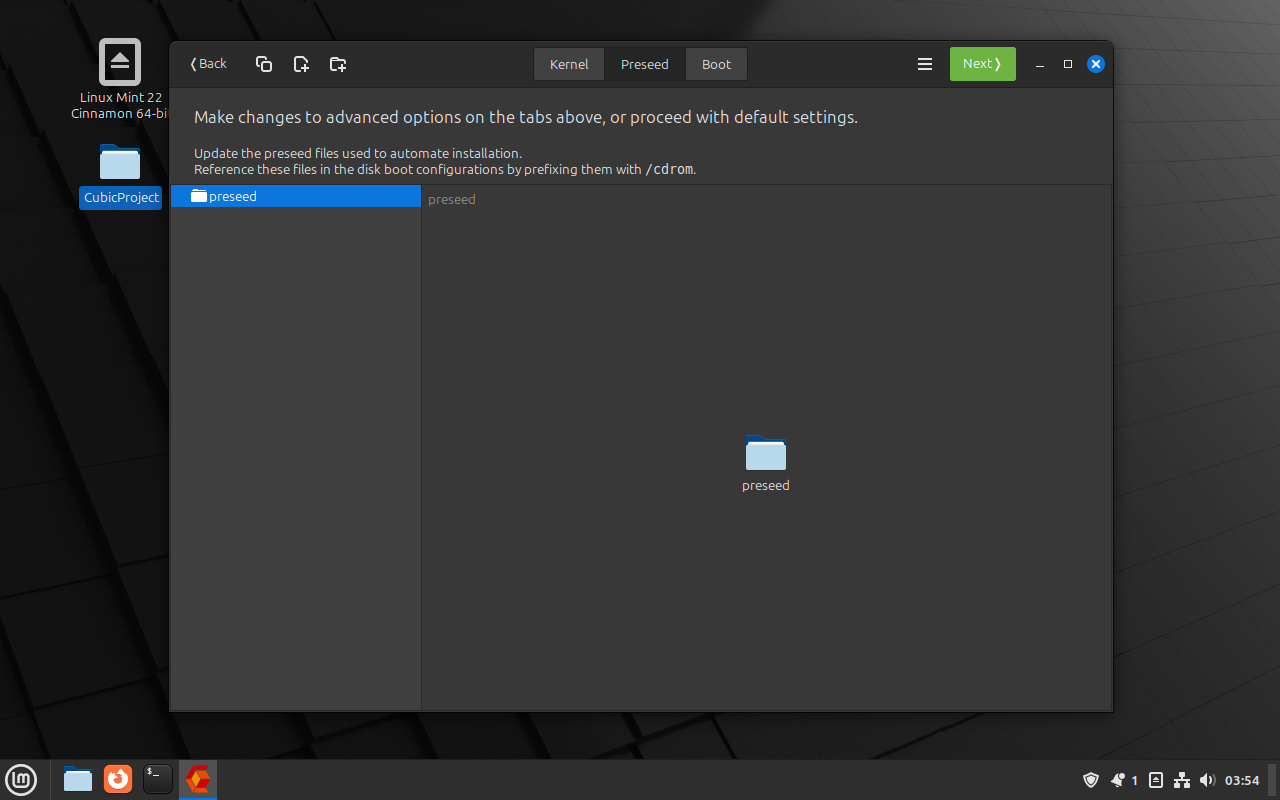
Choosing the kernel for booting your live ISO after customization - If you want to automate the installation process, you can create or modify preseed files. This allows you to skip prompts during installation. Navigate to the Preseed tab in Cubic to create or edit these files.
- Finally, select the compression type for your ISO.
Options include:- X-Z: Smaller ISO, longer packing/unpacking time.
- LZ4: Larger ISO, minimal packing/unpacking time.
- GZIP: A balanced option.

Selecting the compression type for your ISO: X-Z, LZ4, or GZIP
- Click the Generate button to create your custom ISO. This process may take some time, depending on the changes you’ve made.
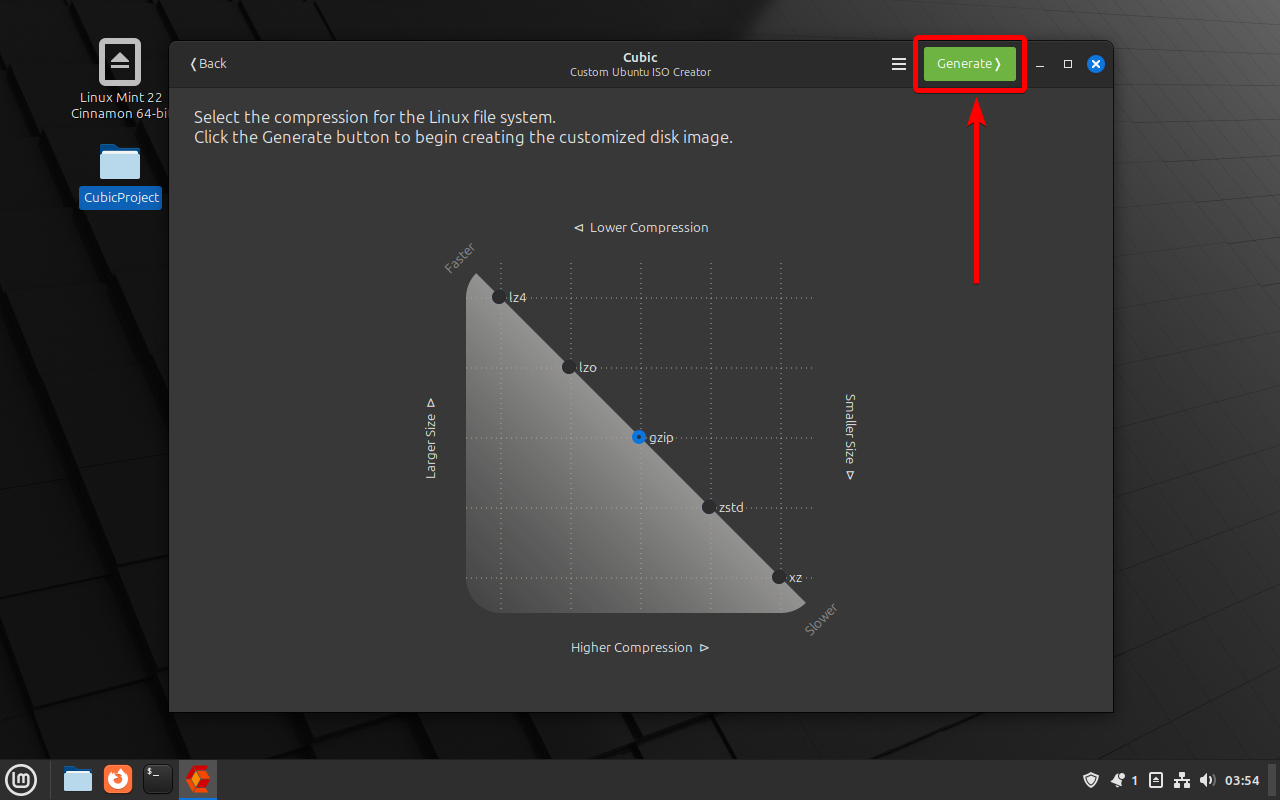
Generating your custom ISO: Click the button to start the creation process
Step 10: Test Your Custom Distro
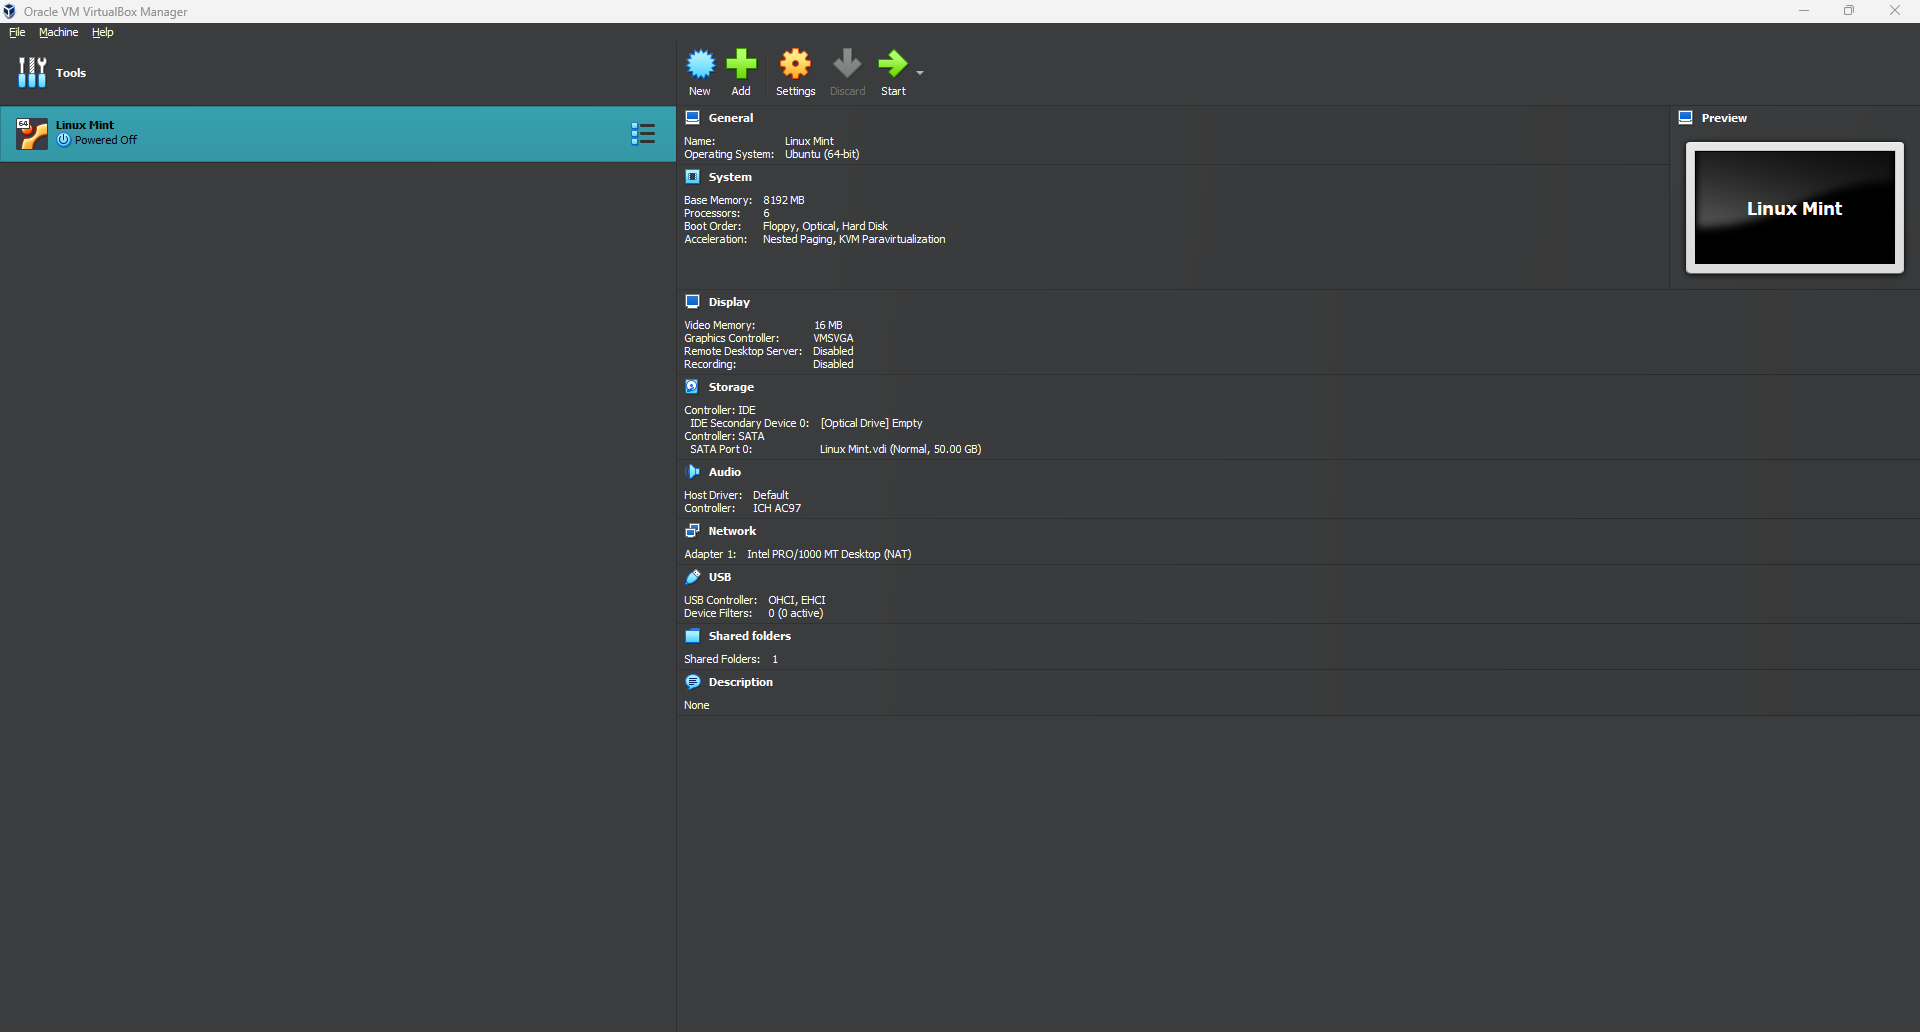
- To test your new ISO, you can use VirtualBox or another virtualization software. If you don’t have VirtualBox, you can install it using:
sudo apt install virtualbox - Open VirtualBox and click New to create a new virtual machine.
- Choose OS Type: Select Linux and Ubuntu (64-bit).
- Allocate Resources: Assign at least 2 GB of RAM and create a virtual hard disk.
- In the virtual machine settings, go to Storage, select the empty optical drive, and click on the disk icon to choose your custom ISO.
- Start the virtual machine and ensure that it boots from the ISO. You should see your customized version of Ubuntu/Linux Mint.
Step 11: Finalization and Distribution
- Use tools like
Rufus/balenaEtcher (for Windows) orEtcher(for Linux) to create a bootable USB drive from your custom ISO.
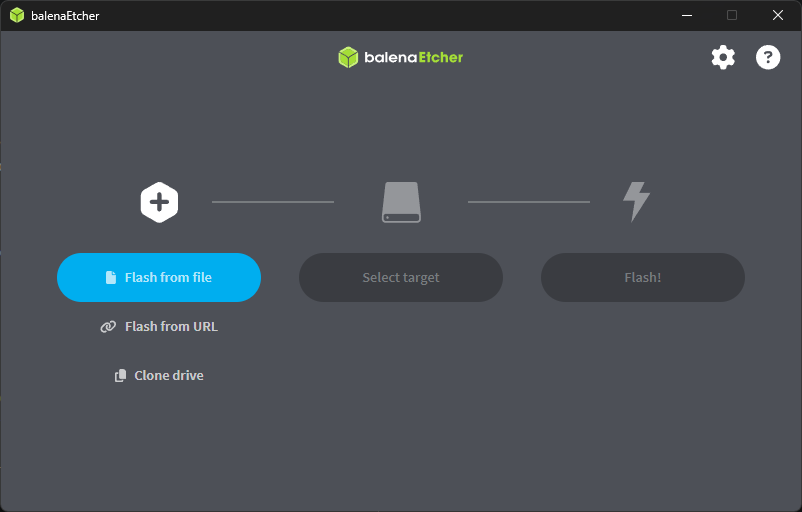
- If you want to share your custom ISO, consider uploading it to a file-sharing service or hosting it on a personal website. If you followed all the steps carefully, you have successfully created your own custom Linux distribution using Cubic.
Feel free to explore further customizations and enjoy your new distro! If you have any questions or run into issues, don’t hesitate to seek help from the Linux community, as they are often very supportive and knowledgeable. Let’s wrap up by addressing a common question: Is it better to use Ubuntu as is, or should you consider customizing it?
↪ The Bottom Line
Deciding whether to stick with Ubuntu’s default setup or customize it with tools like Cubic really comes down to what you need. The default setup is perfect for its simplicity and reliability, but customization can give you a more personalized and potentially powerful experience. Ubuntu’s flexibility lets you choose what suits you best.
If you run into any issues while customizing your Ubuntu ISO with Cubic, you can always revisit this guide for help or reach out to the supportive Ubuntu community, which is likely to have solutions for you. And if you have any other questions about this guide, don’t hesitate to leave a comment below. Thanks for reading!