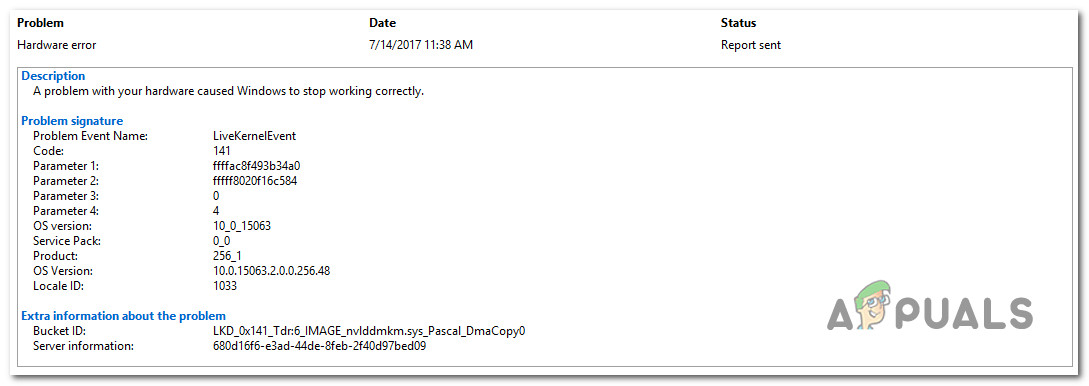
Fix the 141 LiveKernelEvent Error on Windows (Hardware Error)
Some Windows users are constantly experiencing crashes and freezing when performing resource-demanding tasks. Upon investigating the issue via Event Viewer, they discovered a recurring 141 LiveKernelEvent error pointing towards a hardware issue. This problem is reported to occur on every recent Windows version.
After investigating this issue thoroughly, there are several underlying scenarios with the potential of producing this particular Event Viewer Code. Here’s a list of potential culprits:
- Inconsistent or corrupted GPU drivers – The most desirable scenario that might cause this particular issue is an inconsistency facilitated by an incompatible or partially corrupted graphics card driver. If you find yourself in this scenario, you should be able to fix the problem by uninstalling the current drivers + dependencies and clearing the remnant files before installing the latest version using specialized software.
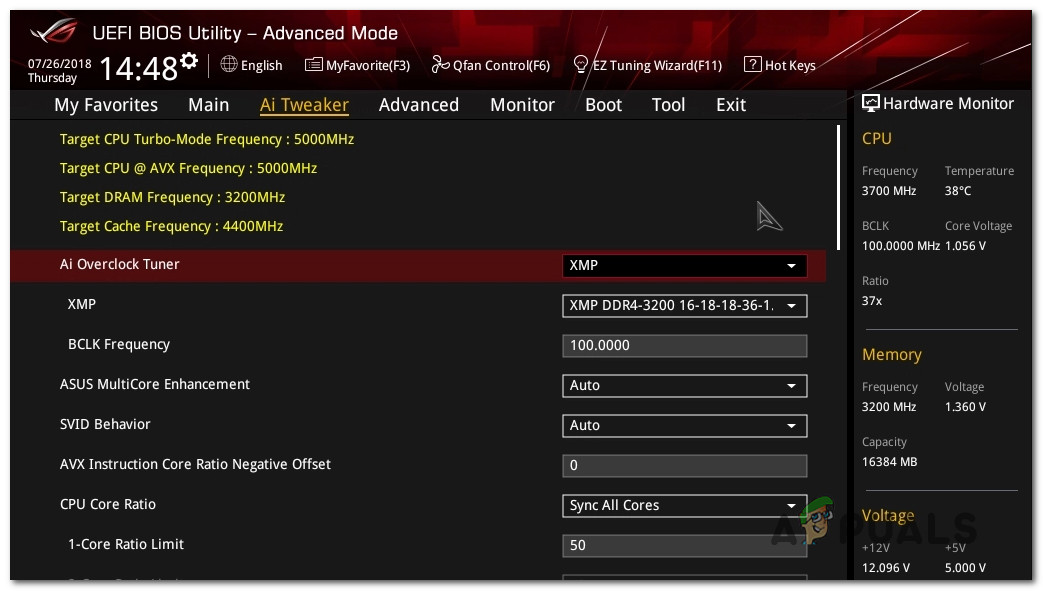
- Overclocked PC components – Overclocking can also have this repercussion on your system stability if the custom voltages and frequencies end up producing system crashes that the Event Viewer ends up logging as 141 Live Kernel Events. Ensure that the issue is not OC-related by temporarily reverting your custom frequencies and voltages to the defaults.
- Failing Graphics card – An unfortunate scenario but a pretty common one is when this particular Event error is caused by a failing graphics card that causes the crash if the maximum temperature is exceeded or if a system-breaking artifact is triggered. In this case, all you can do is identify the issue and send your GPU to your warranty issuer (or order a replacement) if a hardware issue is confirmed.
Now that you are familiar with every potential reason that might cause this error code, here’s a list of troubleshooting guide & fixes that will help you pinpoint and resolve the 141 LiveKernelEvent error:
1. Reinstall the GPU drivers
Right of the bat, you should know that this particular issue is most likely related to a failing hardware component.
Now, the good news is, this failure can be caused by a problematic (incompatible or corrupted) driver that is causing the graphics card to trigger a critical system crash.
This particular fix assumes the most desirable scenario where there’s nothing physically wrong with the GPU and the issue is simply caused by the GPU driver.
In this case, you should be able to fix the issue by reinstalling every GPU driver that you’re actively using.
The steps of updating your GPU drivers will be different depending on your GPU manufacturer. Because of this, we created two separate guides that will help you uninstall and reinstall your GPU (regardless if you’re using AMD or Nvidia graphics cards)
1.1 Reinstall the GPU drivers on AMD
- Using your preferred browser, visit the download page for the AMD Cleanup utility and download the latest version.
- After the AMD Cleanup utility is downloaded, double-click on its executable and click Yes at the confirmation prompt to run the utility in safe mode and uninstall every AMD driver.

Running the AMD cleanup utility Note: This utility is designed to thoroughly remove every installed AMD driver, registry entries, and driver store signatures. This will save you from searching and uninstalling every driver file manually. Ensure that you’re not leaving behind any leftover files by running the utility in safe mode.
- Start the utility by clicking Ok at the prompt to start the AMD cleanup process. Next, the AMD Cleanup tool will run in the background.
Note: During this procedure, it’s normal for your active display to flicker and turn off and back on multiple times. This is absolutely normal as the software display components are being removed. - Once you see the success message, click on Finish, then click on Yes to restart your computer automatically.

Running the cleanup utility Note: If this prompt doesn’t appear automatically, do the system restart manually.
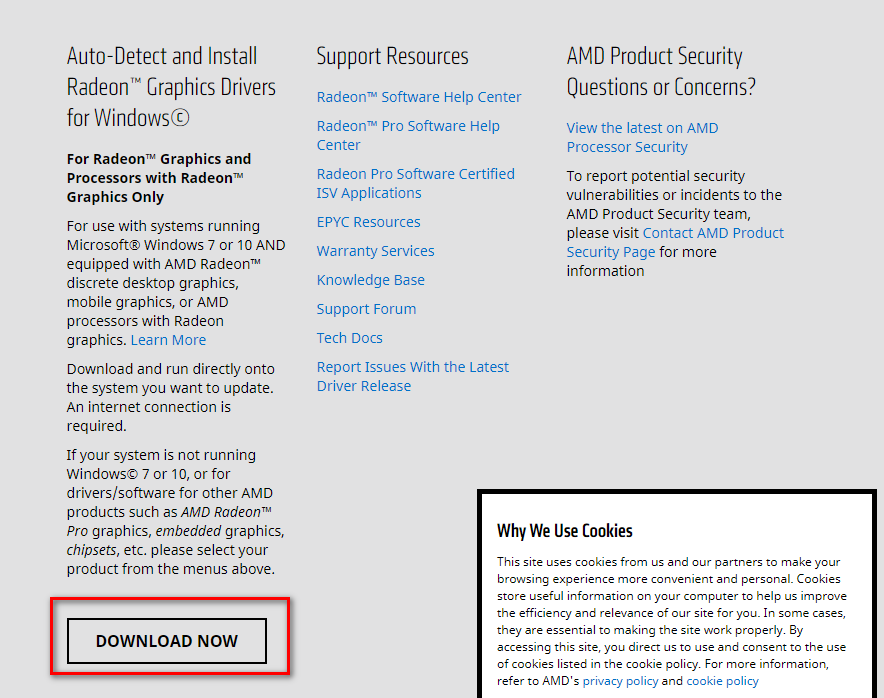
- As soon as the next startup sequence is complete, visit the download page of the Auto-Detect GPU page and scroll down to the Auto-Detect and Install Radeon Graphics Drivers for Windows.
- Once you get to the correct location, click on Download Now.
Downloading the Adrenalin Software - After the executable is downloaded, open it by double-clicking and follow the on-screen instructions to install Radeon Adrenalin.
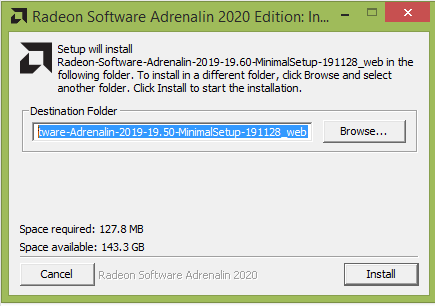
Unpacking the Adrenalin dependencies Note: Keep in mind that you can change the default destination folder again if you want, but this is not recommended.
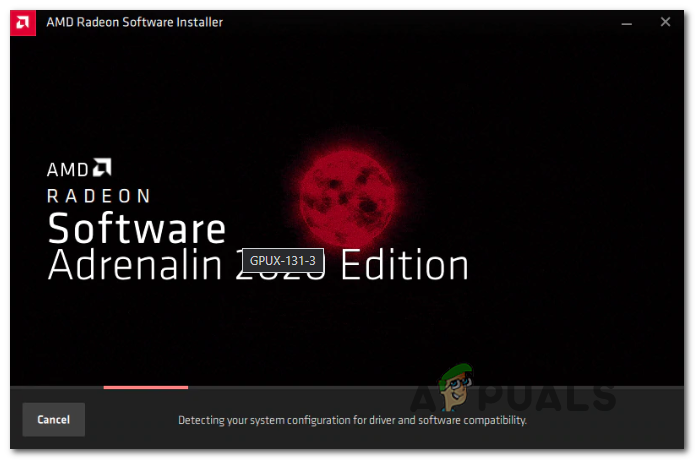
- After the download is finally complete, the utility should automatically launch itself in an attempt to detect the installed AMD graphics product and operating system.
Running the Adrenalin software - After the tool successfully detects your system configuration and the drivers that you need, install both the Recommended and Optional driver packages by selecting both and clicking on Install.
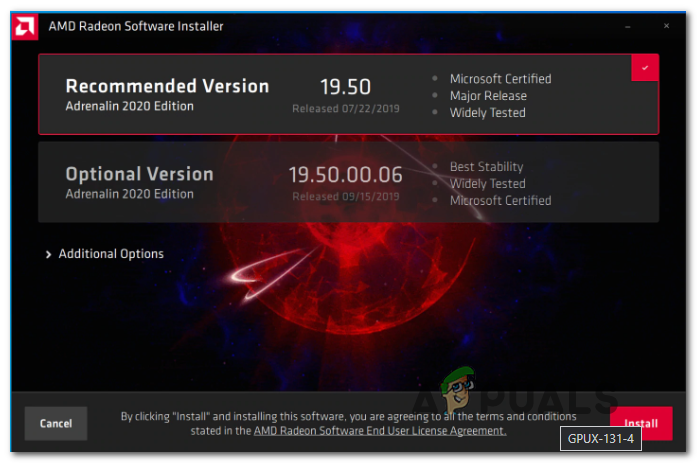
Installing the Recommended driver - Next, accept the EULA after reviewing the terms and conditions, then click on Install to start the installation.
- After every needed driver is installed, reboot your computer and monitor the situation inside your Event Viewer to see if you spot any new instances of the same Live Kernel Event error.
1.2 Reinstall the GPU drivers on Nvidia
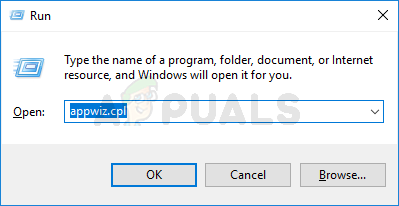
- Press Windows key + R to open up a Run dialog box. Next, type ‘appwiz.cpl’ inside the text box and hit Enter to open up the Programs and Files menu. If you are prompted by the User Account Control, click Yes to grant administrative privileges.
Opening the Programs and Features menu - Inside the Programs and Features menu, start by clicking on the Publisher tab to order the list of installed programs by their publisher.
- Once the list is neatly ordered, find the entries published by NVIDIA Corporation and systematically right-click on them, and click on Uninstall every item using the context menu.
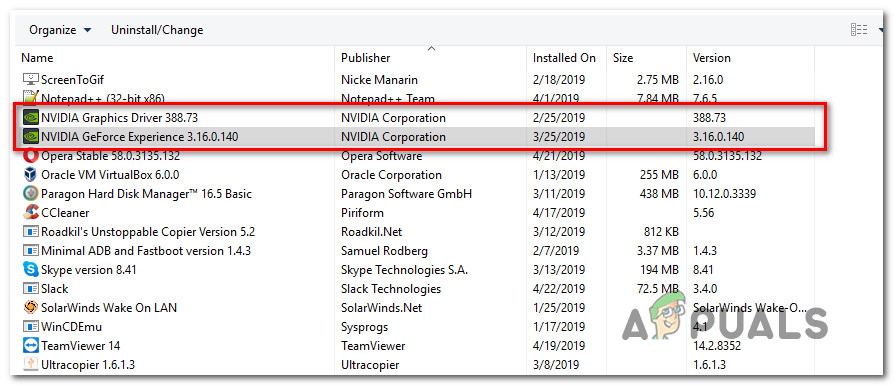
Uninstalling the Nvidia GPU drivers - Next, follow the on-screen prompts to complete the uninstallation process. Do this systematically with every driver that shows up as published by Nvidia Corporation.
- Once you’ve ensured that every Nvidia driver is uninstalled, go ahead and reboot your computer, then wait for the next startup to complete.
- After the next startup is complete, open your browser again and visit the Nvidia GeForce Download page.
- Once you’re inside the download page, and install GeForce Experience by clicking on the Download Now button and following the on-screen instructions.
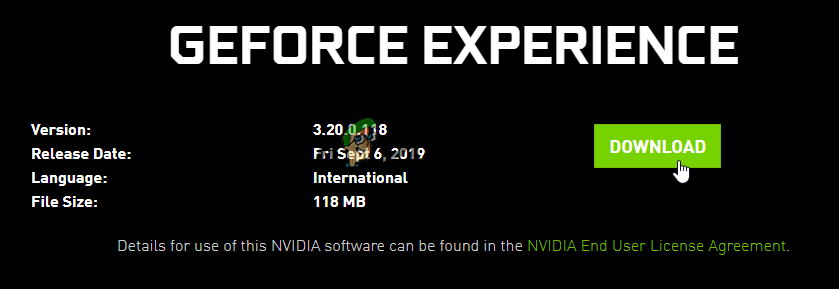
Downloading the Nvidia Experience Note: This tool works by finding and recommend the drivers that you need to install according to your GPU model.
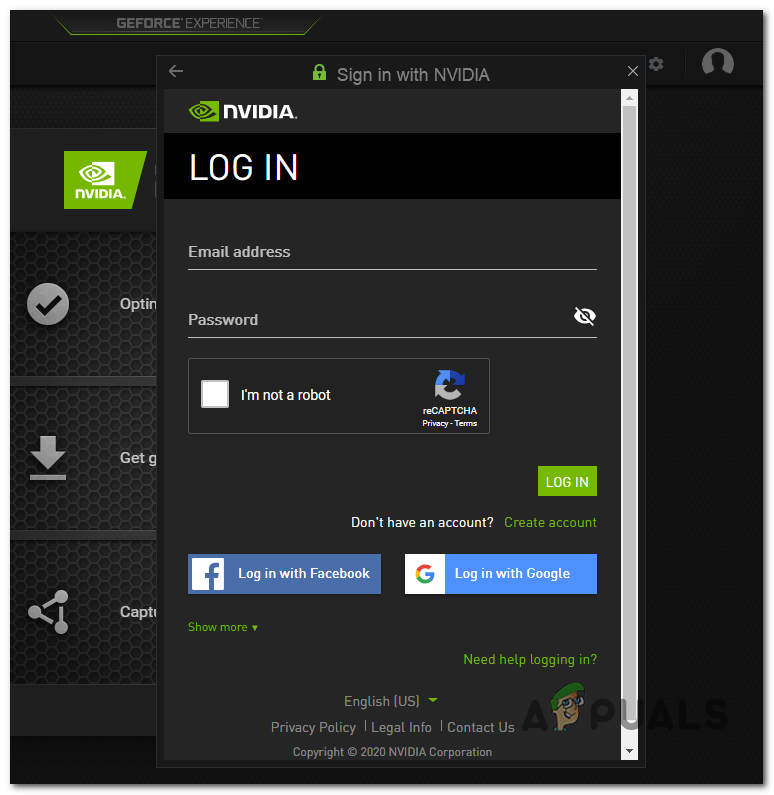
- After the download is complete, open Nvidia Experience and sign in with your account.
- Next, install the recommended drivers from the Drivers page.
Sign in with Nvidia Experience - After every recommended driver is installed, reboot your computer once again and see if the issue is resolved at the next computer startup.
- Use your computer normally and see if you still get the same crashes pointing towards the 141 error.
2. Revert any overclocked frequencies (If applicable)
Before you move on to other troubleshooting guides, you should ensure that this type of system instability is not caused by an overclocked frequency enforced on your GPU, CPU, or RAM.
Furthermore, trying to pinpoint the exact cause the is triggering the 141 LiveKernelEvent error is virtually impossible if you still overclocking your component.
Note: Overclocking forces certain components (CPU, RAM, or GPU) to run with higher frequencies than normal, which will end up producing higher temperatures than normal.
Even if you haven’t boosted the frequencies or voltages of your components manually, you might have installed some kind of overclocking software like MSI Afterburner, AMDRyzenMaster, Intel Extreme Tuning, Performance Maximizer, or CPU-Z.
If you have overclocked your components (manually or with specialized software), go ahead and re-establish the default values to see if new instances of the 141 error stop occurring.
If this didn’t resolve the issue in your case or this scenario was not applicable, move down to the next potential fix below.
3. Test your GPU card for failing signs
If you only get this error (Live Kernel Event 141) when your computer is busy rendering a task that’s very heavy on the GPU and reinstalling the drivers didn’t help, the next thing you should do is troubleshoot for a potential hardware issue affecting your graphics card.
To do this, we recommend using Furmark since it’s one of the easiest and most effective tools that will allow you to test the performance and stability of your GPU. It will allow you to spot potential heat issues, insufficient power to the card, incorrectly seated power cables, and other potential reasons that might cause your GPU card to misbehave.
Important: Furmark will put your GPU under immense stress where the temperatures of your graphics card will rise very quickly. If at any given moment you see that the temperature exceeds 80°C and continues rising, stop the test to prevent further damage to the GPU.
If you are ready to test your GPU for any hardware issue, follow the instructions below to install, configure and run FurMark on the affected machine that is triggering the 141 Live Kernel Event error:
- First things first, download the latest version of FurMark from this verified download page.
- After the download is complete, double-click on the installer and click Yes if prompted by the User Account Control window.
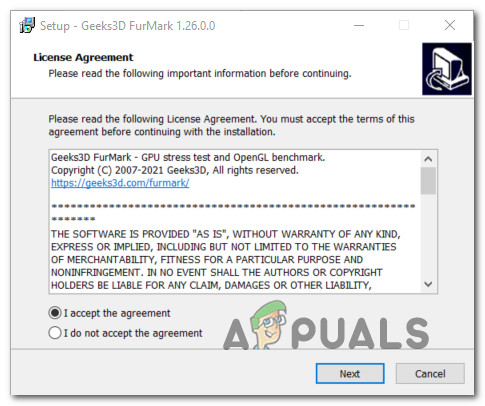
- At the first installation screen, select the I accept the agreement and hit Next to accept the EULA.
Accepting the EULA - Next, select a viable location where you wish to install Furmak and click Next once again.
- Navigate through the remaining installation prompts before finally clicking on Install to start the installation for Furmark.
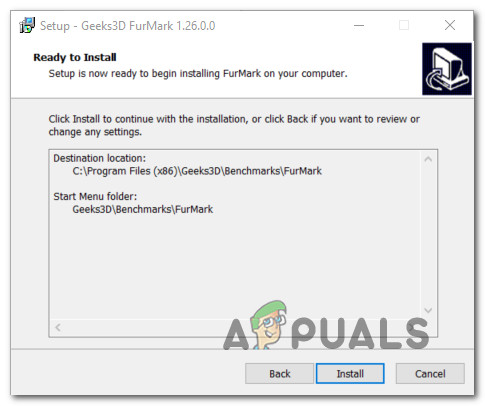
Installing Furmark - Wait until the installation is complete, then launch FurMark and click Yes at the User Account Control (UAC) if prompted to grant admin access.
- Now that you have successfully installed and opened Furmark, set the Resolution drop-down menu to the maximum resolution supported by your monitor.
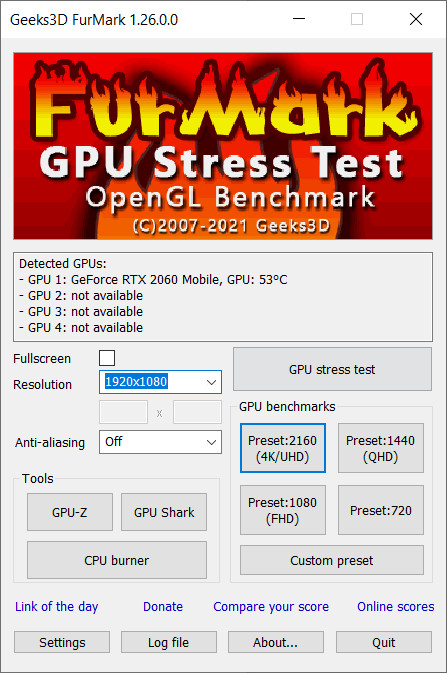
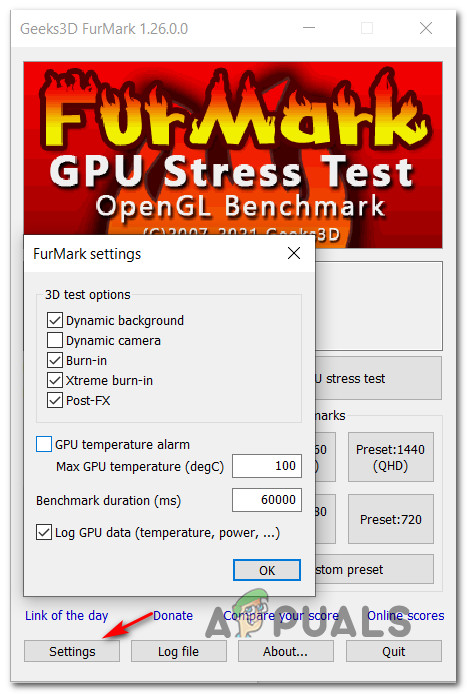
Configuring Furmark test resolution - Next, click on the Settings button and ensure that the following checkboxes are enabled:
Burn-in
Xtreme burn-in
Post-FX
GPU temperature alarm
Log GPU data - Once every relevant checkbox is checked, click Ok to save the changes and close the Setting window.
Configuring Furmark settings - Once the FurMark utility is configured and ready to go, click on the GPU stress test button and then confirm the operation by clicking GO.
- Now that the utility is running, monitor the output display closely and see if you can spot any artifacts. If you do experience artifacts or even a system crash, you’ve just concluded that you are indeed dealing with a GPU card that is starting to fail – In this case, take your GPU to the warranty issuer (if the warranty is still valid) or order in a replacement.
Note: If the temperature quickly; exceeds 80°C immediately after you start the stress test, stop the operation immediately to avoid further damage caused to the GPU.


