How to Solve ‘Time Synchronization Failed’ on Windows?
The error, “time synchronization failed” in Windows, shows up when your computer cannot set the time accurately by connecting with online time servers. This causes your computer’s clock to display the wrong time, which can lead to discrepancies in file timestamp.
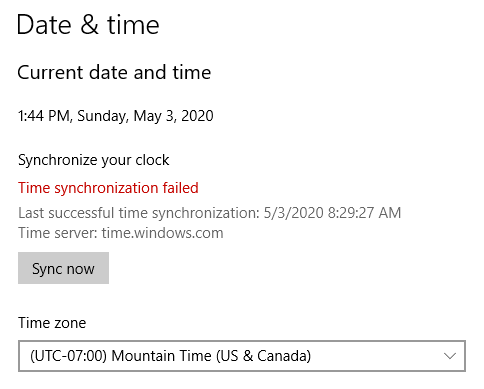
Issues with network connectivity may lead to this problem. A stable internet connection is required for the Windows Time Services to maintain communication with Microsoft servers.
Additional elements that may contribute to this error include corrupted system files, service problems, incorrect time zone settings, conflicting software, and an outdated Windows operating system.
Quick Troubleshooting Steps
- Restart System: Rebooting your computer frees up temporary resources and possibly fixes any minor issues or conflicts that could disrupt the Windows Time services.
- Switch to another network: If you’re dealing with this issue while using a Wi-Fi network, consider changing over to a mobile hotspot to see if the problem persists.
1. Enable Set Time Automatically
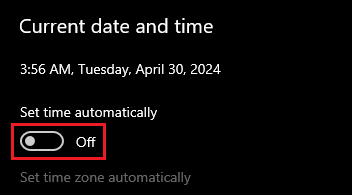
By turning on this option, your computer shows the right time consistently, eliminating the needs for manual adjustment. This maintains consistency across all system files and apps.
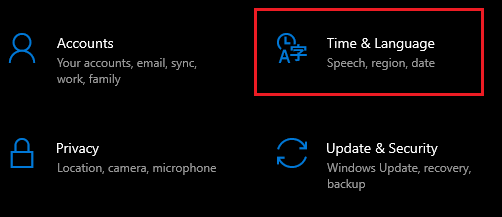
- Press the Win + I key to open Settings, then go for the Time and Language option.
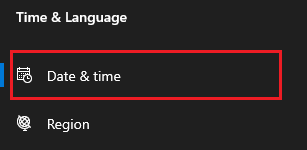
- Select the Date & Time option from the sidebar.
- Turn on the Set time automatically option.
2. Restart the Windows Time Services
The Windows Time Services might be misconfigured or corrupted. Giving it a restart ensures it is set with the optimal settings for accurate time synchronization.
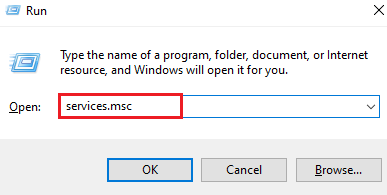
- Press Win + R to open the Run box, and then write:
services.msc
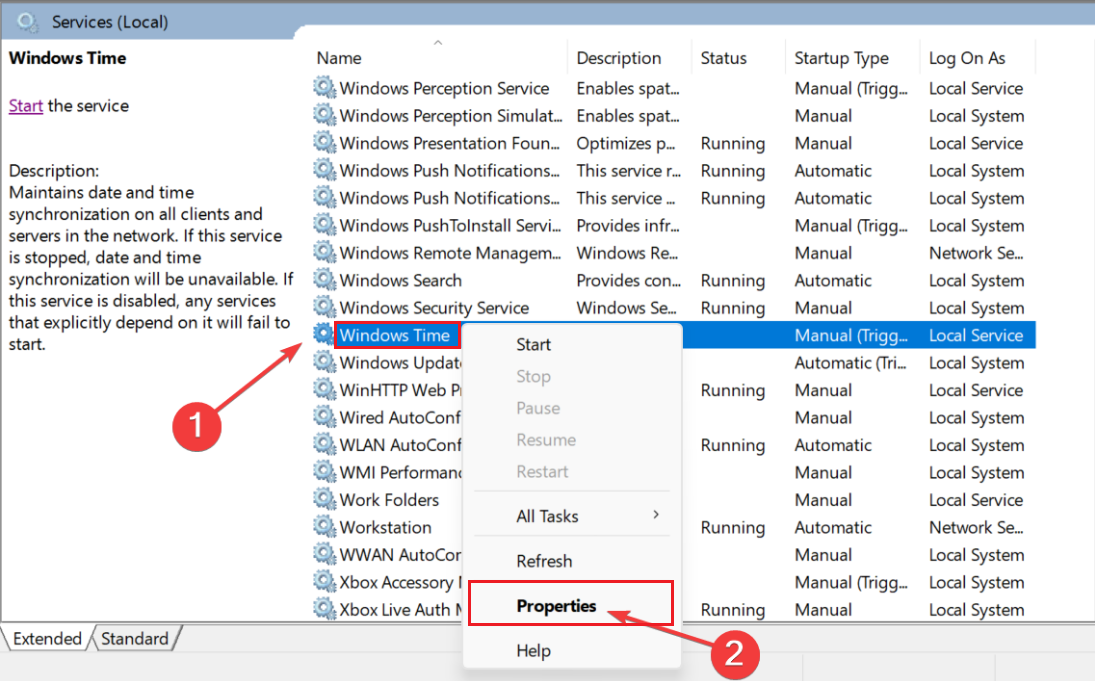
- Find Windows Time Services, right-click on it and choose Properties.
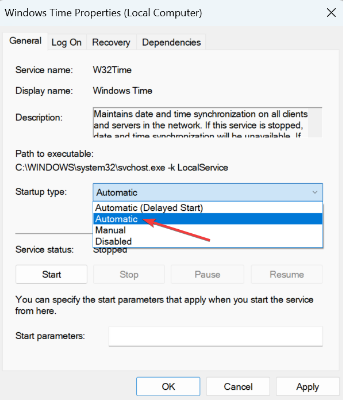
- From the drop-down menu, select the Automatic option.
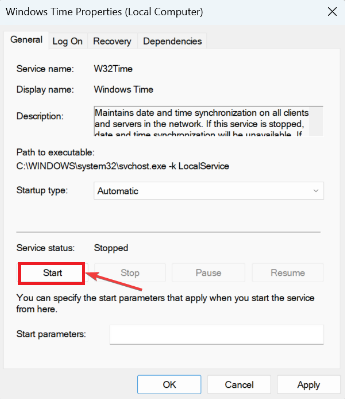
- Click the start option under Services Status.
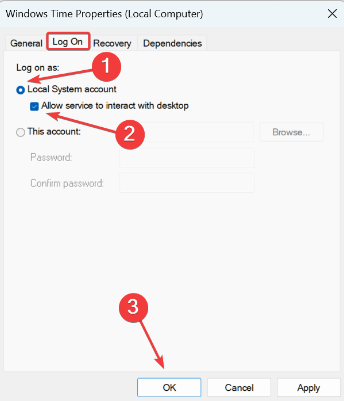
- Go to the Log On tab, select the Local System Account option, check the box for Allow the service to interact with desktop and hit OK.
3. Use a Different Server
The default time servers used by Windows can sometimes experience issues or heavy traffic. Choosing a different server with a solid internet connection can help clear this problem.
- Press Win + R to fire up the Run box, and then insert:
control panel

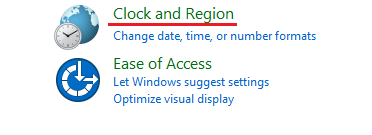
- Click on the Clock and Region option.
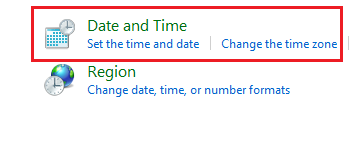
- Next, go for Date and Time.
- Move to the Internet Time option, and click on Change Settings.
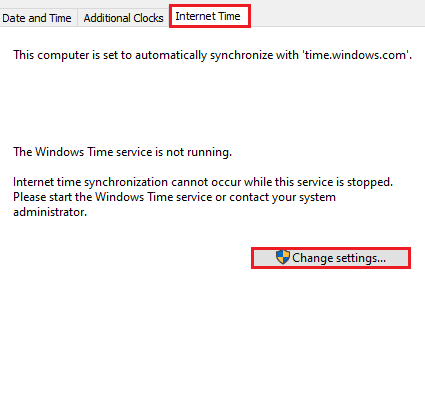
- Pick a different server from the drop-down list and then hit on Update Now, followed by the OK button.
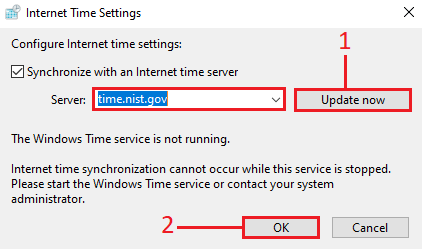
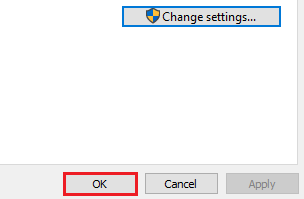
- Finally, tap OK in the Date and Time box.
4. Disable VPN and Proxys
VPNs and proxy servers route your internet through middlemen servers, which can sometimes interrupt the communication between your computer and the Windows time server. Turning them off will remove all disruptions and allow direct communication with Windows time servers, fixing this error.