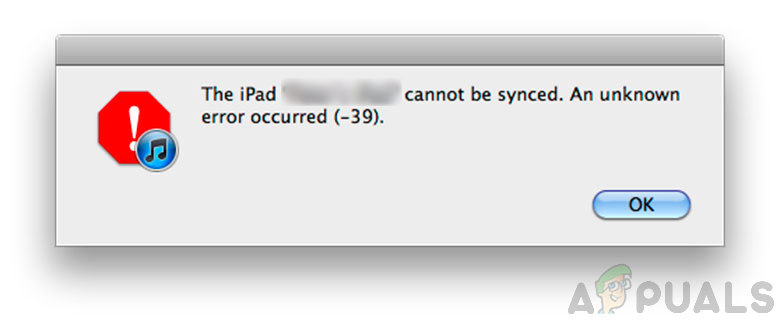
iPhone or iPad cannot be synced due to an unknown error -39
The Error “iPhone cannot be synced. Error 39” is caused due to an issue with the backup files in which either they are blocked by the Antivirus or they have been corrupted over time. This error can also arise if there is an incompatibility issue between iTunes and some software on the computer.
What Causes the ‘Error -39’ cannot sync on iTunes?
- Antivirus Software: Antivirus software on the computer can often detect and block certain files if it marks them as suspicious. Although these files are clean of any virus/malware they will be blocked on your computer and the error will be seen while trying to back them up. It can also sometimes block iTunes from opening on Windows and this can also indicate an incompatibility between the Antivirus and iTunes because it hasn’t been configured properly to run smoothly on Windows’ computers.
- Corrupt Photo Cache Folder: iOS creates a photo cache folder when the device is backed up and this folder stores the optimization configurations for the pictures. However, this doesn’t store any particular picture and this cache is easily replaced by the operating system after completing the backup.
- Outdated Software: In some cases, these issues can arise if the apps involved have been outdated. iTunes and the operating system require constant updates to fix bugs and provide better optimizations and in some cases, outdated software can get in the way of backing up your phone. This can also trigger the error 14 on iTunes while updating the iPhone.
- Too Many Devices: If there are a lot of devices connected to the computer from which you are trying to backup, this issue might be seen. It is recommended to unplug all devices from the computer that aren’t necessary and only plug the device which is to be backed up.
Fixing the Error -39 Syncing Issues on iTunes
1. Disable the Antivirus Software
If you are on a Windows computer and there is a third party Antivirus software installed, it is recommended that you disable the Antivirus. Also, since Windows has a built-in software called Windows Defender. We will also be disabling that temporarily. For that:
- Press “Windows” + “I” buttons simultaneously to open the settings.
- Click on the “Update & Security” option and select “Windows Security” from the left tab.
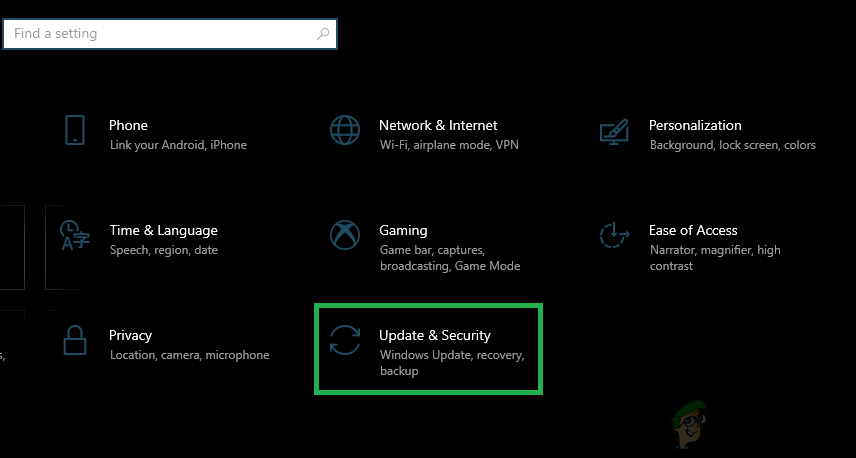
Clicking on the “Update and Security” option - Select the “Virus & Threat Protection” option and click on the “Manage Settings” button under the “Virus and Threat Protection Settings” tab.
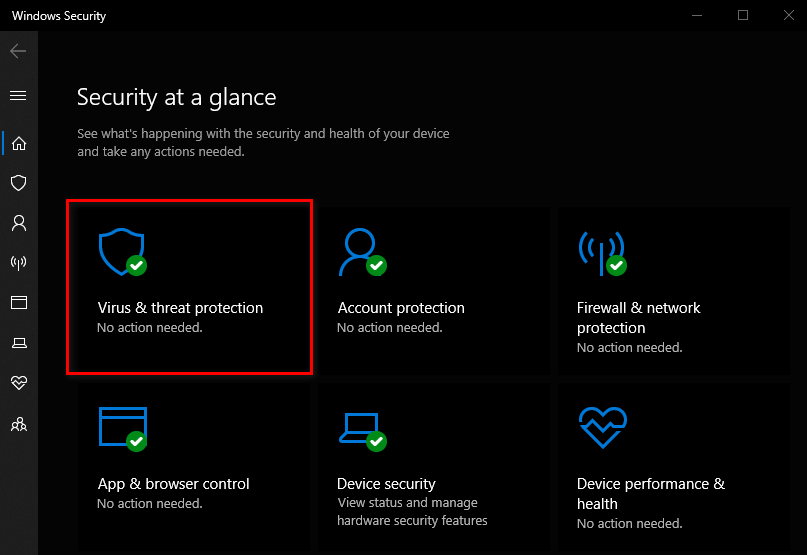
Accessing the Virus &Threat protection screen - Click on the toggle under the “Real-time Protection” heading to turn it off.
- Select “Yes” on any prompts to successfully block the Antivirus from interfering during the backup process.
- After this, try to back up and check to see if the issue persists.
2. Delete the Photo Cache
The photo cache is created by the device while creating the backup to optimize the picture gallery for the new device. However, this cache can sometimes be corrupted which can prevent the backup from proceeding and this error might be shown. Therefore, in this step, we will be deleting the photo cache and it won’t affect our backup in any way. This process differs for Windows and Mac, follow the steps for your respective operating system.
For Mac:
- Click on the Finder menu, click on “Go” and select “Home”.
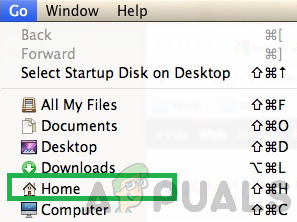
Selecting “Home” in the menu - Click on the “Photos” option and select the “Photo Library”, “iPhoto Library” or the “Aperature Library” file.
- Right-click on the selected files and select the “Show Package Contents” option.
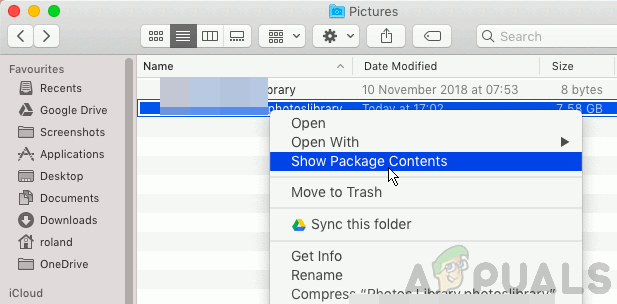
Selecting “Show Package Contents” option - Drag the “iPod/iPhone Photo Cache” or the “Apple TV Photo Cache” folder to the trash in order to delete it.
- Close the window and try to backup your data.
- Check to see if the issue persists.
For Windows:
- Press “Windows” + “S” buttons on your keyboard to open the search bar.
- Type in “iPod/iPhone Photo Cache” or “Apple TV Photo Cache” into the search bar and wait for the computer to complete the search.
- Right-click on the folder and select “Open Folder Location”.
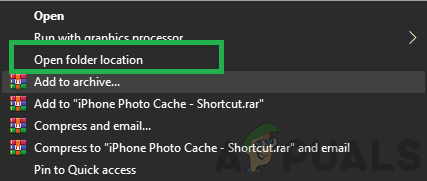
Selecting the “Open Folder Location” option - Backout of the folder and select it.
- Press “Shift” + “Delete” to permanently delete it.
- After this, try to back up your device and check to see if the issue persists.
3. Update iTunes
It is important that iTunes is up to date in order for the backup process to proceed. Therefore, in this step, we will prompt it to check for any updates manually. For that:
- Launch iTunes and click on the “Help” option on the top.
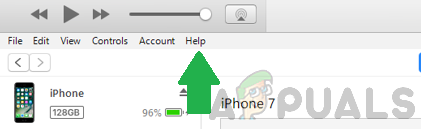
Selecting the Help option in iTunes. - Select “Check for Updates” from the list.
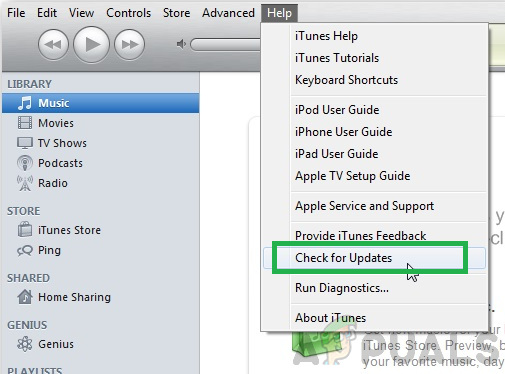
Selecting the “Check for Updates” option from the list. - Wait for the check to be completed and any available updates will be presented in front of you.
- Download and install these updates on the computer.
- Restart the computer and check to see if the issue persists.
4. Update Windows
In some cases, an outdated version of Windows might be preventing you from backing up your device. Therefore, in this step, we will be checking and applying any available updates. For that:
- Press the “Windows” + “I” buttons simultaneously to open the settings.
- Click on the “Update & Security” button and select “Windows Update” from the left pane.
Clicking on the “Update and Security” option - Select the “Check for Updates” button and wait for the checking process to be completed.
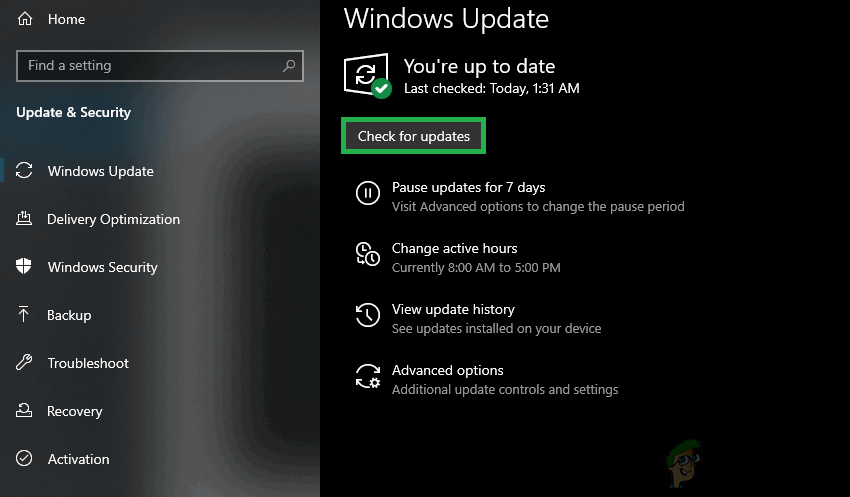
Selecting the “Check for Update” button - Click on the “Download and install” button to prompt Windows to install these updates.
- Wait for the updates to be installed and try to backup your device.
- Check to see if the issue persists.
5. Update macOS
It is important to update Mac to the latest available version to get the best out of software optimization and this might also fix the error that we are facing. In order to update:
- Click on the “Apple Menu” and select “System Preferences” option.
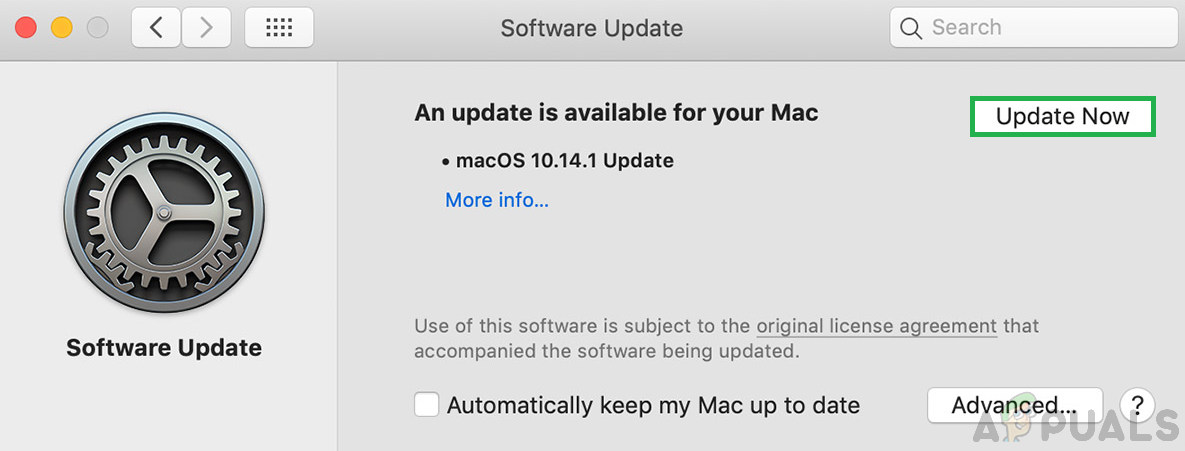
- Select the “Software Update” option and wait for the system to check for any available updates.

Clicking on the Software Update option. - Click on the “Update Now” button if there are any available updates and wait for the process to be completed.
Clicking on the “Update Now” button to initiate the update. - Try to backup your device and check to see if the issue persists.


