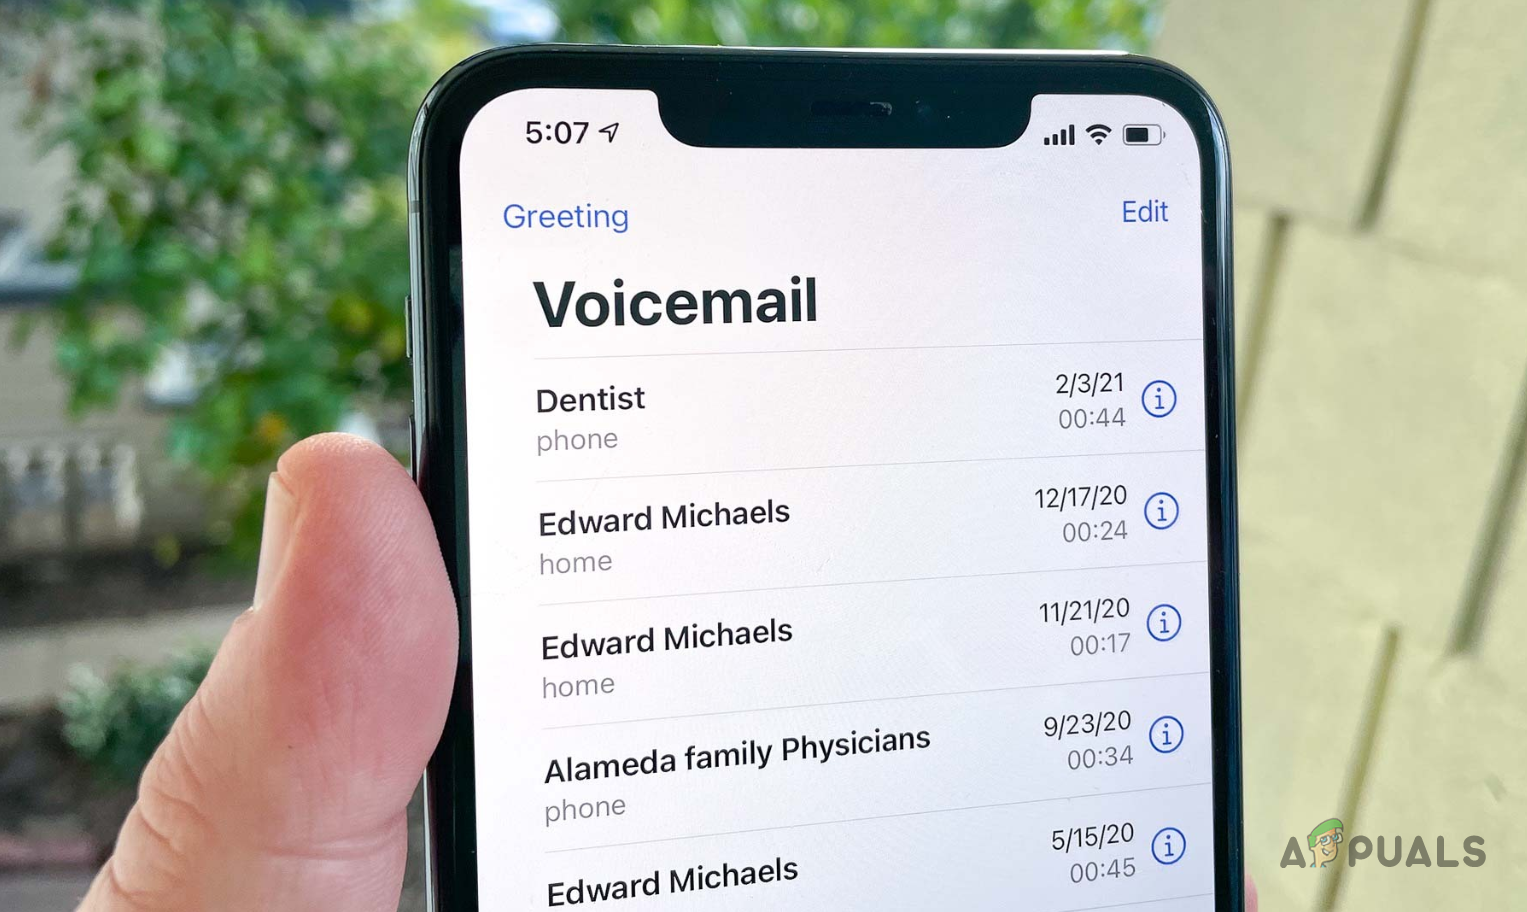
iPhone Voicemail not Working? Try these methods
Missing voicemails is never really a good thing because you might be failing to attend to important business. As it turns out, there are not many reasons why your voicemail may stop working and when it does happen, the issue is usually related to your phone settings. This includes settings like call forwarding, cellular service and more which we are going to look at in more detail down below in this article.
As it turns out, the importance of voicemail over the years has definitely increased due to the number of calls that are being received each day. Having a voicemail really allows you to catch up on the important stuff so that you can get back to it. On top of that, setting up voicemail is pretty simple as well so there’s almost no reason why one wouldn’t use it. Now, as we have mentioned, the problem in question can occur due to different reasons but it is usually limited to them.
In this article, we will take you through the step by step process of solving the problem mentioned above so that you can get your voicemail back up without any difficulties. With that said, let us get started without any further ado.
Delete Old Voicemails
The first thing that you should do when your voicemail stops working is to go ahead and delete some of your old voicemails. This is because when your voicemail is full, you will not be able to receive new voicemails until the old ones have been removed or deleted. Even though most newer iPhones come with a bunch of space, it still is limited and it can really fill up quickly.
As such, you will have to delete previous voicemails in order to make room for the newer ones. Doing this is pretty simple, just follow the instructions down below:
- First of all, open up the Phone app on your iPhone.
- After that, at the bottom, tap on the Voicemail option provided.

Navigating to Voicemails - Then, tap the Edit option in the top right hand corner.
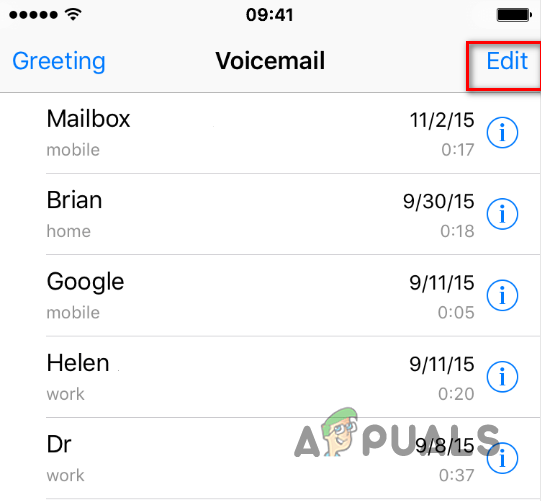
Editing Voicemails - With that done, select the voicemails that you wish to delete and then tap the Delete button.
- This will free up some space for you and you should be able to receive new voicemails if this was causing the problem.
Update Carrier Settings
As it turns out, your carrier can sometimes push updates, usually in order to address various issues. Normally, these settings are updated automatically and you don’t really notice it. However, there can be times when the carrier settings are not updated on their own in which case you will have to update the settings manually.
Fortunately, updating your carrier settings is a pretty simple task and it only requires a few taps. To do this, follow the instructions that have been given down below:
- To start off, open up the Settings app on your phone.
- Then, make your way to the General menu.
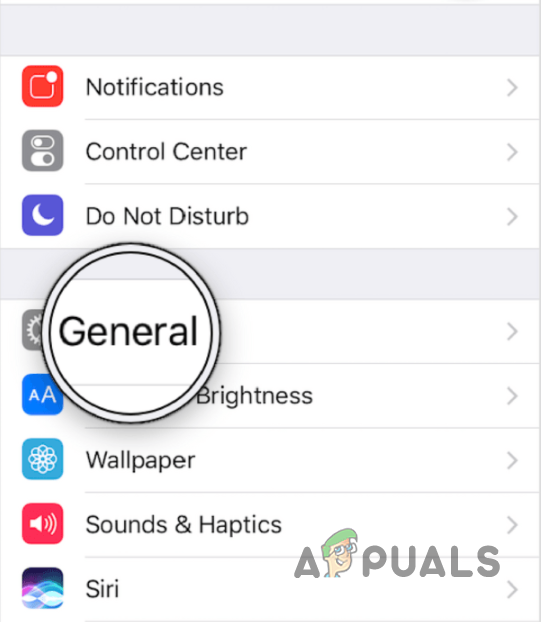
Navigating to General - On the General settings screen, tap the About option provided.
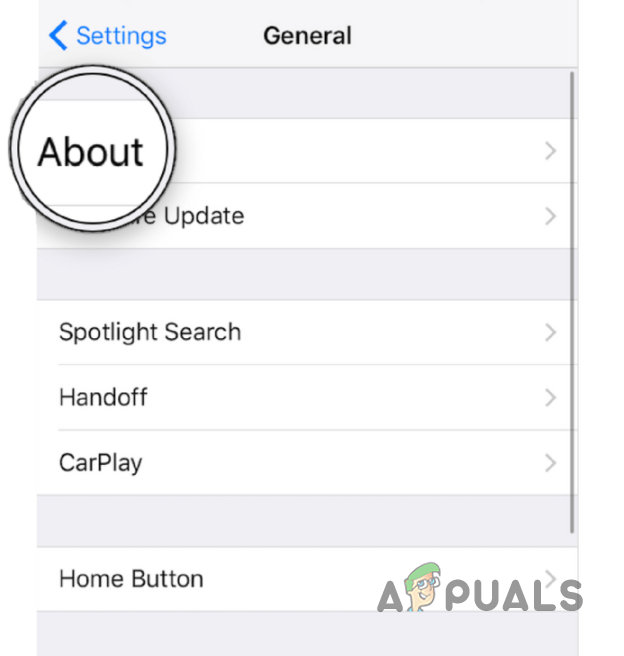
Navigating to About - Here, you will be able to see your carrier settings. If an update is available, you will see an option that allows you to install the carrier update.
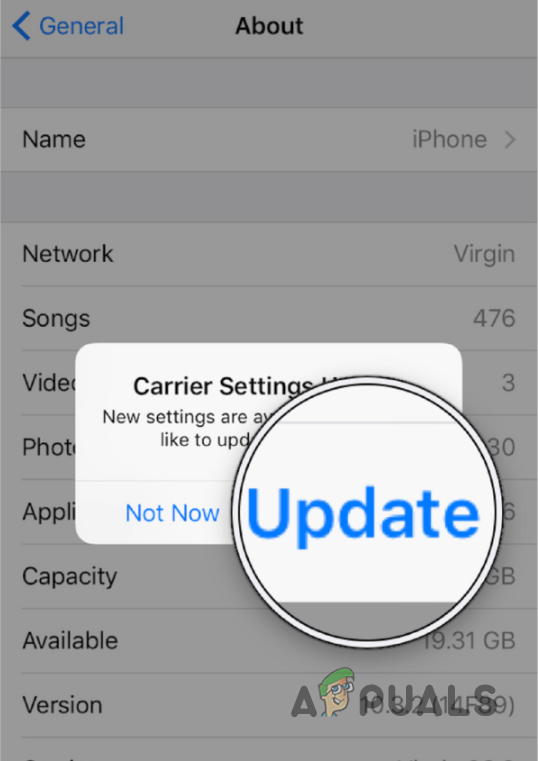
Updating Carrier Settings
Reset Cellular Service
In some scenarios, resetting your cellular service can lead to the resolution of different voicemail issues. As it turns out, this really helps out when the voicemails that you receive are not downloading quickly. This can be apparent from the fact that you receive a voicemail notification for a missed call after quite some time.
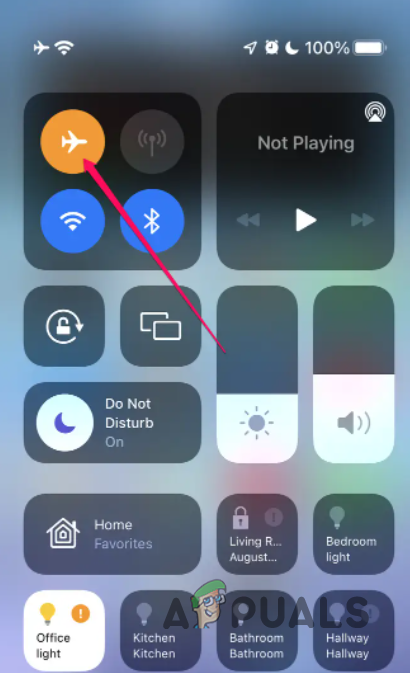
Now, in order to reset your cellular service, you can do one of two options. First, you can either turn off your phone and then turn it back on which will reset the cellular service on your device. Secondly, you can also choose the easier approach which is to simply turn on airplane mode on your device. Once enabled, turn it off again and that should reset your cellular service as well. See if that fixes the issue.
Turn off Call Forwarding
Call Forwarding, as apparent from the name, is a feature that directs your incoming calls to a different number. The feature is disabled by default but it can get enabled at times when you are going through different settings. When call forwarding is off, you won’t be receiving any voicemails as the calls are being forwarded to a different number.
In such a scenario, you will have to turn call forwarding off from your settings. To do this, follow the instructions given down below:
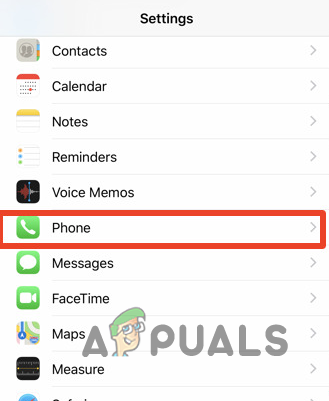
- First of all, open up the Settings app on your device.
- In the Settings app, tap on the Phone option.
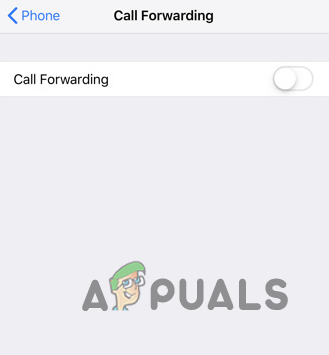
Navigating to Phone - Once you are there, tap on the Call Forwarding option.
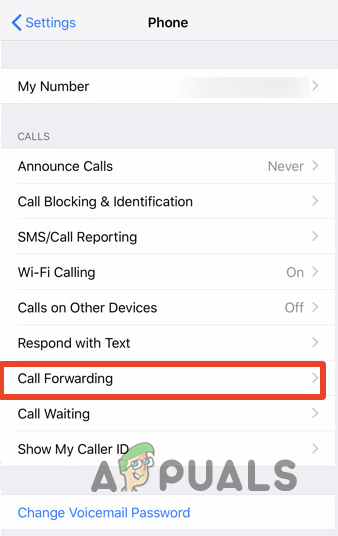
Navigating to Call Forwarding - Finally, on the call forwarding page, make sure that it is disabled by swiping the button provided.
- With that done, your issue should be resolved.
Disabling Call Forwarding
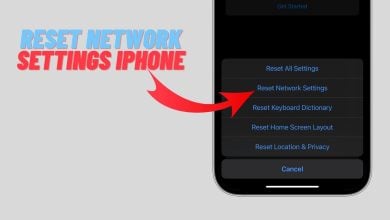
Reset Network Settings
Finally, if none of the above methods has fixed the problem for you, then it is very likely that the network settings of your phone might be causing the issue. In such a case, you can try resetting your network settings in a bid to resolve the issue in question. Resetting your network settings will reset the WiFi networks that you have used or connected to along with other network-related settings.
This is the last resort and hopefully, your issue will be fixed with this. To reset your network settings, follow the instructions down below:
- Start off by opening up the Settings app on your phone.
- With the Settings app opened, tap on the General option.
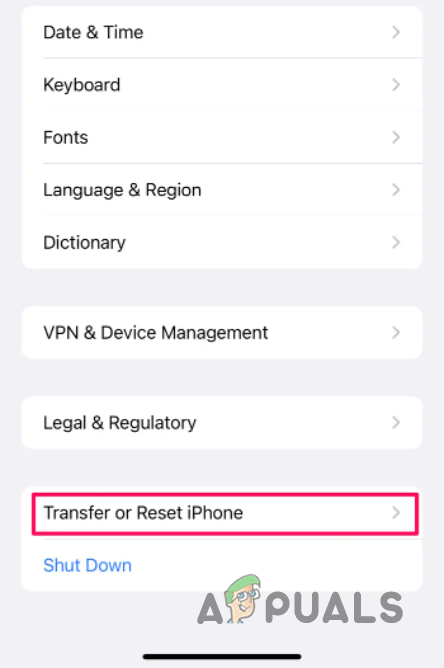
- On the General settings page, tap on the Transfer or Reset iPhone option. On older iOS versions, this will be labelled as Reset only.
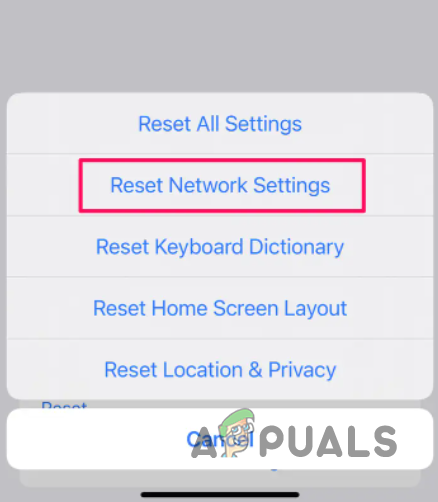
Navigating to Reset Options - Then, tap on the Reset option provided.
- Finally, tap the Reset Network Settings option.
Resetting Network Settings - Confirm the action on the follow up prompts and wait for it to finish.
- See if that fixes the problem in question.