How to Fix an iPhone Camera that’s Shaky?
Is your iPhone's camera taking shaky photos? Try these easy & quick fixes!
The camera of your iPhone will shake when taking pictures or recording a video. Nearly all the generations and variants of iPhones exhibit this problem. An update to the iOS of the iPhone is reported to trigger the problem.
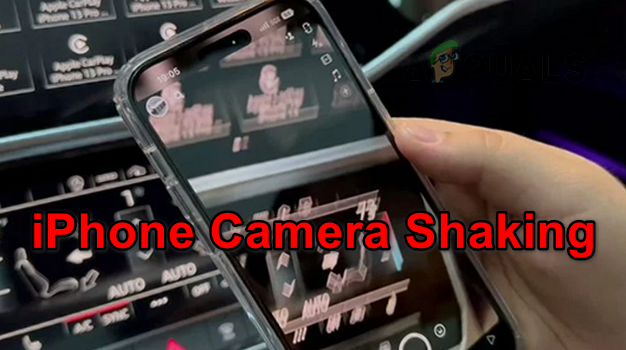
Sometimes, only video or picture is affected. Blurry or wavy pictures or videos are recorded due to the shaking of the phone’s camera. In some cases, you may hear a rattling sound with the shaking of the camera. There are also instances where only the official Camera app or only 3rd party apps show the issue.
Why does the iPhone camera shake?
- Incompatible Case: The iPhone Camera will shake if the case or cover of your iPhone is causing electromagnetic interference with the phone’s camera modules.
- Outdated iOS of the iPhone: A bug in the iOS is reported to trigger the shaking of the camera on iPhones. Even the latest out-of-the-box iPhone models (currently, iPhone 14) are reported to show the issue.
- Dust or Debris on the Camera: If dust or debris is present on or around the camera, it can affect the camera’s focusing ability and thus, quick focusing and de-focusing will cause the camera to shake.
- Invalid iOS of the iPhone: Your iPhone will have a shaking camera if the core camera modules of the system are no more in a valid condition. An iOS update that failed to apply correctly might have caused the problem.
- Failing OIS: Chances are higher of a hardware issue if you are a biker and have the habit of mounting the phone onto the handle of the bike. The vibration on the phone in this condition is way too much and that can damage the Optical Image Stabilization (OIS) of the camera.
Now that we know the potential causes of this problem, let’s move directly to solutions.
1. Relaunch the Problematic App
The camera might shake due to a handshake issue between the camera modules of the app and iOS. To fix this, relaunch the problematic app.
- Exit the problematic app (such as WhatsApp) and open the iPhone’s App Switcher.
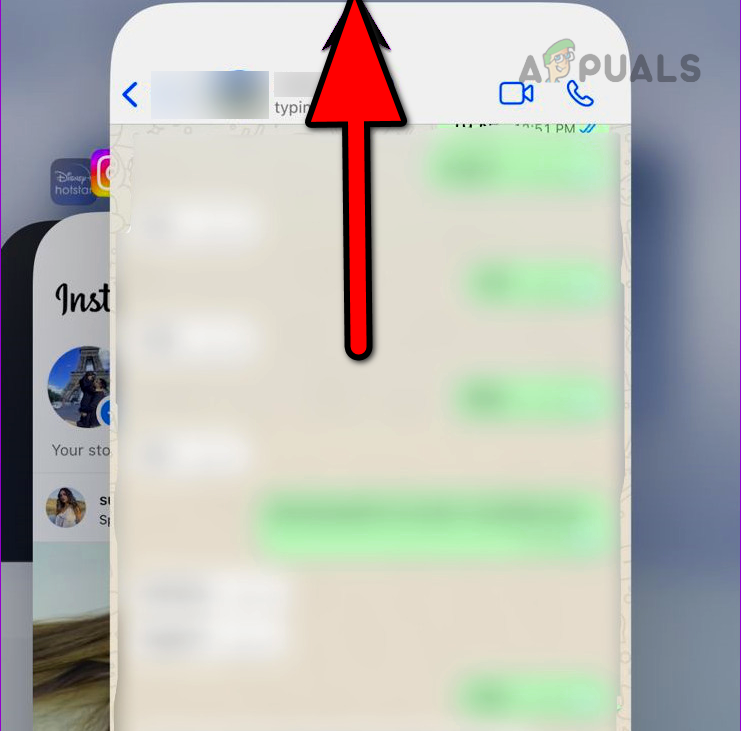
Swipe Up WhatsApp in the iPhone’s App Switcher - Swipe up on the problematic app and then launch the app. See if the camera is not shaking.
2. Restart or Force Your iPhone
You will experience a shaking camera on the iPhone if the camera modules of iOS are in an error state. Restarting or force restarting your iPhone will solve the problem.
Restart the iPhone
- Press the Power button till the power menu is shown and drag the power slider to power off the iPhone.
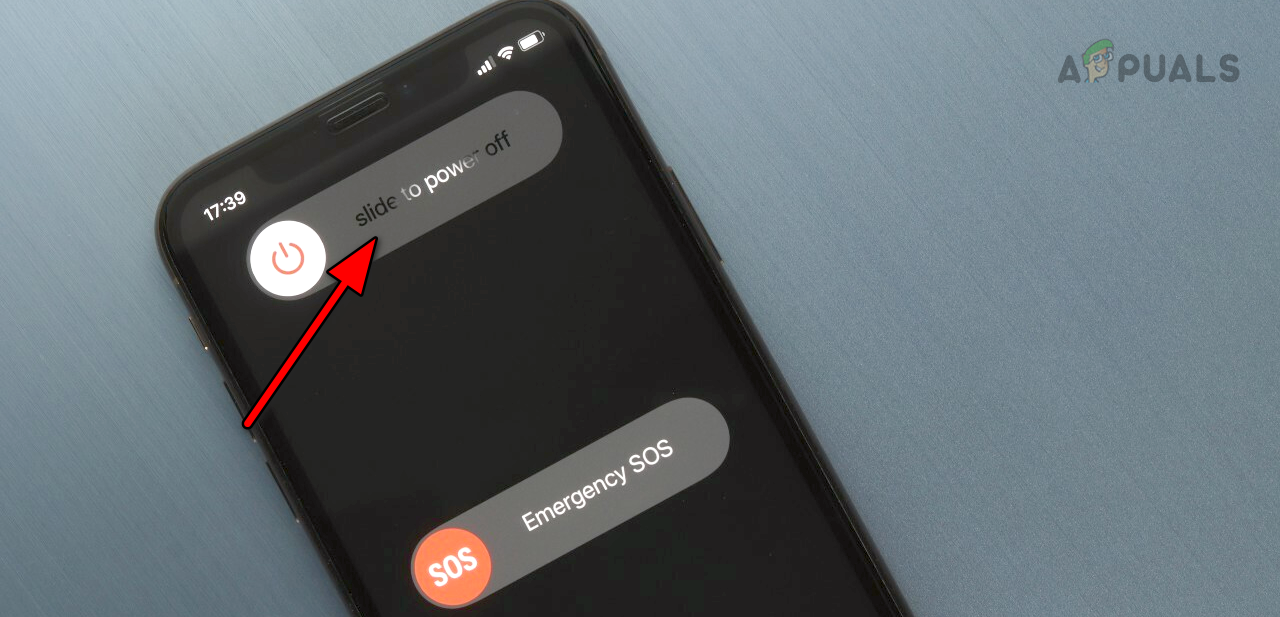
Slide to Power off the iPhone - Press the power button to power on the iPhone and see if its camera is working correctly.
Force Restart the iPhone
- Quickly tap on the Volume UP and then on the Volume Down button.
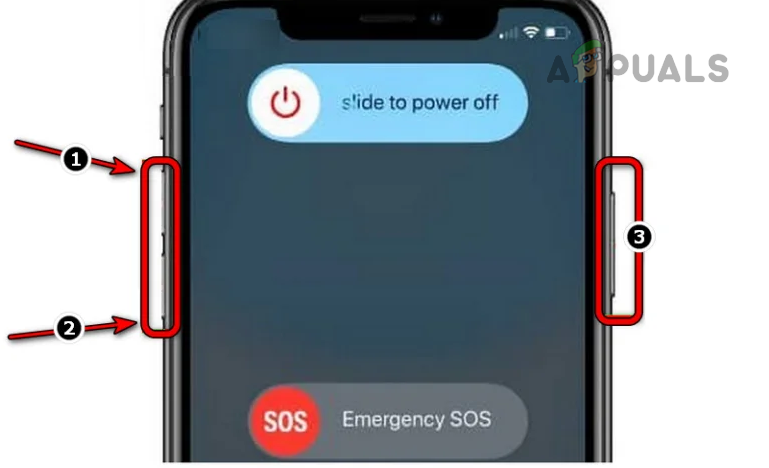
Force Restart an iPhone 8 or Above - Hold down the power or side button till the Apple logo is shown. Check if the camera shaking is cleared.
3. Remove the iPhone’s Case (to test)
If the case or cover you are using with the iPhone is not compatible with the camera and is causing electromagnetic interference with the camera, the camera will start shaking. This can be especially true if the case is a magnetic one. In such a case, removing the phone’s case will clear the camera shaking issue.
- Power off the iPhone and remove its case.
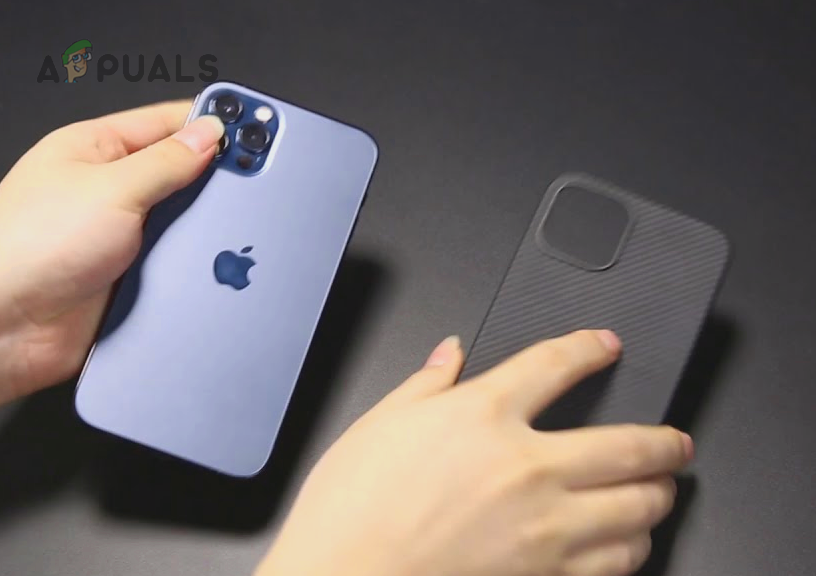
Remove the Case of the iPhone - Wait for a minute and power on the iPhone without the case. Check if the camera is not shaking.
If you do not use a cover on the iPhone but have a magnetic accessory attached to it such as a magnetic mount to attach the phone to a dashboard, remove that accessory and see if that clears the issue.
4. Update the iOS of the iPhone to the Latest Build
The camera on your iPhone will shake due to an iOS bug and updating the phone’s OS to the latest build will patch any such bugs.
- Go to iPhone Settings > General > Software Update.
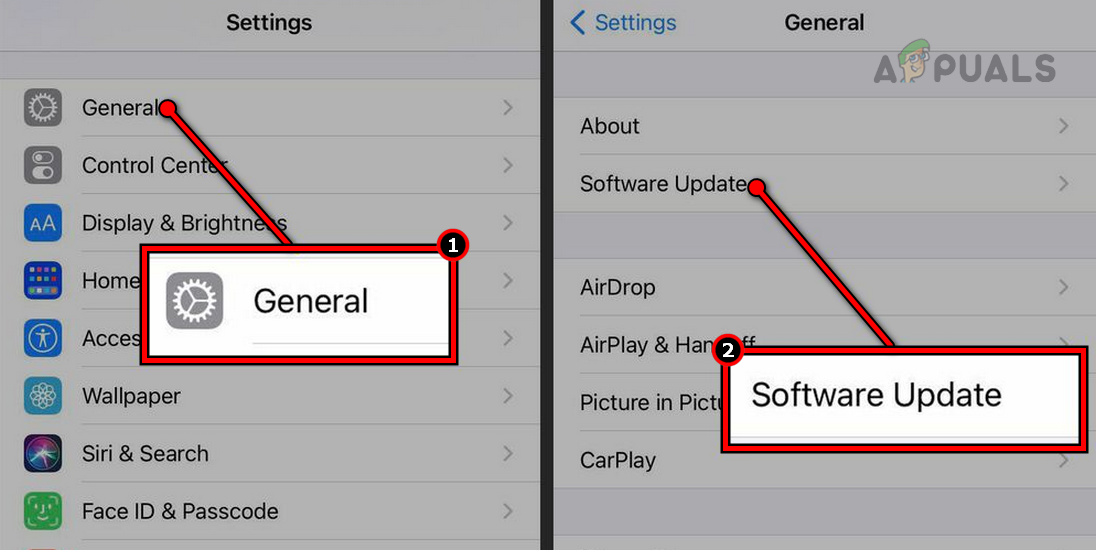
Update Software on an iPhone - If an update is shown, install it and restart the phone.
- Launch the native Camera app and verify if the problem is solved. If so, you can try the camera in other apps.
5. Reinstall the Problematic App
If the camera is shaking in a particular app or set of apps, the invalid camera modules of the app could be the root cause of the issue. In this case, reinstalling the problematic app or apps will solve the problem.
- Tap and hold the app’s icon (such as Instagram) on the iPhone’s home screen and select Delete App.
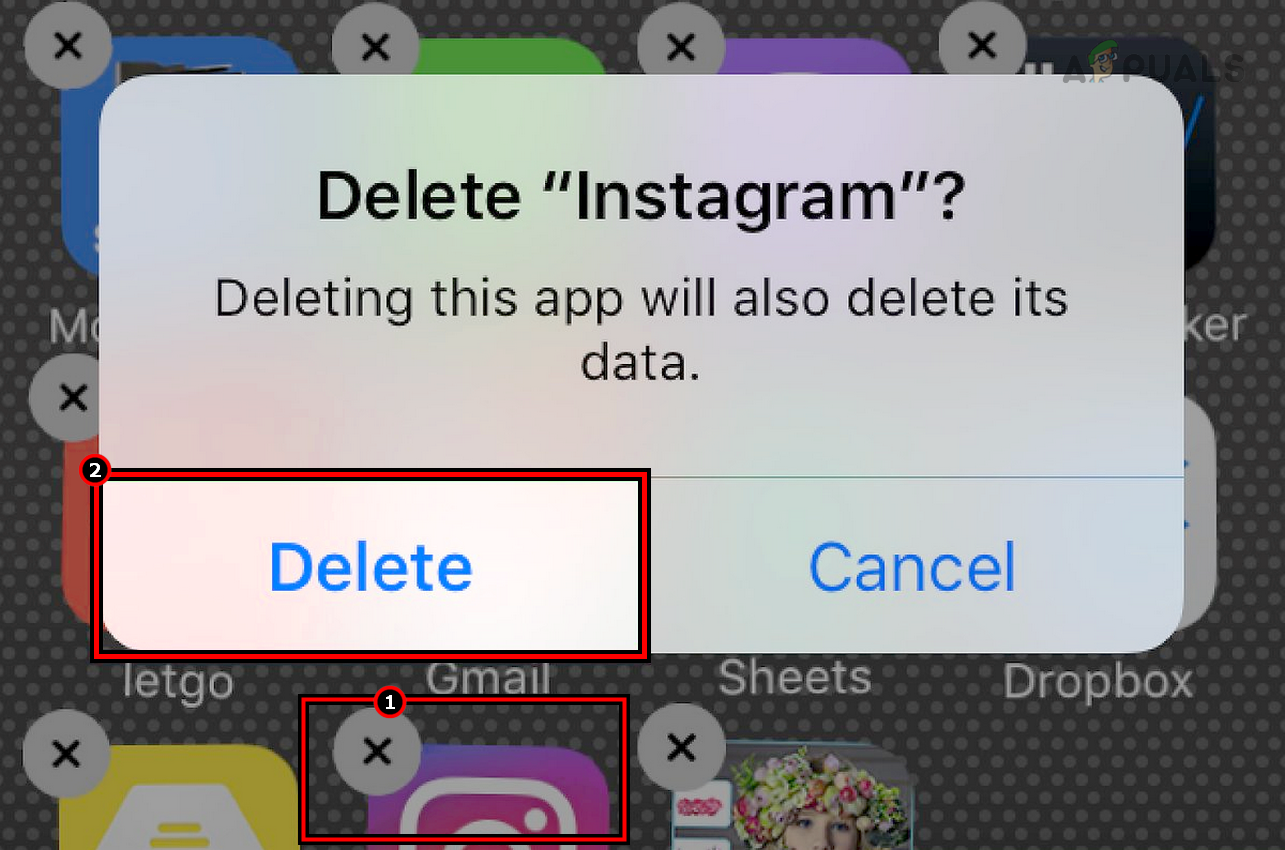
Delete Instagram App from the iPhone - Confirm to remove the app and remove other problematic apps.
- Restart the iPhone and reinstall the problematic app. See if the camera shaking has stopped. You can then reinstall other apps one by one.
6. Change the FPS Rate in the Camera Settings
If a bug in the default FPS rate (usually, 30 FPS) of the camera is causing its shaking, then switching the camera’s FPS rate to 60 will solve the problem.
- Go to iPhone Settings > Camera > Record Video.
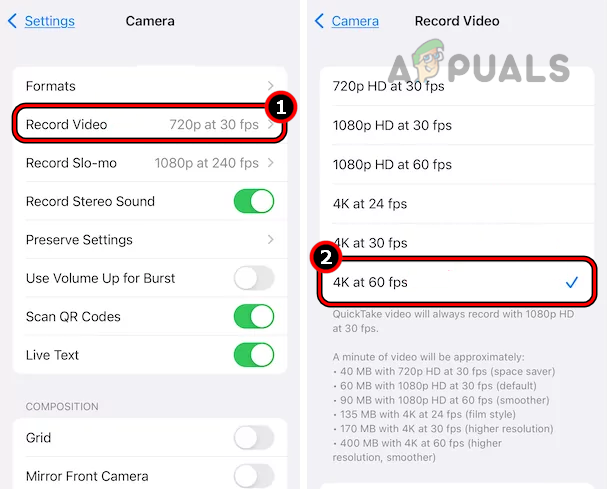
Change the FPS Rate of the iPhone’s Camera to 60 FPS - Select 60 FPS and see if the problem is solved.
- If this does not work, put the camera into the SLO motion (30 FPS or 60 FPS) and see if that clears the issue.
7. Clean the iPhone’s Camera
If debris or dust has accumulated on and around the phone’s camera, it can cause problems with the focusing mechanism. This can cause the camera to shake as it tries to adjust again and again its focus due to dust on the camera.
This can be solved by cleaning the iPhone’s camera.
- Power off the iPhone and get an alcohol-based wet wipe.
- Use it to clean the iPhone’s camera and use a dry wipe to dry any residual moisture from the camera.
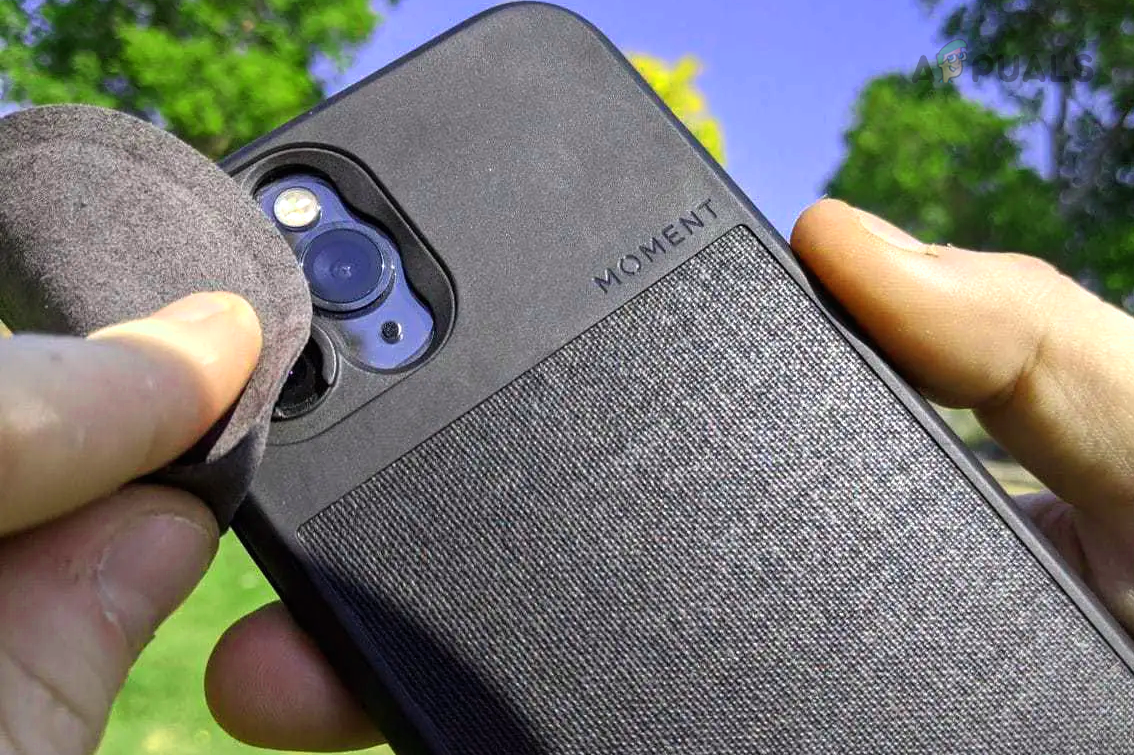
Clean the iPhone’s Camera - Point the problematic camera of the iPhone to the ground and blow air on the camera by using a Compressed Air Can.
- Power on the iPhone and open the camera.
- Again, blow air on the camera while the camera is pointed toward the ground. See if the shaking problem is solved.
8. Try Attaching a Magnet Near the Camera
The camera will shake if its stabilizer is failing. In such a case, attaching a magnet near the phone’s camera will stabilize the stabilizer and thus solve the problem.
Advance at your own risk as attaching a magnet to the iPhone can cause unforeseen issues such as Wi-Fi, Bluetooth, poor signal reception, LCD wrapping, etc.
- Open the camera on the iPhone and attach a magnet near the camera.
- Move the magnet around the camera and look where the shaking stops. You may have to move the magnet on the backside of the camera.
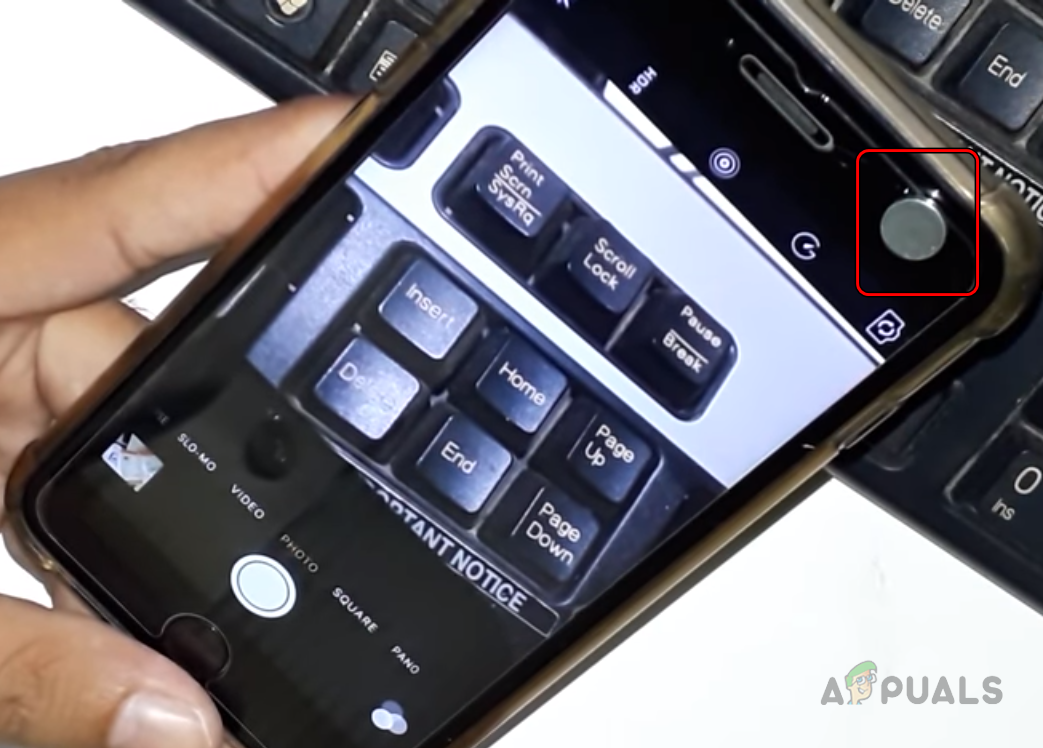
Place a Magnet Around the iPhone’s Camera - Once the shaking stops, move the magnet away from the iPhone and see if the shaking does not come back.
- If it comes back, attach the magnet to the point where the shaking was stopped. You may need tape or use a case to attach the magnet.
9. Reset the iPhone to the Factory Defaults
The camera will shake on the iPhone if the camera modules of the OS are no more in a valid state. An improperly applied iOS update might have caused the issue. Here, resetting the iPhone to the factory defaults will solve the camera problem.
- Go to Settings > General > Reset > Erase All Content and Settings.
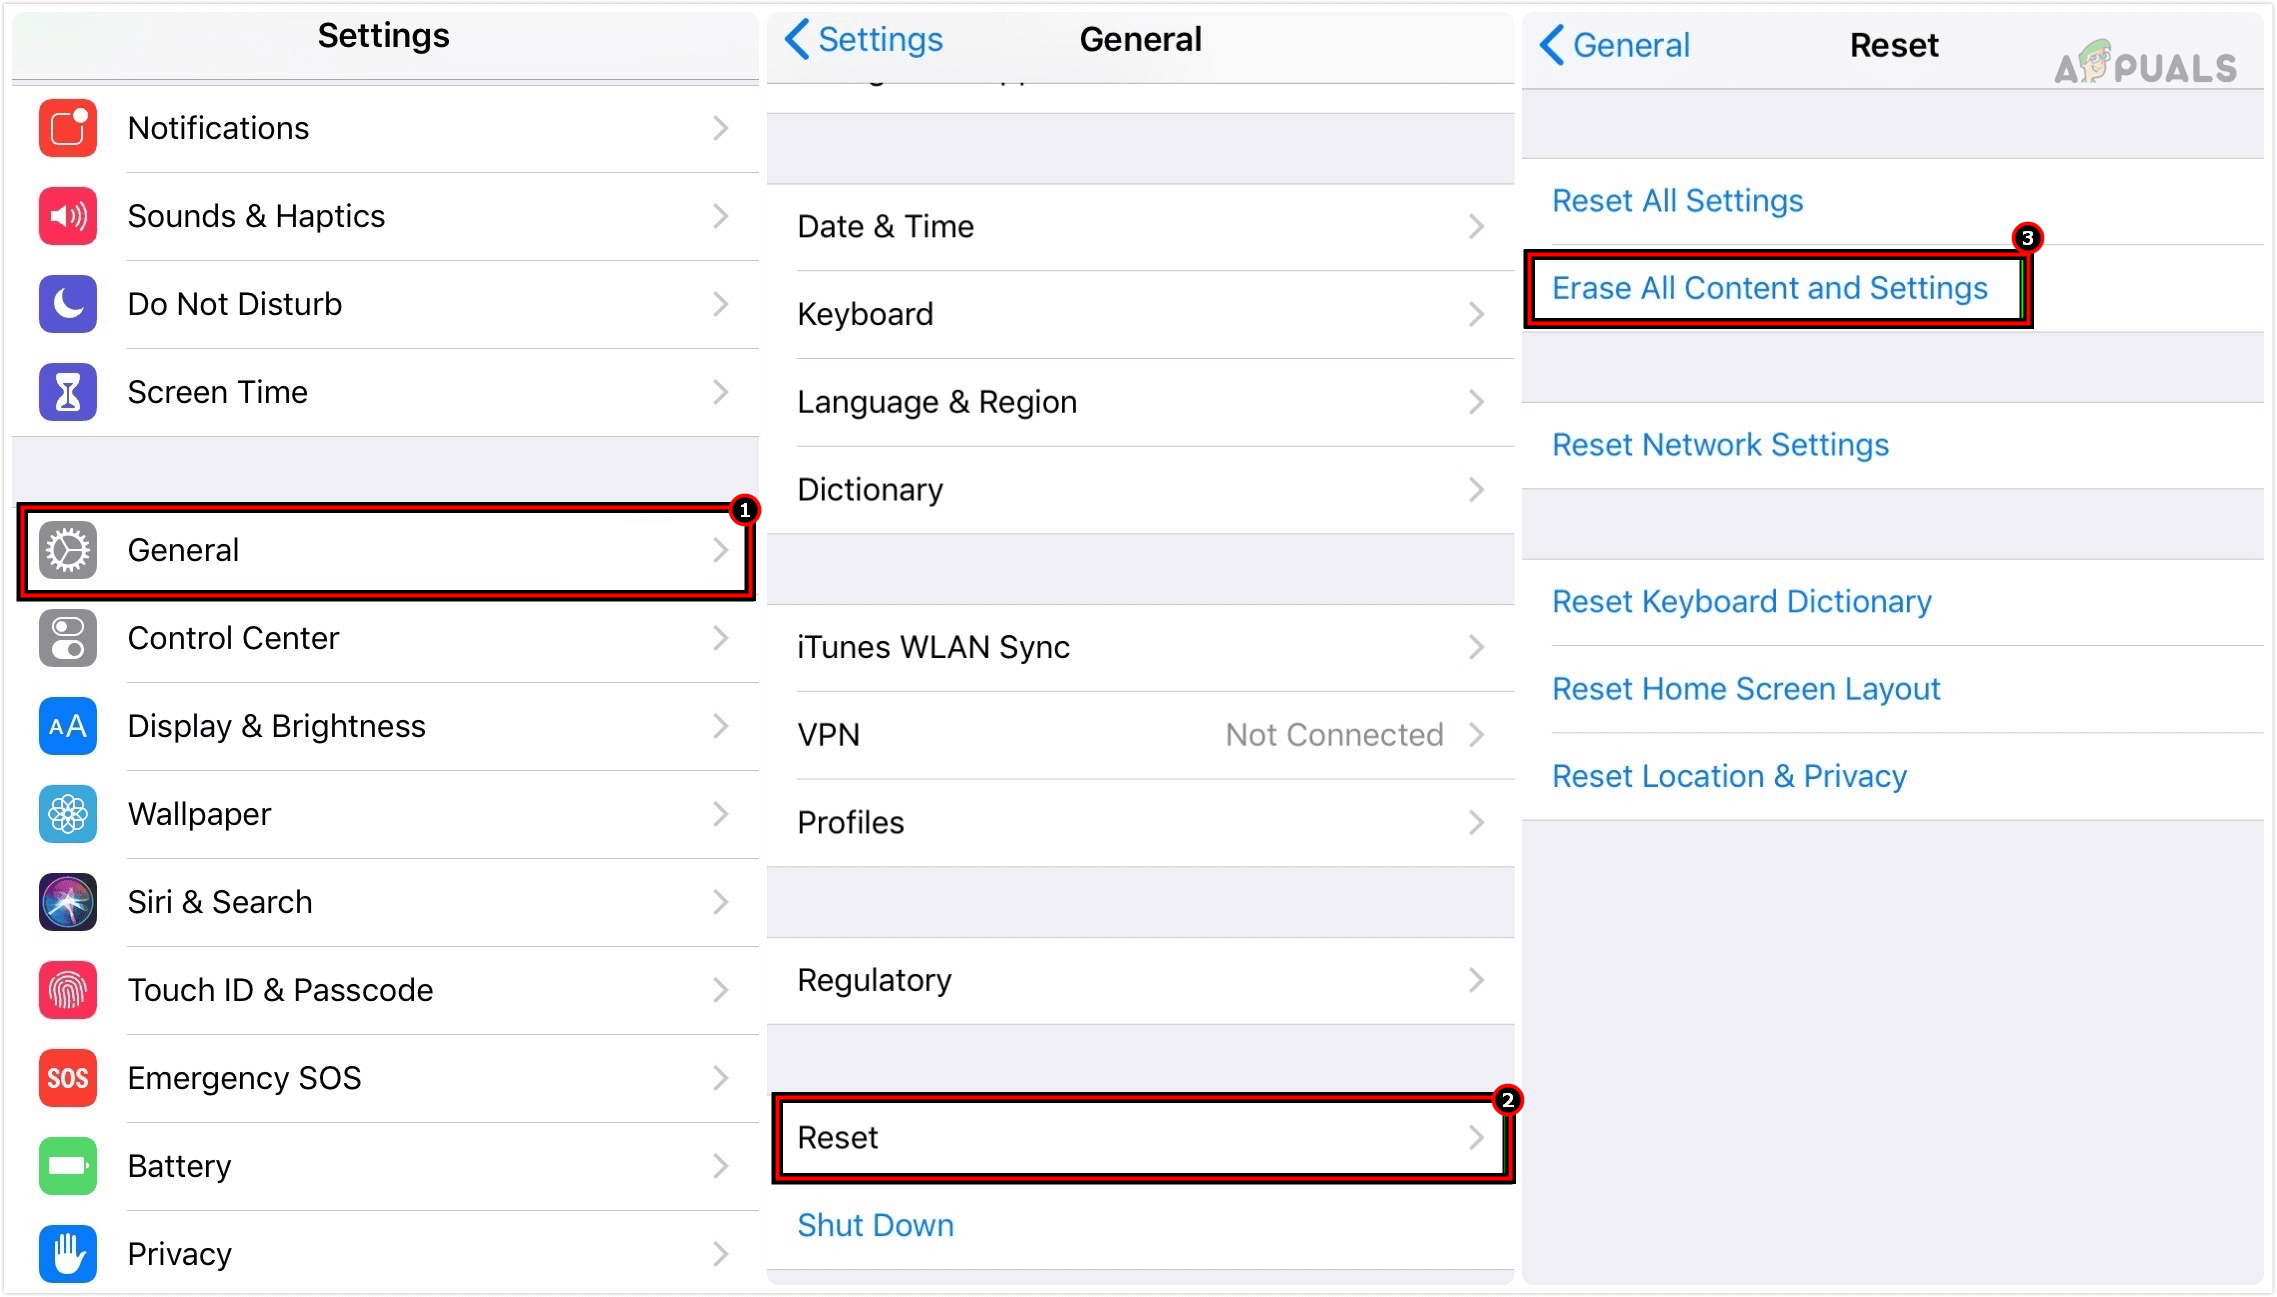
Erase All Content and Settings on the iPhone to Reset it to the Factory Defaults - Confirm to reset the iPhone and wait till the process completes.
- Once done, set up the iPhone as a new device, and hopefully, the camera will not be shaking anymore.
If none of the above works, contact Apple Support and try to get a replacement phone. Otherwise, get the phone checked for a hardware error. Either the camera needs replacement (the OIS motor might be faulty) or the battery (if its health score is low). If you are a biker and have got your phone repaired due to this issue, it will be better to use anti-vibration phone mounts to avoid any such issues in the future,
 Reviewed by


