How to Fix ‘Installer Stopped Prematurely’ Error on Windows?
The ‘Installer stopped prematurely’ error usually appears when users attempt o use a .msi installer (either to install or to uninstall a program meant for Windows). This problem is reported to occur on virtually every Windows version including Windows XP, Windows Vista, Windows 7, Windows 8,1, Windows 10, and Windows 11.
After investigating this particular issue, we realized that there are actually several different underlying scenarios that might ultimately cause this error that will leave without the ability to install or uninstall Windows programs.
Here’s a short list of scenarios that are most likely applicable:
- Missing admin privileges – One of the first things you should investigate is a scenario in which missing admin privileges are actually contributing to this particular issue. To make sure this is not the main scenario causing the problem, start by forcing the .msi installer to open with admin privileges. If this doesn’t work, you should also try granting full permission rights to the System account.
- Windows Installer Sevice is disabled – Another scenario that is known to cause this problem is when the Windows Installer (the main service responsible for carrying out program installations and uninstallation) is disabled from the Services screen. To fix this, simply make sure that the service is enabled from the Services utility.
- 3rd party service or process interference – There are a lot of 3rd party services and processes that might ultimately cause this problem. This type of scenario is even more likely if you’re experiencing this issue with every .msi installer that you are attempting to open. To fix this issue, you can either boot in Safe mode or perform a clean install procedure prior to trying to repeat the installation.
- Corrupted files inside the temp folder – As it turns out, the temp folder is prone to accumulating temporary files that might ultimately affect your PC’s ability to install or uninstall programs and program dependencies. To fix this particular scenario, try cleaning out your temp folder.
- VBScript.dll or Windows Installer service is de-registered – A recent AV scan, a system restore procedure,` or a similar system change might also cause the VBscript.dll or the Windows Installer service (or both) to de-register. To address this issue, you’ll need to re-register both components from an elevated Powershell window.
- .NET framework 3.5 is disabled – As it turns out, another reason why you might expect to experience this error is a scenario in which an important installation dependency (.NET Framework 3.5) is actually disabled at a system level. To fix it, you’ll need to enable it from the Programs and Features menu.
- Corrupted storage blocks – In certain circumstances, you might find this error occurring when you’re using a traditional storage device (HDD) and certain storage blocks are beginning to fail. In order to get this fixed, you can try running a CHKDSK scan and replacing the corrupted sectors with unused equivalents.
- System file corruption – Another instance that you should investigate is a case where corruption affects important Windows dependencies used in the installation/uninstallation process. To troubleshoot this problem, start by deploying SFC and DISM scans, then move towards a clean install (or repair install) if the issue persists.
- Corrupted Windows account – If you’re experiencing this issue with absolutely every .msi installer that you are trying to access, there’s a chance this issue might be indirectly caused by an issue affecting your Windows account. Several users dealing with the same kind of problem have confirmed that in their case, creating a new Windows account helped them fix the issue indefinitely.
- Installation component is busted – If every .msi installer fails with the same error and you want to avoid reinstalling your operating system, one way to circumvent the problem without fixing the underlying cause is to use a 3rd party tool to carry on the uninstallation of programs that are failing with the ‘Installer stopped prematurely’ error.
- Duplicated Registry key – As it turns out, you might deal with this issue in a scenario where there’s one particular key ({B54F3741-5B07-11cf-A4B0-00AA004A55E8}) that is incorrectly repeated under HKEY_CURRENT_USER. If this scenario is applicable, you can fix the problem by using the Registry Editor to delete the repeating key and eliminate the conflict.
Now that we went over every potential scenario that might end up causing the ‘Installer stopped prematurely’ error, let’s go over every verified fix and see which one takes care of the error in your particular scenario.
1. Run the installation with admin access
If you’re experiencing this issue only when attempting to install a new program by double-clicking on the executable or the .msi installer, the first thing you should do is ensure that it runs with admin access.
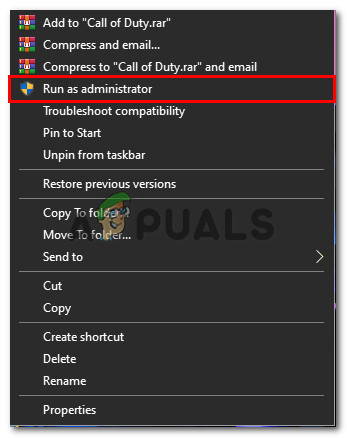
To do this, simply right-click on the file that is supposed to install the program and click on Run as administrator from the context menu that just appeared.
At the User Account Control (UAC), click Yes to grant admin access, then carry out the installation normally and see if you can complete the process without experiencing the same ‘Installer stopped prematurely’ error.
If the problem is still not fixed, move down to the next method below.
2. Start the Windows Installer Service
Another documented cause of this issue is when the Windows Installer (the primary service responsible for software installation and removal) is deactivated from the Services panel. To remedy this, go to the Services utility and check sure the service is enabled.
In other scenarios, the Windows Installer service might become caught in limbo and cannot be contacted by the OS sub-component that requires it in most situations, resulting in this difficulty.
If this situation applies, you may quickly resolve the problem by starting or restarting the Windows Installer service.
Here’s what you need to do:
- Press the Windows key + R to bring up the Run dialog box. To access the Services panel, type ‘service.msc’ into the text box.
Accessing the Services screen - At the UAC (User Account Control) window, click Yes to grant admin access.
- Once you’re in the Services screen, scroll down to the right-hand area and look for Windows Installer Service in the list of active local services.
- Once you’ve found the Windows Installer service, right-click it and select Restart from the context menu that appears. If it’s disabled, click on the Start button instead.
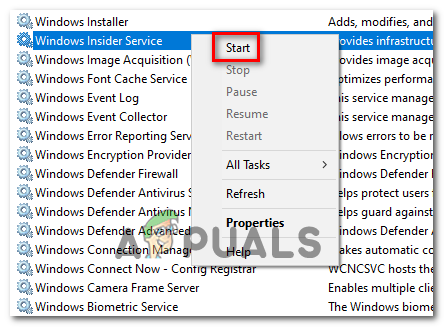
Start the Windows Installer Service Note: If the procedure hasn’t begun yet, first click Start, then Restart.
- Once the Windows Installer service has been started or restarted, repeat the installation (or uninstallation) operation and see if the problem is now fixed.
If the same kind of issue is still occurring, move down to the next method below.
3. Clean boot your Windows installation
As it turns out, a 3rd party conflict might also be responsible for the apparition of this particular issue. In most cases, the ‘Installer stopped prematurely’ error is caused by a process belonging to a different 3rd party suite.
If this scenario is applicable, you should be able to fix the issue by booting in clean boot mode to investigate for a software conflict and isolate the service or process that’s causing the problem. This operation was confirmed to be effective for a lot of affected users.
Note: Keep in mind that by achieving a clean boot state, your computer will boot without any 3rd party services, processes, and startup items that might contribute to the apparition of this error.
The following are the step-by-step steps for achieving this clean boot state:
- To launch the Run dialog box, press Windows key + R.
- Then, in the text box, type ‘msconfig’ and click Enter to bring up the System Configuration window.
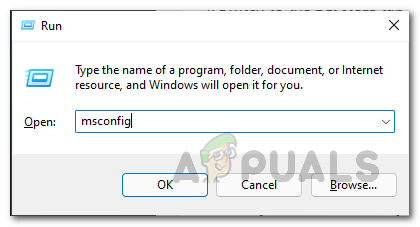
Opening up the msconfig utility Note: To allow admin access, click Yes when asked by the User Account Control (UAC)
- Select the Services tab from the ribbon bar at the top of the System Configuration menu, then check the box next to Hide all Microsoft services.
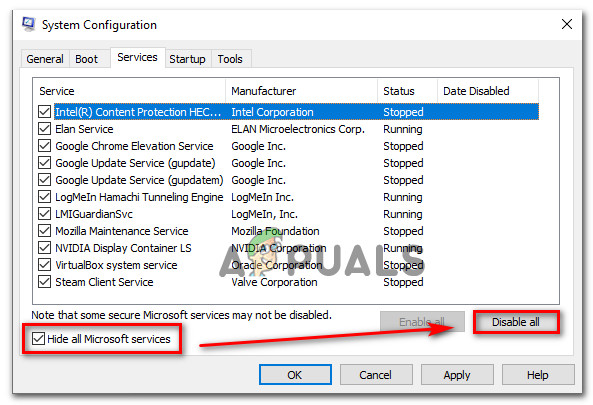
Hide all Microsoft services Note: This action will prevent you from accidentally deactivating any Microsoft services that are required by your operating system.
- Once you’ve dealt with all of the essential services, go to the Startup tab and select Open Task Manager from the drop-down box.
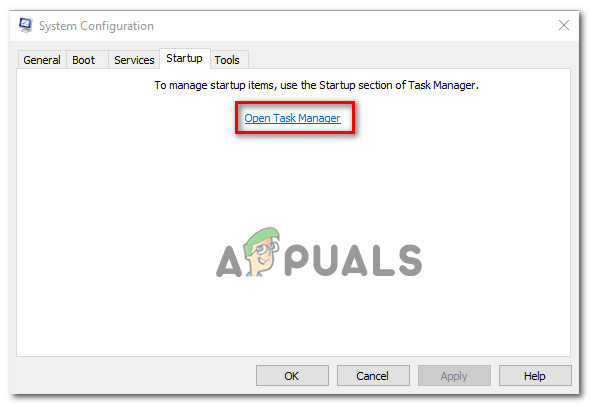
Open Task Manager - The preceding action will take you straight to Task Manager’s Startup tab.
- Once inside, begin selecting each 3rd party startup service one by one and clicking the Disable button at the bottom of the screen to prevent them from being launched when the system restarts.
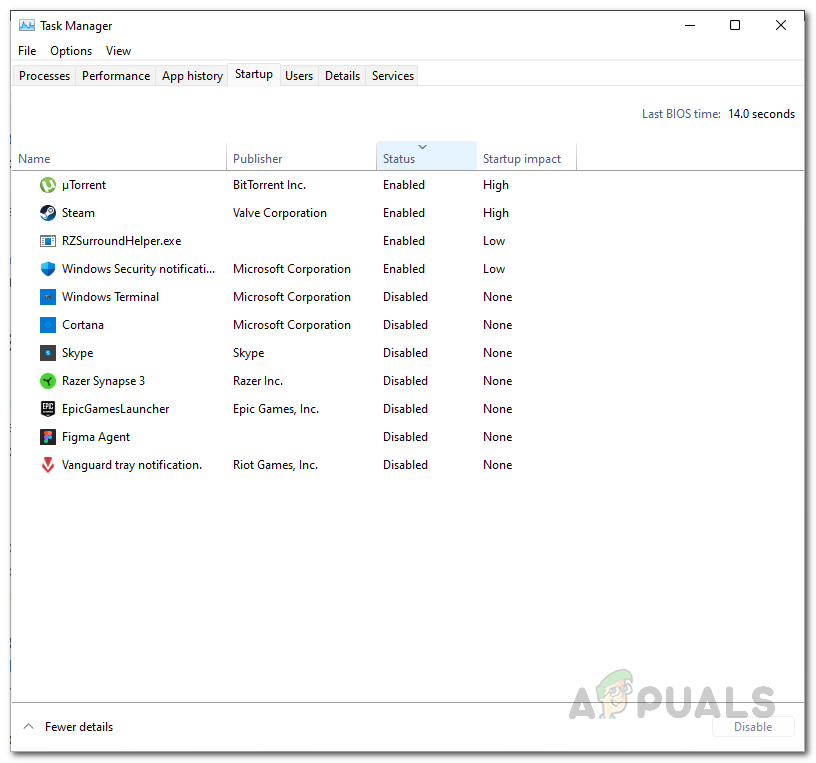
Disable startup Note: Do this until there are no startup services remaining to run at the next startup.
- If you’ve made it this far, you’re ready to polish boot. To take advantage of this status, all you have to do now is restart your computer.
- When you restart your computer, it will only start with the services that your operating system needs. Once the operation is complete, try uninstalling/installing the software that was previously causing the ‘Installer stopped prematurely’ error to see if it resolves the problem.
- Regardless of the result, reverse engineer the preceding instructions to confirm that your next computer startup is normal and that third-party services, processes, and startup items are allowed to operate.
If the problem is still not fixed even after you achieved a clean boot state, move down to the next method below.
4. Carry out the installation in Safe Mode
There are several third-party services and procedures that might eventually create this issue. If you’re having this problem with every.msi installer you try to open, this is much more likely. If the above-mentioned clean boot procedure does not work, you can try booting in Safe Mode.
Note: There are several potential culprits that might interfere with the installation or removal process, but system optimization suites and backup software are the most usually reported offenders.
If you only get the ‘Installer halted prematurely’ problem while trying to remove or install the software in Windows 11 or Windows 10, but you can boot properly, booting in Safe Mode will prevent 3rd party services and services from interfering with the procedure.
If this scenario appears to be appropriate, please see the directions below for detailed information on how to proceed:
- Turn on your computer as usual.
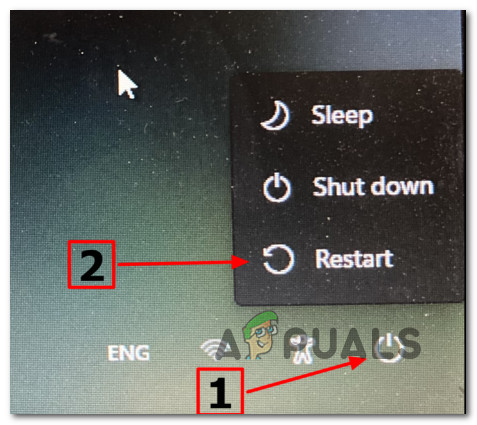
- From the home screen, click the power sign on the registration screen that is creating the issue, then click Restart while holding down the Shift key.
Boot inside the recovery menu - To access the Advanced Options option, pick Troubleshoot on the first screen when your PC boots into the Recovery Menu.
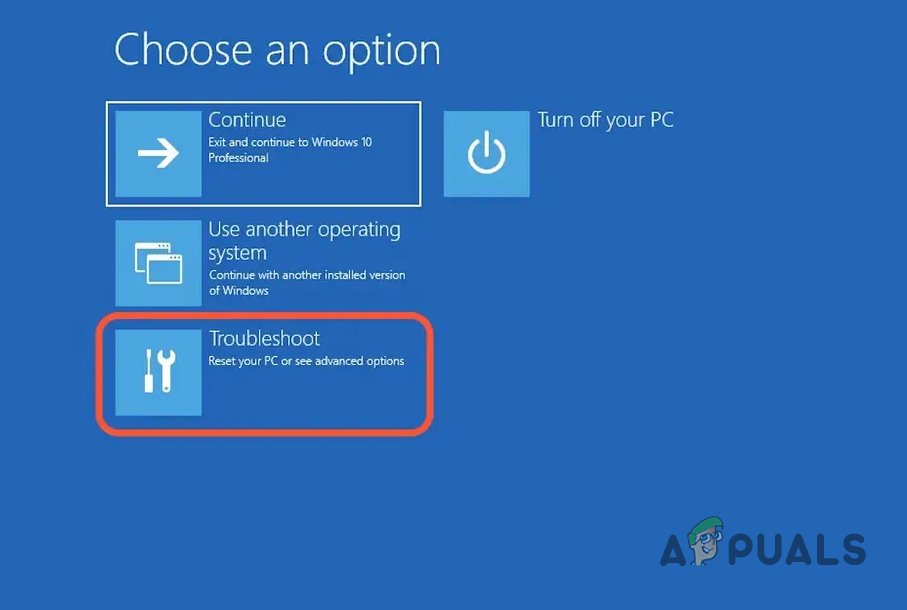
Accessing the Troubleshoot menu - If you select this option and confirm your choice, your computer will restart on the Startup Settings screen right away.
- To force your PC to boot in Safe Mode, use the F4 or Num 4 keys when in the Startup Settings window.
- Wait until your Windows 11 PC launches into Safe Mode after answering Yes to the confirmation screen.
- Once your PC has successfully booted in Safe Mode, repeat the action that was previously causing the ‘Installer stopped prematurely’ error and see if the problem is now fixed.
If the problem is still not resolved, move down to the next method below.
5. Clear the Temp & Prefetch folder
The temp folder, it turns out, is prone to store temporary files, which might interfere with your PC’s ability to install or uninstall programs and software dependencies. Try wiping out your Windows transient folder to resolve this problem.
Other customers who were experiencing the same issue said that they were able to resolve the issue by removing all of the files in the TEMP, percent TEMP percent, and PREFETCH folders.
If you’re not sure how to remove those directories, here’s a step-by-step guide:
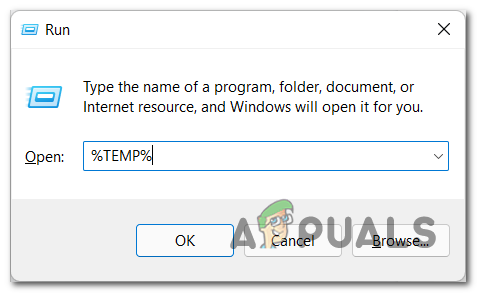
- Access a Run dialog box by pressing Windows key + R, then typing the option ‘TEMP’ in the search field, then pressing Enter to open the TEMP file.
Accessing the temp folder - Select all of the files under the TEMP folder and remove them.
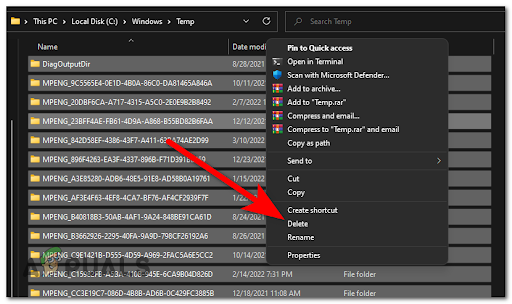
Clean the temp folder Note: Some files may not be able to be deleted; if this is the case, hit Skip.
- At this point, you can shut the folder. To open the %PREFETCH% percent folder, create another Run dialog box just as it was provided in the first step and type ‘percent %PREFETCH% inside it, then click Enter.
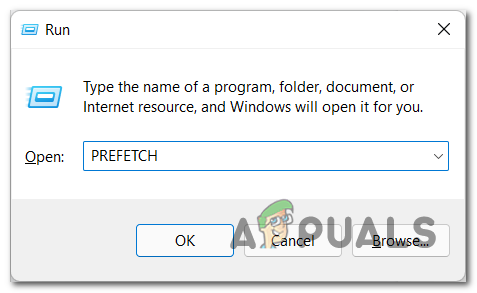
Accessing the Prefetch folder - Once within the PREFETCH folder, remove all of the files included within it. If certain files aren’t able to be removed, skip them and delete the rest.
- When you’re finished, repeat the operation that was previously causing the ‘Installer stopped prematurely’ error and see if the problem is now fixed.
In case the problem is still not resolved, move down to the next method below.
6. Re-Register VBScript.dll and the Windows Installer service
A recent antivirus check, a system restore operation, or another system update might potentially cause the de-registration of the VBscript.dll or the Windows Installer service (or both). You’ll need to re-register both components from an elevated Powershell window to fix this problem.
This method has been confirmed to be effective by a lot of users that were previously unable to install or uninstall any program on their Windows computer.
There are multiple ways that will allow you to do this, but our recommendation is to do it from an elevated Powershell command.
Follow the instructions below for specific instructions on how to do this:
- Press the Windows key + R to open the Run dialog box.
- In the newly launched window, type ‘powershell’ and hit Ctrl + Shift + Enter to start an elevated Powershell window.
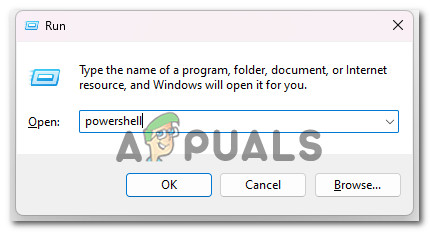
Set the Powershell window to echo mode - At the User Account Control (UAC), click Yes to grant admin access.
- Once you’re inside the elevated Powershell prompt, type the following commands in the same order and press Enter to re-register the Windows Installer service:
msiexec /unreg
msiexec /regserver
- Once the Windows Installer has been re-registered, type the following command and press Enter to make sure the main DLL dependency is registered:
regsvr32 vbscript.dll
- After both of the above commands have been processed successfully, restart your PC and repeat the action that was previously causing the ‘Installer stopped prematurely’ error and see if the problem is now fixed.
If the same problem is still occurring, move down to the next method below.
7. Enable .NET Framework 3.5
Another reason you can get this problem is if a critical installation dependency (.NET Framework 3.5) is truly deactivated at the system level. To repair it, go to the Programs and Features menu and activate it.
Keep in mind that Windows 10 has a.NET Framework 3.5 archive, and Windows 11 includes a.NET Framework 4.7 version; all you have to do is ask them to install it.
When using the Windows features screen, some impacted customers who were previously encountering the ‘Installer halted prematurely’ error while trying to install an update or program that relied on the.NET Framework noted that the installation went well.
To install the.NET Framework 3.5 or 4.7 through the Windows Features panel, follow the instructions below:
- To open the Run dialog box, press the Windows key + R.
- Then type ‘appwiz.cpl’ into the text box and press Enter to open the Programs and Features menu.
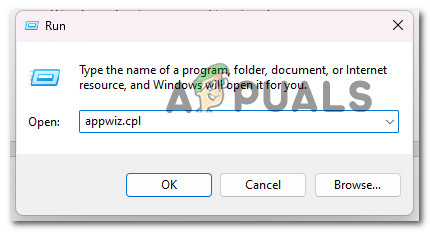
Open up the Programs and Features menu - From the right-hand menu of the Programs and Features menu, pick Turn Windows features on or off.
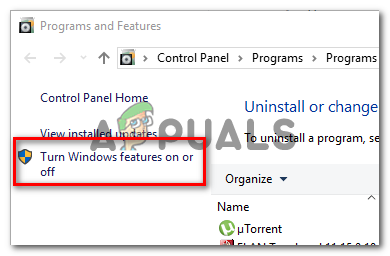
Access the Windows Features screen - Select the box next to .NET Framework 3.5 (this package includes .NET 2.0 and 3.0) on the Windows features page, then click Ok to save your changes.
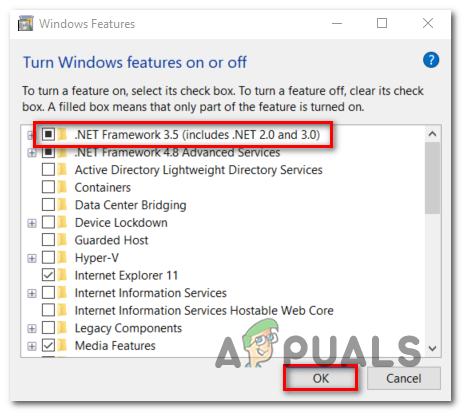
Enable the disabled net framework Note: If you’re using Windows 11, you’ll also need to install the.NET Framework 4.7.
- At the confirmation box, click Yes to begin the procedure, then wait for the package to be installed properly.
- Restart your computer when the operation is completed, and check to see if the problem has been fixed following the next startup.
If the problem persists, proceed to the next possible solution below.
8. Deploy a CHKDSK Scan
In certain circumstances, you might find this error occurring when you’re using a traditional storage device (HDD) and certain storage blocks are beginning to fail. In order to get this fixed, you can try running a CHKDSK scan and replacing the corrupted sectors with unused equivalents.
Try conducting a CHKDSK scan from an elevated CMD prompt to rule out this possibility.
Fortunately, Windows’ built-in CHKDSK application can search for faults and corruptions, as well as fix any logical errors and damaged data that a violent deletion attempt may have left behind.
Open CHKDSK in an elevated CMD window to give it the rights it needs to fix damaged files.

Note that the instructions should work regardless of the version of Windows you’re using.
If the same ‘Installer halted prematurely’ problem persists after running a CHKDSK scan, proceed to the next method below.
9. Deploy an SFC & DISM Scans
If you’ve previously tried resetting the Windows Update component and are still getting the same error, you should at least suspect that you’re dealing with a system file corruption problem.
In this instance, you should try to replace the damaged files that are hindering the upgrade to Windows 11 and produce the ‘Installer stopped prematurely’ error with every available program.
To replace faulty system files with healthy equivalents and failed storage sectors with unused equivalents, perform SFC (System File Checker), DISM (Deployment Image Servicing and Management), and CHDSK (Check Disk) scans in fast succession.
Follow the steps below for detailed guidance on how to achieve this:
- Press the Windows key + R to bring up the Run dialog box.
- Next, to open a Command Prompt with admin access, type ‘cmd’ into the Run box and press Ctrl + Shift + Enter.
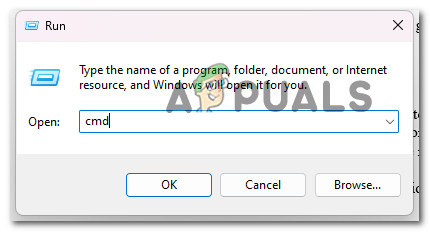
Open a CMD window - When the User Account Control prompts you, select Yes to allow admin access.
- To start an SFC scan, run the following command at the elevated CMD prompt and hit Enter:
sfc /scannow
Important: Note that System File Checker is a completely local program that does not require internet connectivity. It works by employing a locally cached archive of backup system files to replace any damaged files with their healthy counterparts.
- Run a DISM scan from the same elevated CMD window once the SFC scan is completed (regardless of the results):
DISM /Online /Cleanup-Image /RestoreHealth
Important: Note that DISM is a more current technology that requires you to have consistent Internet connectivity. Because DISM will use a sub-component of WU to obtain healthy alternatives for the faulty files that must be replaced, this is essential.
- Finally, restart your PC one final time and see if the problem is finally fixed.
If you’re still dealing with the same ‘Installer stopped prematurely’ error, move down to the next method below.
10. Grant full permission to System account (if applicable)
If you’re using an older Windows version (older than Windows 7), you might deal with this scenario in situations where the System folder doesn’t have Full Control permissions on the folder you are attempting to install the Windows Installer package to.
If this scenario is applicable, you should be able to resolve the problem by accessing the System account and granting Full Control permissions.
For complete instructions on how to do this, follow the steps below:
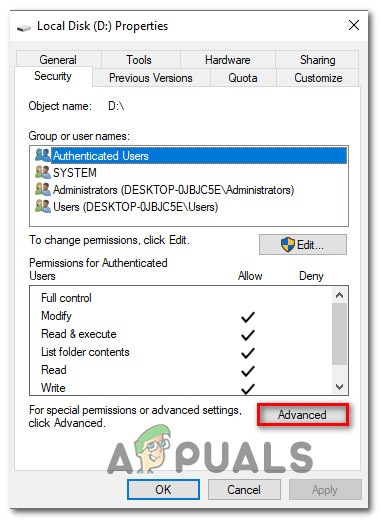
- Right-click the disk where you wish to install the Windows Installer package, then select Properties in File Explorer (or Windows Explorer).
- Go to the Security tab in the properties screen and click the Edit button (near Change Permissions, click Edit).

Changing permissions - On the security tab, under Group or user names, click the Add option.
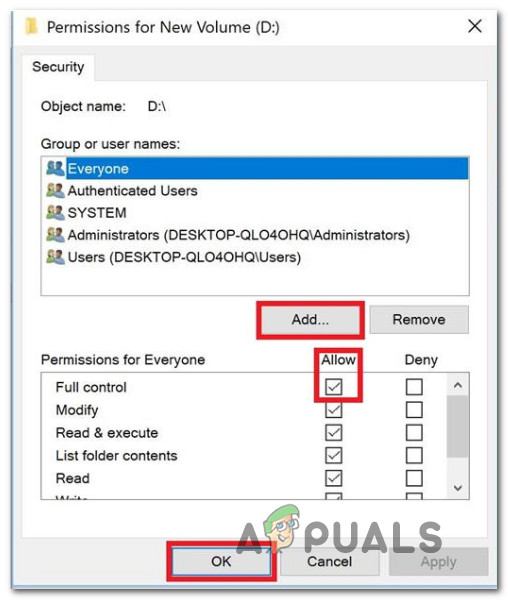
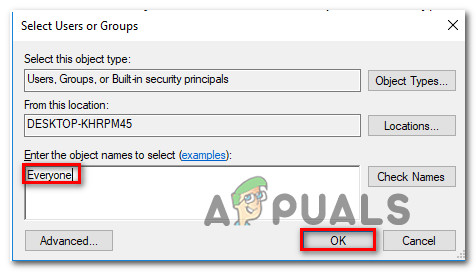
Granting full permissions - Inside the Select Users or Groups window, type Everyone in the box under Enter the object names to select (examples) and click Ok to save the changes.
Adding the necessary permissions - To preserve your changes, click Apply.
- Return to the Security tab of the impacted volume’s Properties, but this time click the Advanced button (associated with Special permissions or advanced settings)
Accessing the Advanced menu - Go to the Permissions tab in the Advanced Security Settings box and click Change.

Adding to the Everyone tab - In the Select User or Group window, type Everyone in the Enter the object name to select field, and then press Ok to save your changes.
- Finally, make sure the option labeled Replace owner on subcontainers and objects is checked.
- Go to the Auditing tab and click Add with Everyone as the owner.
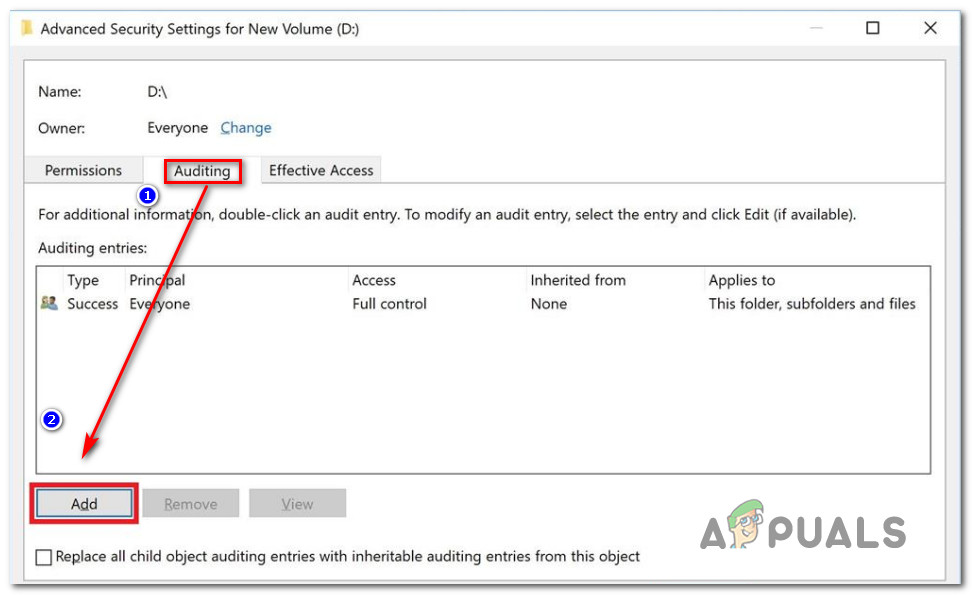
Accessing the auditing tab - Select Everyone as Principal under the Auditing Entry for the impacted volume, then proceed to the Basic authorization section and tick the box associated with Full control.
- Finally, to save the changes, click Ok then Apply.
- Reboot your PC and check if the permission issue has been fixed.
In case you’re still dealing with the same ‘Installer stopped prematurely’ error, move down to the next method below.
11. Uninstall with a 3rd party tool
If every.msi installer fails with the same issue and you don’t want to replace your operating system, you may use a third-party application to continue uninstalling apps that are failing with the ‘Installer stopped prematurely’ error without having to repair the underlying reason.
There are several solutions accessible on the internet that allow you to thoroughly delete an app.
These programs will scan your computer’s Windows for all files and entries associated to the software, then delete any traces. As a result, utilize third-party solutions to thoroughly delete the program.
The following is a list of free uninstaller programs:
Decide on a tool that you wish to use to get this done, then carry out the uninstallation and see if you are able to bypass the ‘Installer stopped prematurely’ error.
If the same kind of problem is still occurring, move down to the next method below.
12. Use a new Windows account
If you’re having this problem with every.msi installer you try to run, it’s possible that it’s being caused by a problem with your Windows account. Several customers who have had the same issue have stated that establishing a new Windows account solved the problem permanently in their situation.
Important: This operation will erase any existing damaged dependencies linked with your current user profile.
If you haven’t already done so, follow the steps below to establish a new user account in order to get around the ‘Installer halted prematurely’ error:
- Press the Windows key + R to open the Run dialog box.
- Then, in the text box, type ‘ms-settings:otherusers’ and press Enter to open the Settings app’s Family & Other People tab.
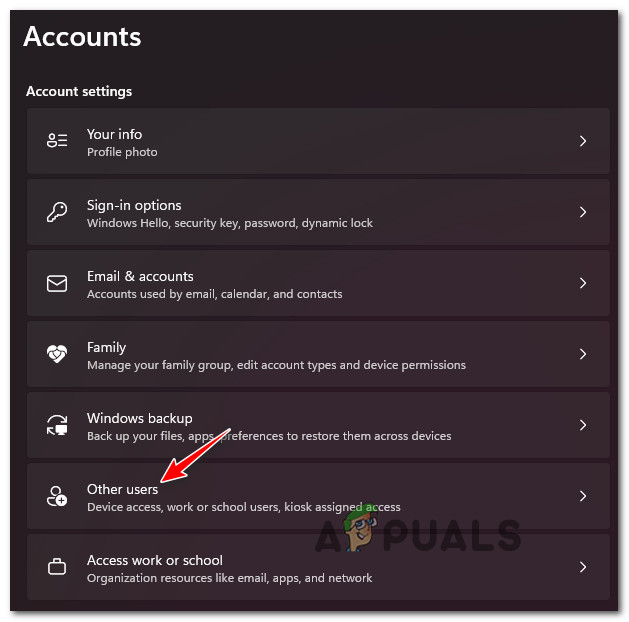
Access the Other Users tab - Select Add someone else to this PC from the Other user’s page under the Family & other users menu.
- Complete the remaining steps to establish a new account, then restart your PC and login in with the newly created Windows account to verify whether the ‘Installer halted prematurely’ problem is resolved.
If the problem is still not fixed, move down to the next method below.
13. Delete the duplicated Registry key
As it turns out, you could run into this problem if you have one key (B54F3741-5B07-11cf-A4B0-00AA004A55E8) that is improperly duplicated under HKEY CURRENT USER. If this case applies, you may resolve the issue by deleting the repeated key and resolving the dispute in the Registry Editor.
Several affected users have revealed that using Registry Editor to rename the registry entry under HKCU and rerunning the installer allowed them to avoid the ‘Installer halted prematurely’ error.
Follow the instructions below for instructions below:
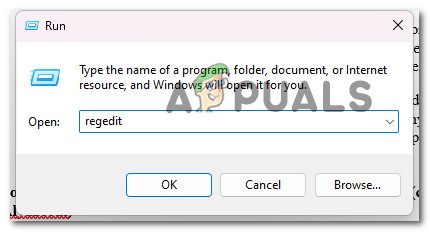
- Press Windows key + R to open up a Run dialog box.
- Next, type ‘regedit’ inside the text box, then press Ctrl + Shift + Enter to open up the Registry Editor with admin access.
Open up the Registry Editor - At the User Account Control, click Yes to grant admin access.
- Once you’re inside the Registry Editor, use the menu on the left to navigate to the following location:
HKEY_LOCAL_MACHINE\SOFTWARE\Classes\Wow6432Node\CLSID\
- After you arrive inside the correct location, move over to the right-hand side window and right-click on the {B54F3741-5B07-11cf-A4B0-00AA004A55E8} value.
- Simply rename the key to a different name (not important) in order to fix the duplicate.
- Restart your PC, then repeat the action that was causing the error and see if the problem is now fixed.
If the same ‘Installer stopped prematurely’ error is still occurring, move down to the next method below.
14. Run a clean install or repair install
If none of the aforementioned methods have worked, you only have one option: go nuclear and replace all of the affected system file dependencies with healthy equivalents.
Your only options, if you have system file corruption, are to execute a clean install or a repair install (in-place upgrade).
- Repair install (in-place upgrade) – If you have the choice, if you’re trapped in this circumstance, this is our official suggestion. During a repair install (in-place upgrade), only the system files will be modified (while keeping your personal files, user preferences apps & games)
- Clean install – If certain kernel processes are affected, a clean install may be the best option, but it comes with the drawback of erasing any personal data kept on the OS drive. You should be informed, however, that if you choose this option, you will lose all of your personal data.


