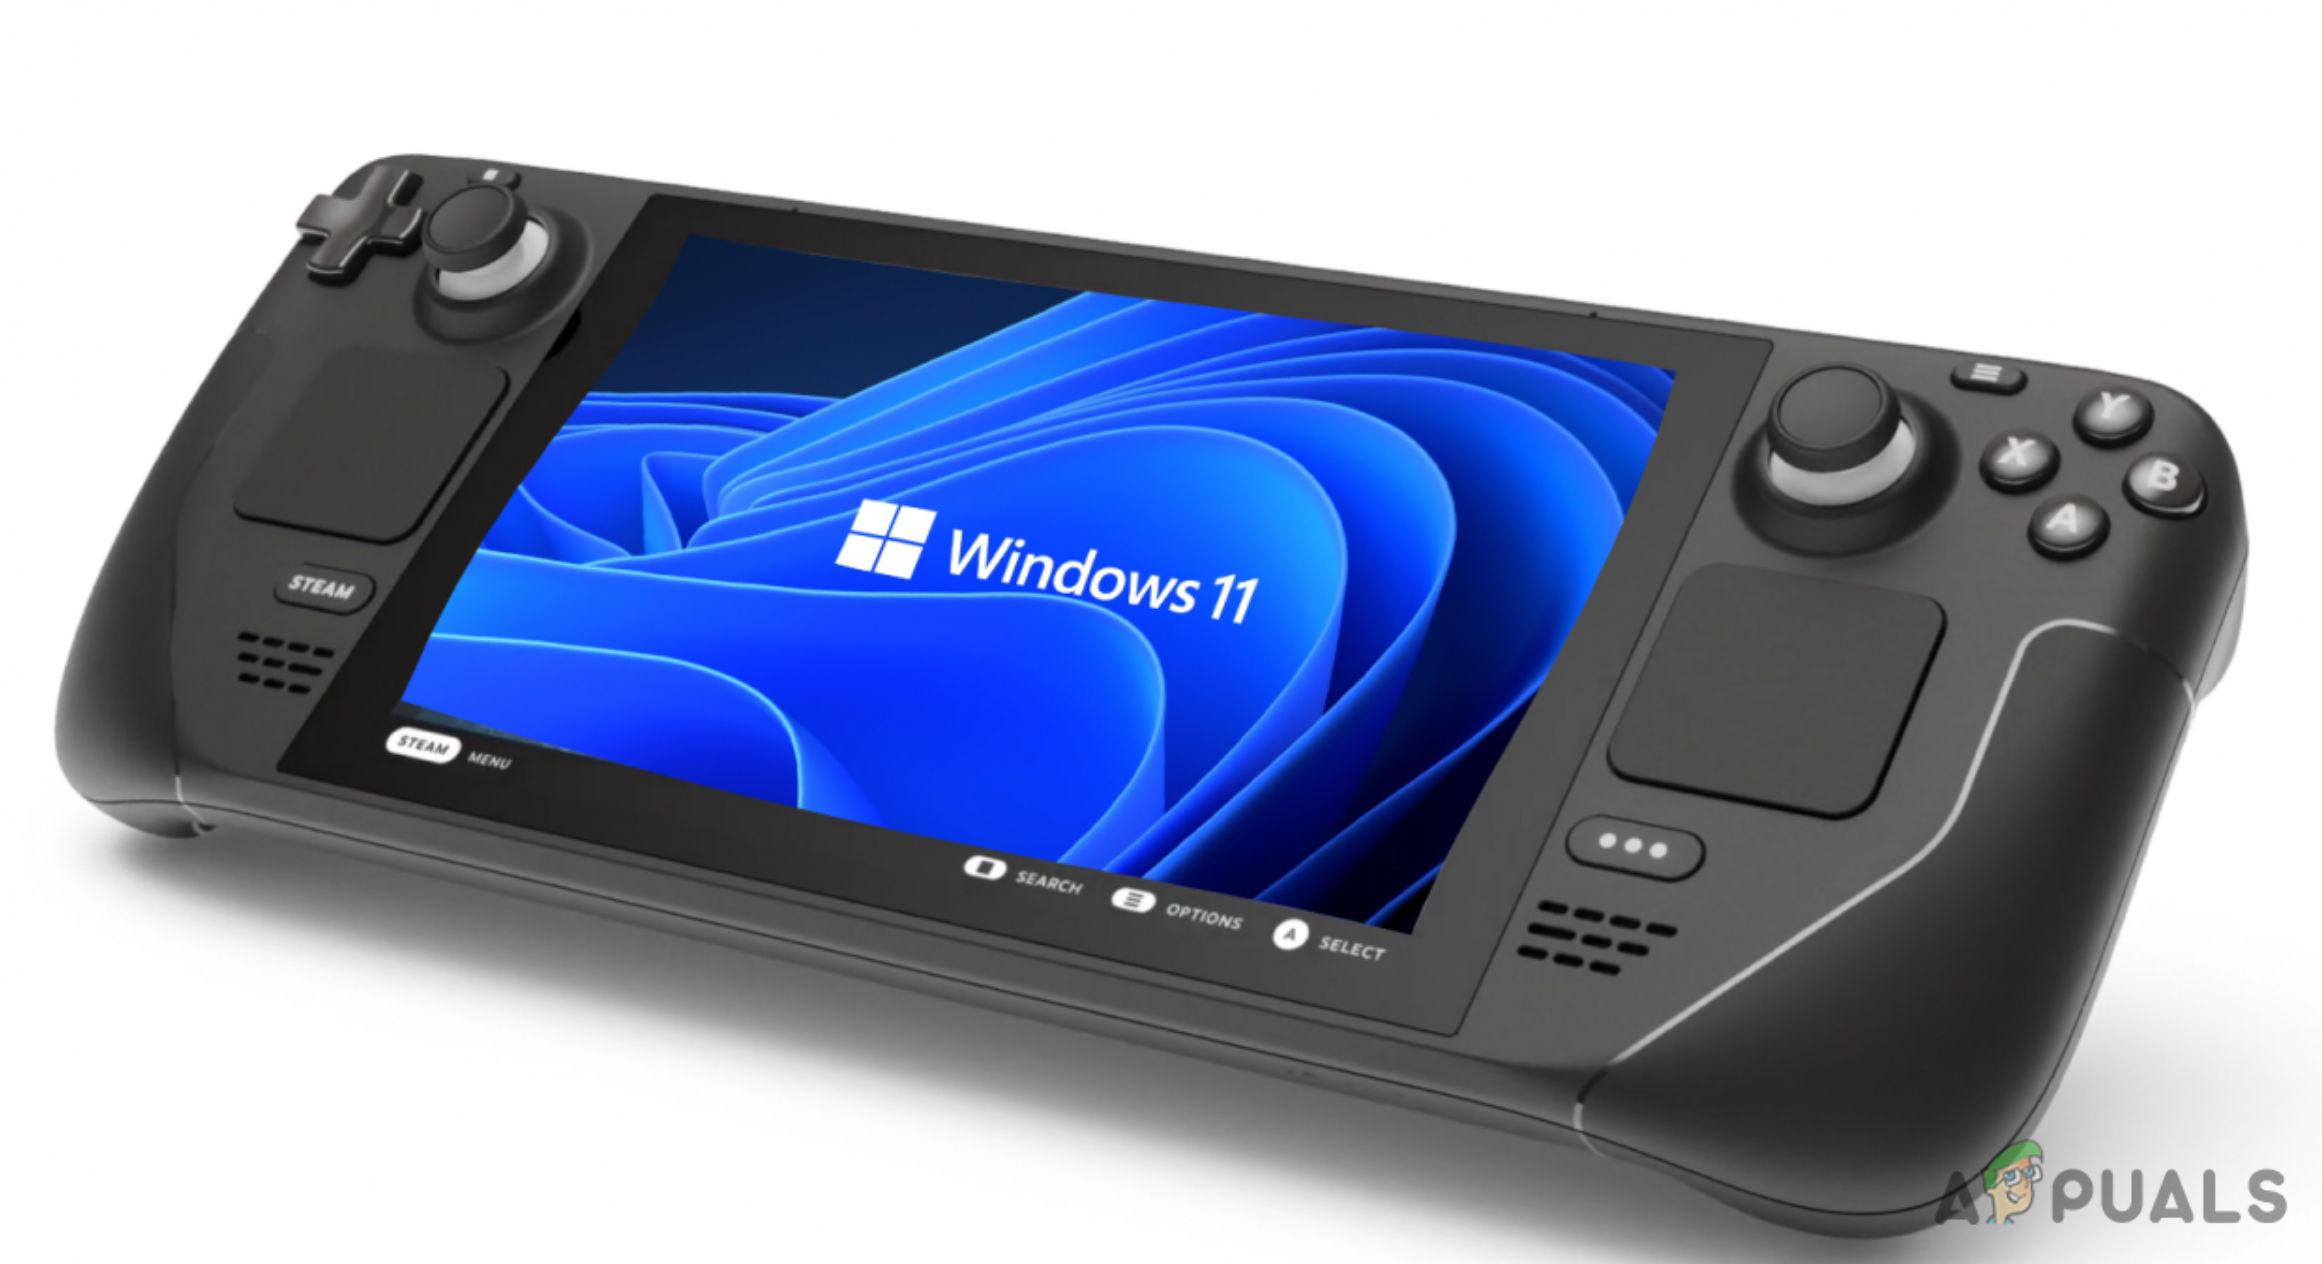
How to Install Windows on Steam Deck?
The Steam Deck is a remarkable gadget that is much more than just a handheld gaming system. It is more akin to a portable computer. In fact, you can even install Microsoft’s most recent PC-based operating system because it’s so close (Windows 11).
The main advantage of installing Windows 11 on your Steam Deck is that you will have full access to the Steam games library. This is not possible with the standard Steam OS that comes preinstalled. Therefore, you can eventually turn your Steam Deck into a fully-fledged computer or laptop.
However, there are compromises. Using the OS will be more difficult without a keyboard and a mouse, and functions like suspending games are exclusive to SteamOS and won’t function on Windows.
Prerequisites
Before you can install Windows on the Steam Deck, you need a few items:
- A Windows PC
- USB flash drive
- Keyboard and mouse (optional)
- USB Hub with Type-C port
Once you have everything you need, start following the steps below to install Windows 11 on your handheld gaming device:
STEP 1: Create Windows 11 Installation Media
- Ensure your USB flash Drive is connected to your PC before you create the boot drive.
Insert the USB stick into the PC - Next, head to the official Microsoft download page and click Download Now under “Create Windows 11 Installation Media.”
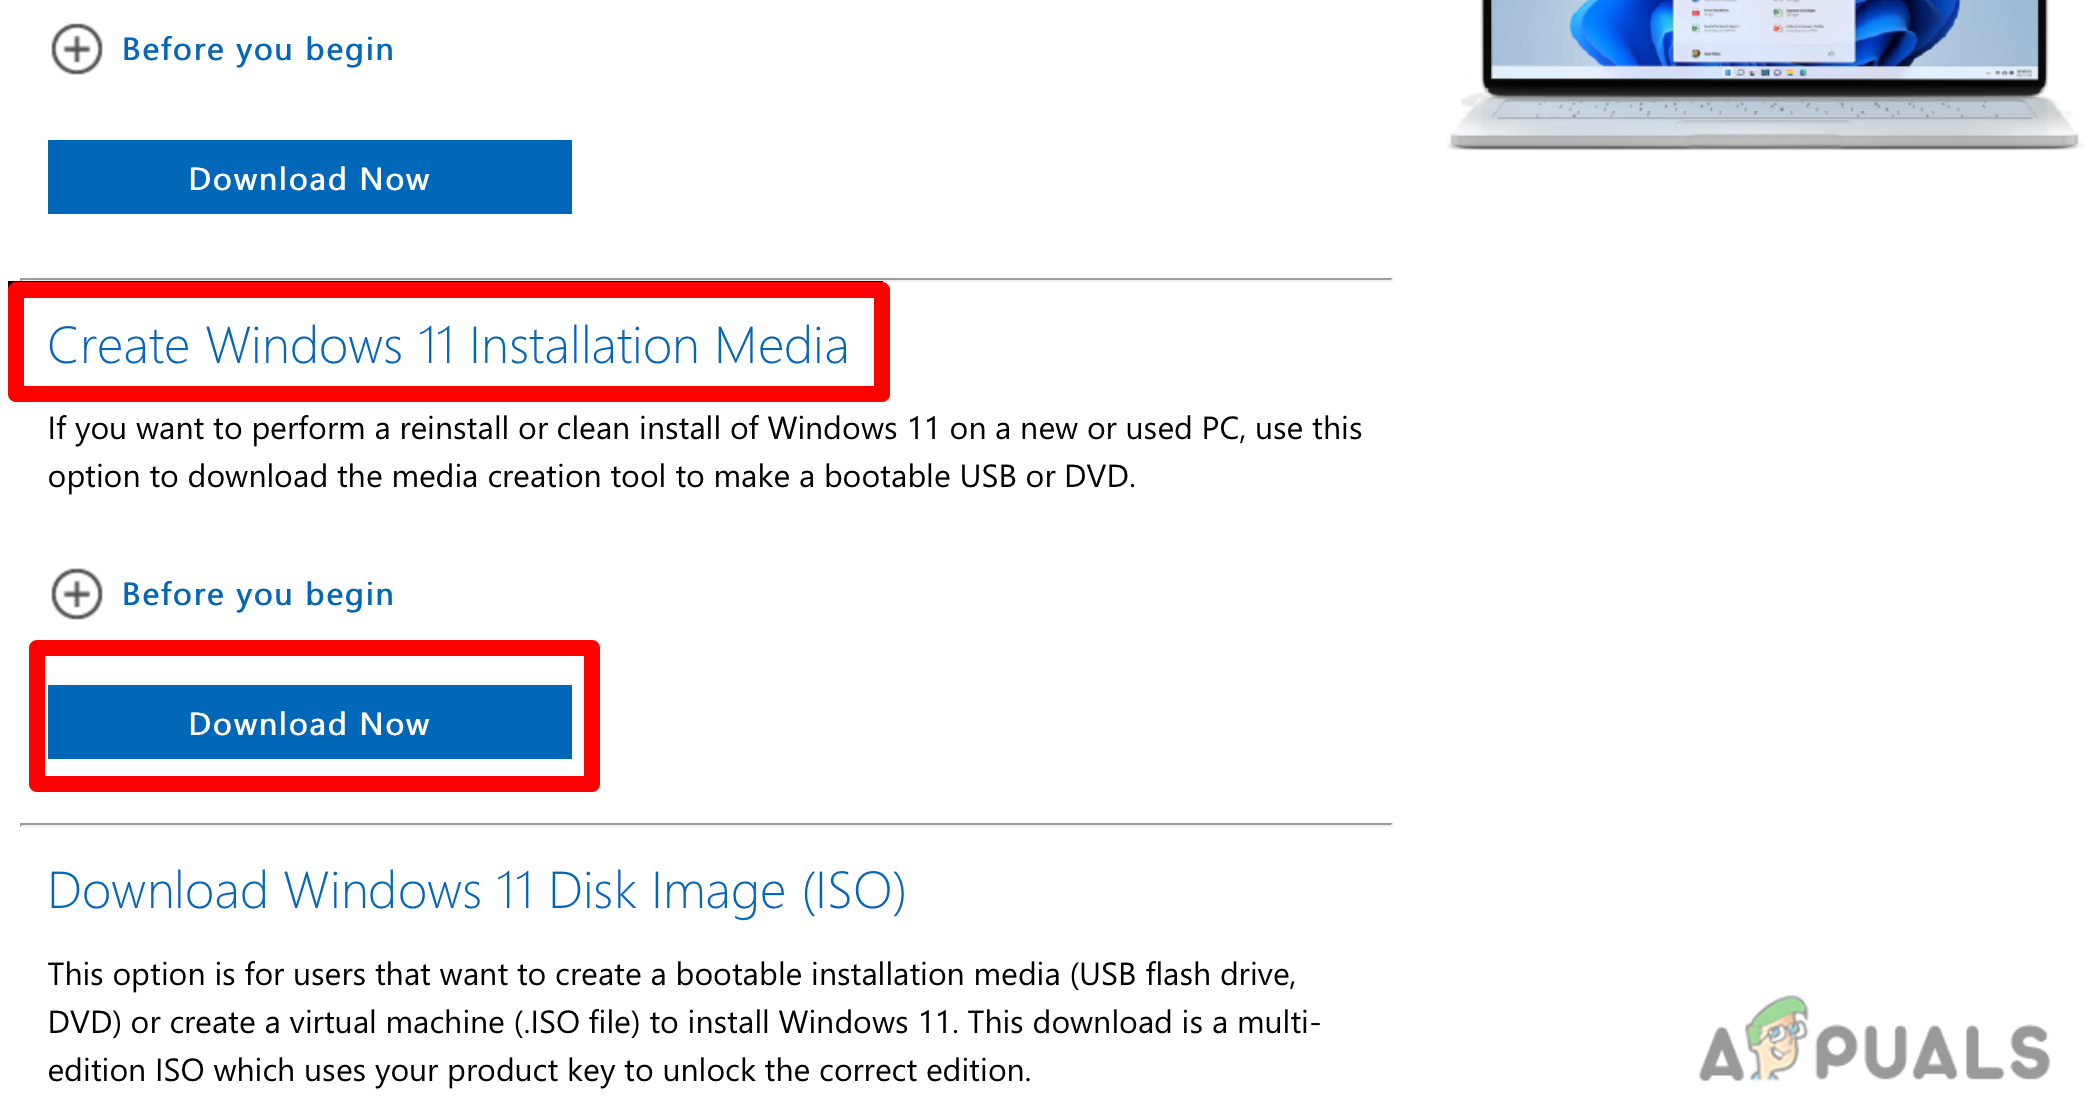
Click the Download now button on the “Create Windows 11 Installation Media - Once the download it’s done, go ahead and open the executable. Accept the license terms and click Next.
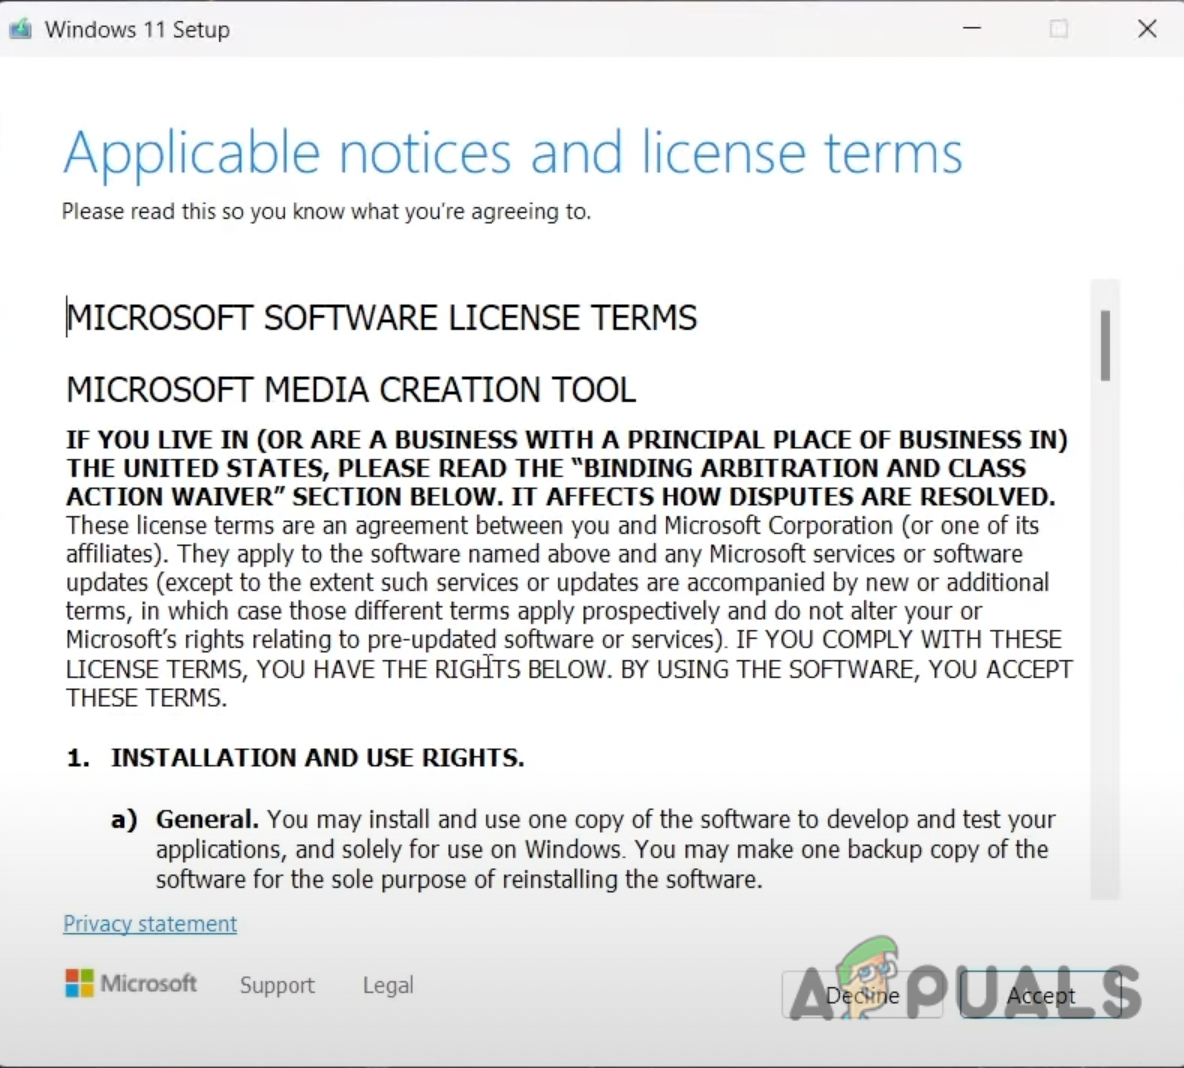
Accept license terms and conditions. - From the next screen, select your preferred language and click Next.
- Now you will need to choose which media to use; make sure to choose the USB flash drive.
- Wait until the operation is done. When your USB flash drive is ready, click Finish.
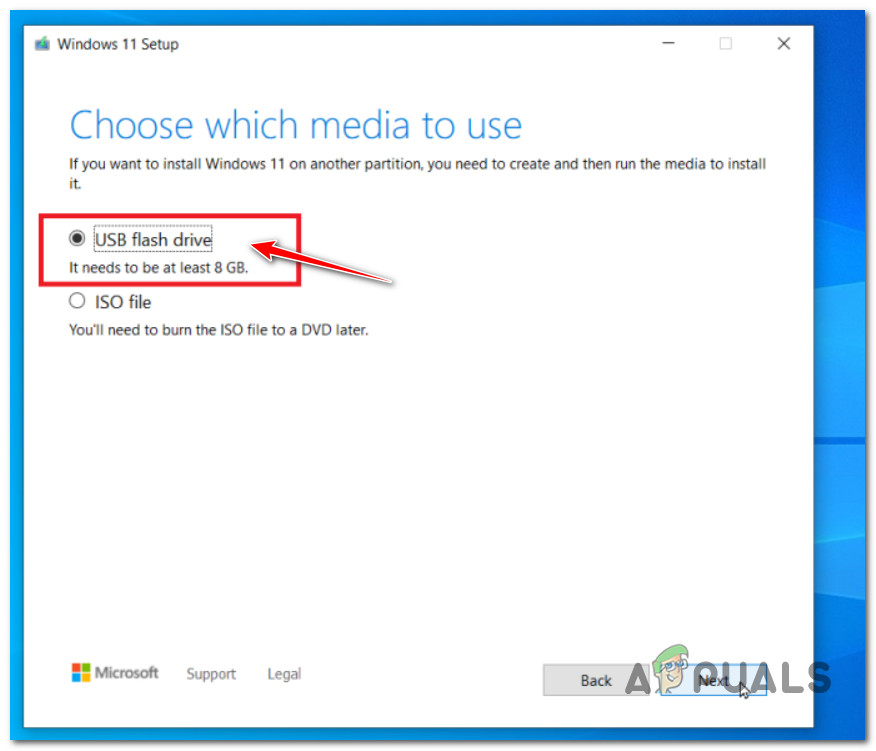
Selecting the USB Driver - You can now safely remove the flash drive from your PC.
STEP 2: Prepare Steam Deck for Windows Installation
- Make sure that your Steam Deck is shut down before proceeding.
- Put your USB dock in with the boot drive you just made for Windows 11.
- Hold the volume down button + the power button simultaneously.
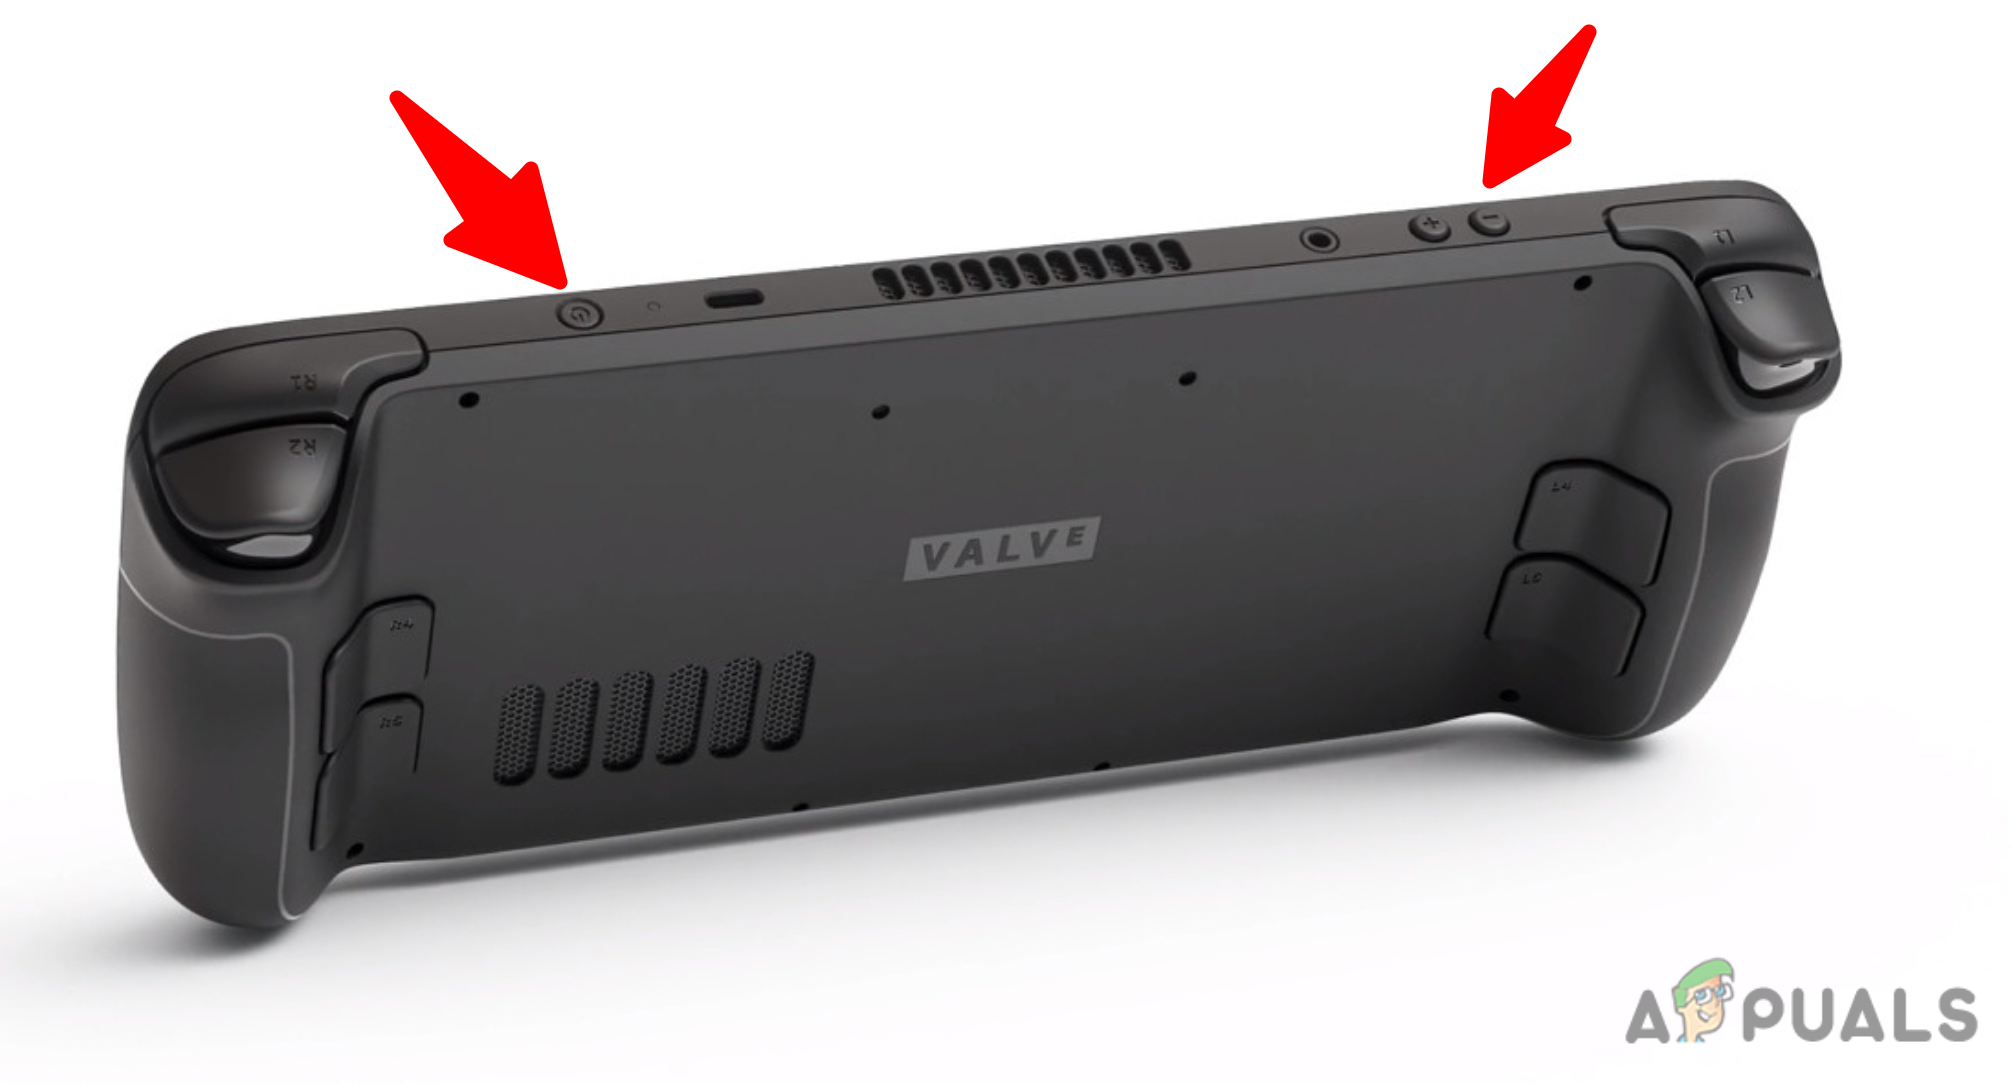
Hold the volume down, then press the power button simultaneously. - Tap on Boot Manager and press A.
- You must now select the USB device from the list of boot options.
- Select the correct USB Windows Installation device and press A to start.
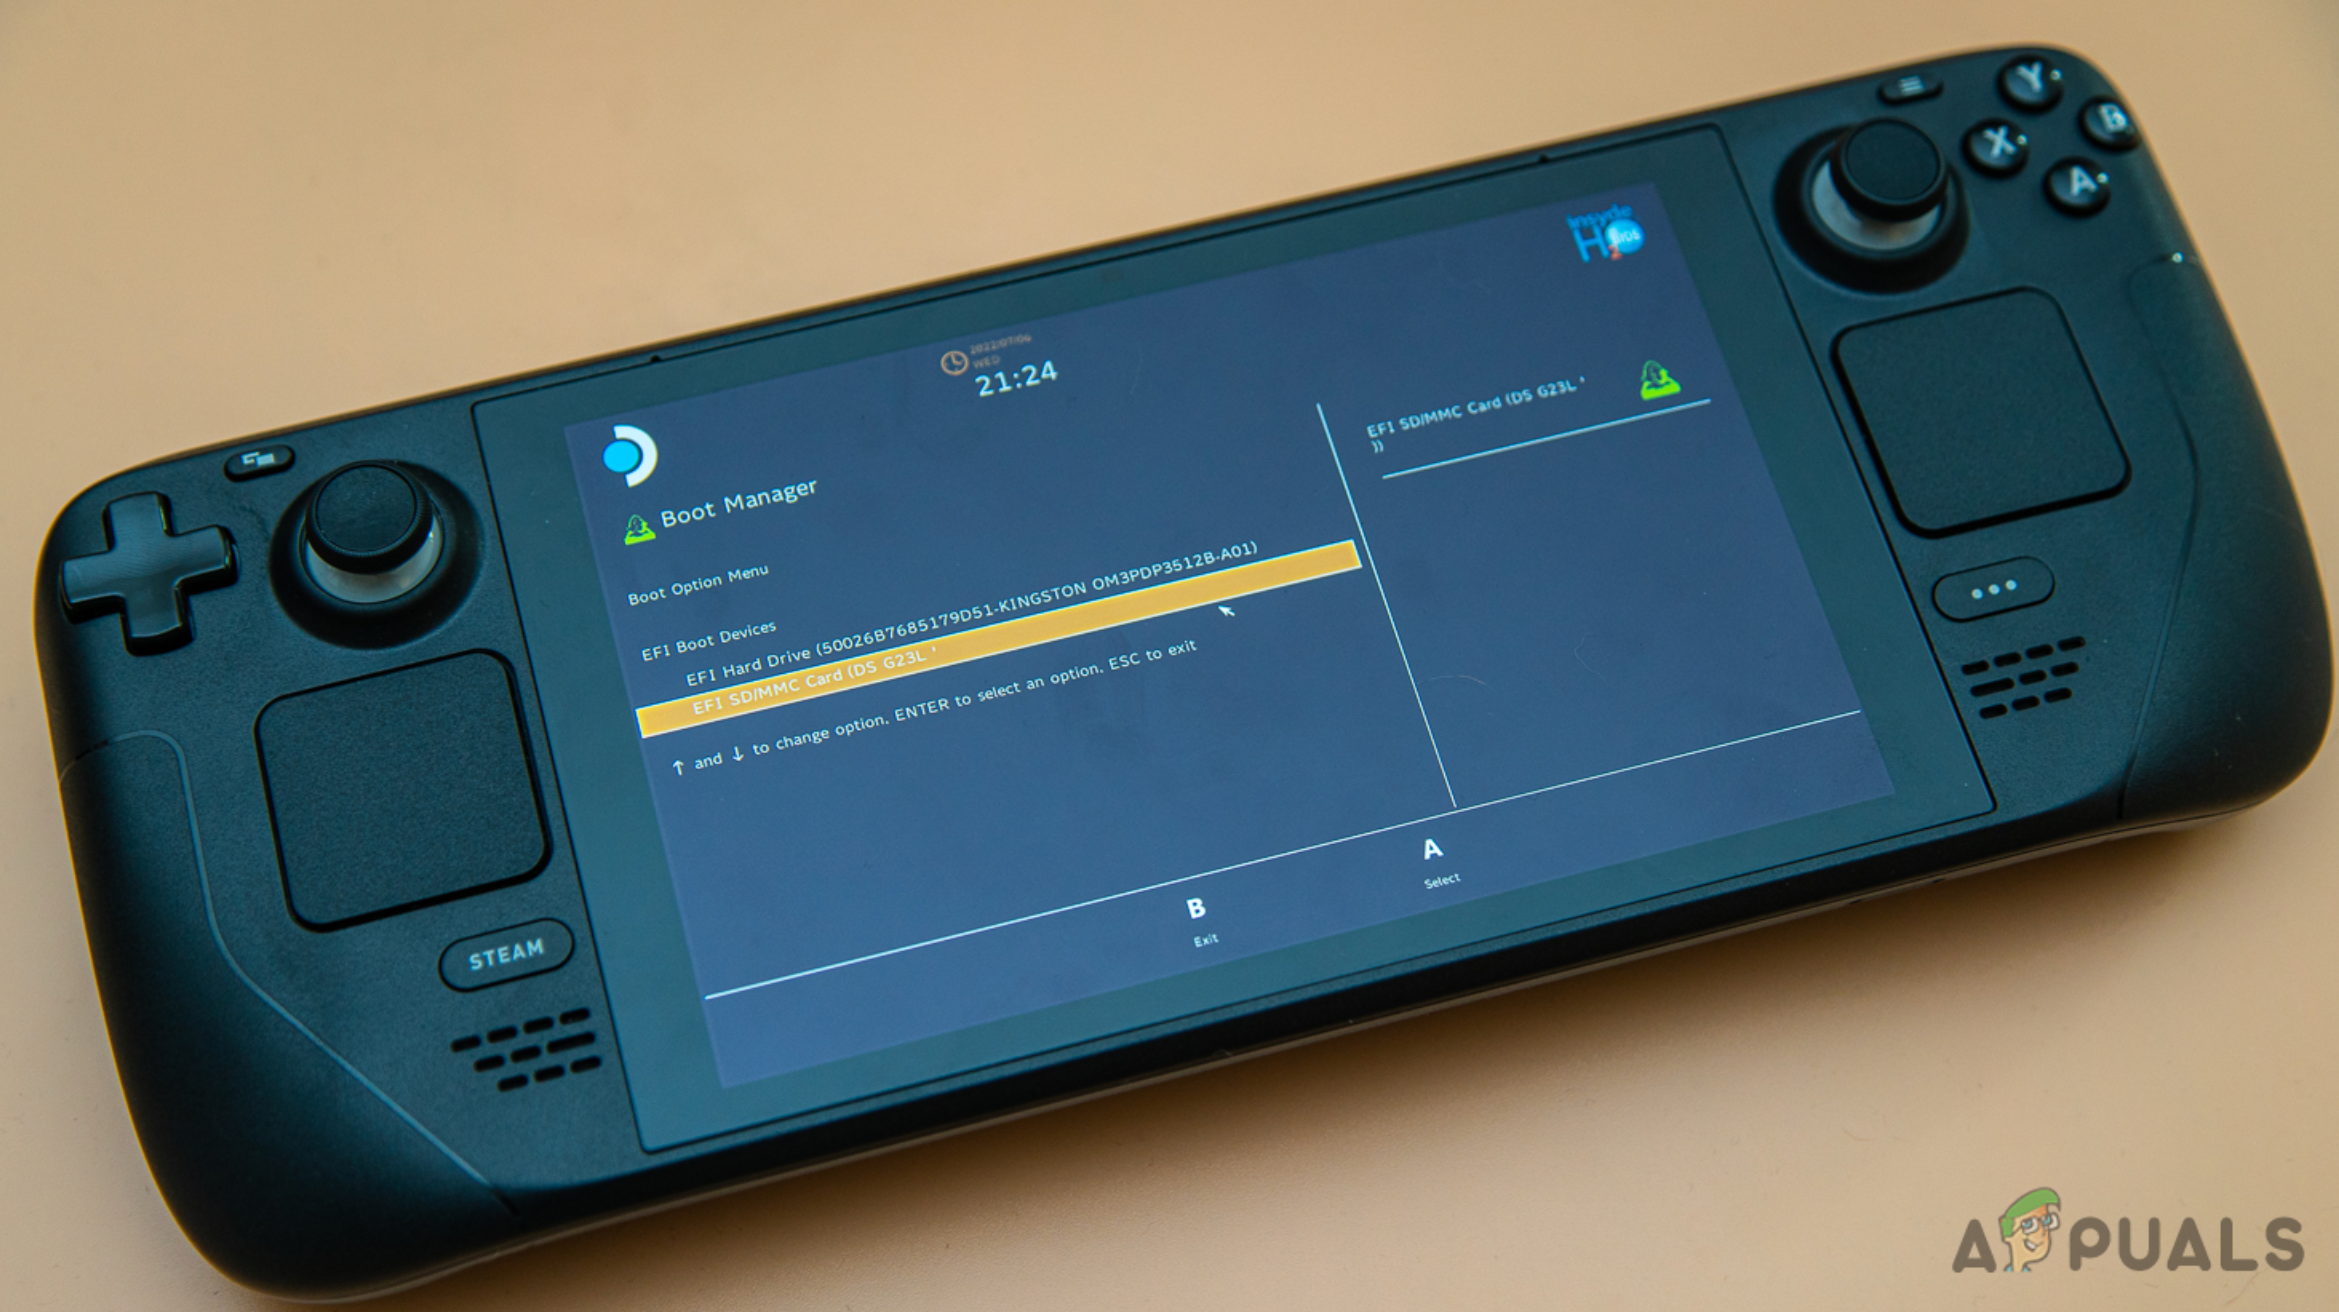
Select the USB device from the list of boot options
STEP 3: Installing Windows 11 on Steam Deck
- Select your language and tap Next.
- Tap on Install now.
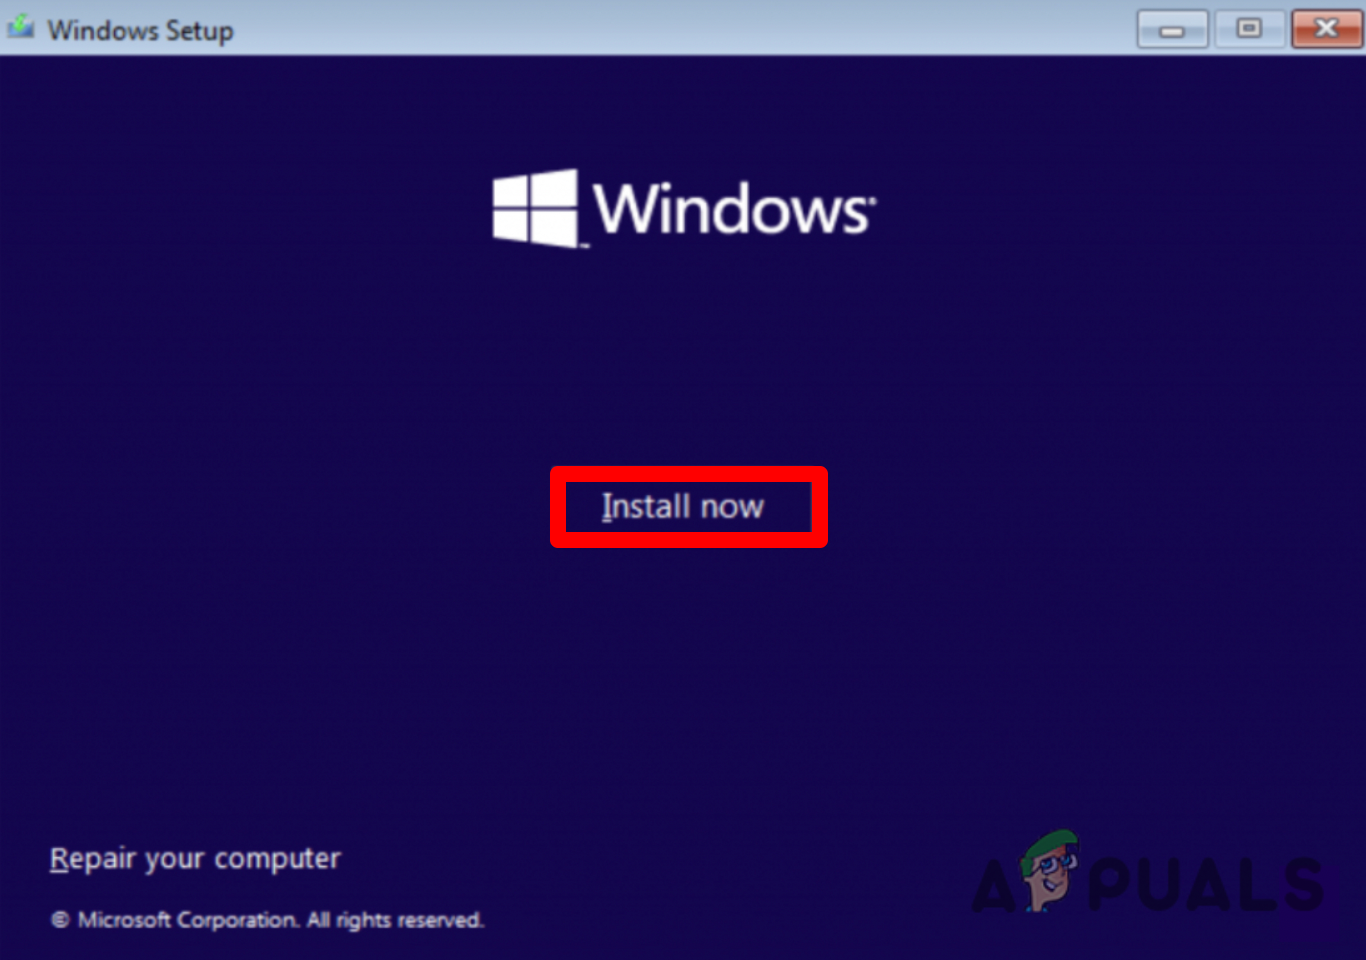
Tap on Install now Note: Keep in mind that the installer might fail at this point. If this happens, restarting your Steam Deck and repeating the steps above will fix the problem.
- After a few minutes, the ‘Activate Windows’ screen will appear on the screen.
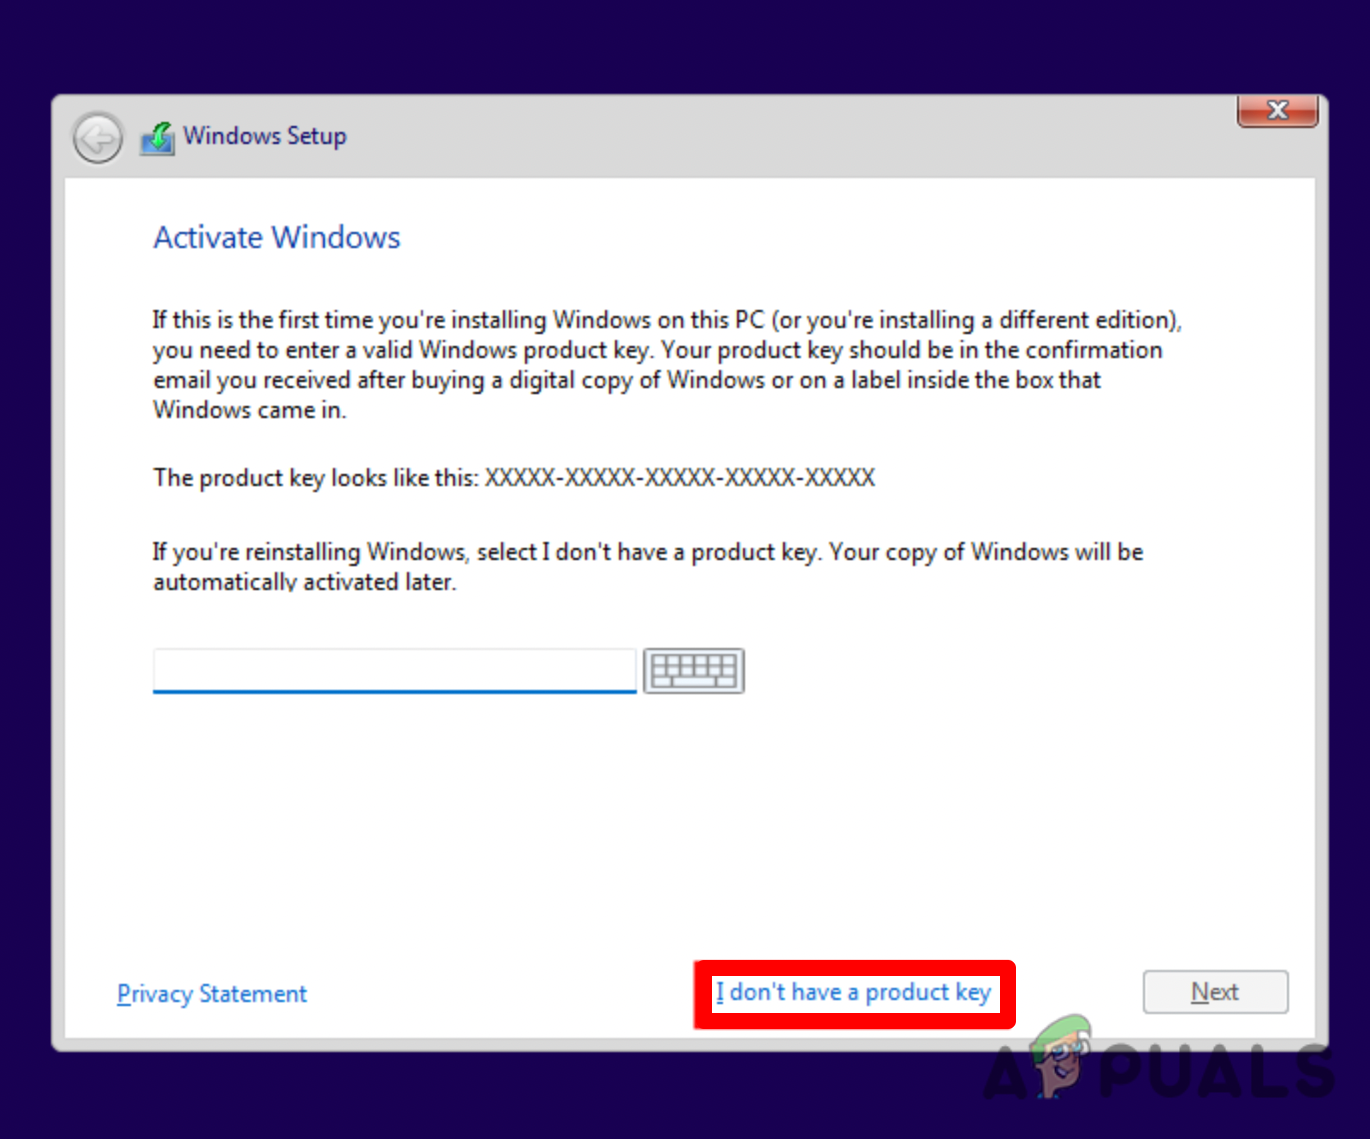
A product key is not necessary. If you don’t have one, tap on “I don’t have a product key.” Note: If you have a Windows product key, you can enter it and tap Next. However, a product key is unnecessary, so you don’t have to worry. If you don’t have one, click “I don’t have a product key,” then click Next.
- You will now see a Windows system list from which you must choose the Version you want. We recommend selecting Windows 11 Home for the best performance.
- Accept the license terms and tap next.
- Choose which type of installation you want. Select Custom: Install Windows only (advanced).
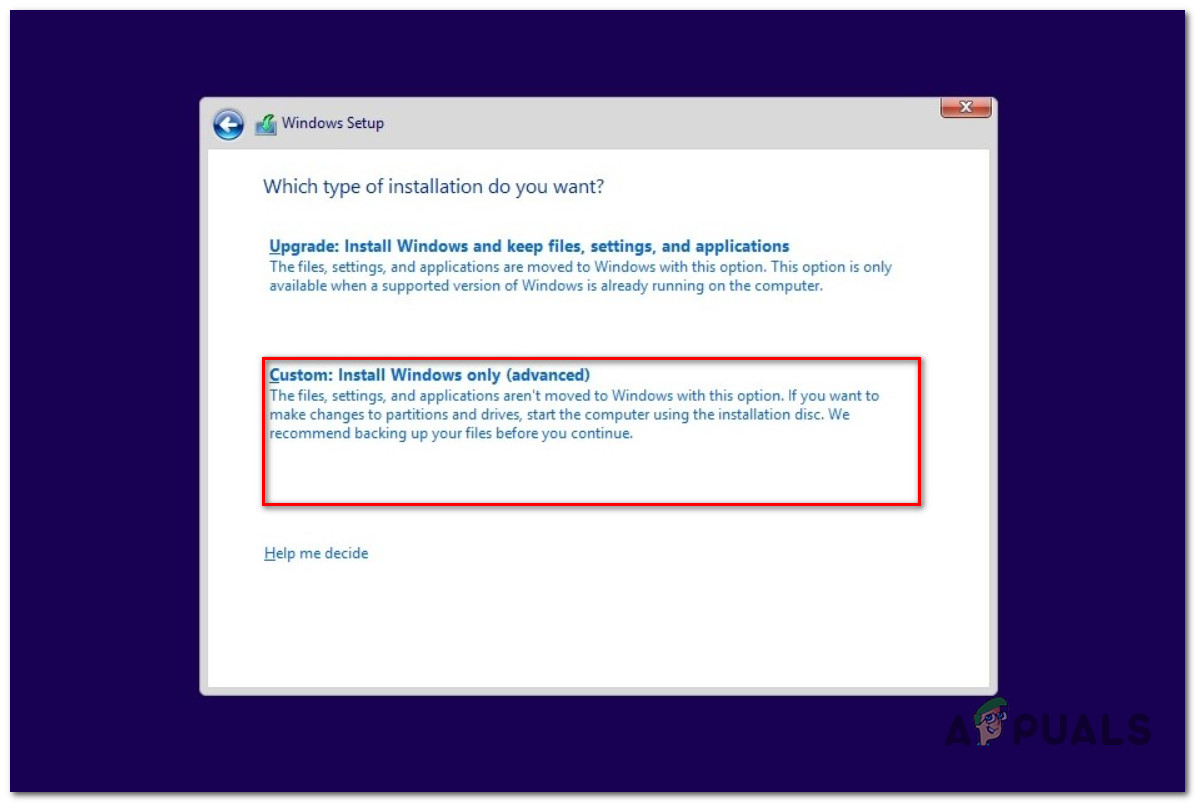
Select Custom Install from the menu - Then, after selecting each primary partition individually, tap “Delete.” Doing this will delete all the partitions, leaving you with “Drive 0 Unallocated Space.” Select ” Drive 0 Unallocated Space” and tap Next. The windows setup will start now.
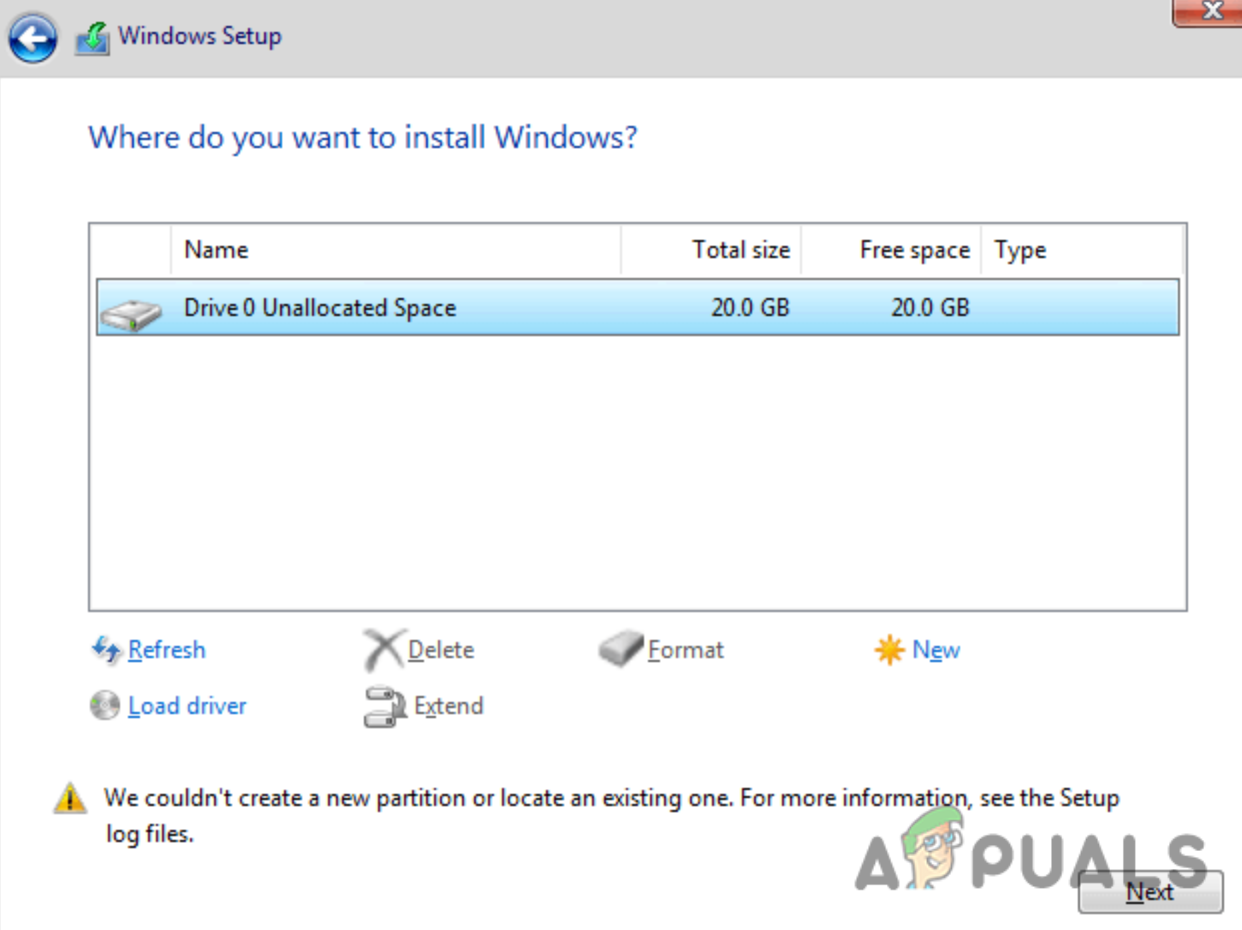
Select the correct partition where you install Windows 11
STEP 4: Setting up Windows
- Choose your region and tap Next.
- A keyboard layout input selection will appear after that. Choose your layout, then select Yes.
- You’ll now need to join a network. Tap Next after choosing a cable or wireless network.
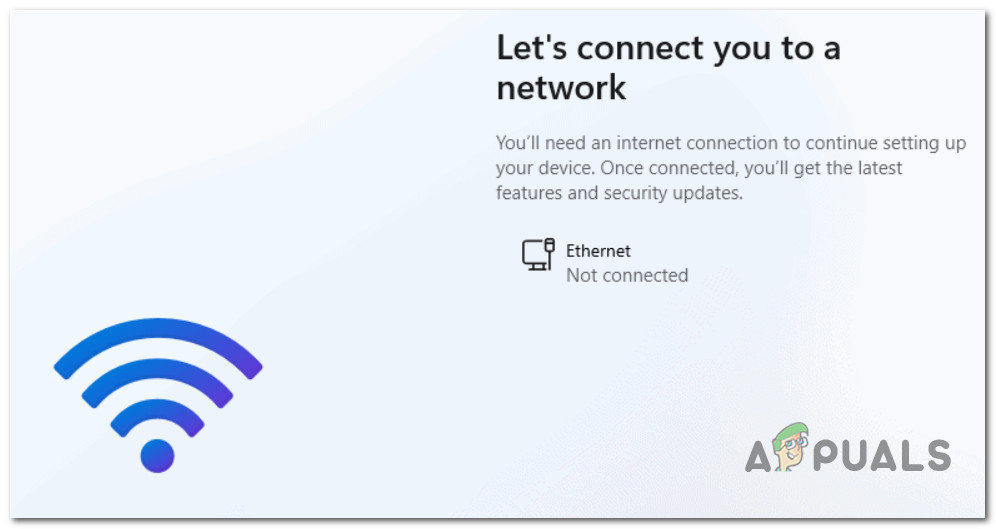
Connecting to a network - Wait until the windows installation reboots your Steam Deck.
Note: In some cases, the reboot might get stuck. If this happens, all you need to do is hold the Volume Down button + the Power button and re-enter the Steam boot manager. You might need to choose the Windows boot partition from the Boot Manager again. - Finally, you’ll need to set up your account. Enter a username, password, and privacy settings, and choose your security questions. The Steam Deck will reboot one final time once Windows completes some last-minute installation updates.
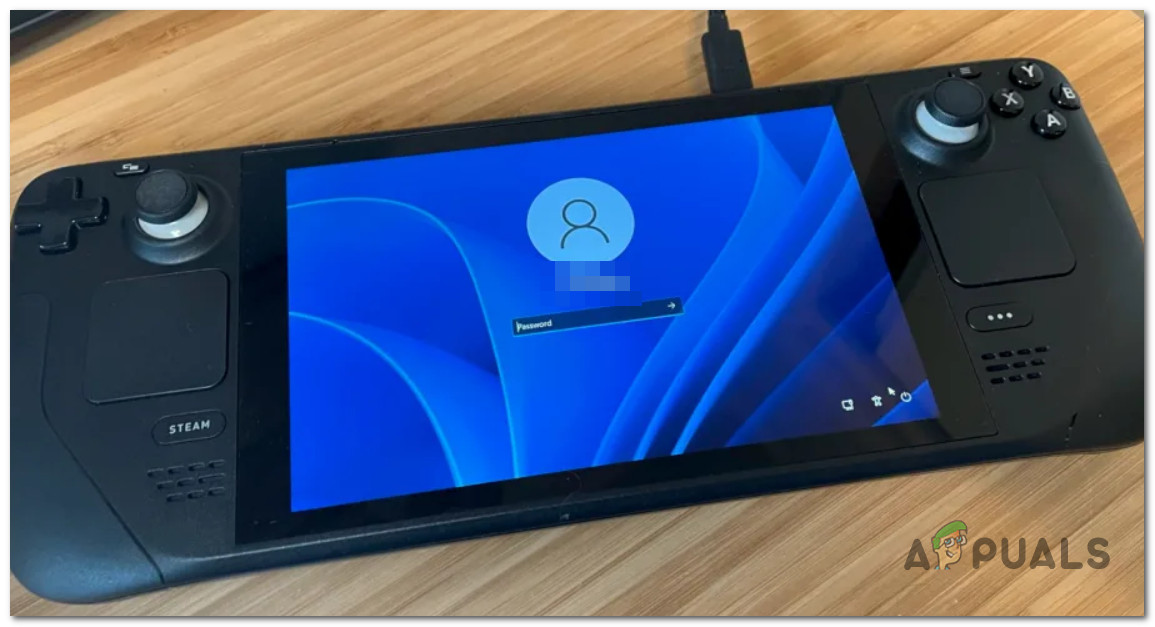
Logging into Windows from Steam Deck Note: Your screen is still vertically orientated, but you can change it. Tap Settings, then tap on Display, and then Display orientation. You can now change the orientation from Portrait to Landscape.
- And we’re done! Windows 11 is now installed on your Steam Deck.